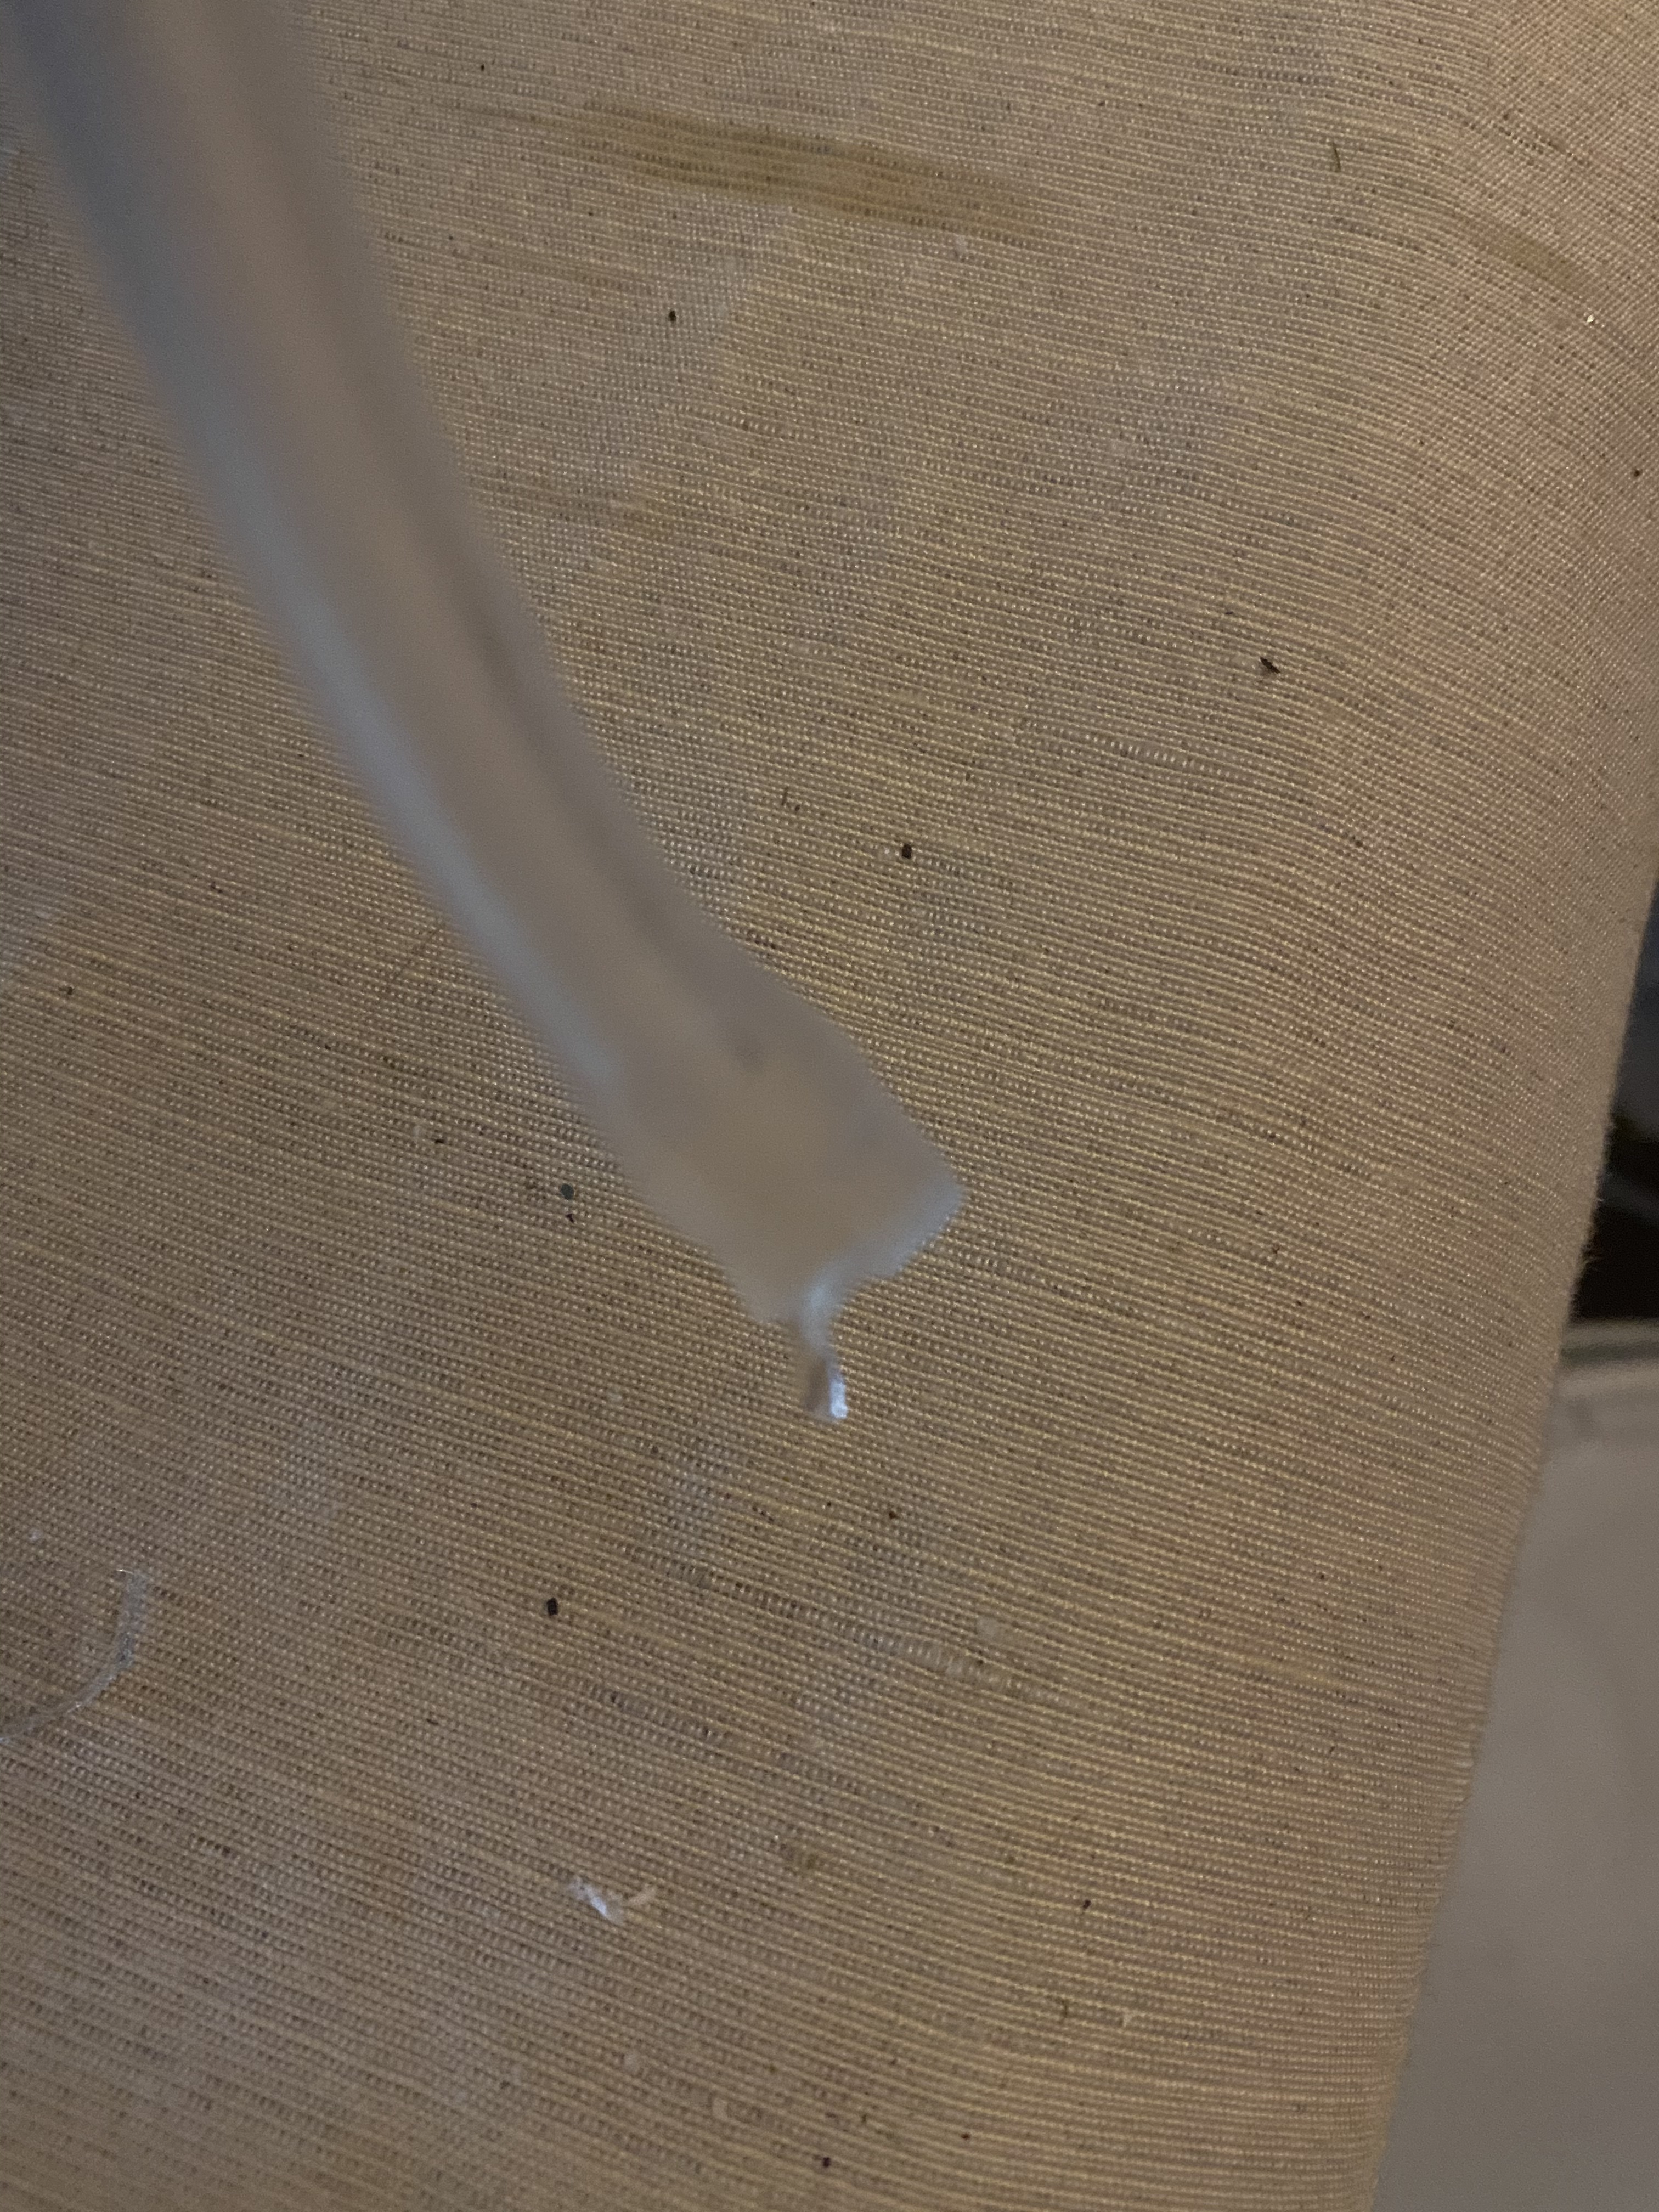
Just switched my machine on this morning and within a few seconds there was water pouring down below the cutting bed. On further investigation it seems at the exact spot where the water tube is attached to the laser has broken. The tube just pulled away straight away and there is broken glass attached. See the pic. I’m assuming I now need to get a new laser tube?
Dang, hate that happened to you. You could try some epoxy, but I don’t think it’s going to be a good fix. Sad to say, but I think it’s best to get a new tube.
1 Like
Thanks, yeah, I figured I would need a new tube. The other question now would be - should I consider upgrading to a new unit (maybe 50W - 80W)? Would it be worth it or is the 40W just as good and not worth the extra cost to buy a new, more powerful machine? I was engraving slate, acrylic and glass before at a medium volume rate so maybe this could have been wear and tear on the tube? I have had it since late Sept.
For the cooling attachment to break it is more likely a manufacturing fault; probably there was some tiny scratch/crack/internal stress that propagated.
Increasing power doesn’t alone require replacing the whole machine, though power is basically a function of tube length. If your cutting area is big enough, you can upgrade for very little more $$ than just tube replacement.
You can get a higher-quality tube than probably came with your machine for a reasonable investment. Lightobject (35W / 40W) and Cloudray both sell high-quality tubes. You’ll need to check the length of the tube vs. your machine; you may need to also get a case extension to put in a true 40W tube; that extension will let you go up to 1 meter long (50W). You’ll need to consider whether you need a new laser power supply depending on what tube you get; the supply you got with the unit might be good up to 40W but not beyond.
See also
2 Likes
Has your tubes coolant been under the recommended temp??
Did you have any air pockets in the water jacket of the tube?
If either as true it might be the culprit!
Thanks for the replies guys. I have been using this machine since late Sept with success. It has been in a garden house and the water was successfully cooling the laser. Granted, It has been colder these last few days (but only to -3C or so) and I hadn’t used the machine in a few days as well. It’s a shame as I had committed to getting some slate and acrylic to people this week. In terms of replacing and refitting a new tube, is this a difficult task? What do I need to do this? I may just look to get a replacement tube for the time being (700mm long approx) but def look to investigate the possibility of an extension so I can get a bigger tube - has anyone any advice on how to attach the extension casing and then is it the same as a usual tune replacement?
If ambient temperature was -3C how sure are you that that it didn’t freeze water in the tube? That would do it!
Some machines have a removable plate where you would add the extension. Otherwise you have to be able to cut the steel of the enclosure, say with a cut-off wheel or nibbler. The higher power tube, the more heat to remove, the harder it is to cool. There’s a lot of info in Cooling the K40 laser tube that’s worth reading, if you haven’t already done so.
The lightobject 35W / 720mm tube I linked to was designed to max out what you can typically fit in a K40 enclosure.
For replacing the tube: Take pictures ahead of time. Make sure the water exit port points up so bubbles don’t accumulate. Don’t try to solder either of the leads to the tube. Do have silicone adhesive and silicone tube (as for the water) handy. If you have difficulty, take pictures and post them in this thread to ask for help. ![]()
For wiring, this video has been recommended here before, I think:

2 Likes
yeah, that’s my suspicion. That maybe the water at that junction was frozen or at least semi frozen and then when I switched the machine on today the liquid pushed the frozen part and caused the break. Unfortunate, but we all learn!! Anyway, way above I was asking if it was worth the ££ in actually investing in a brand new unit but I see that for higher wattage machines they seem to increase in price exponentially. If I was to look for a brand new higher wattage machine, then what kind of prices would I be looking at in the EU or UK market? Or are they even worth it and should I just get a new 40W tube, and try my luck at installing it and starting again 
I leave my water pump on continuously in an attempt to stop it freezing.
I dont know if it will work - I guess I’ll find out one day.
2 Likes
Well, water expands when it freezes. Water freezing in pipes bursts the pipes.
Yes, the higher-power devices are bigger (basically by definition) and plenty of the costs scale dimensionally; additionally, the bigger and heavier, the more it’s worth things like linear rail instead of plastic wheels running on extrusion. Prices I’ve seen have been vaguely similar between US, EU, UK modulo currency conversion; they are still made in China so I don’t think they care much whose currency is being converted. ![]() I’d suggest that if you do want to upgrade, share what options you are looking at here for review and suggestions.
I’d suggest that if you do want to upgrade, share what options you are looking at here for review and suggestions.
If you don’t need larger cutting area, I’d definitely suggest the low-cost expedient of an extension box on your K40. Don’t cheap out on that; the extension box is protecting you from 20-40 thousand volts depending on the tube you choose. Electricity gets pretty weird at these high voltages; don’t skimp!
If you upgrade to a more powerful tube, upgrade the laser power supply and add a separate 24V power supply while you are at it. If you are paying more for the tube, it becomes more worthwhile to have more active temperature management for it, as well; the more you spend, the more is at risk of failure.
(I’ve done plenty of research recently on individual components for the monocle 100W laser that I’ve been designing (and re-designing) and building myself. But I’m enjoying the process of designing and building probably just as much as I’ll enjoy the process of using it, so I don’t try to convince anyone else to do it my way. Happy to use that experience learning to help you out if you want to upgrade, though!)
1 Like
Thanks man - I think it’s def something I want to look into in the near future. For expediency, I will look to get a new ‘40W’ tube ASAP and then look to expand in the future. I want to get back engraving ASAP. I started this in Sept as a hobby and it’s kinda turned into a small business. I’ve been able to cover my costs when I hadn’t even been intending to Here is the tube I am looking to purchase.
1 Like
Looks sane. Get silicone tube and silicone sealant for where you attach that red wire they have already provided for you to the wire coming out of your laser power supply. Don’t just wrap it in electrical tape, for example.
Note this review:
Worked perfectly straight out of the box after set up. Very powerful also compared to the last laser I had. After a few weeks of use it has slowed down a little efficiency wise and sometimes screeches off and on. Not sure why as I regularly cool the laser. Still working for now.
That screeching is probably due to the laser power supply, not the tube, I think. You’ll find others mention here on Maker Forums upgrading to a slightly better tube in their K40 and the original LPS screeching afterwards.
2 Likes
Thanks again. I’ll order and then start the process of refitting!! Will I also use the sealant for attaching the inlet and outlet tubes to the laser?
2 Likes
Usually just use cable ties to tighten the silicone water hose around the inlet and outlet without sealant, as far as I know.
2 Likes
thanks again - I’ll add to this trail once it comes. Really appreciate your advice and assistance.
1 Like
here are the silicone sleeves I was going to order. What then would the sealant be required for?
Stop! They are not the right ones.
I’ve seen them on here somewhere… ill take a look.
2 Likes
ok, great, thanks
Here you go - someone has been on your journey already ![]()
2 Likes
cheers So basically twist the wires together and seal as much as possible with tubing and silicone!!
1 Like