To hold the pieces I would cut out the shape of the pieces, in 1/8" ply so it just barely fits each piece. I would include a small notch in one side of each cut out to allow easy remove of the items after etching. Then glue the cut out ply to an uncut piece of ply to make a floor (optional step). How you register your jig in the bed is going to depend on what kind of bed you are using. I have an origin jig in my laser where I took a small piece of ply and push it all the way into the top left corner. Then cut the ply from the origin in the x and y directions. This allows me to place the corner of my work piece at the origin each time. Here’s a pic of my origin jig.
So for me I would take a piece of ply big enough to hold however many of the pieces I wanted to engrave at one time and put one corner at the origin against the jig. Then make my cutout pattern and make the cuts. The cutout pattern file will then also serve as the engraving template.
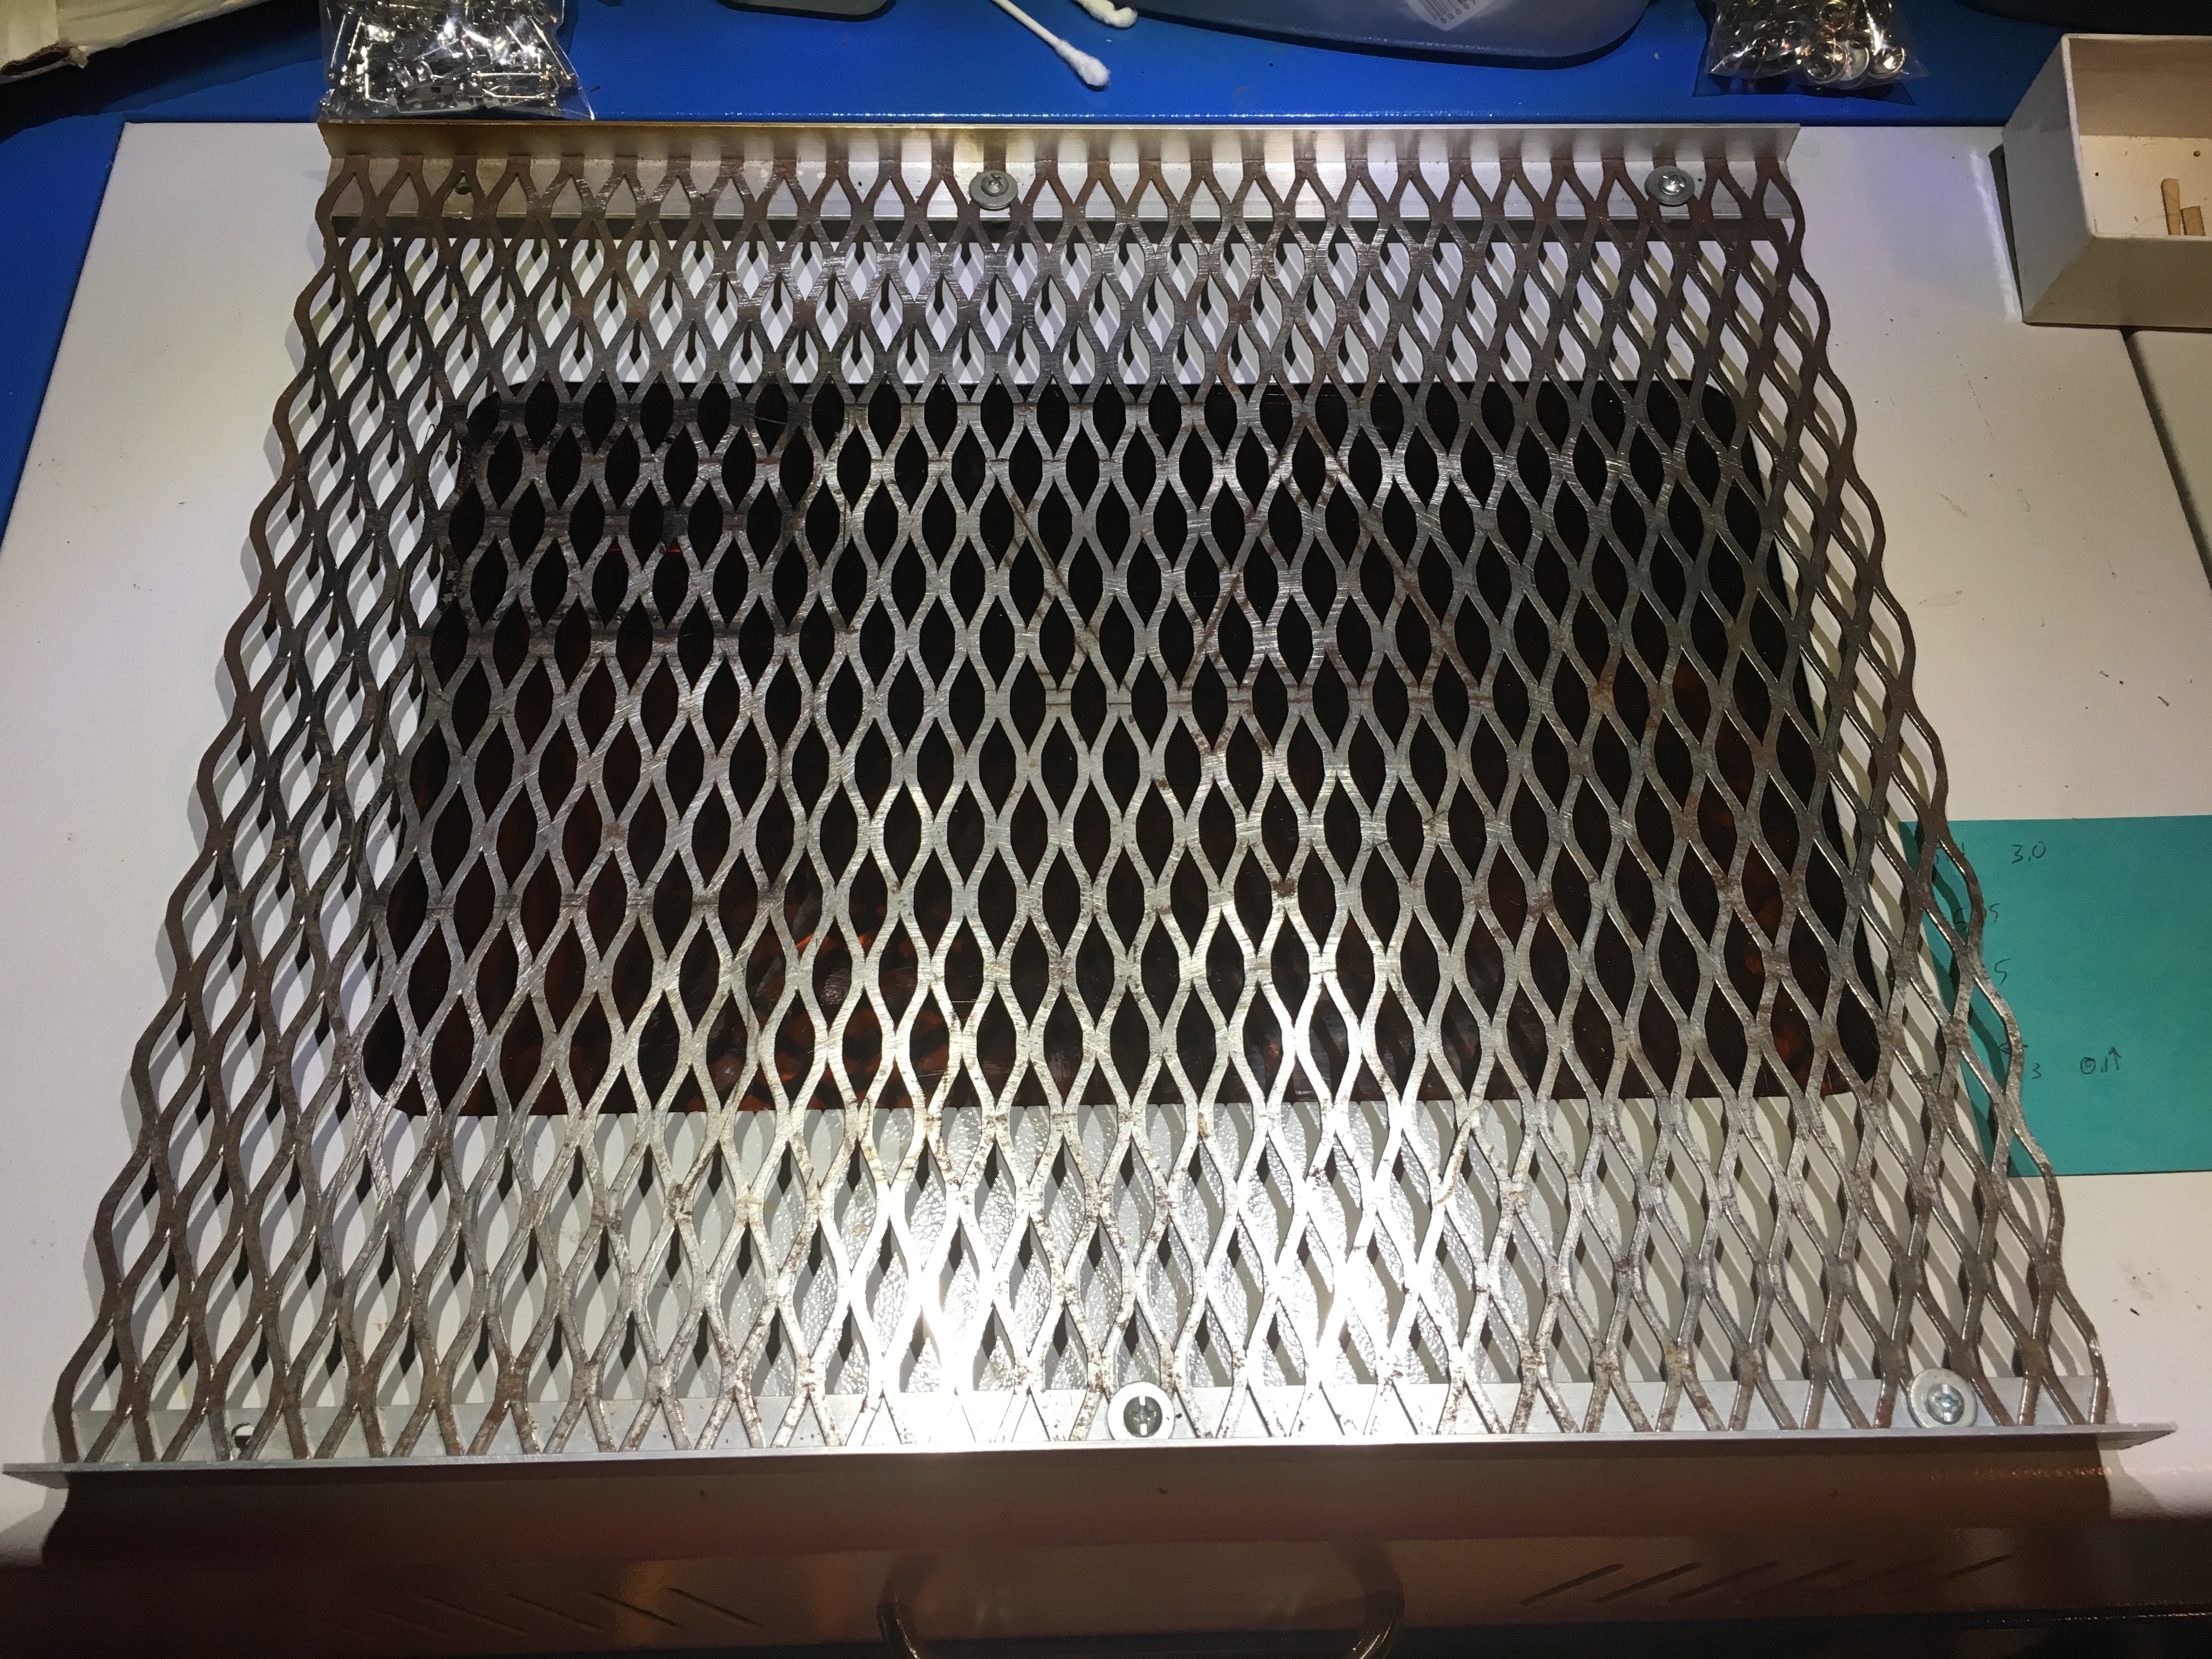
@Joel_Brondos In practice as long as you have a way to reposition the jig (i.e. origin jig) then you are fine. You can always check the alignment by jogging the laser head to the corners and doing a test fire to make sure the corners are were they should be relative to the template file. I’ve done this numerous times. The thing you really need to watch out for is making sure the template doesn’t move around after you get it positioned. When I’m doing engraving work like this I use an expanded steel mesh bed that let’s me use magnets to lock everything in place.
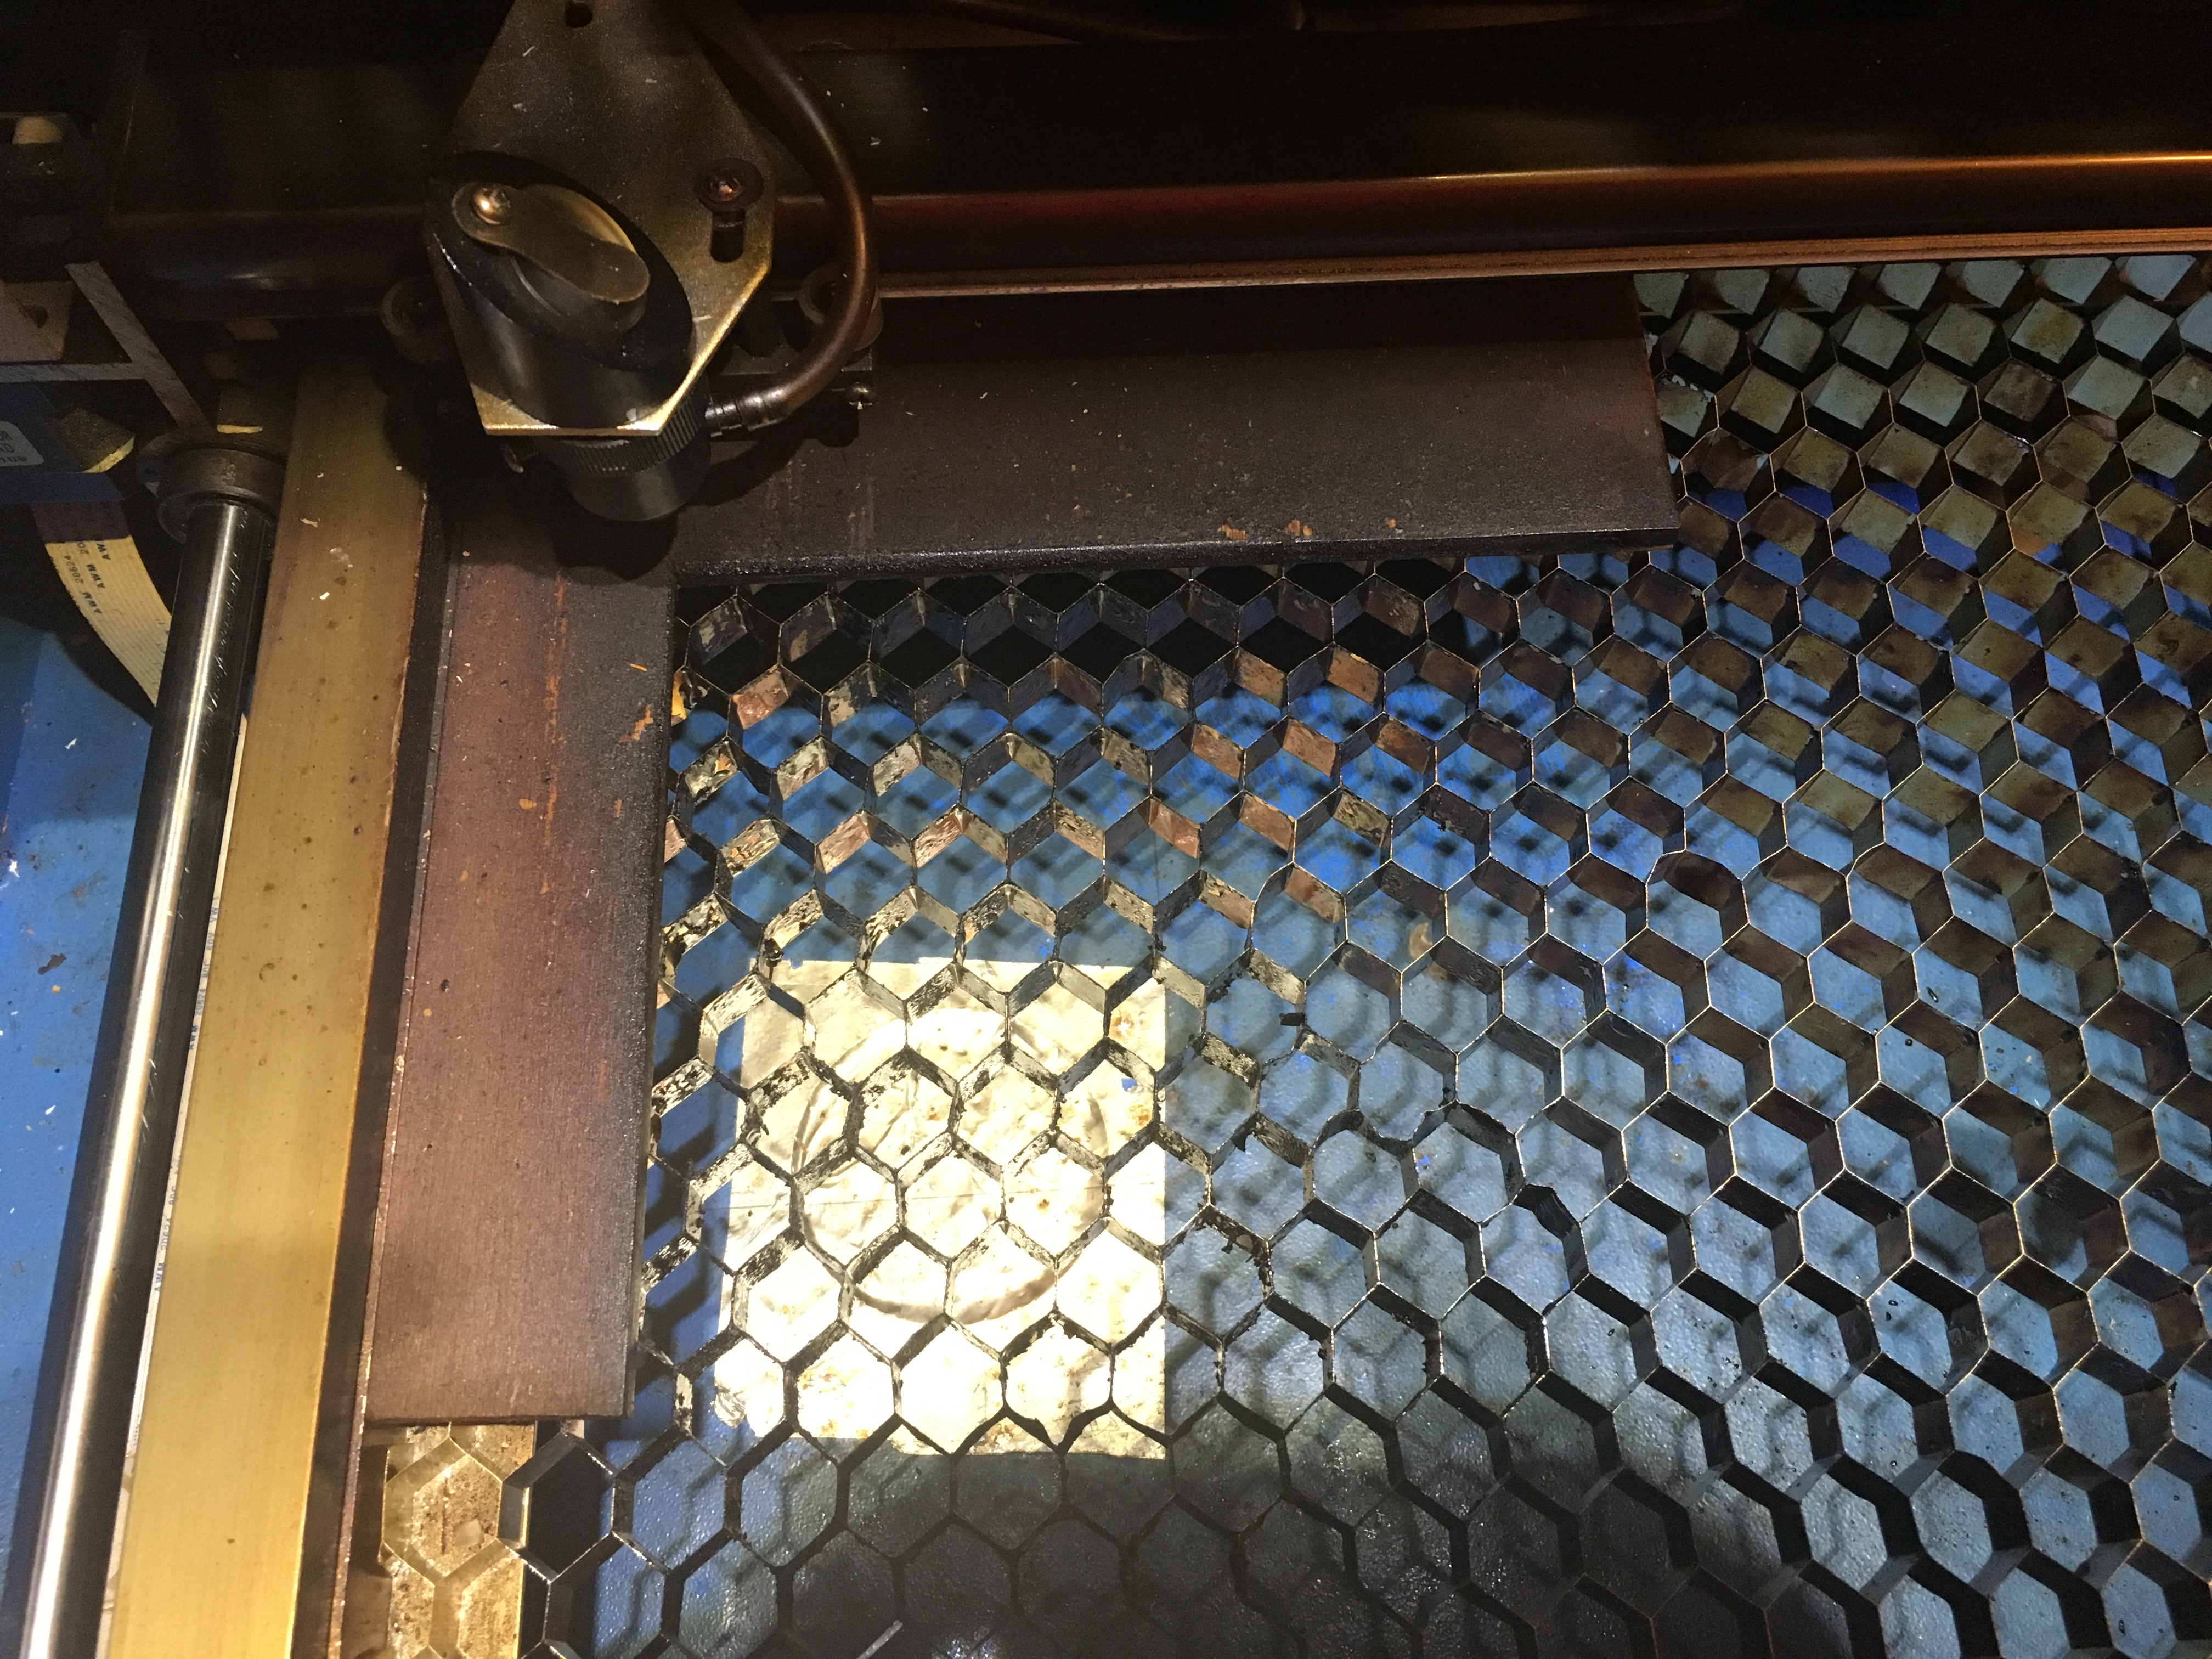
The honeycomb is a piece I picked up off eBay. It’s thin aluminum so it’s easy to cut with a razor knife. I made a frame from aluminum angle stock to hold it.
This is what I use as a bed for jig engraving. Expanded steel mesh with aluminum angle stock supports. Only used two end supports since the mesh is only really flexible along the long axis of the holes. I use the honeycomb for everything else because the expanded mesh causes lots of back burn and builds up lots of wood cutting residue that can be problematic if you care about the back of the piece.