If you remove the lens, put tape across the bottom of the tube, mark the edges and orientation of the tape around the tube with a pen, then shoot test shots at the tape, you can move the mirror to center the beam.
Alternatively, the American Photonics reverse visible laser alignment tool can make the process quicker.
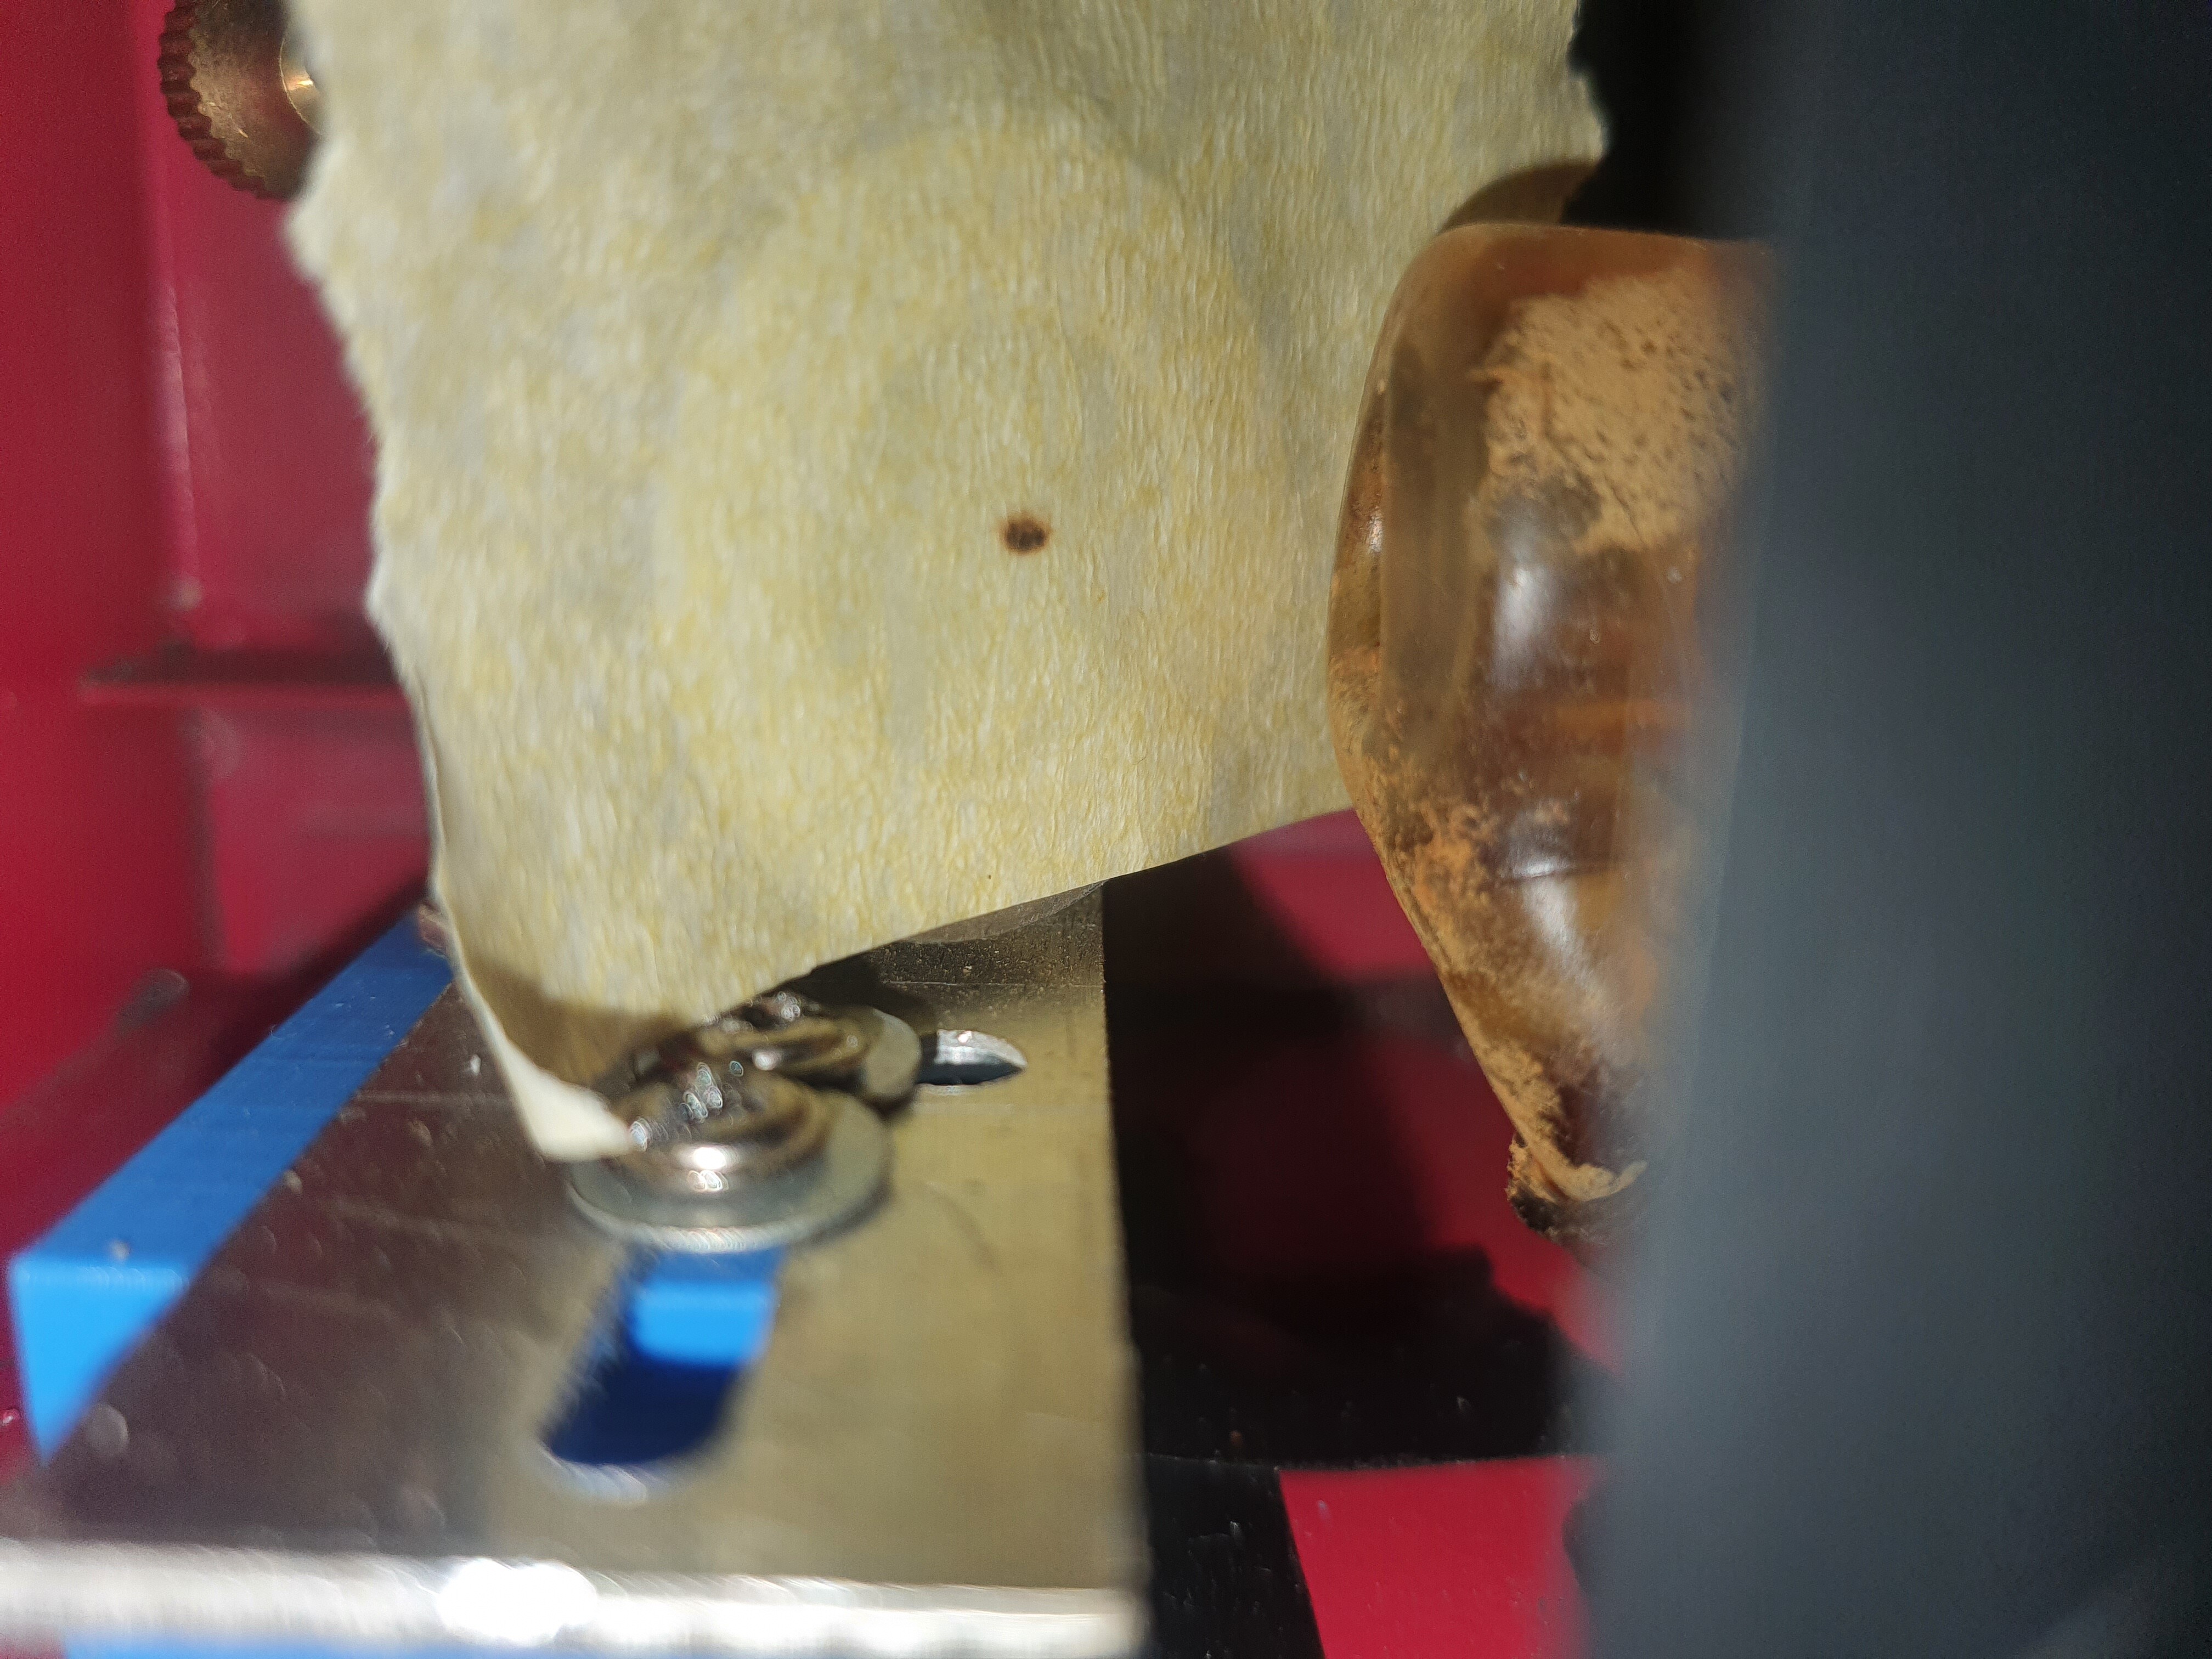
Thank you very much will try the method with the marking of the tape . Just wondering after that if i want to clean the 3rd mirror because it will get some smudge on is there any risk to loose alignment only from the unscrewing and screwing back ? (Assuming i lock the mirror bolts so they dont move) or just to use some cotton and clean it with out removing it from the head.
Me again funny story almost 1 year later after i put that new laser head i found out i was putting the lense upside down … i did manage to cut somehow but still i will test it tommorow after i clean the tube because it got some bacterias growing inside apperantly the destilled watter i use is not exactly destilled .
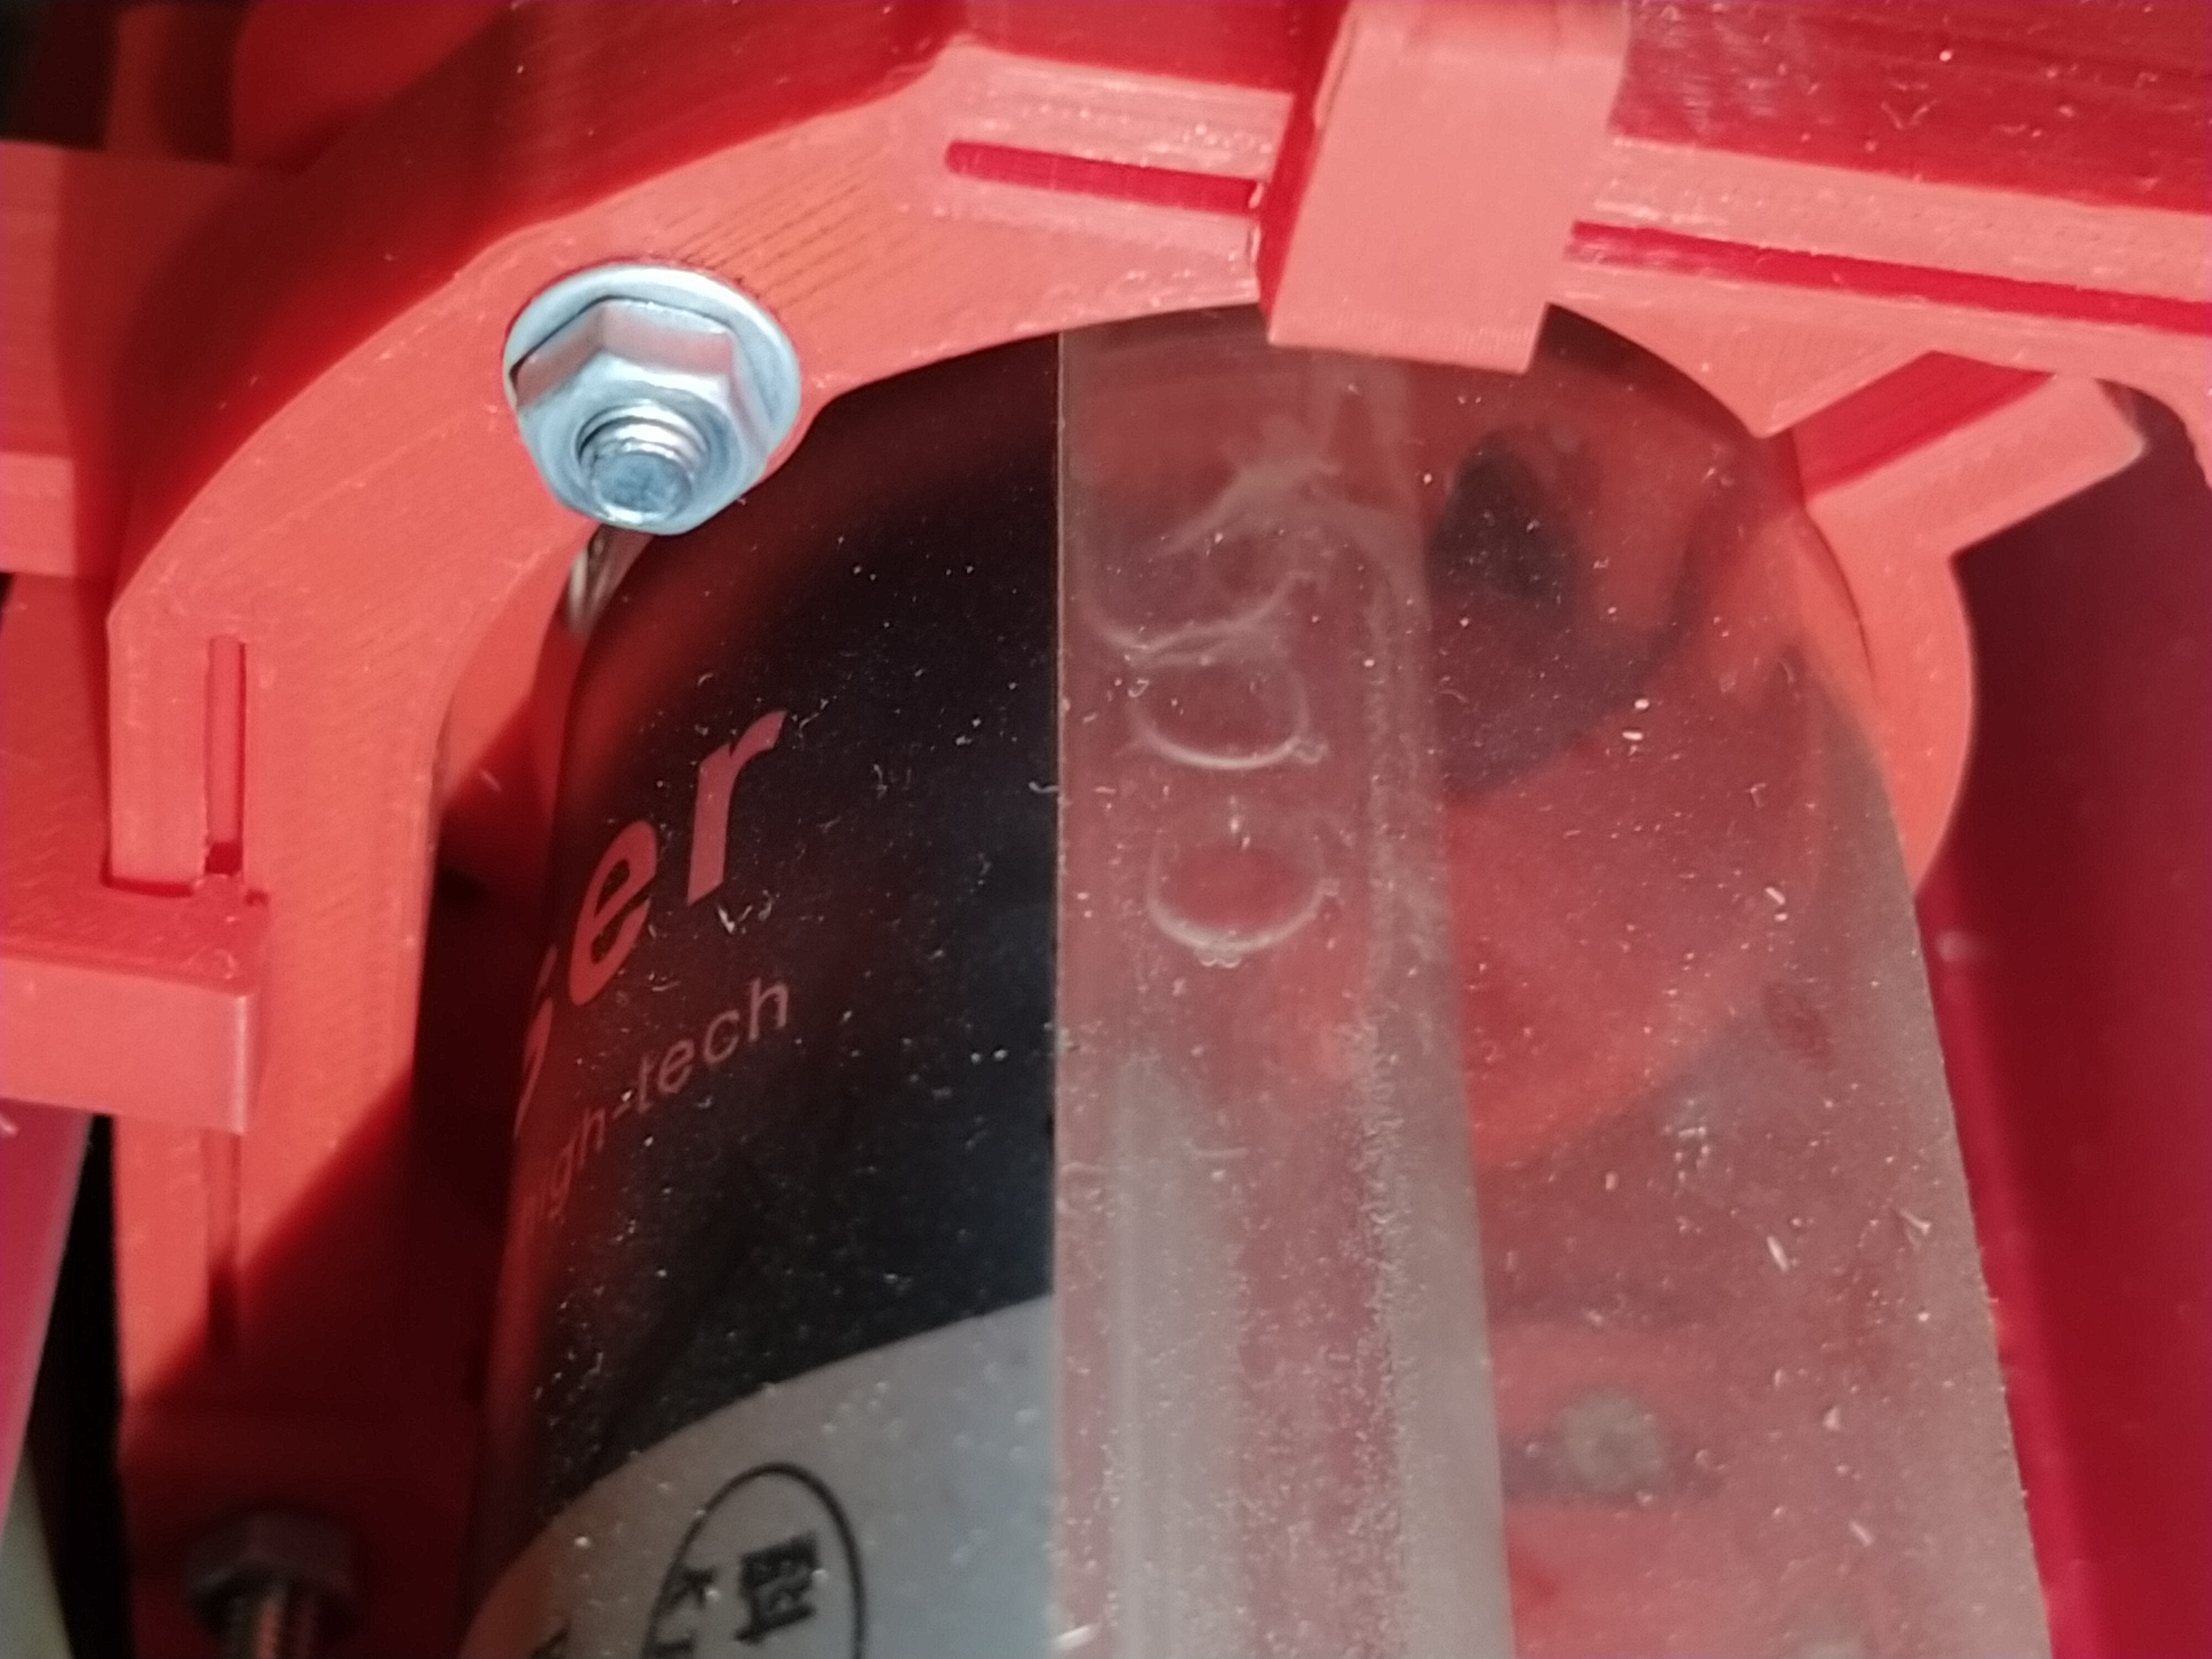
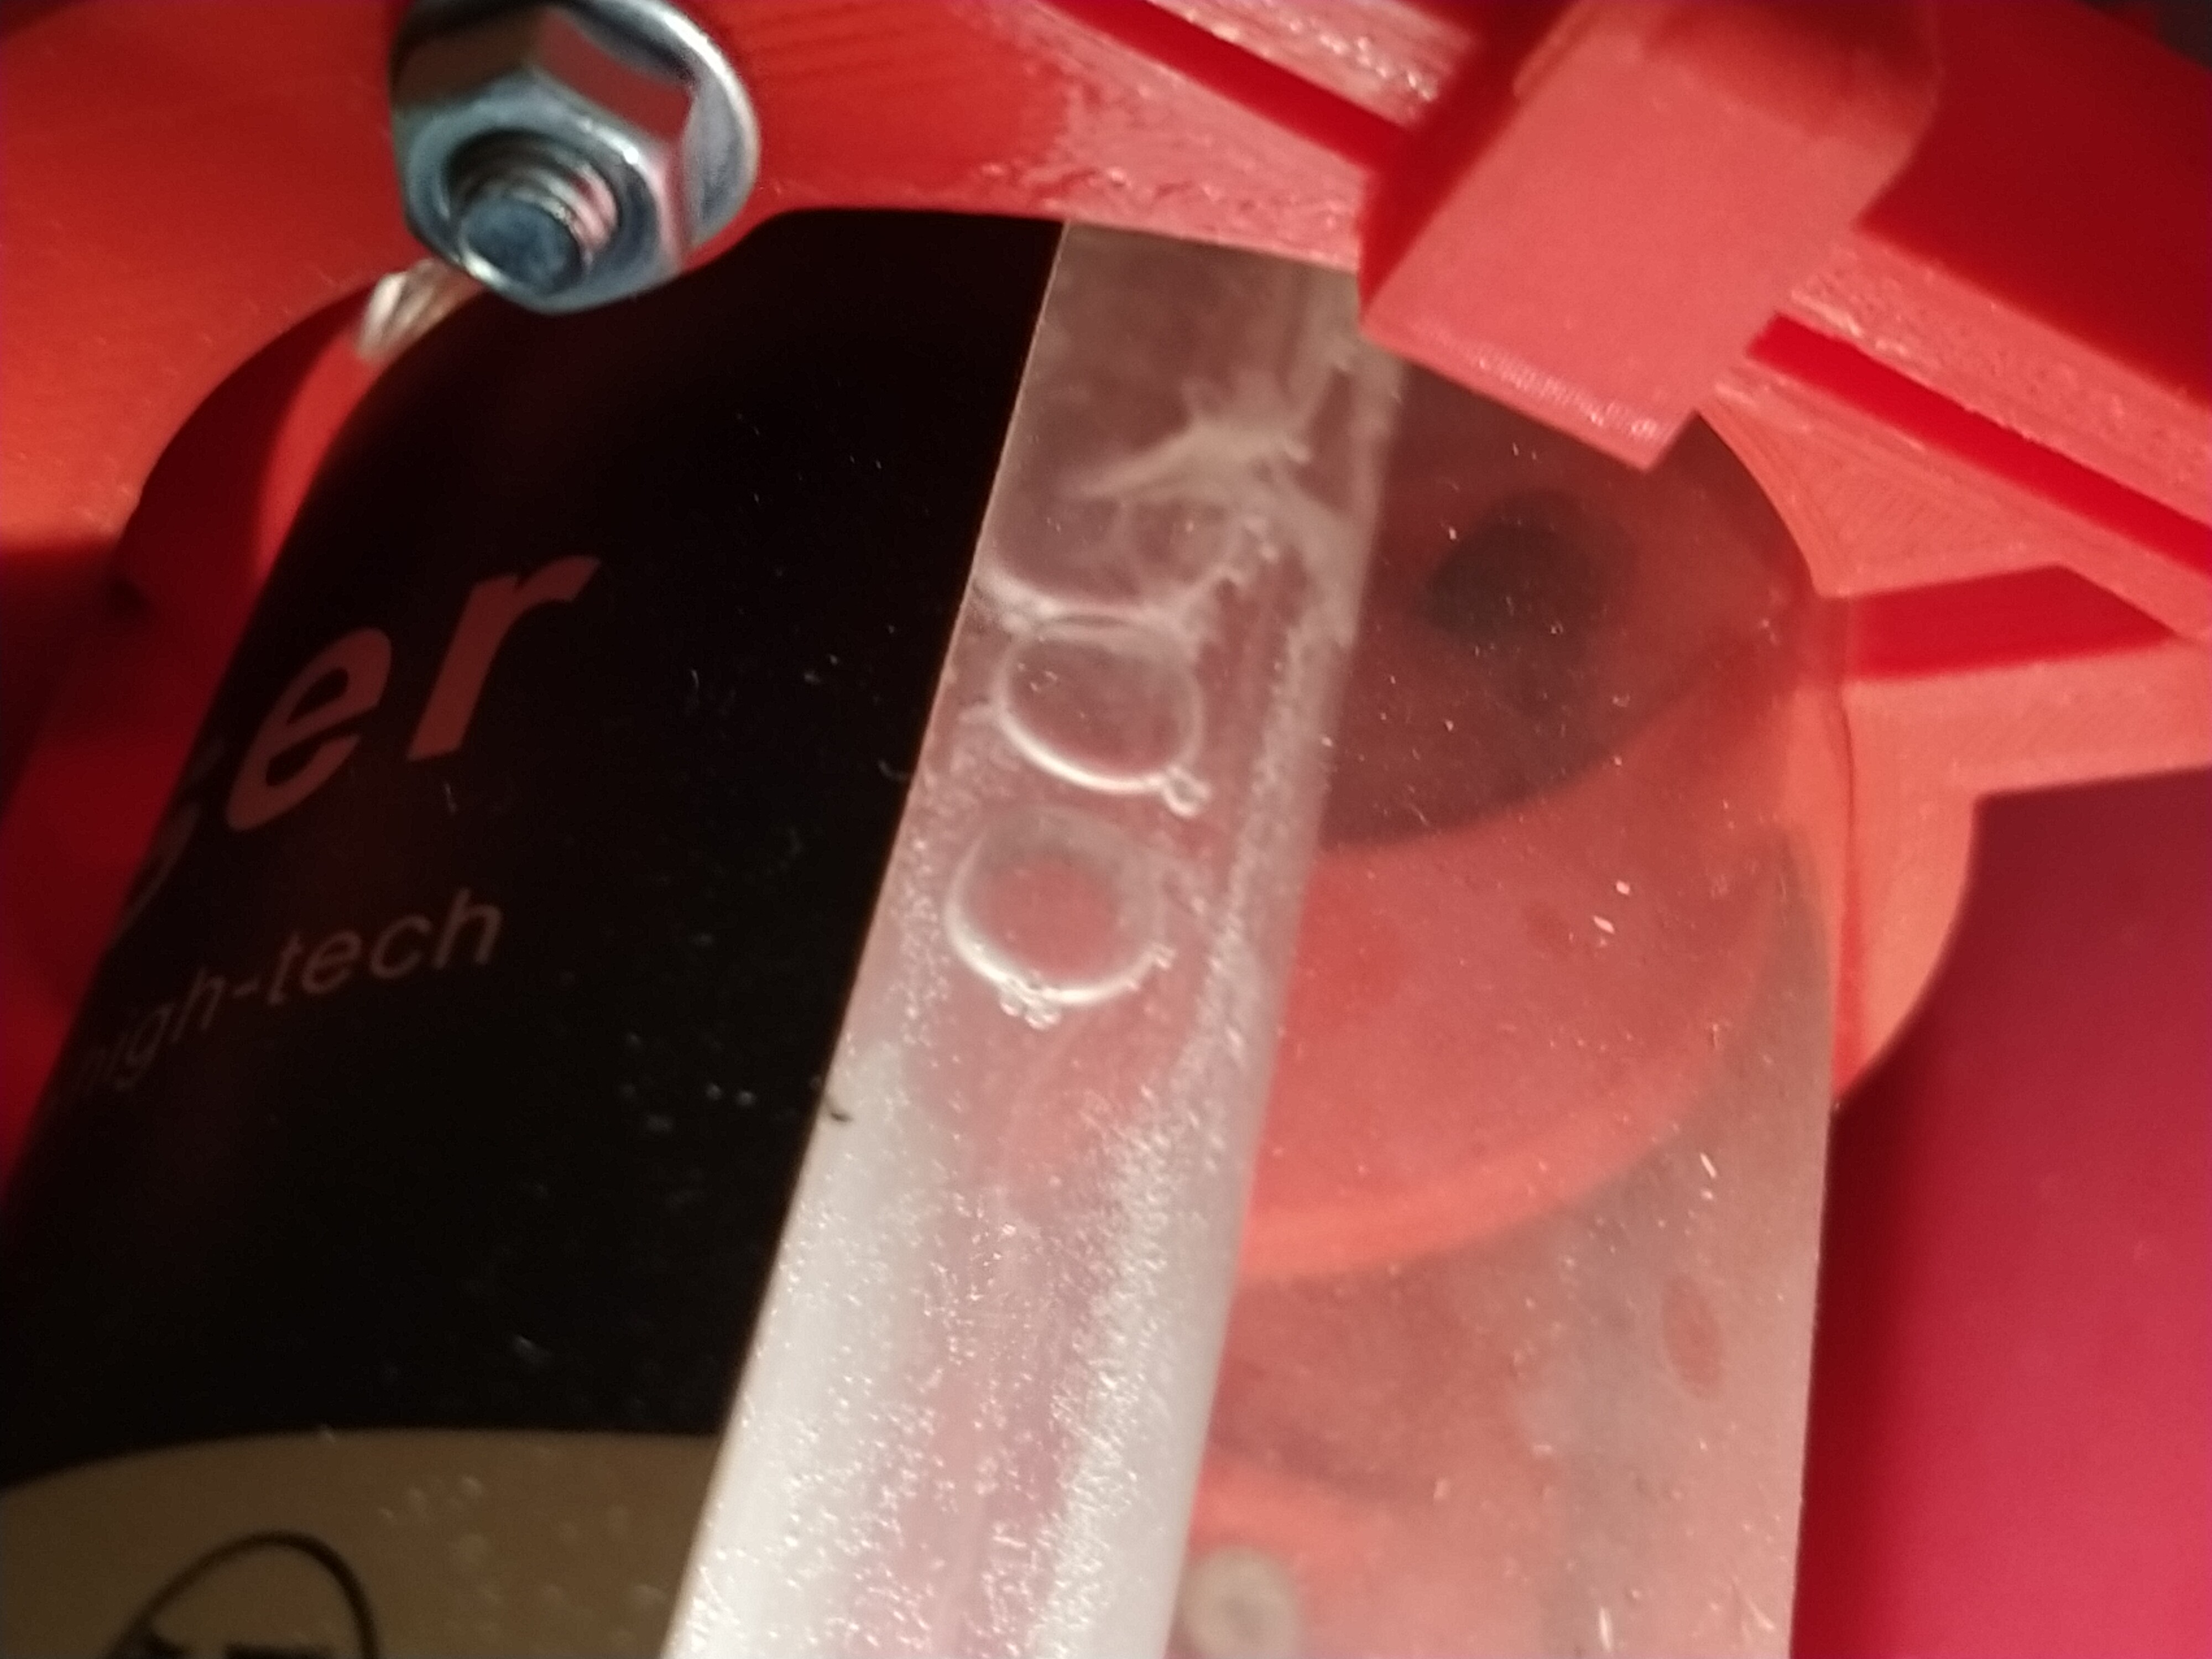
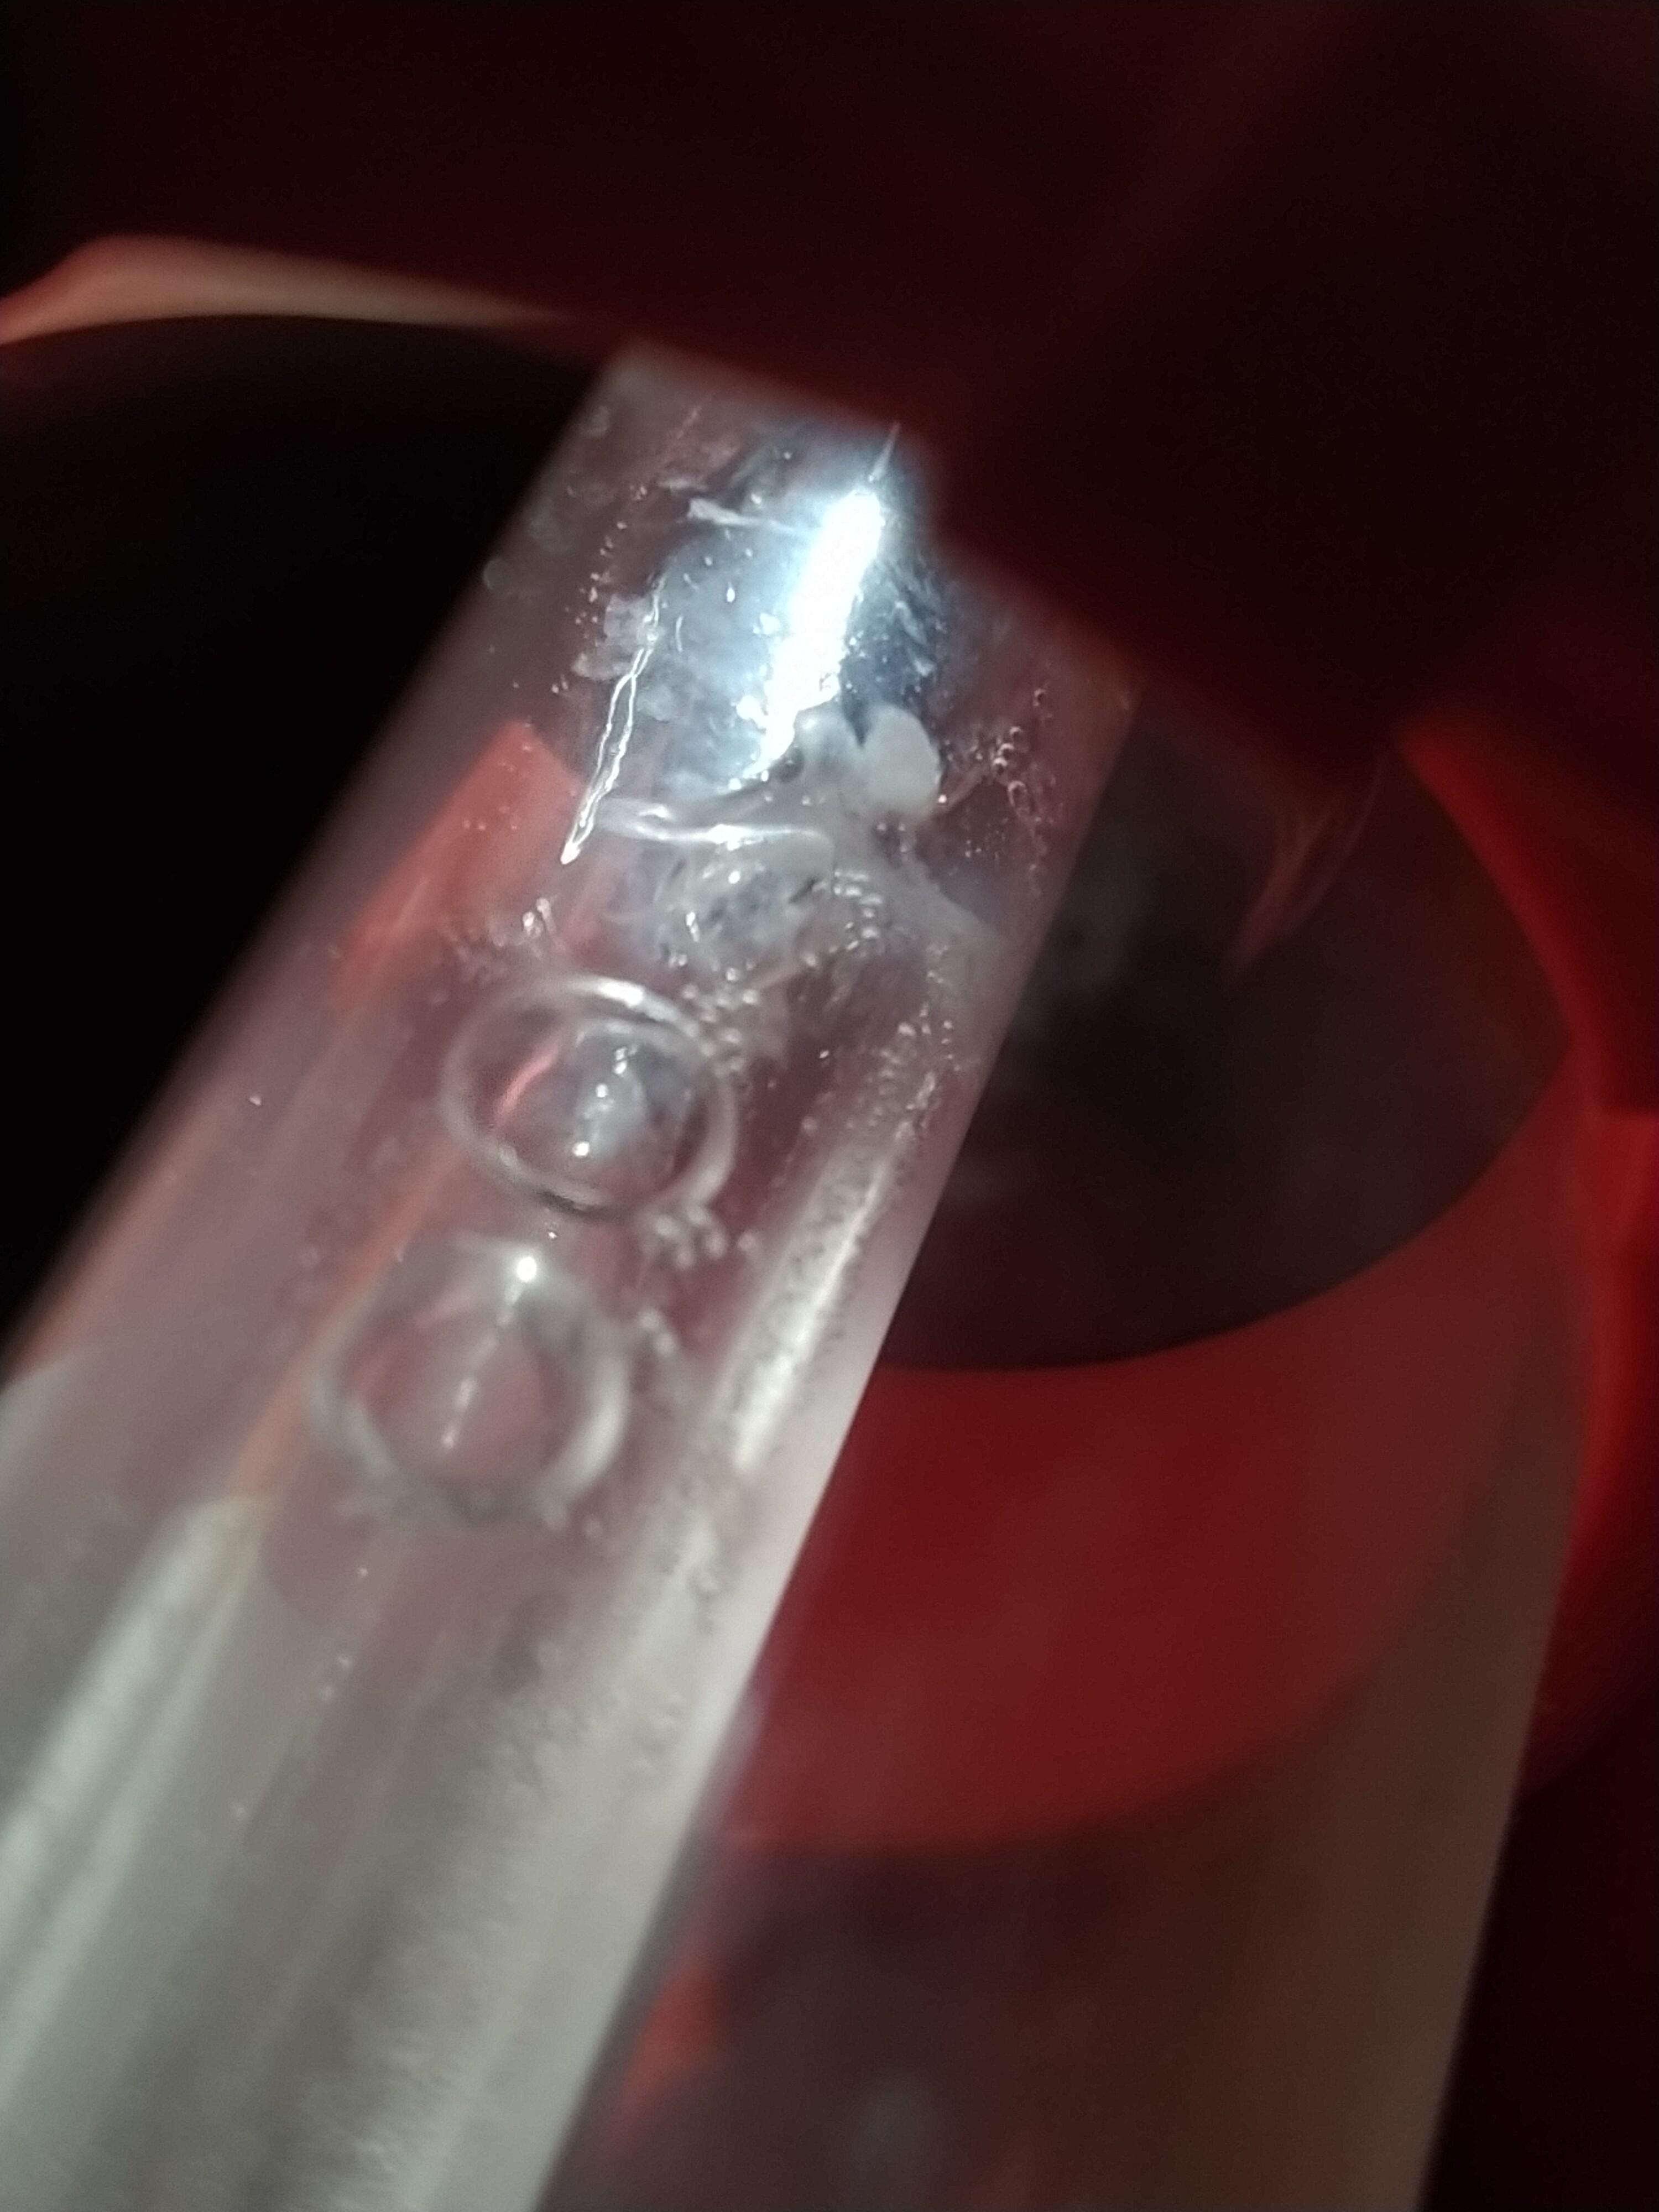
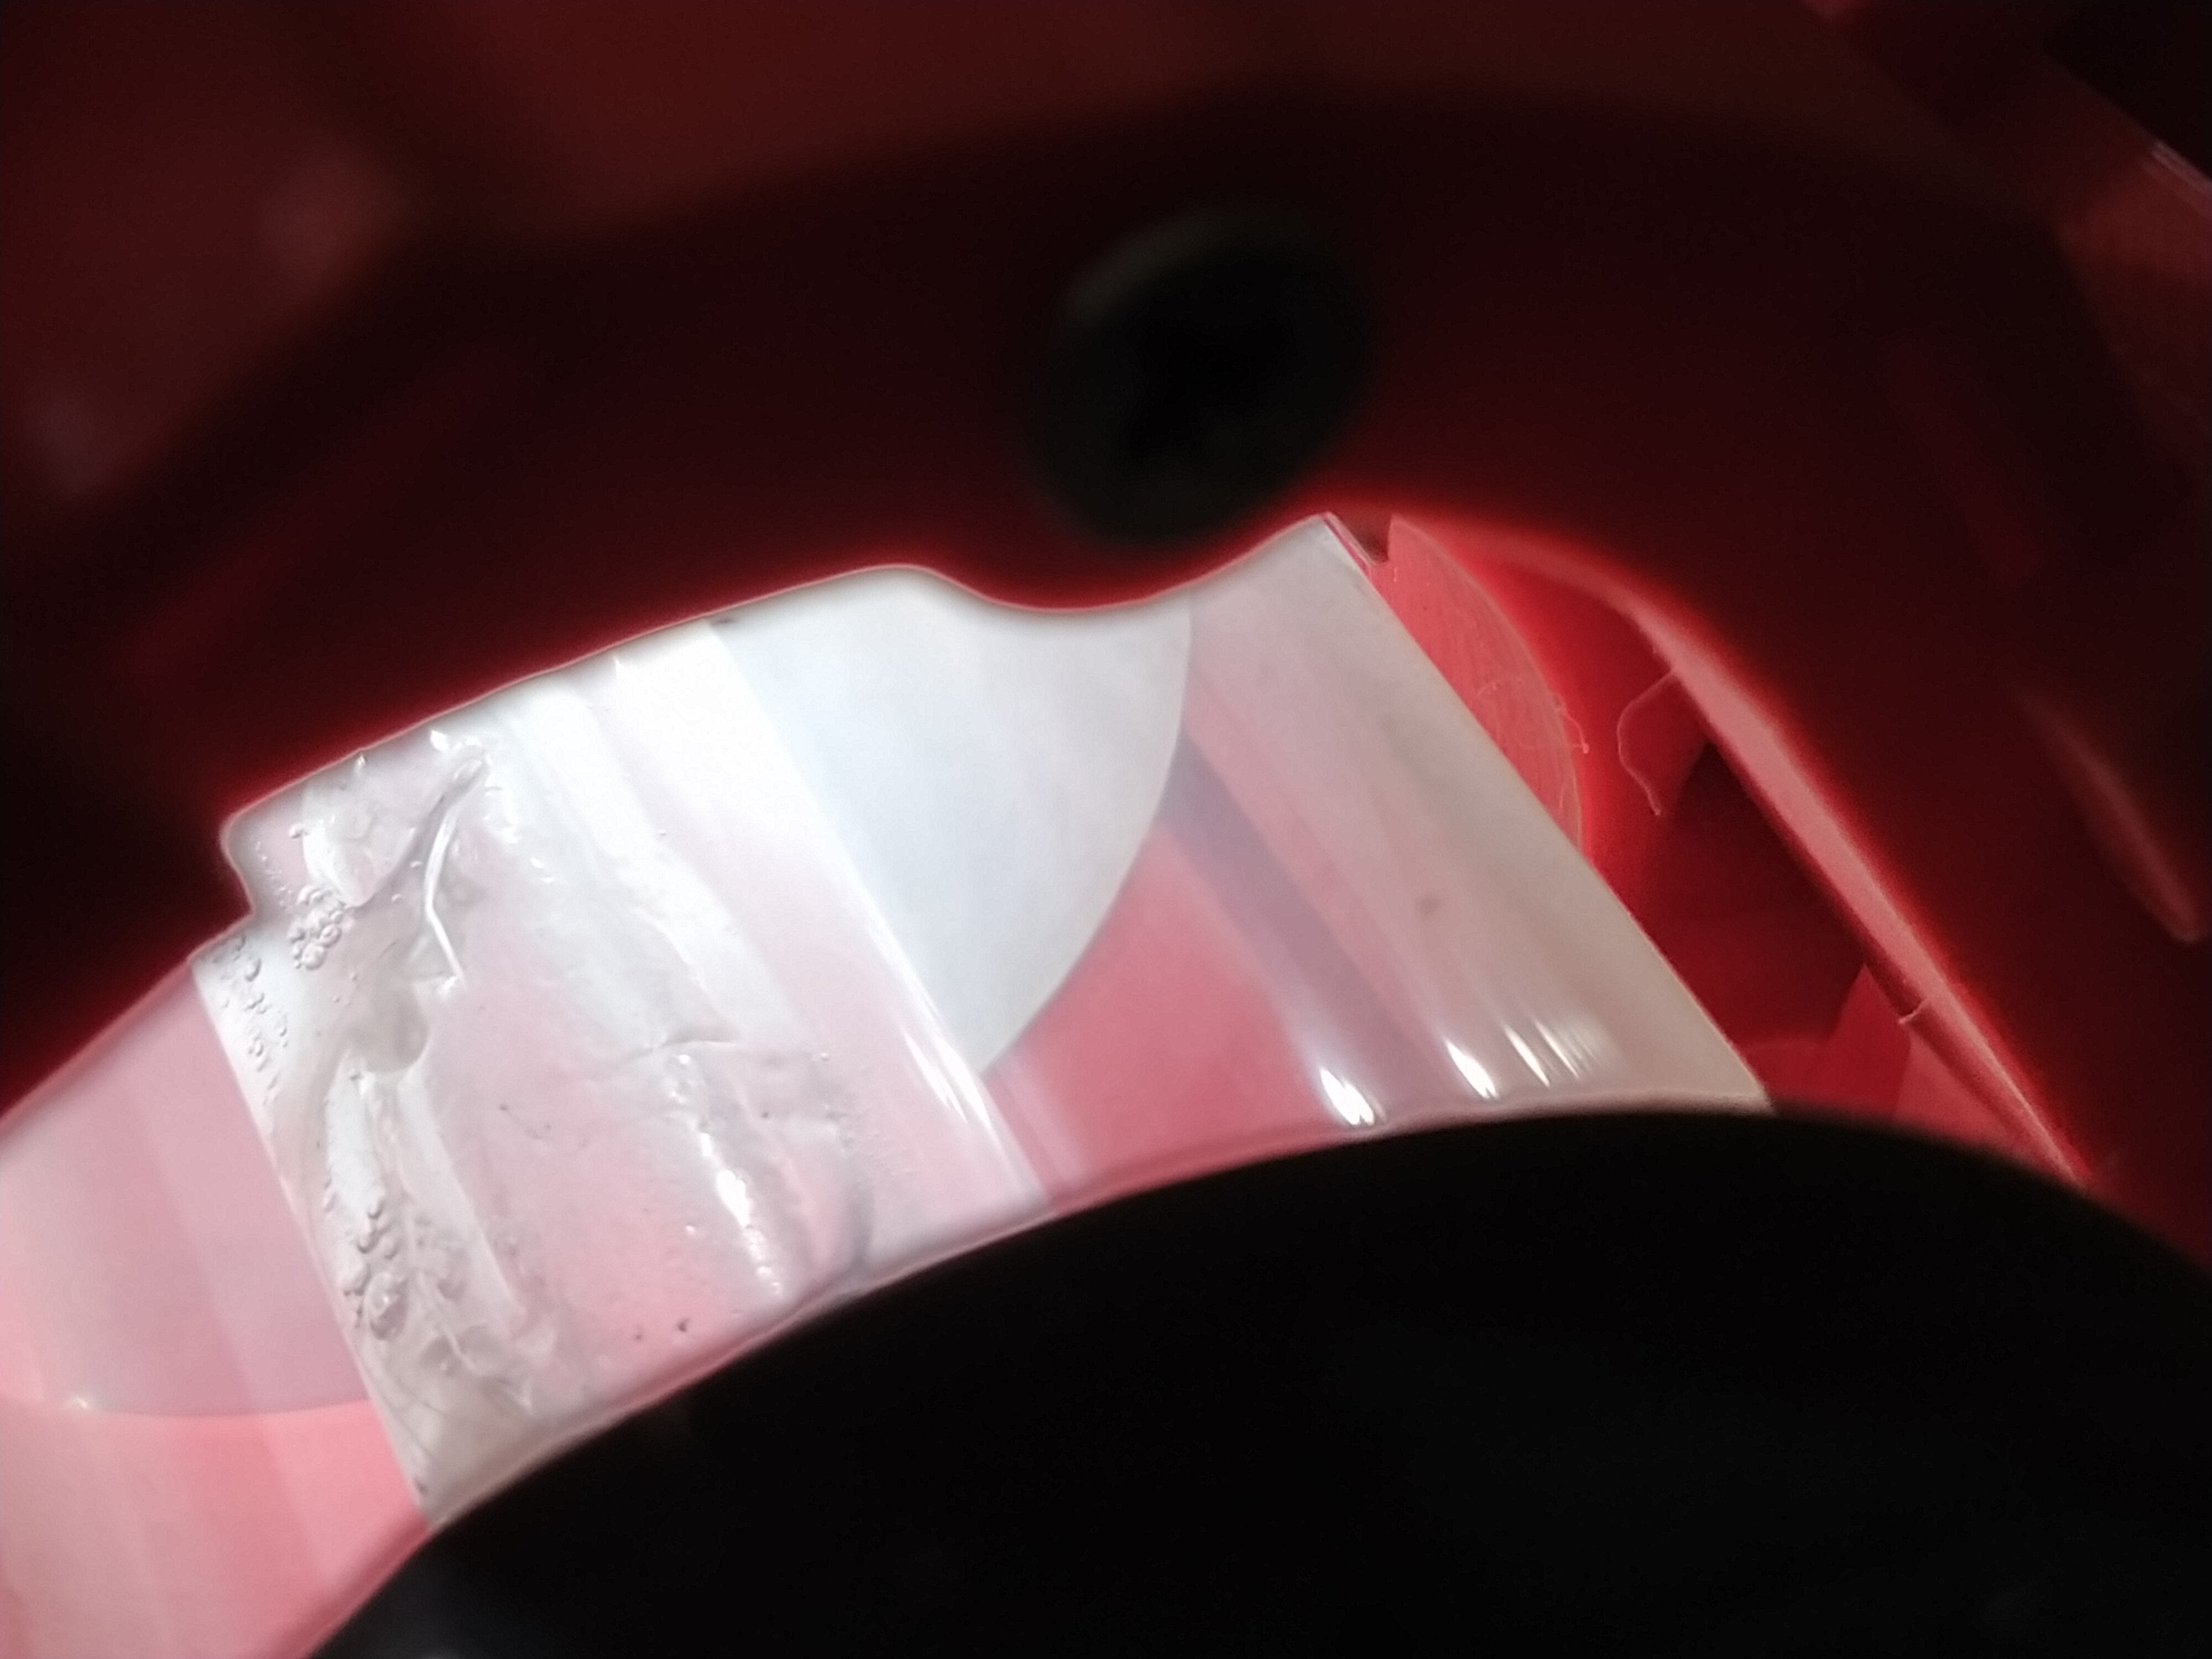
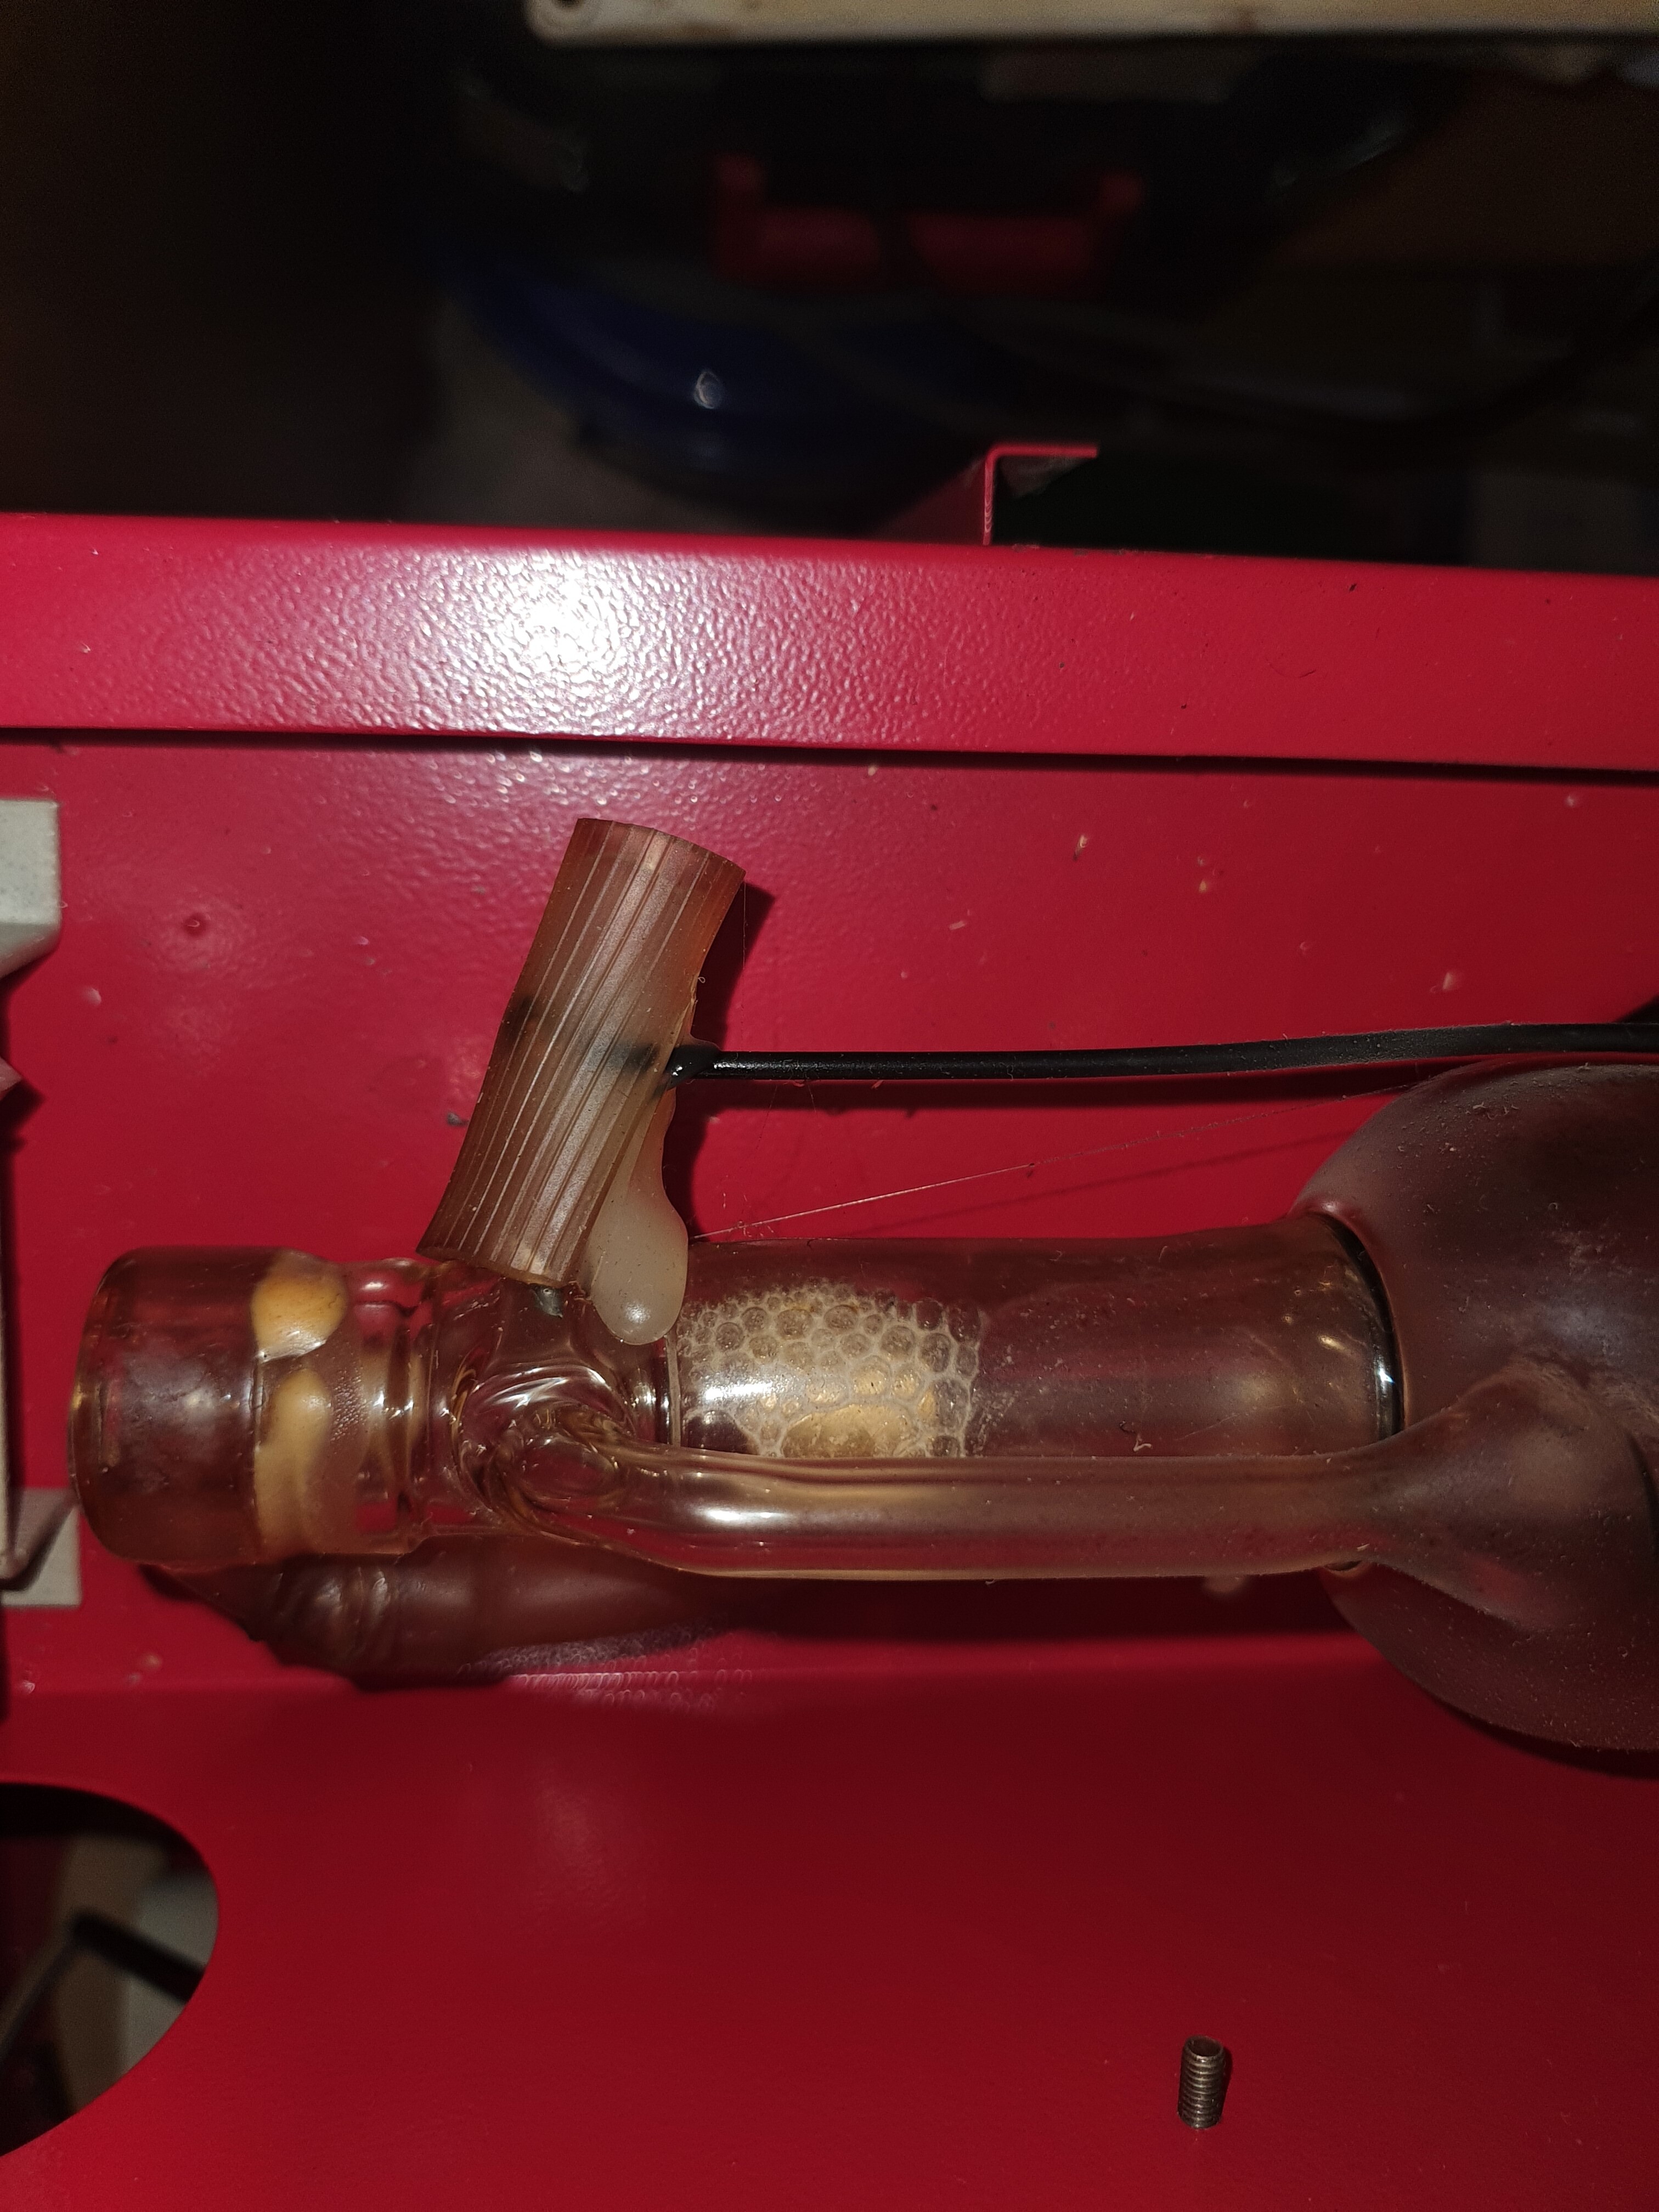
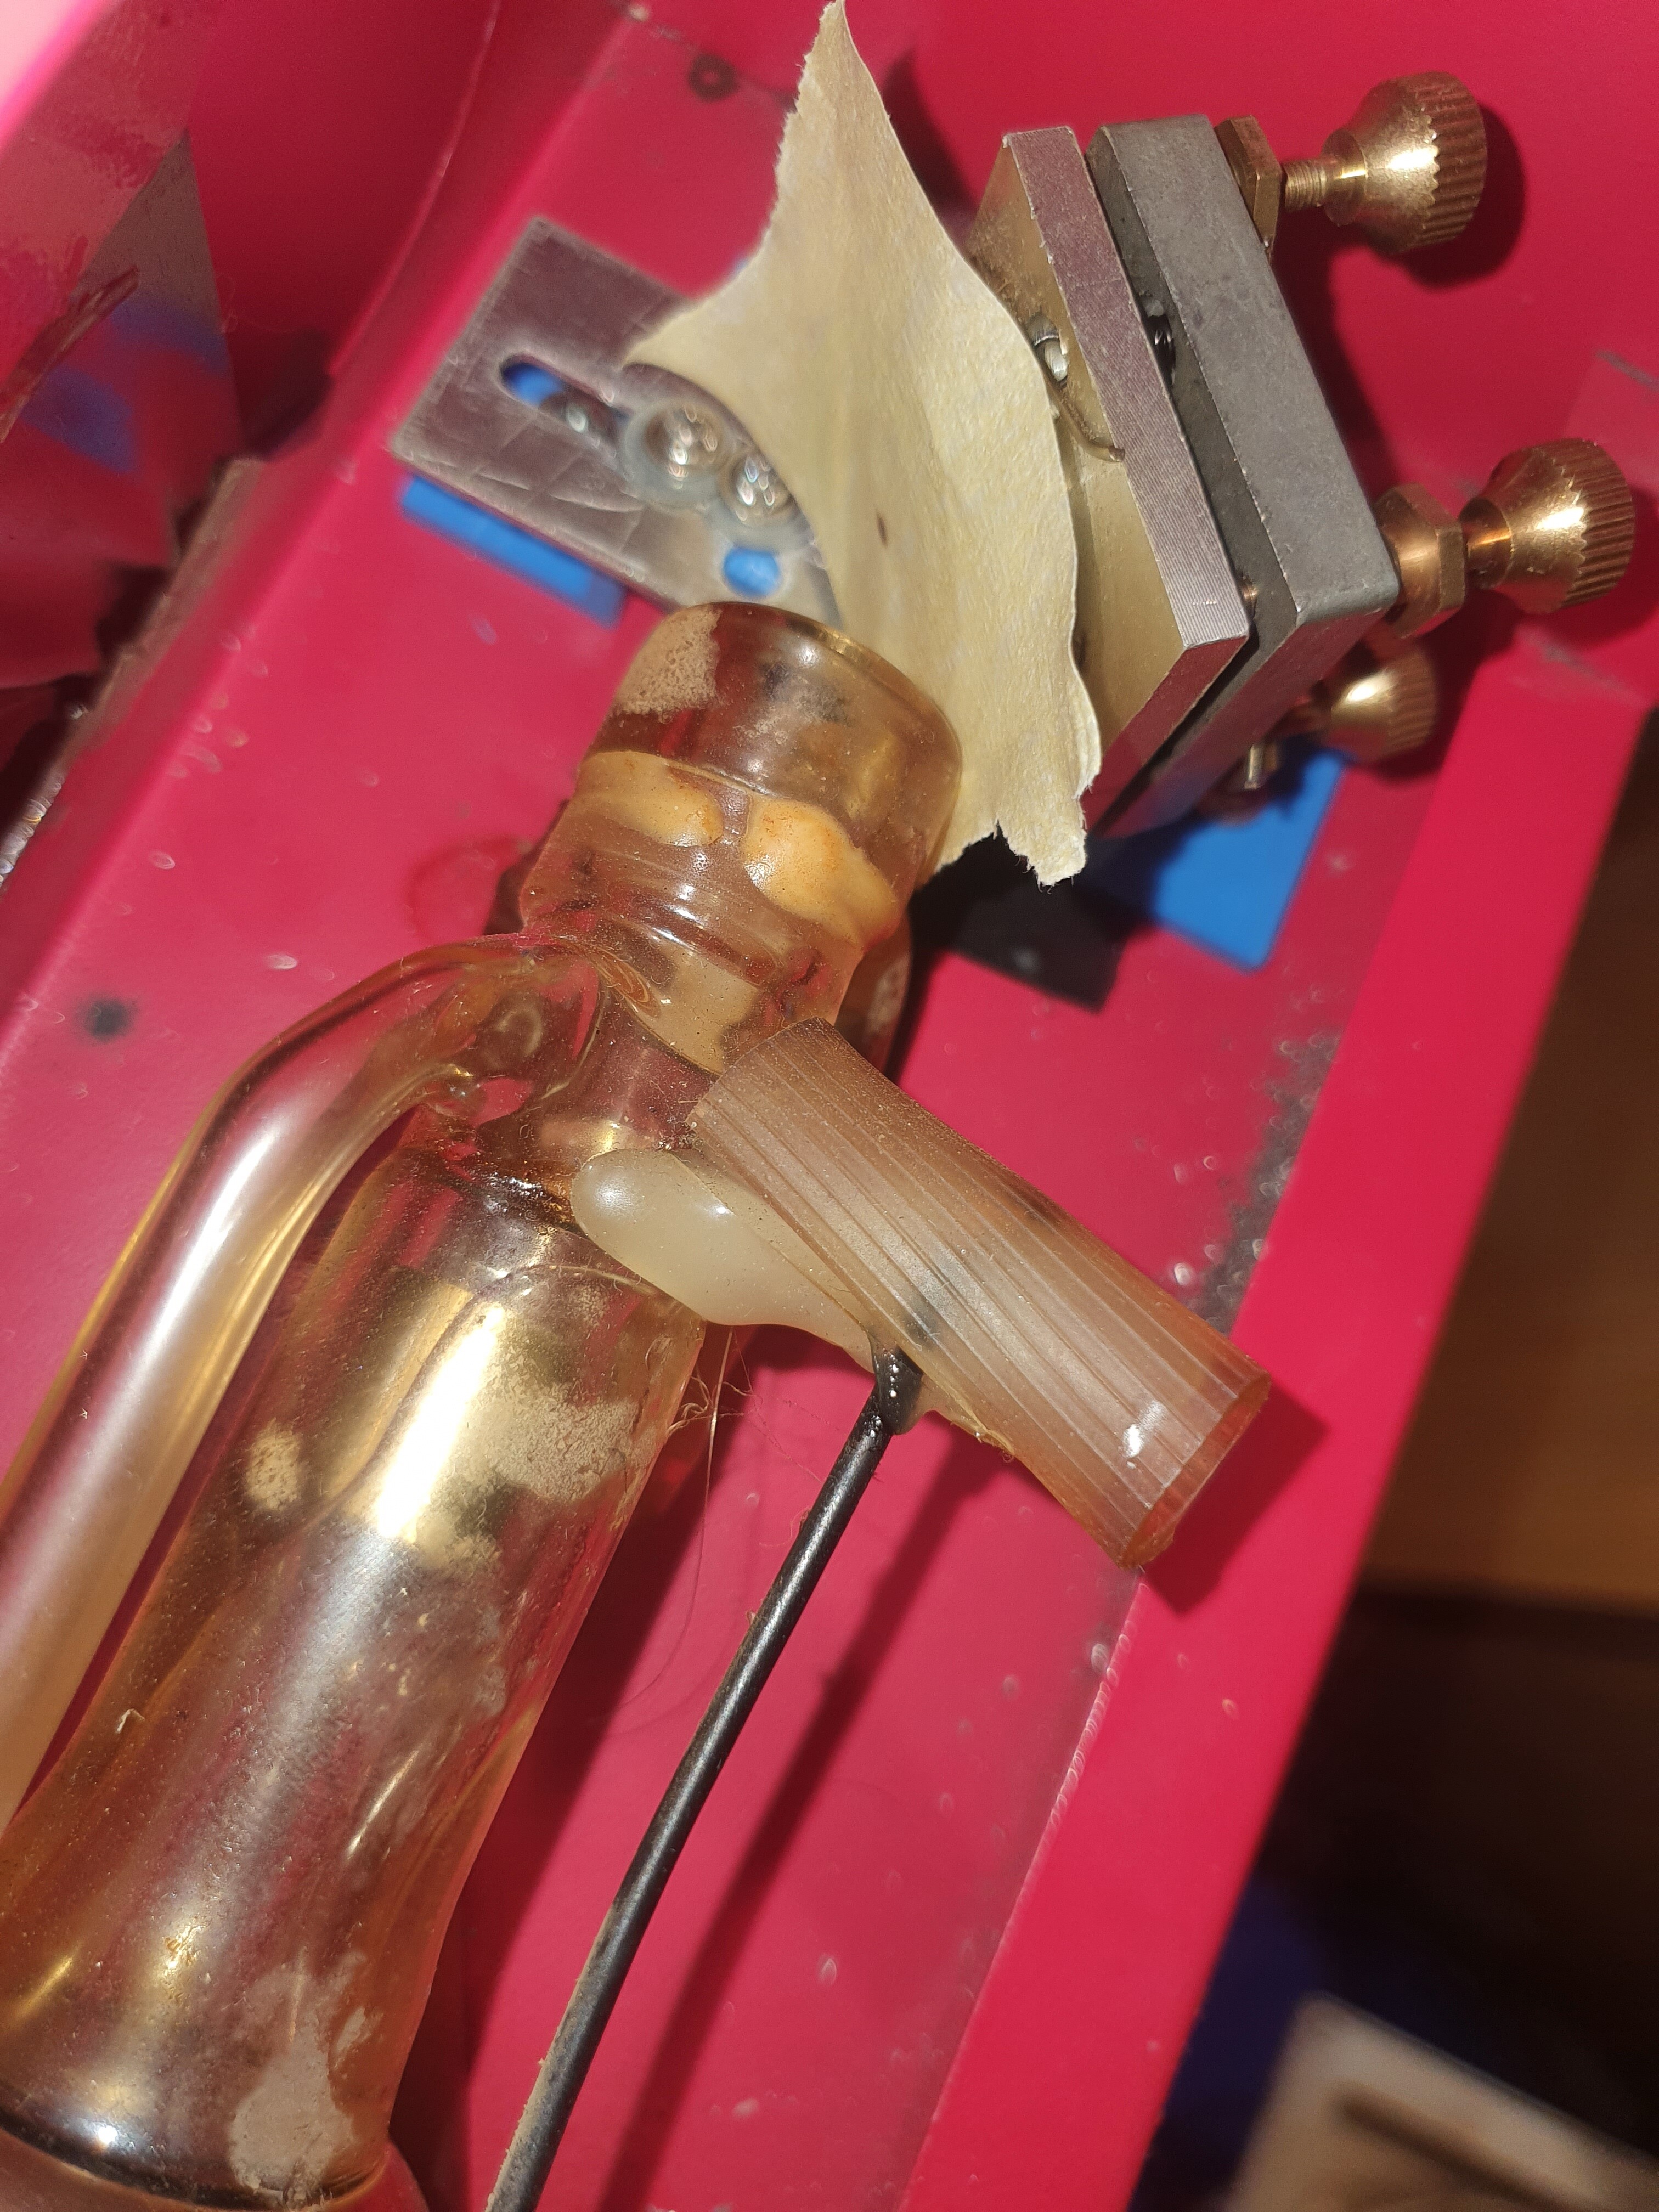
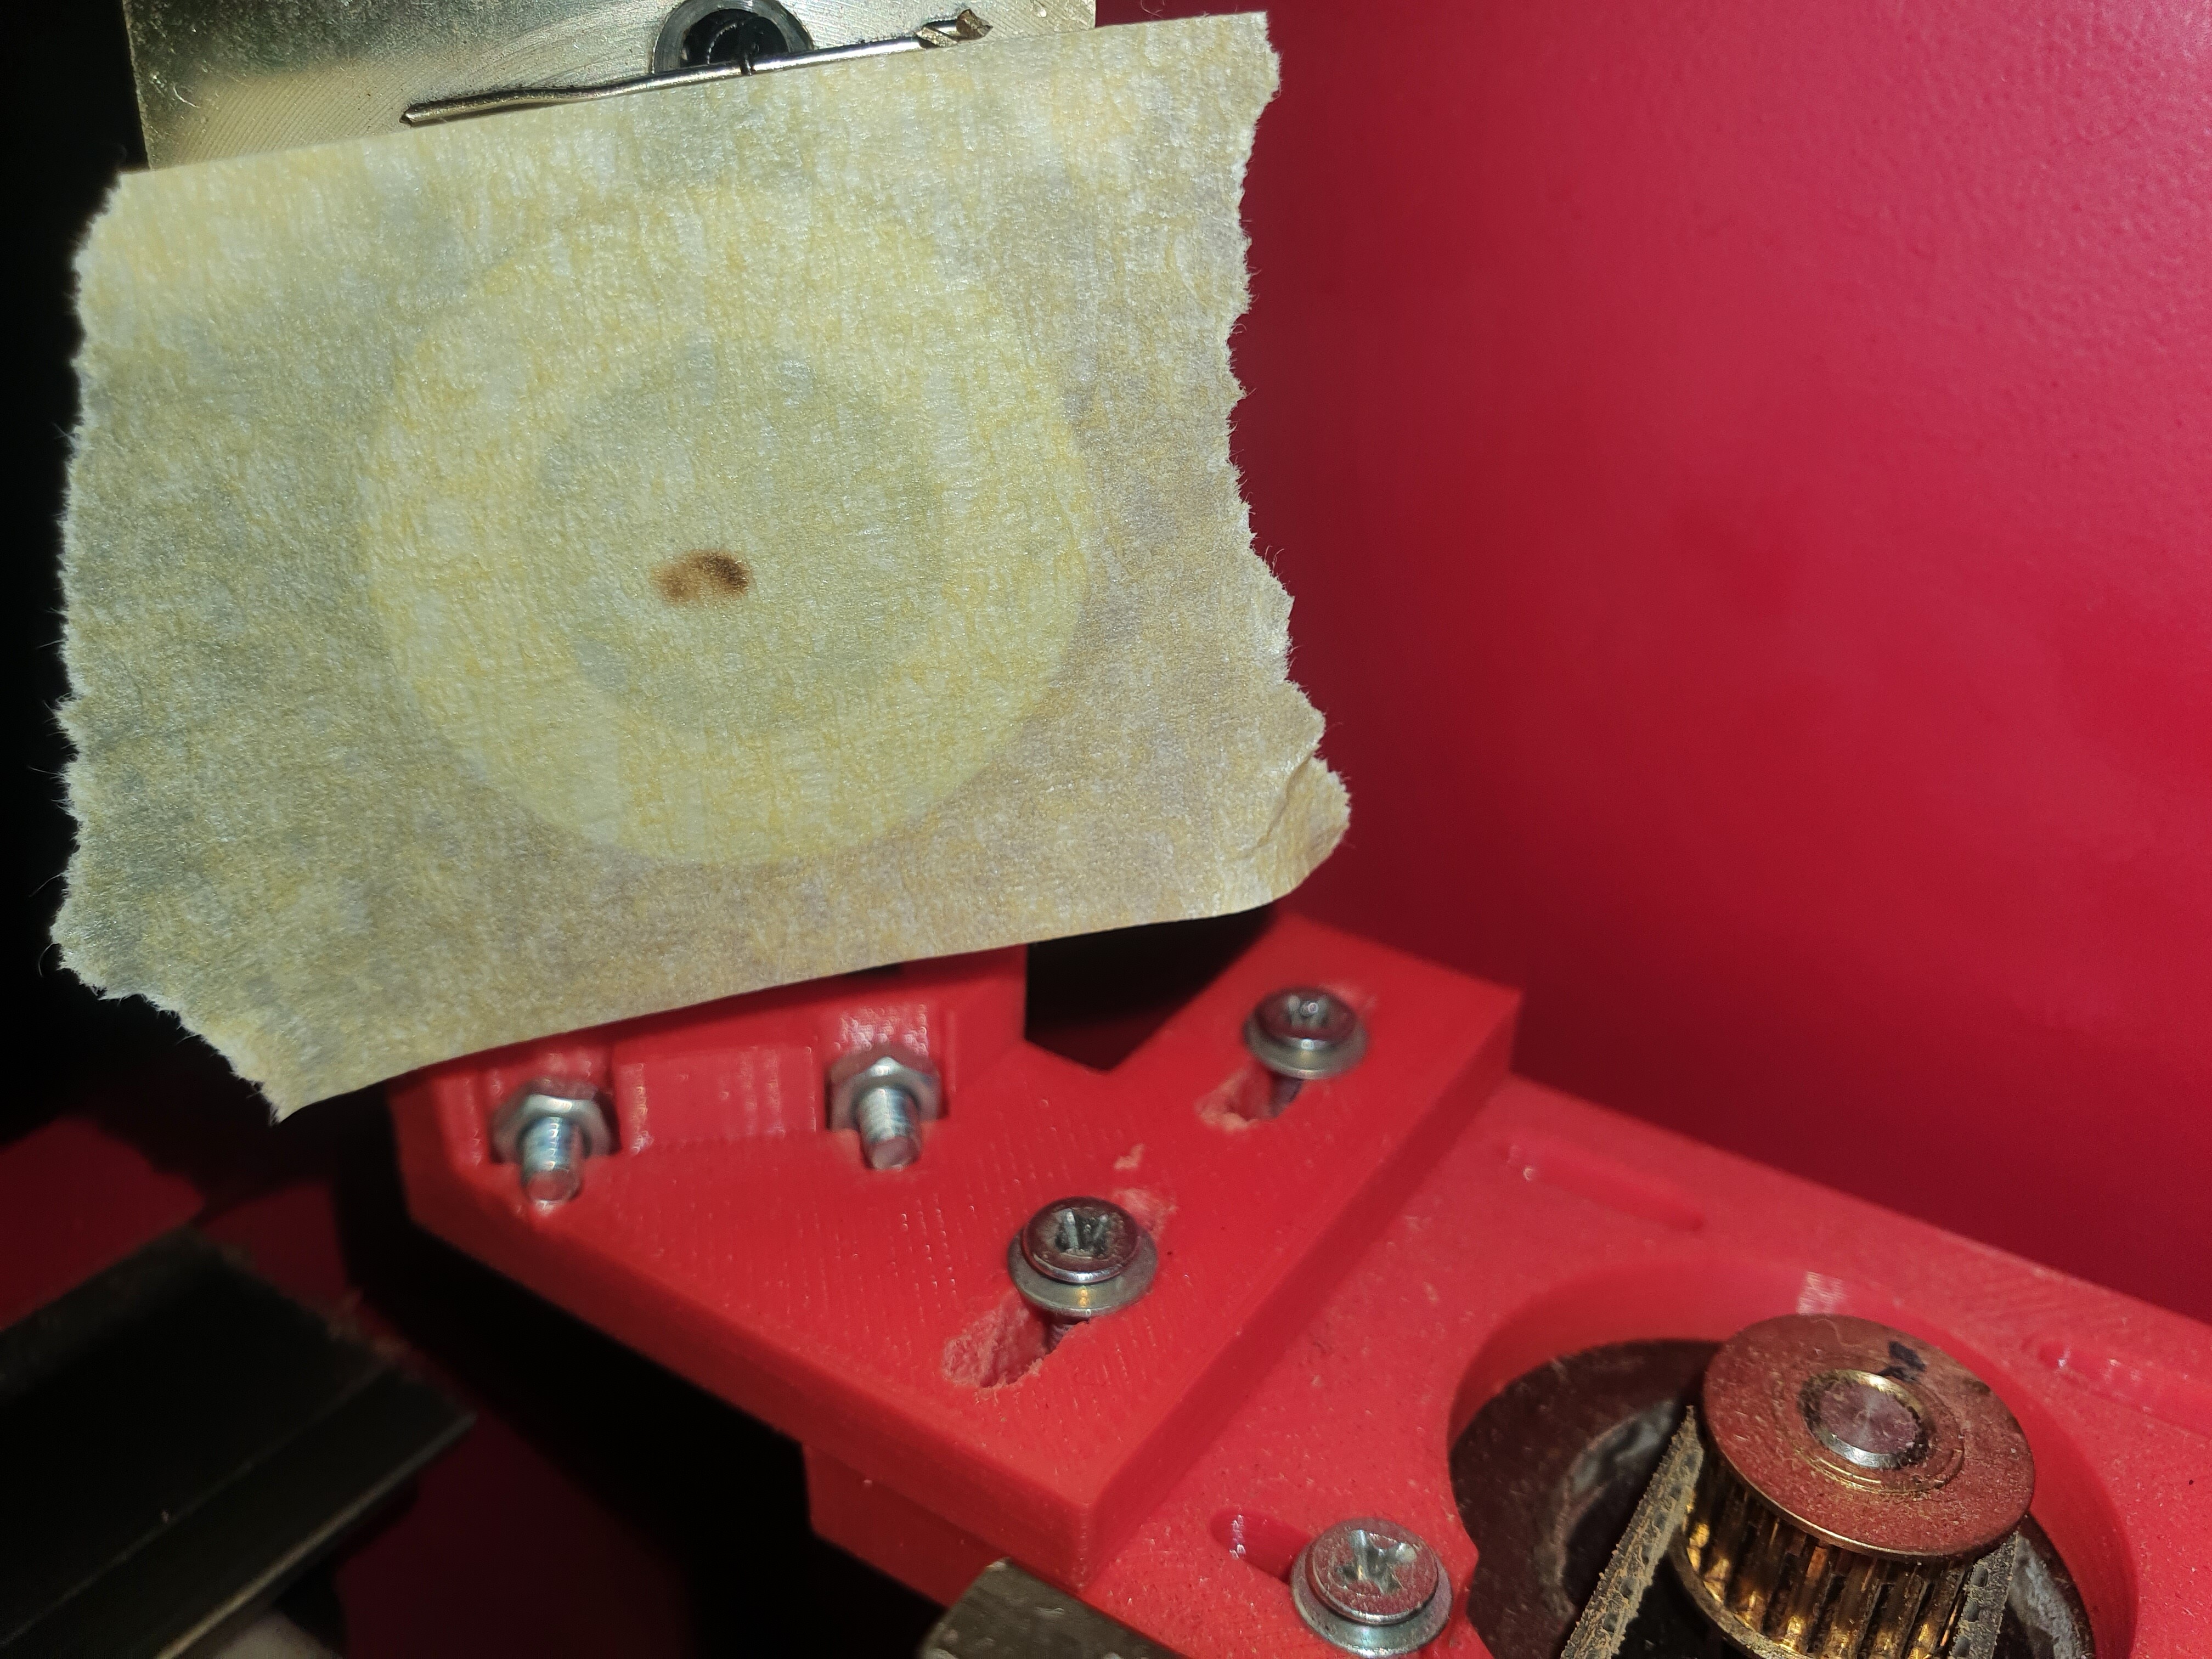
I have one other consern . There is something on the tube that i cant exactly understand if its a cracked tube or just bunch of bacteria .
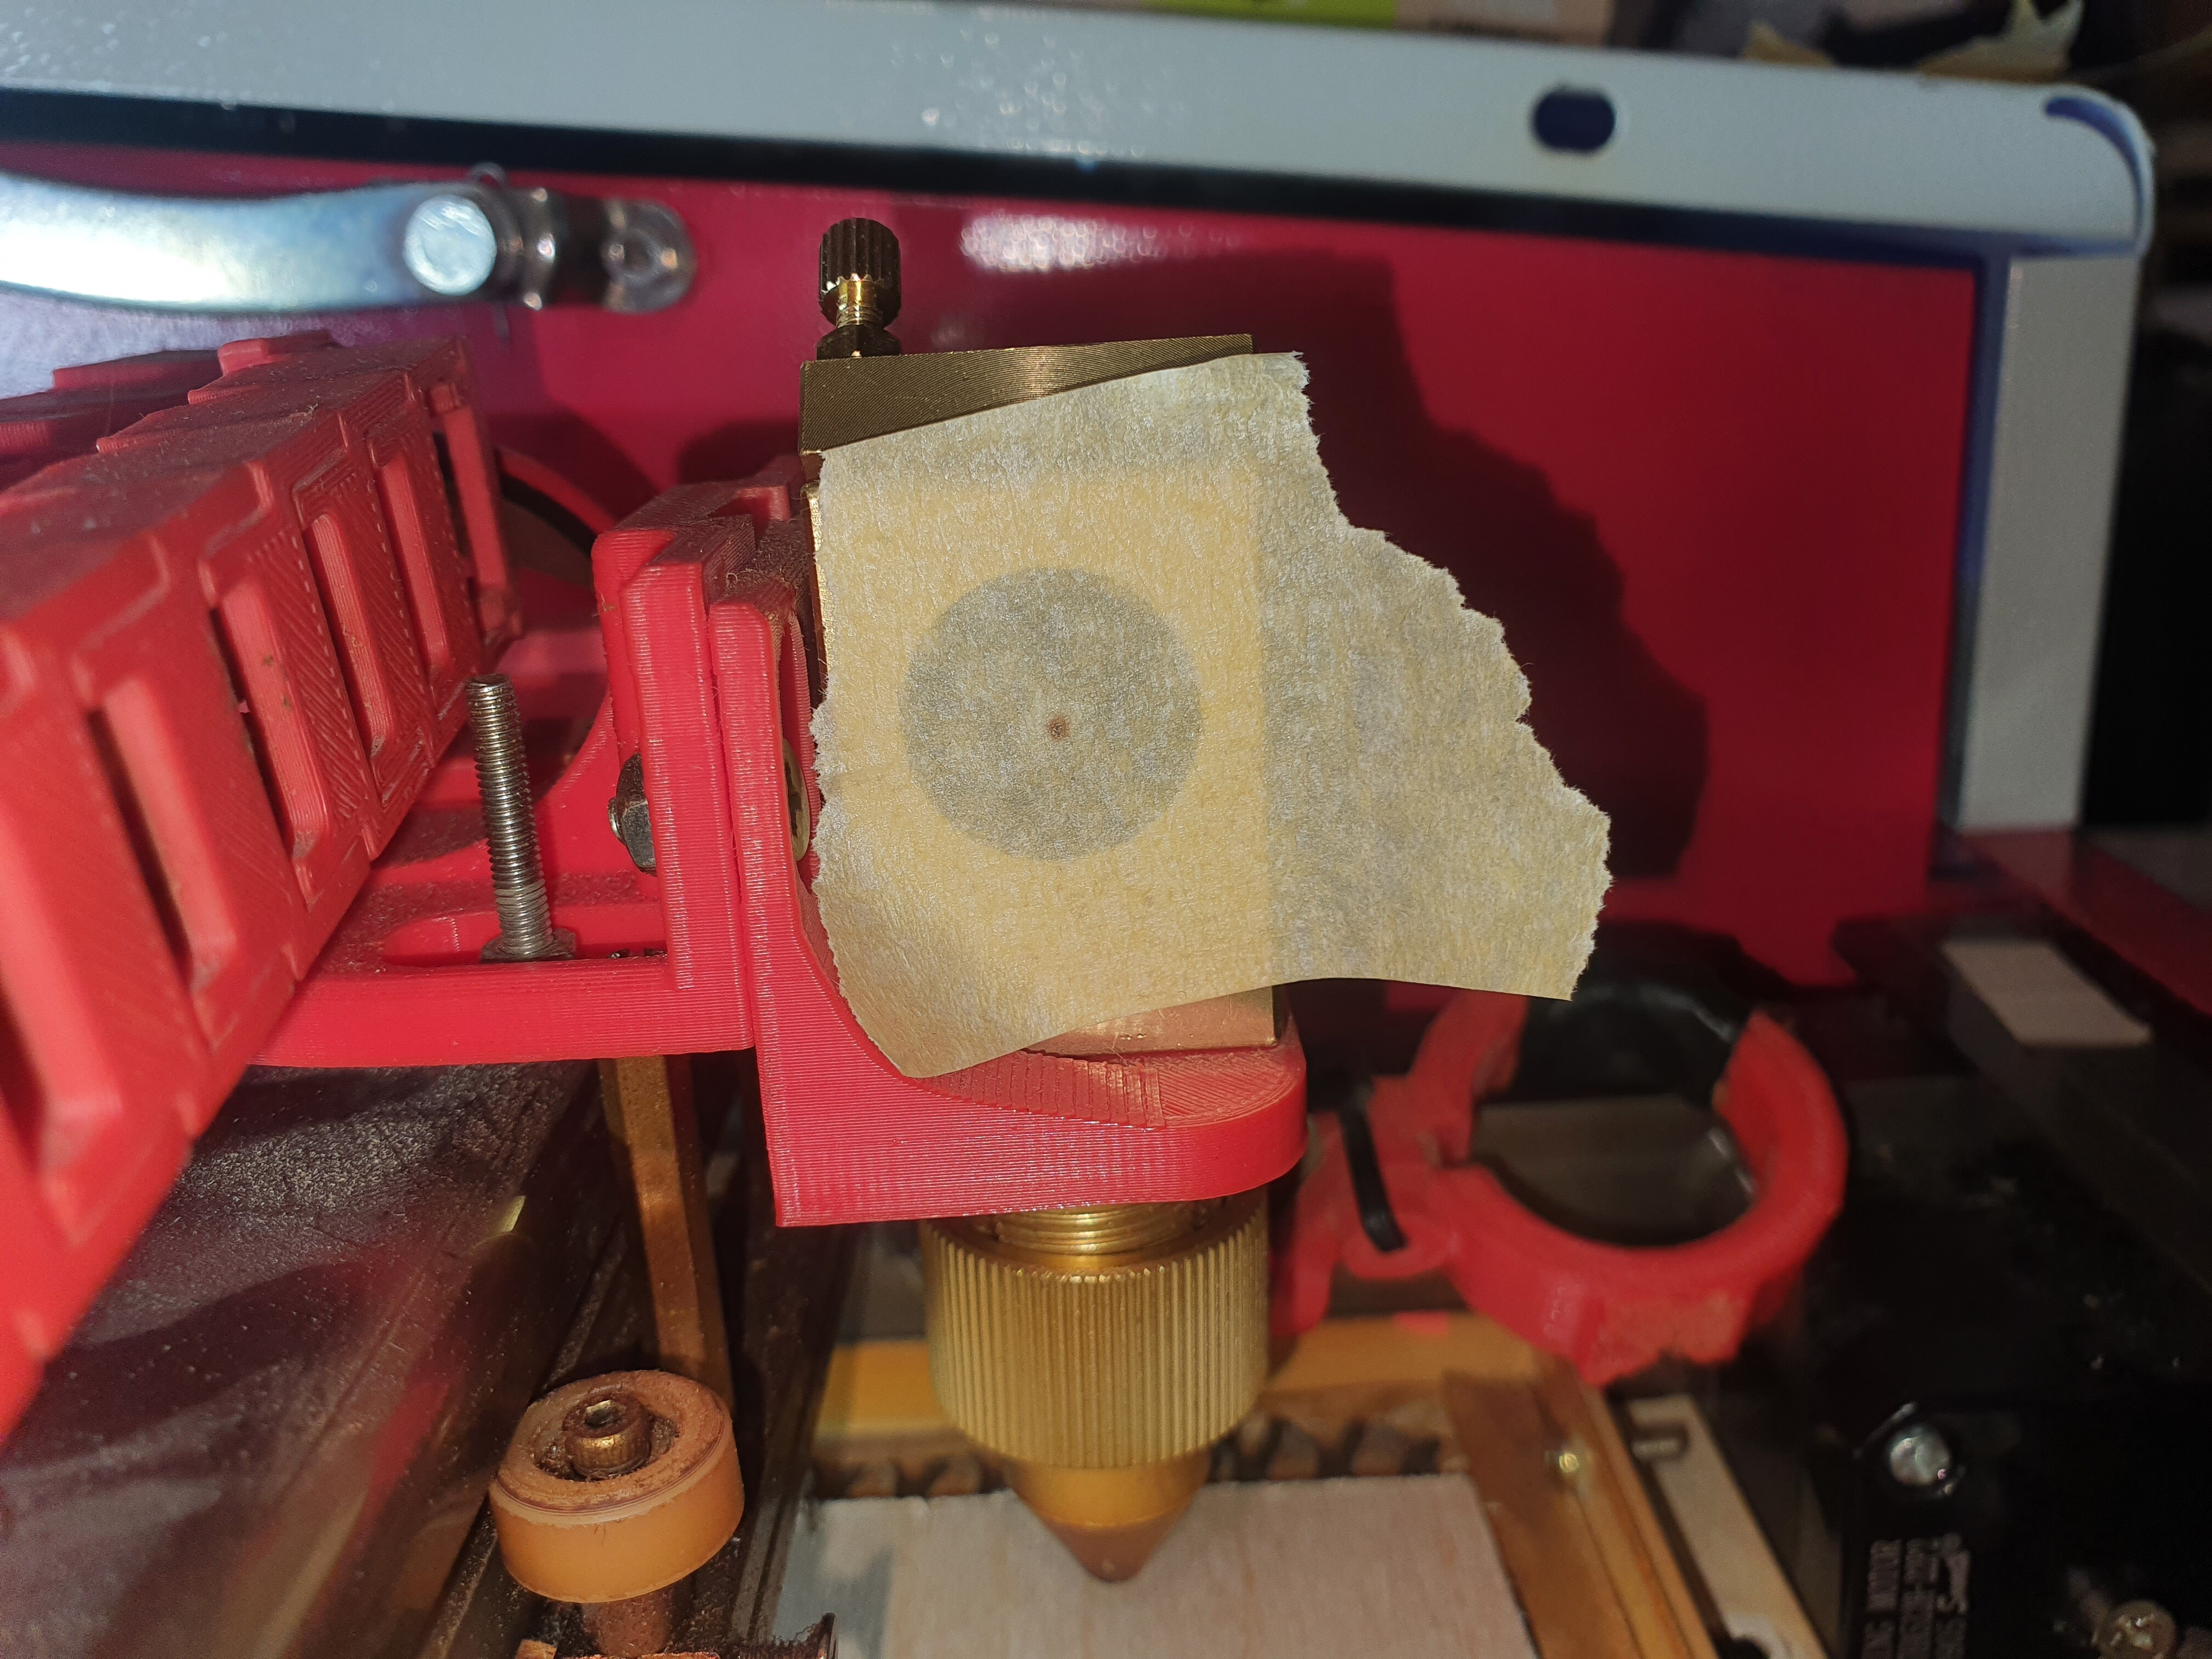
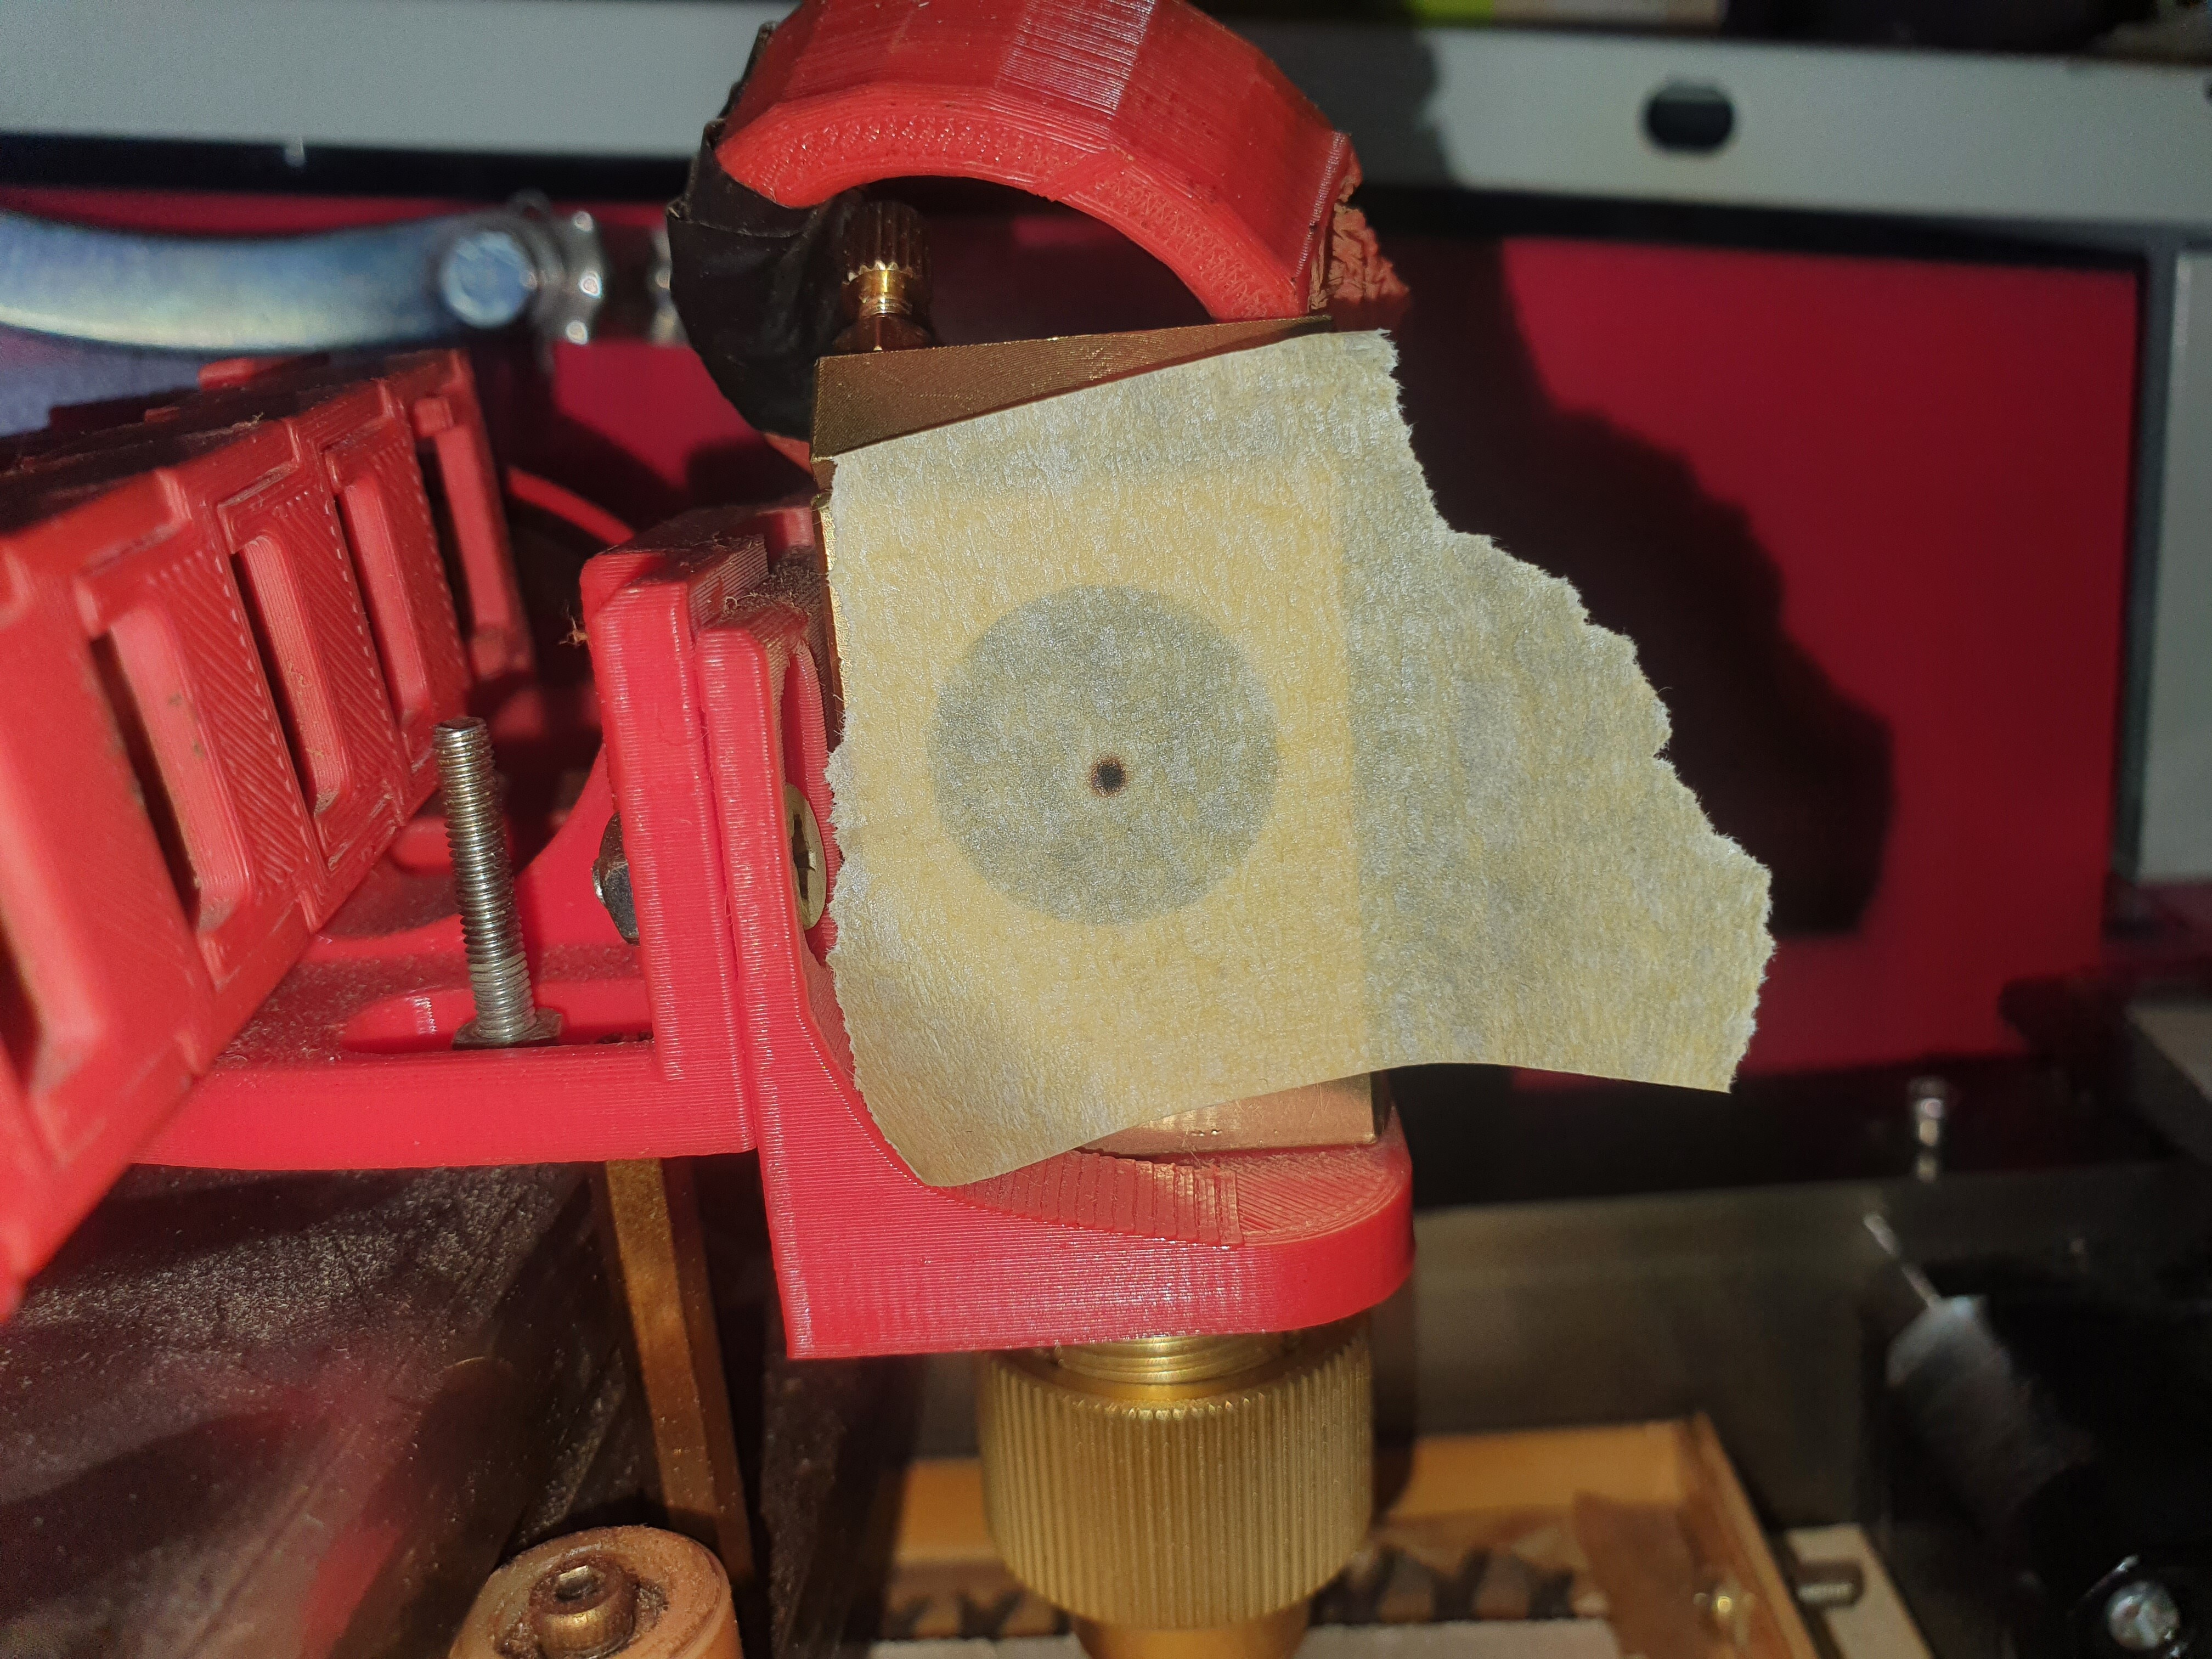
The pics are a bit bad its under the braket and if i remove it it will be pain to realighn it again because its 3d printed and not exactly the correct screws . Currently i put water + a bit of bleach to clear the bacterias inside and there is a big bubble there that i cant manage to remove no matter how much i lift the laser . Is it possible for the tube to work while being cracked ? Thank you for your attention and i hope you will have a bit of a laugh about my lense mistake … in my defence i didnt expect the round end to have to be on the top while the flatter one to be pointing to the material im cutting / engraving . And a quick tip i found about allighning the 3rd mirror if you dont have the expensive laser that goes on the end . You can put tape on the end where the laser exits and after you test shoot you look directly in the 3rd mirror with enough light on the table you can clearly see where the laser hit the tape with out having to remove the tape or mark it in any way ( just be sure to not press the fire while your head is in the way ofc even better click the button to stop the power to the laser before checking the hole ) and sry for my english not sure how many mistakes i made while writing this .
I panic easly … good news it was just dirt now its clean and no bubbles there my only spot with bubbles now is in the front but i assume its from the bleach
Should clean up in coupple of hours i hope . Do you have any suggestions what yo put in the watter to not get the bacterias . I read somewhere Antifreeze is distorting the laser wavelength or something like that refracting it not sure exactly ?
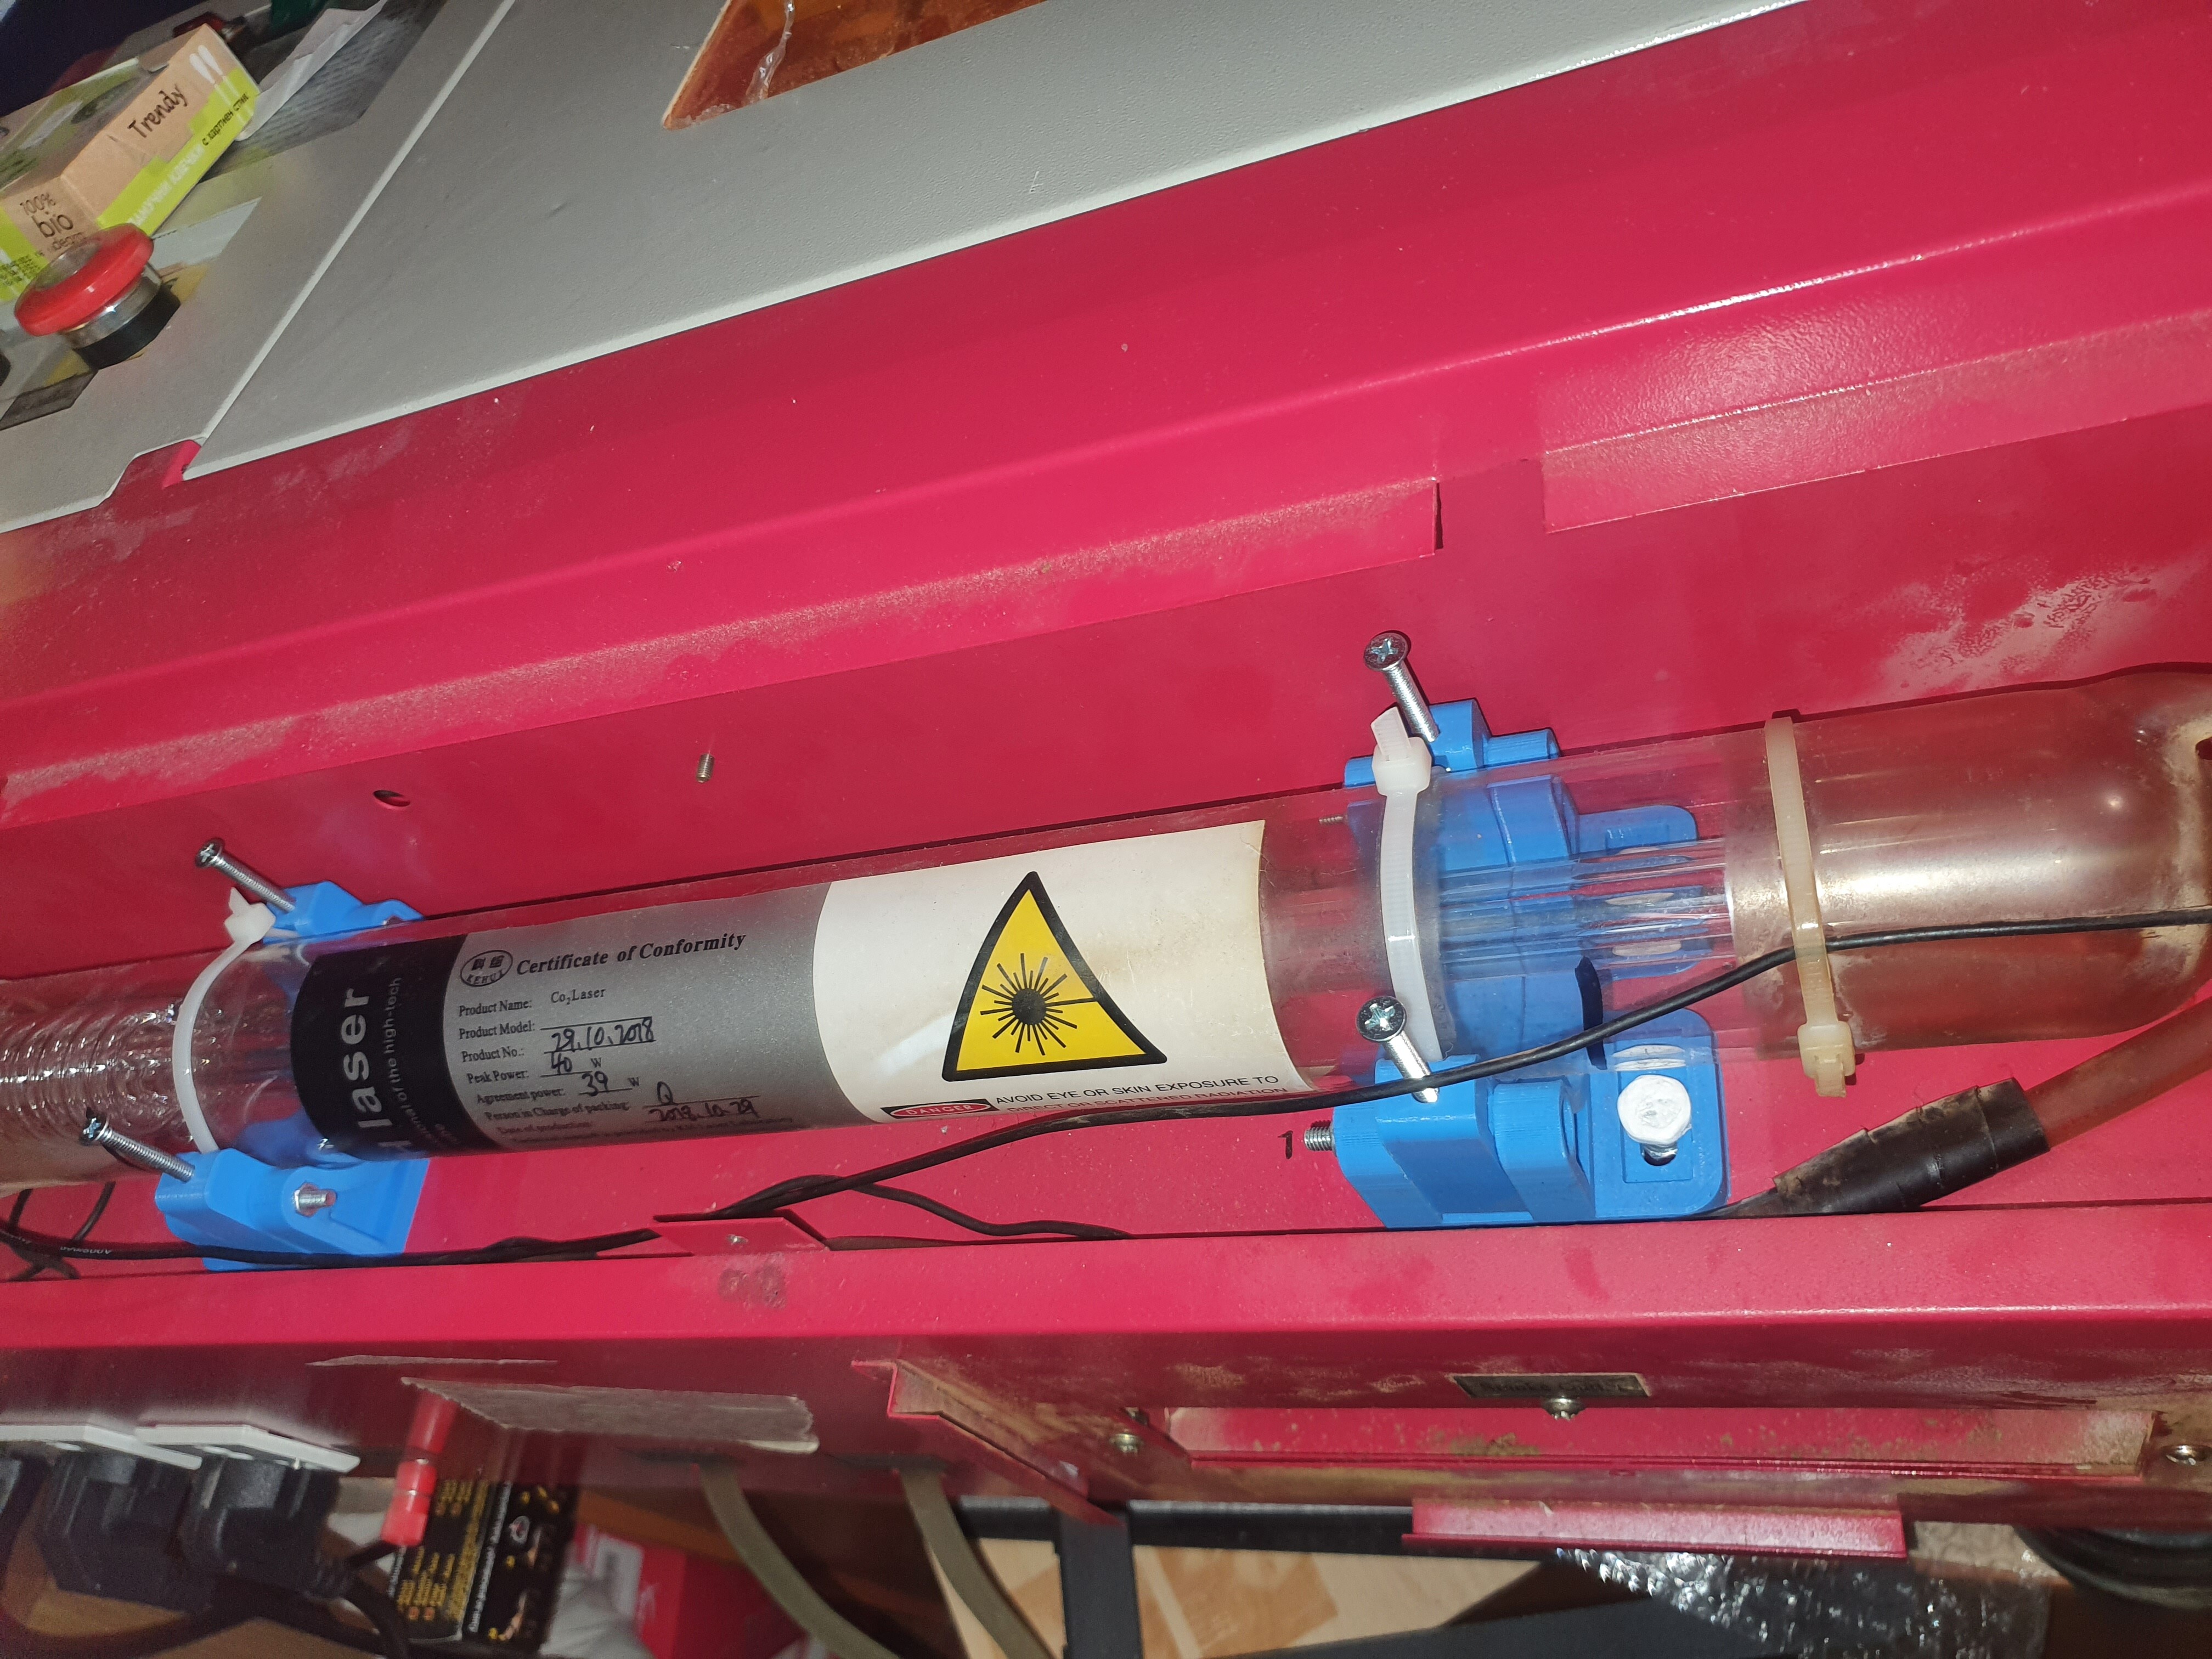
My saga continues … i was able to use it for a while but i started having misalignment issues so i tought to buy a beam combiner but it didnt fit in the k40 and i already had put new holders for the tube cuted some metal moved the whole internal bed so i can cut and put it back making sure its paralel to the back wall same goes for the tube .
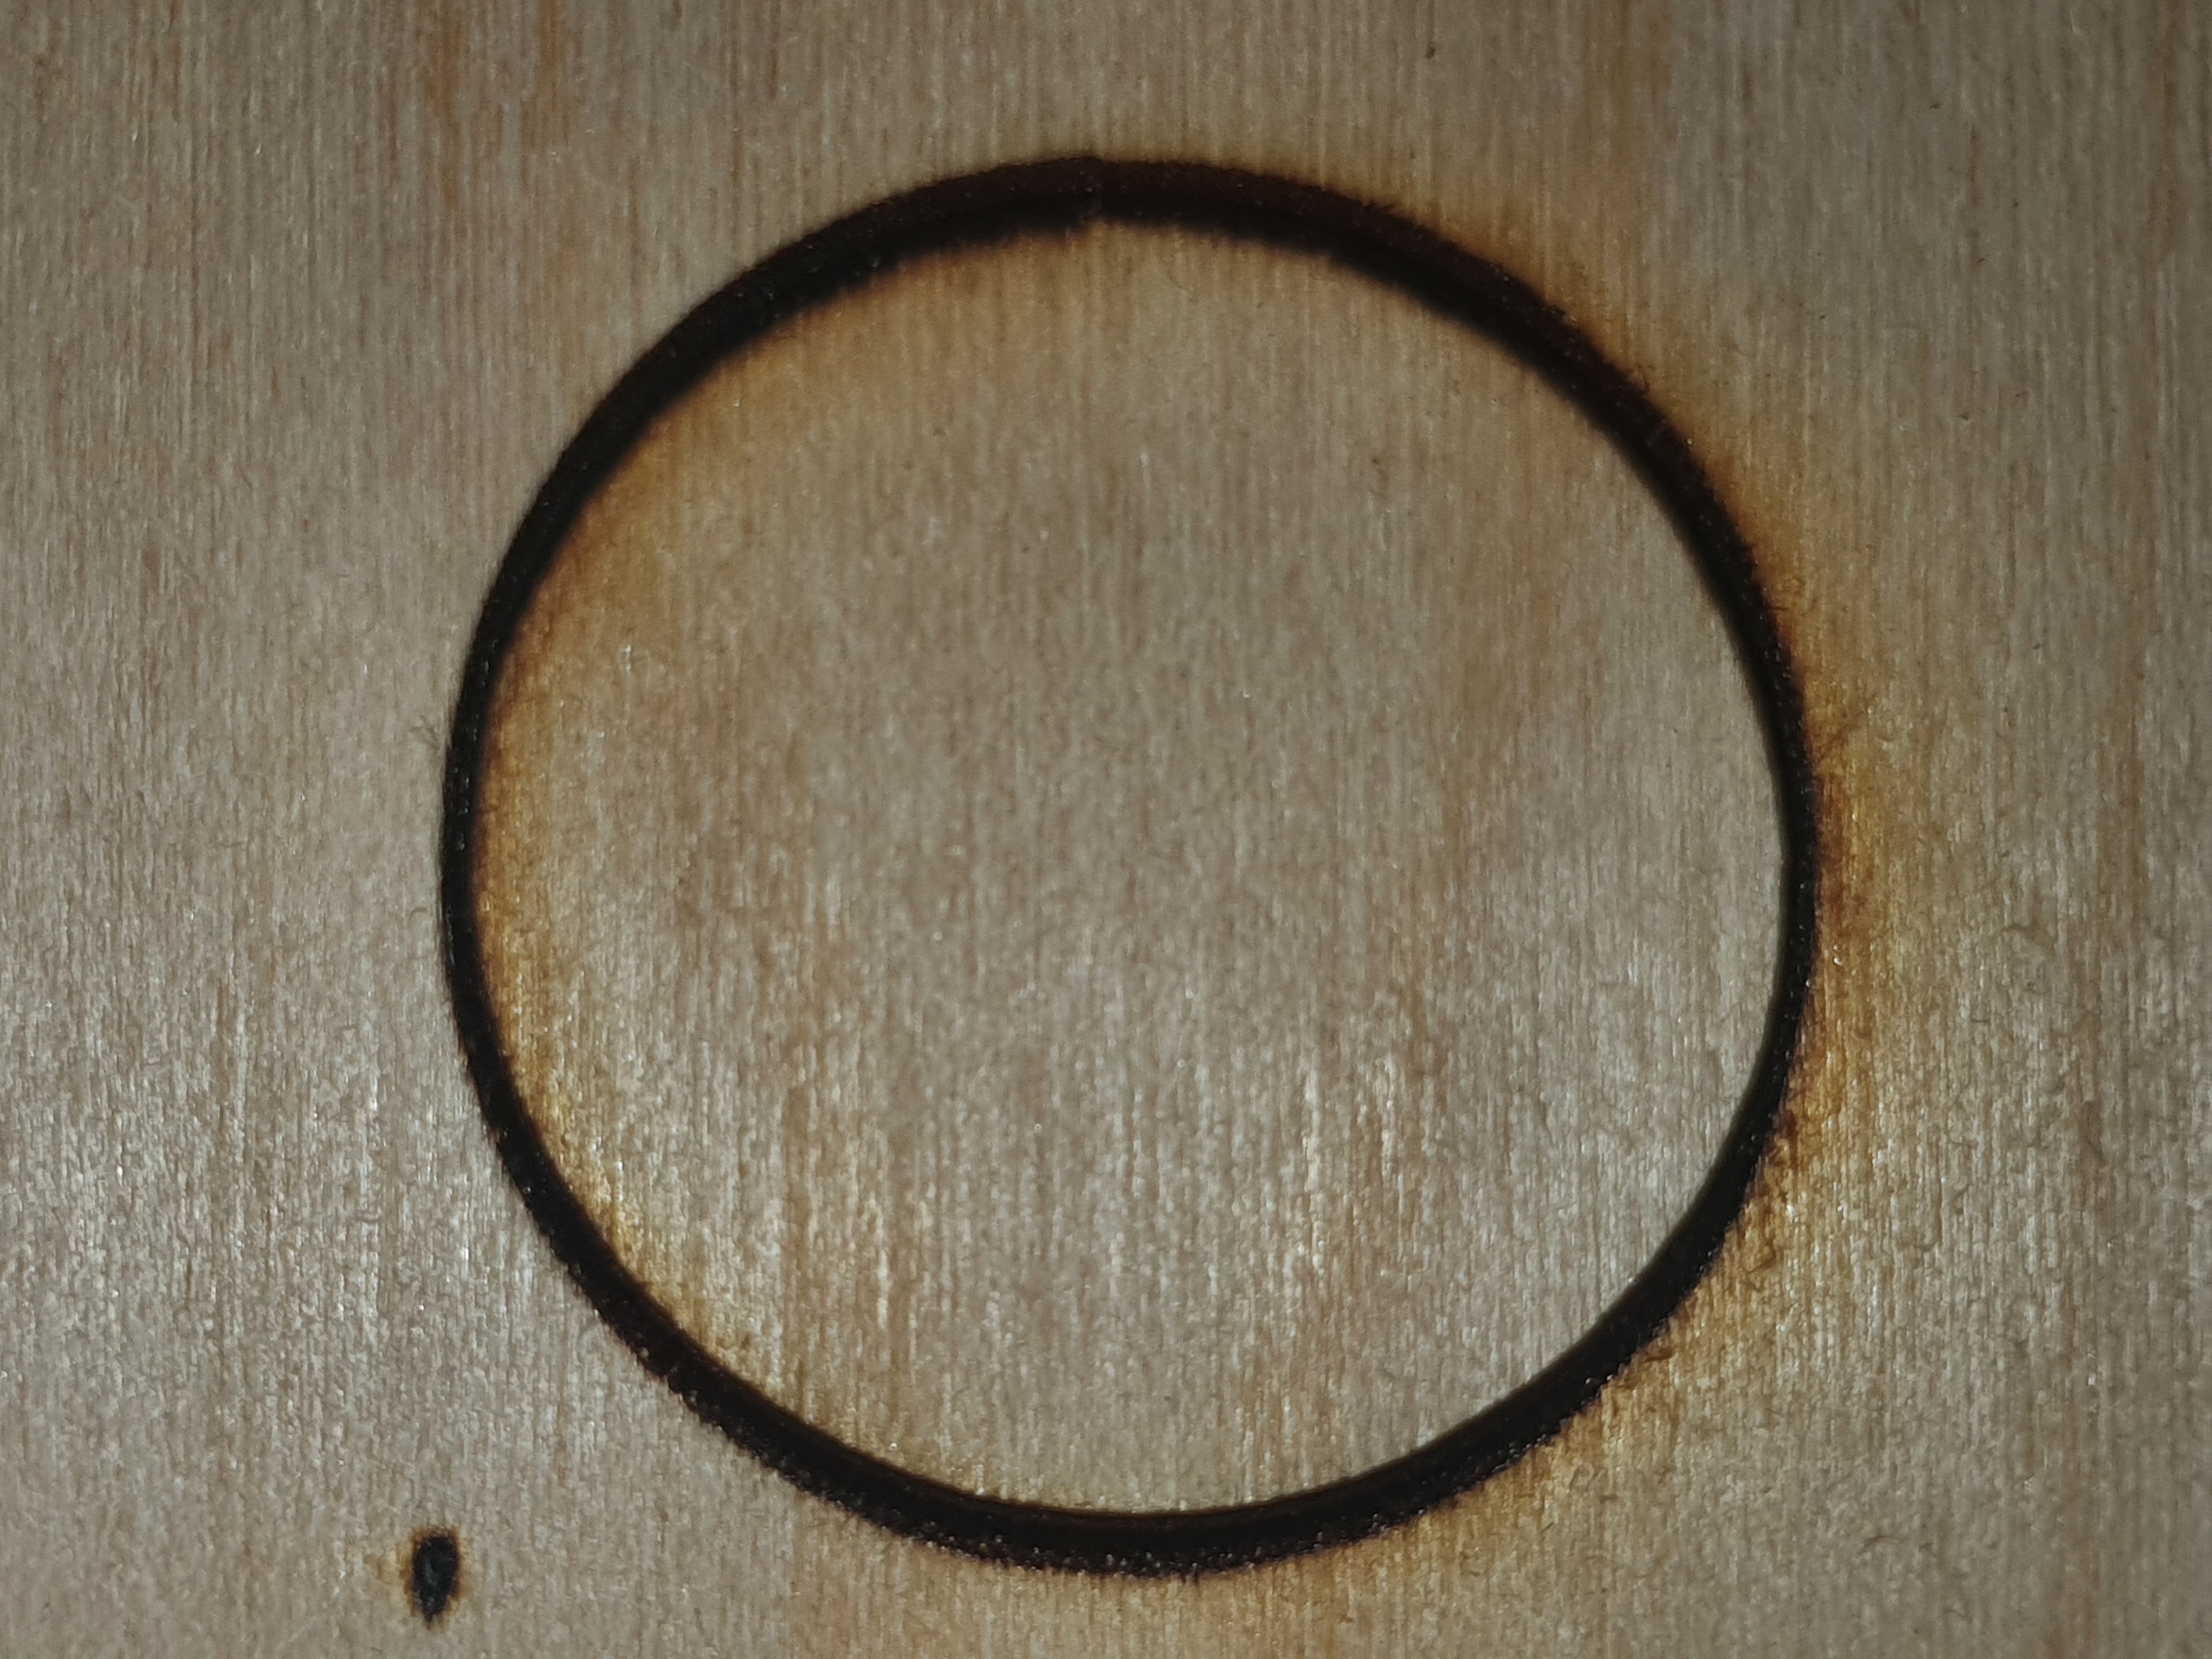
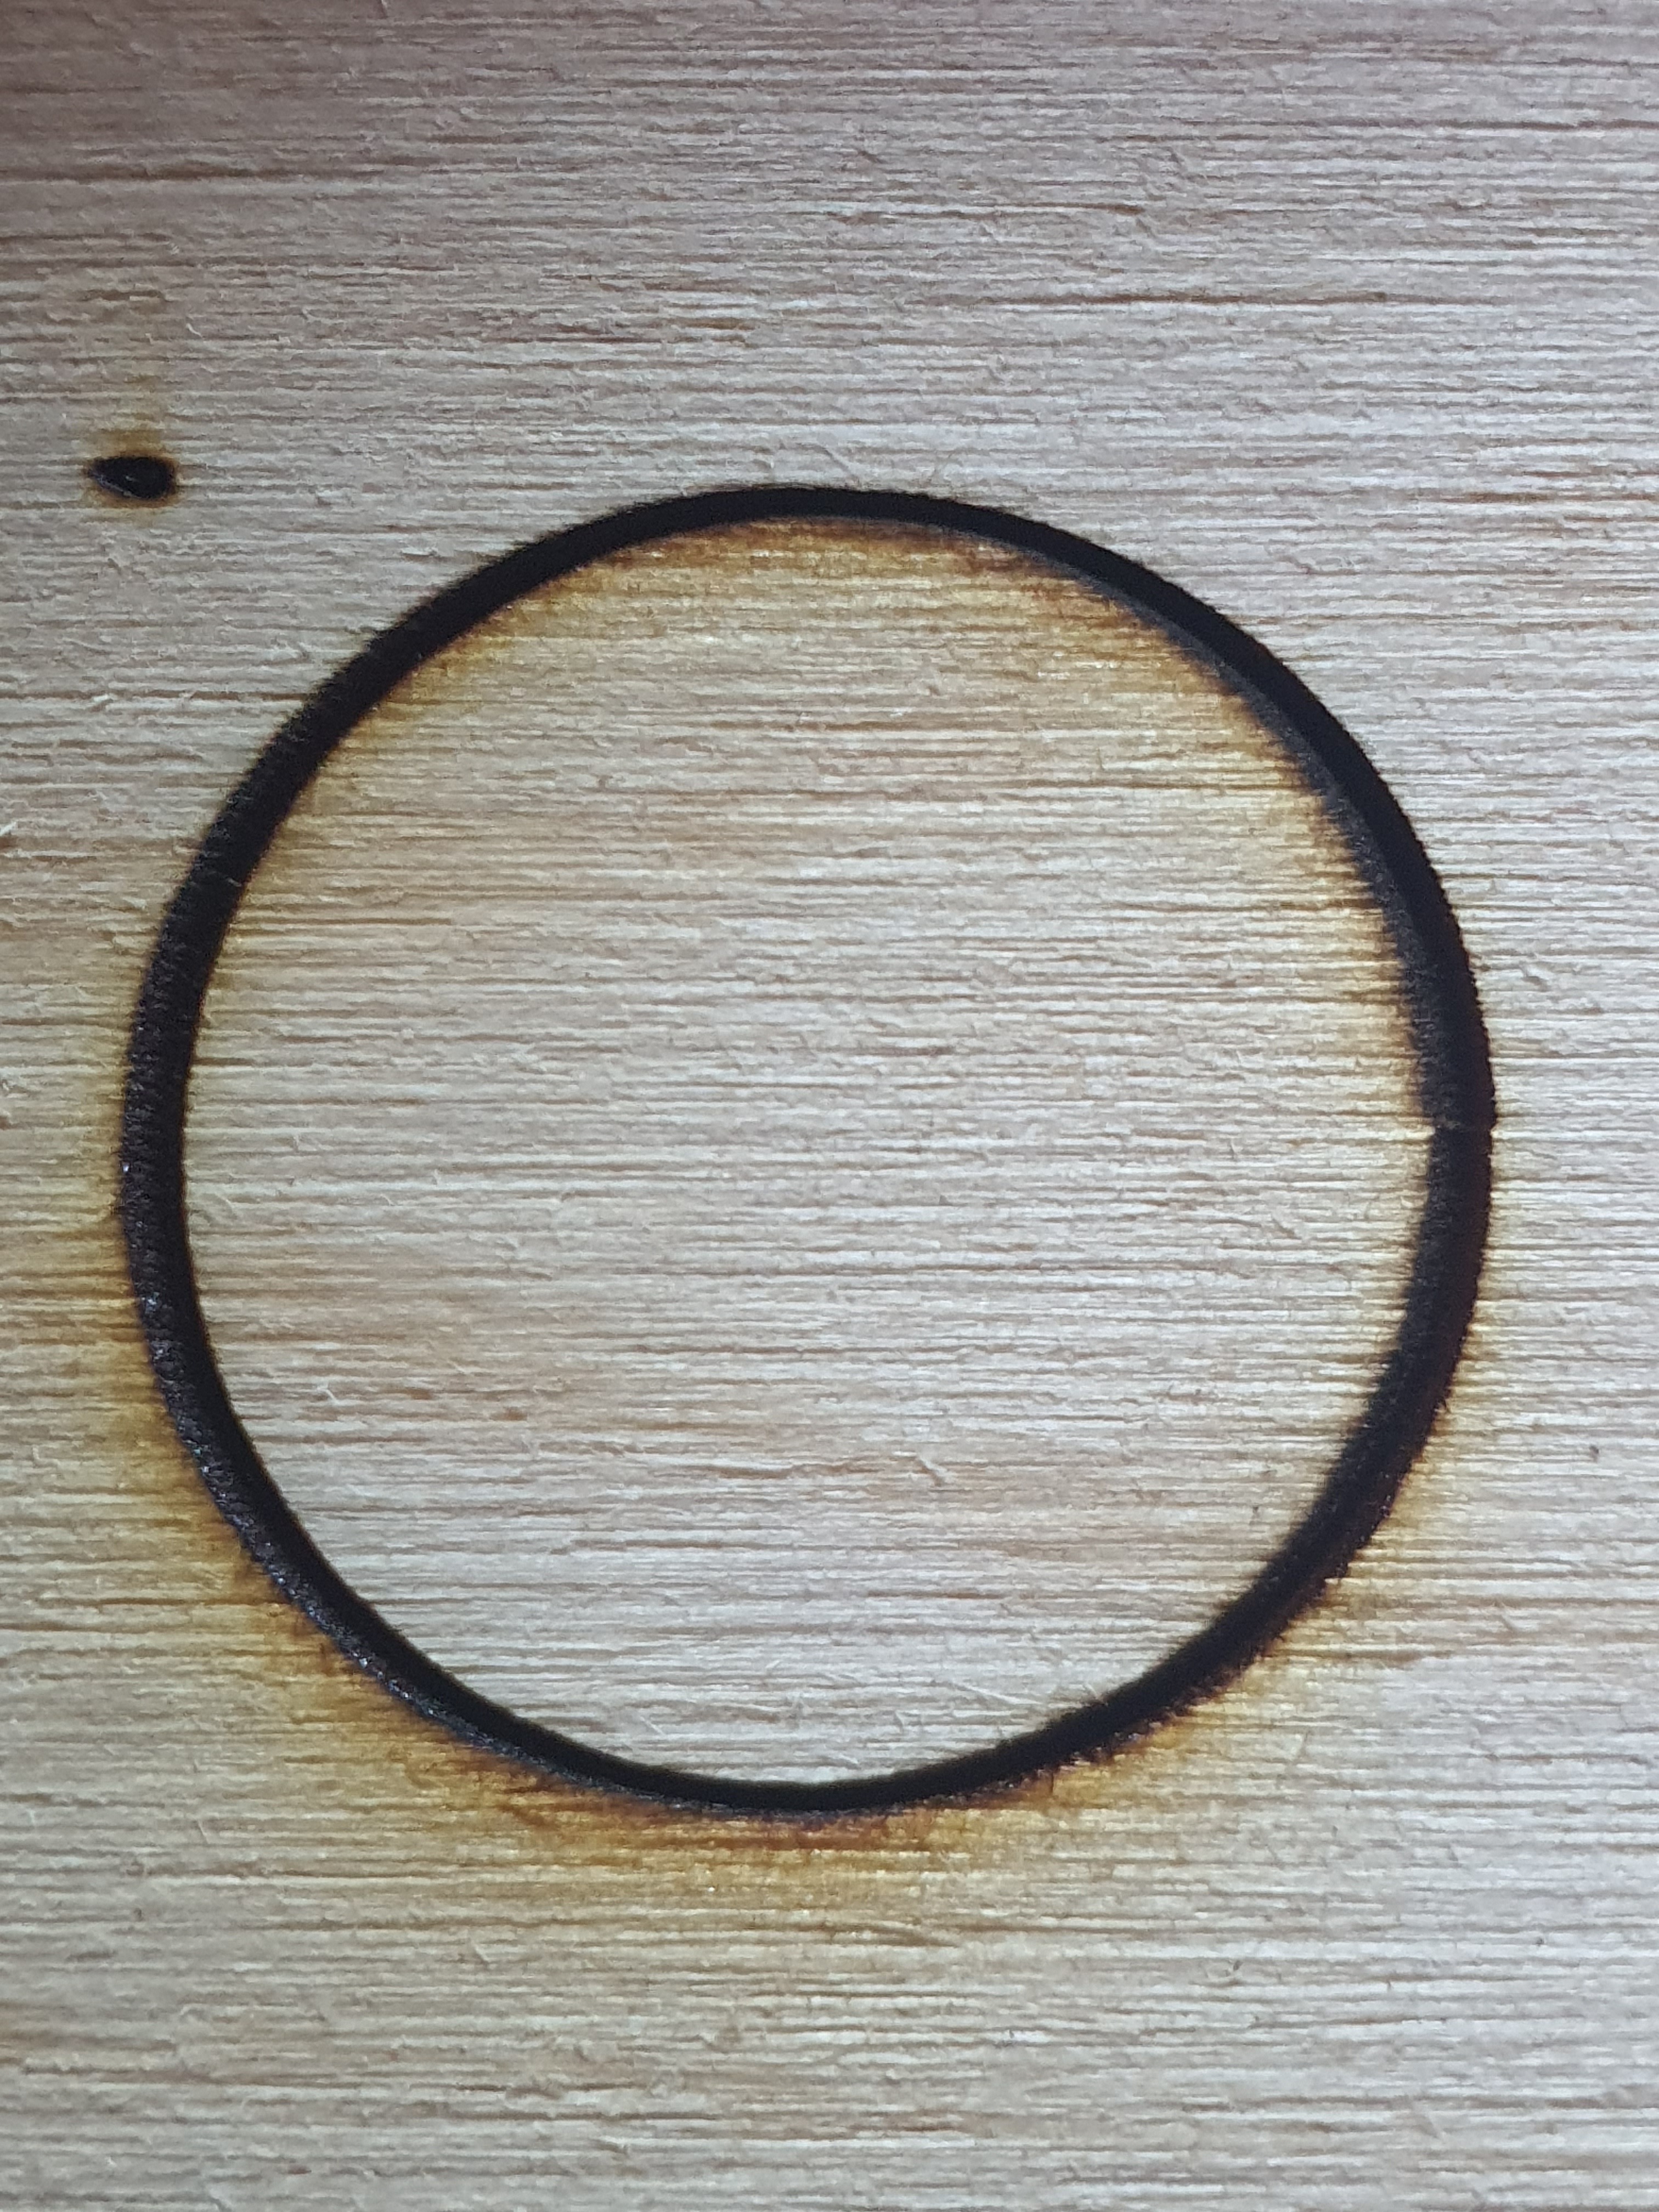
I manage to align all mirrors as pictures show close and far test fires
I even has to make a new stand for the 1st mirror ( 3d printed from the original one )
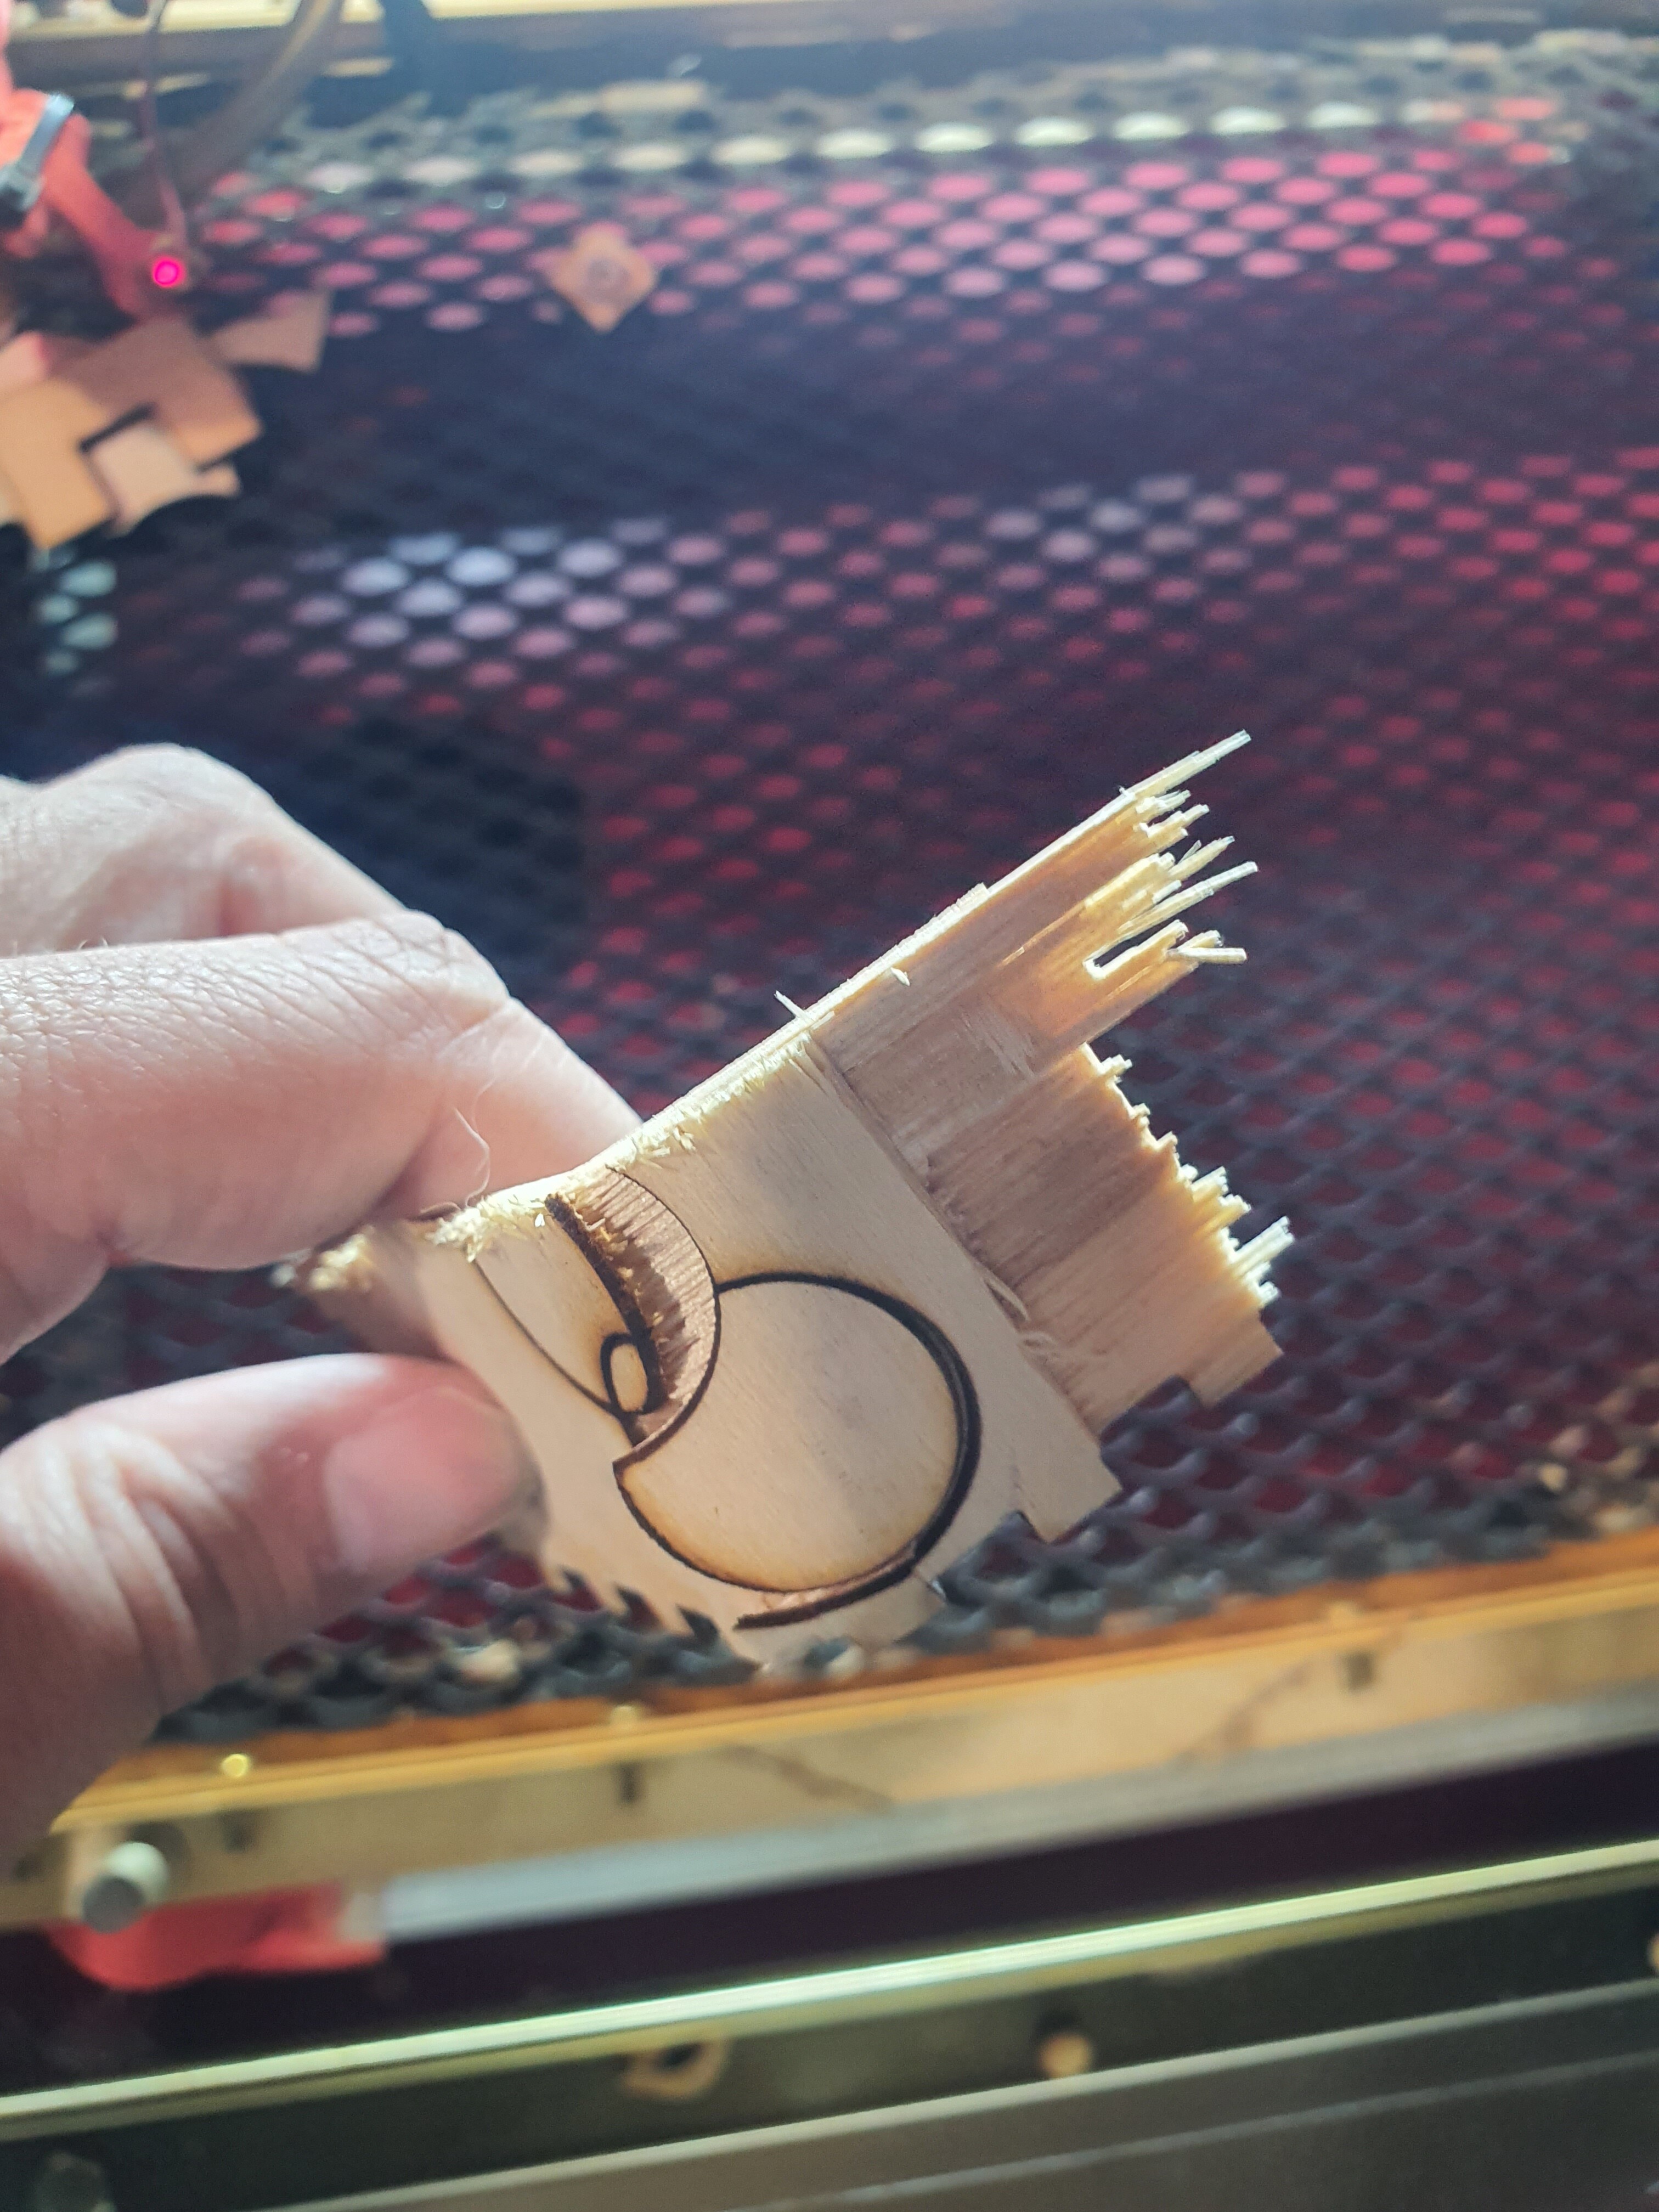
But after all the alignment when i do a test cut with a circle it is a bit off on the picture you can see it wider on the sides and thin on the top and bottom.
( this is with air assist at 20 % power ( i dont have amp meter) and at 7mm/s normaly i cut at 23% power but i have had times when i have managed to align everything and have cutted even at 17% i tried cutting at 30% and 40% the result os the same just more smoke
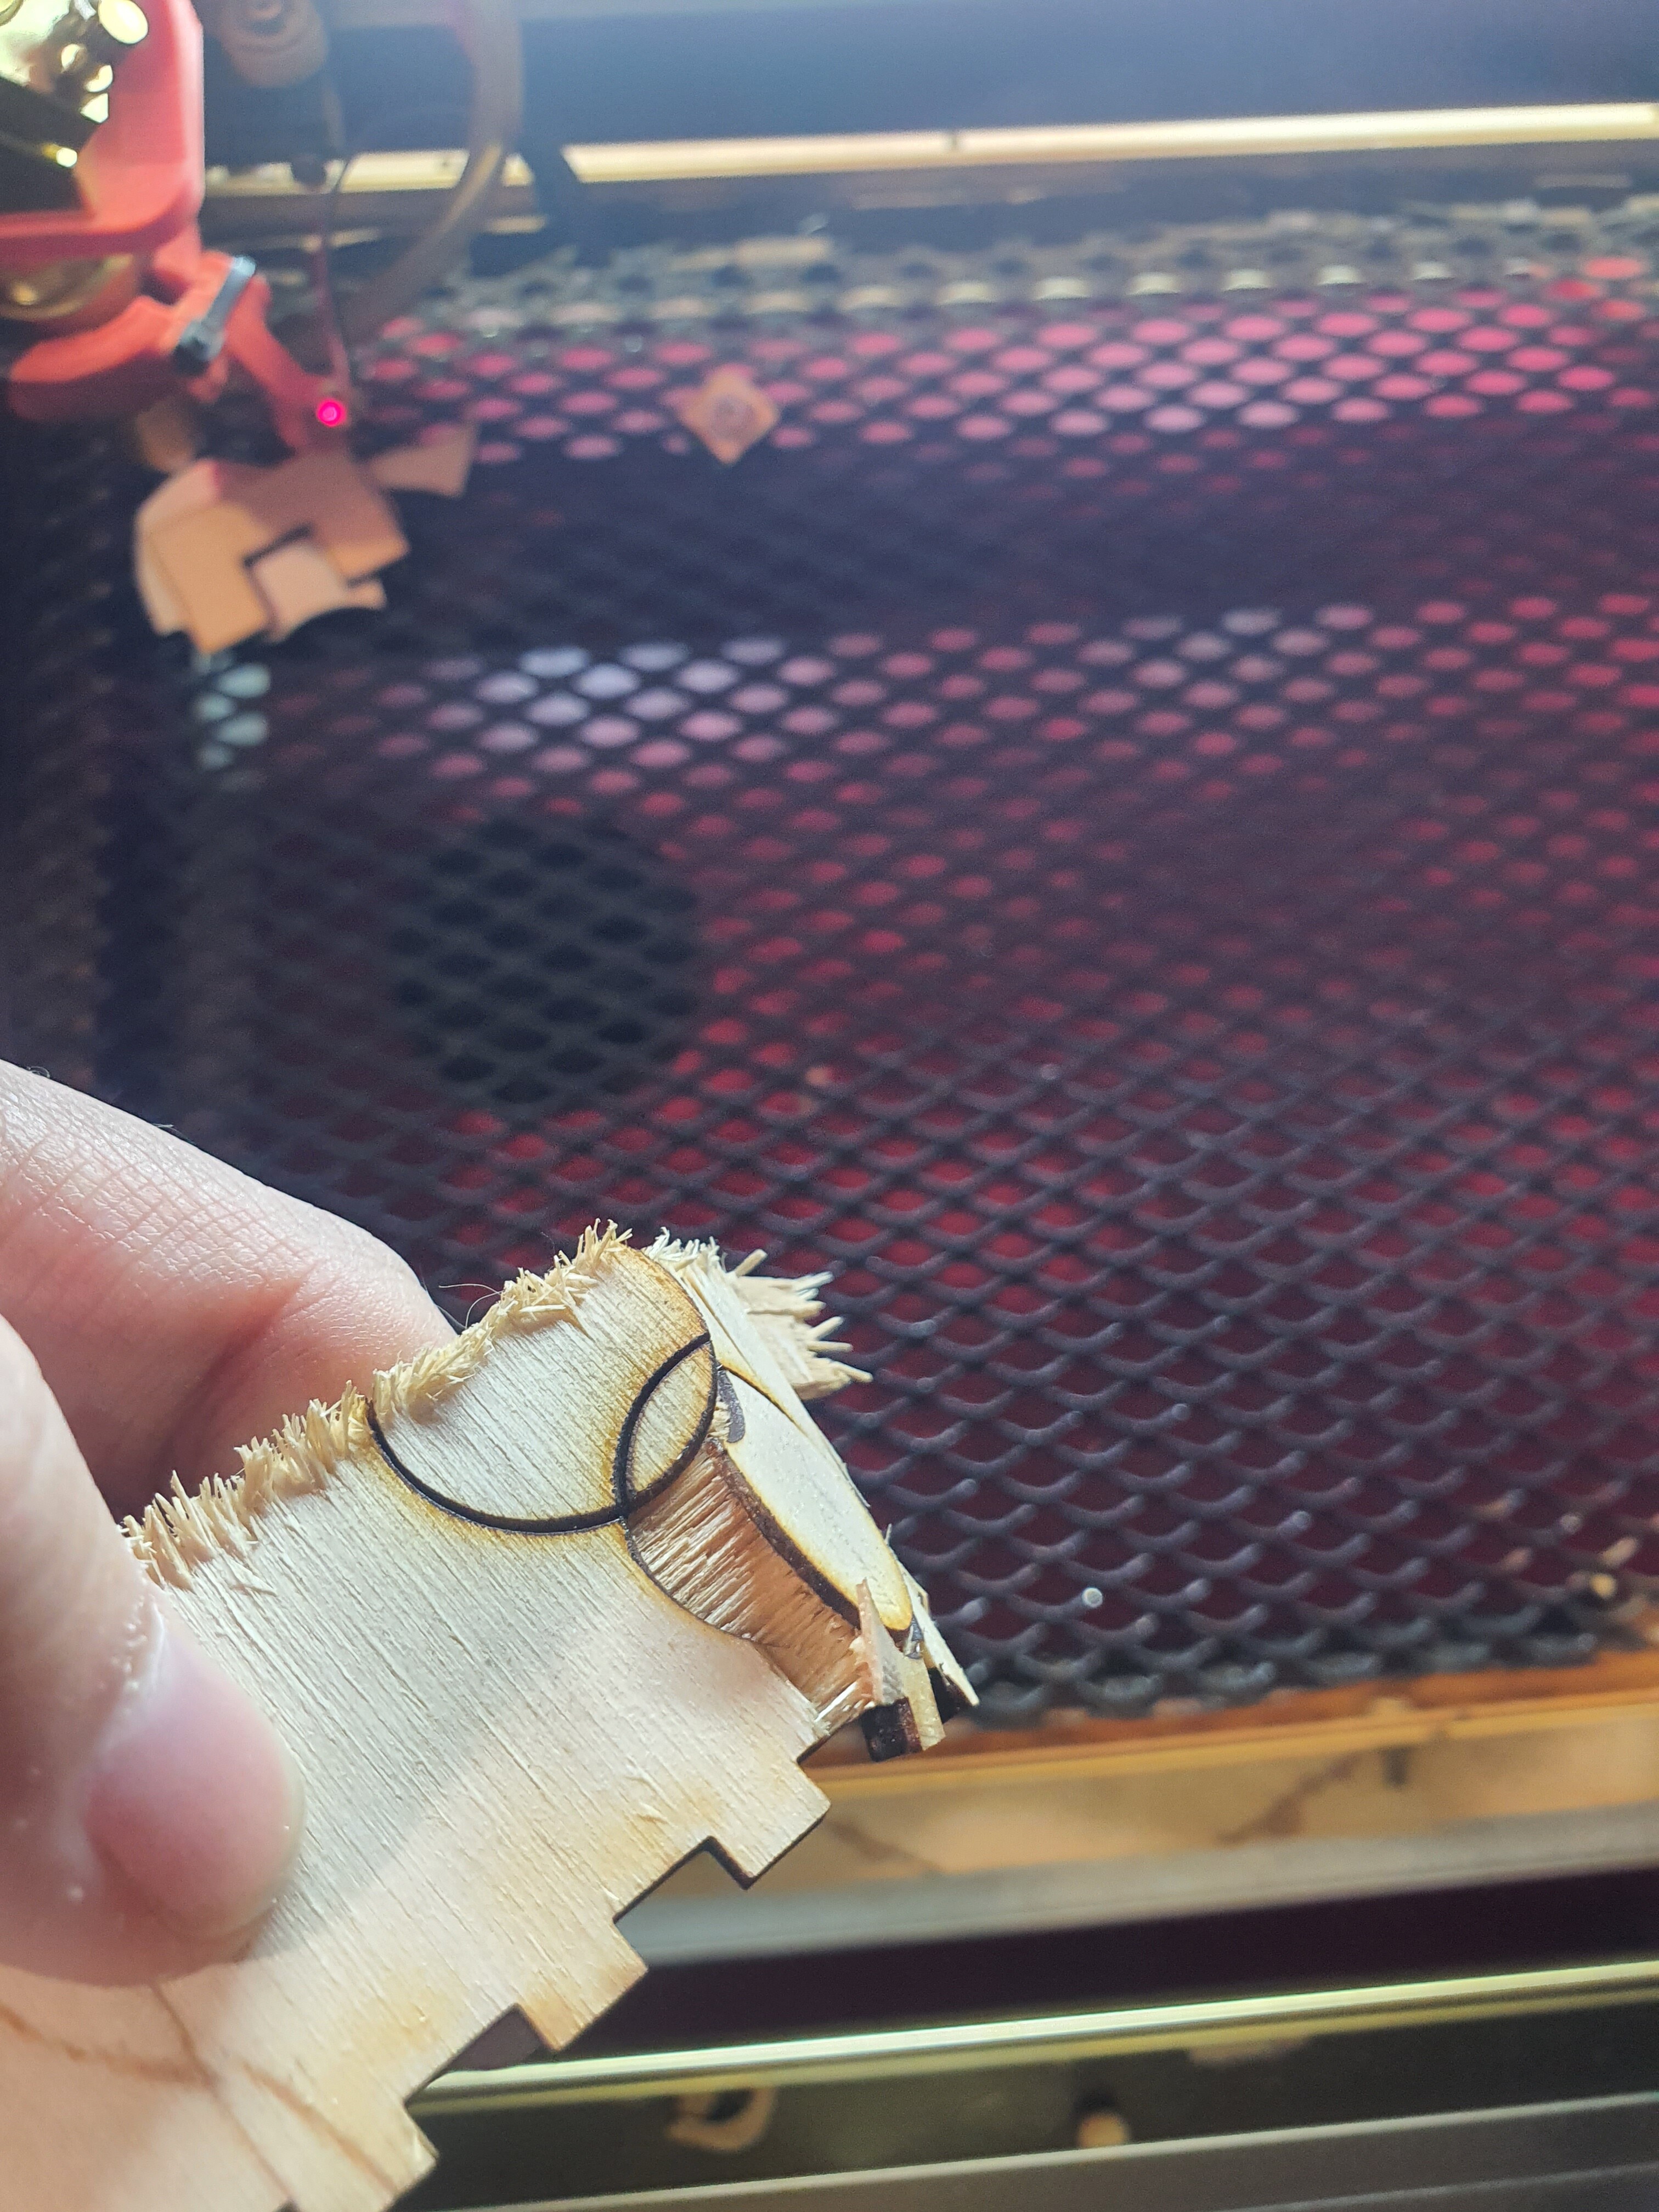
The result is it just doesnt cut trough no ware close even it cuts 1mm and thats all . On the side pic with the multiple cuts i tried putting additional 3mm pieces under the test piece just to test diferent heights from far to close to the head result did not change at all .
Any suggestions or aditional tests that you can advise me to do ? I highly doubt the tube is dying i never used it for more than an hour or two coupple of times in the month and was always cooled and as i mentioned i always cutted at 23-27% power never used more because never needed it for the 3mm playwood i use for cutting .
Thank you for your time . ( p.s. i bought a aquarium pomp as sone of you suggested it did made huge diference )
Can you outline (since it’s been so long) what the current description of your problem is?
BTW: tubes have a shelf life and can deteriorate while sitting on the shelf. You don’t have to be using the tube for it to leak down.
How old is the tube?
Are there any arching/hissing noises chile cutting?
My issue is that after reassembeling even tho i made all alignments it still doesnt want to cut and it seems its stopping at 1mm and i cant figure out why + that strange thin and thick line that it makes while cutting .
The laser itself i have from mid 2020 but on the tube is written 2018 which is quite old . Hissing sound not really i’m attaching a video of the laser while working i dont notice atching i think and the sound seems as it always was no drastic change .