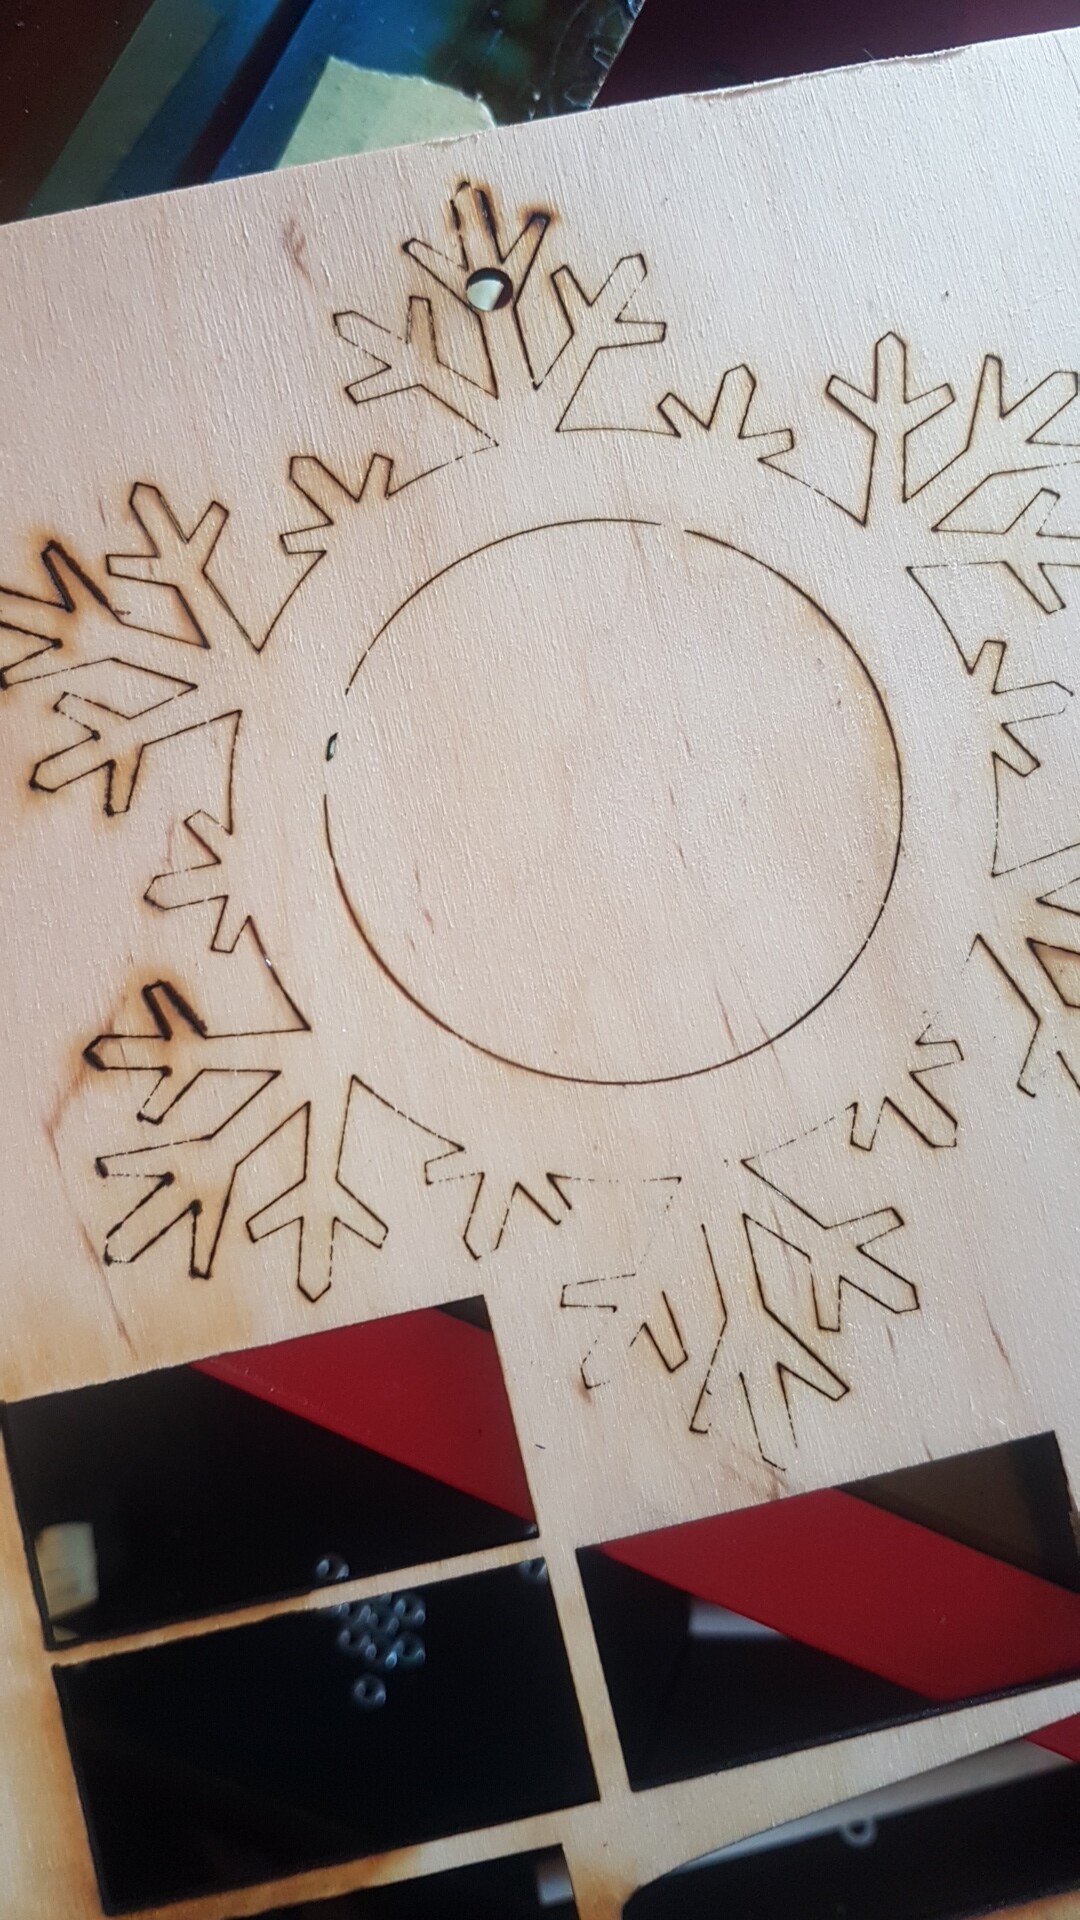
Hey guys first time writing created my account to request your assistance . I have a k40 little modified added 3d printed mirror holders and 3d printed tube holder . My issue right now is that when i cut its not cutting all the way everywhere .
Its mostly on the right side when it stops to cut bu there are some places on the left half too . Mirrors and lens are cleaned and aligned as much as i could <1mm error i assume . But i doubt that yo be the reason for this . I would appreciate any advice of how to fix it . ( i was using air assist from a little blower i had but today it broke ) this is halfly done with AA . I even run the program 2nd time a bit faster on same power with the hope to cut it were it did not but there was almost no improvement .
Are the less cut areas always in the same region of the bed?
Is your bed level relative to the laser head? Meaning if you move the laser head around is it always the same distance to the bed?
Are you setting your lens focus halfway into the work piece?
Is that plywood that you are cutting?
Plywood can be a bit problematic to cut since the glue used in most common plywood is a bit resistant to laser cutting. So sometimes the glue is thicker in some areas meaning it’s harder to cut.
Have you aligned the mirrors with the carriage at its extremes?
Also insure that the beam is going perpendicular to the bed and straight through the objective lens when the carriage is at its extremes. It’s not uncommon after alignment for the beam to be obstructed by hitting the side of the lens holder.
Does your machine have a laser current meter? If so what does it read when the test button is pushed at 50% power?
I’m afraid it may be the bed but i’m still working on figuring a way to make a moveable bed . To be honest i was hoping it was something else that i’m missing . @NedMan
Are the less cut areas always in the same region of the bed?
havent done enough testing to know if its on the same but having in mind i repeeated the cut and it was almost the same i would assume yes .
Is your bed level relative to the laser head? Meaning if you move the laser head around is it always the same distance to the bed?
most likely its not
Is that plywood that you are cutting?
Yes its 3mm plywood and yes the glue makes some issue but most is just coloring and making dirt marks on the back ( i would appriciate if you can point me to another type of wood that i can use this is the only one i manage to find in my city that was not like crazy expensive )
@donkjr
Have you aligned the mirrors with the carriage at its extremes?
I did not understand the question i’m sorry .
Also insure that the beam is going perpendicular to the bed and straight through the objective lens when the carriage is at its extremes. It’s not uncommon after alignment for the beam to be obstructed by hitting the side of the lens holder.
I checked all corners + the middle + 4 random locations around the bed with maker’s tape it always hit the tape i assume i dont have issue with hitting anything else .
Does your machine have a laser current meter? If so what does it read when the test button is pushed at 50% power?
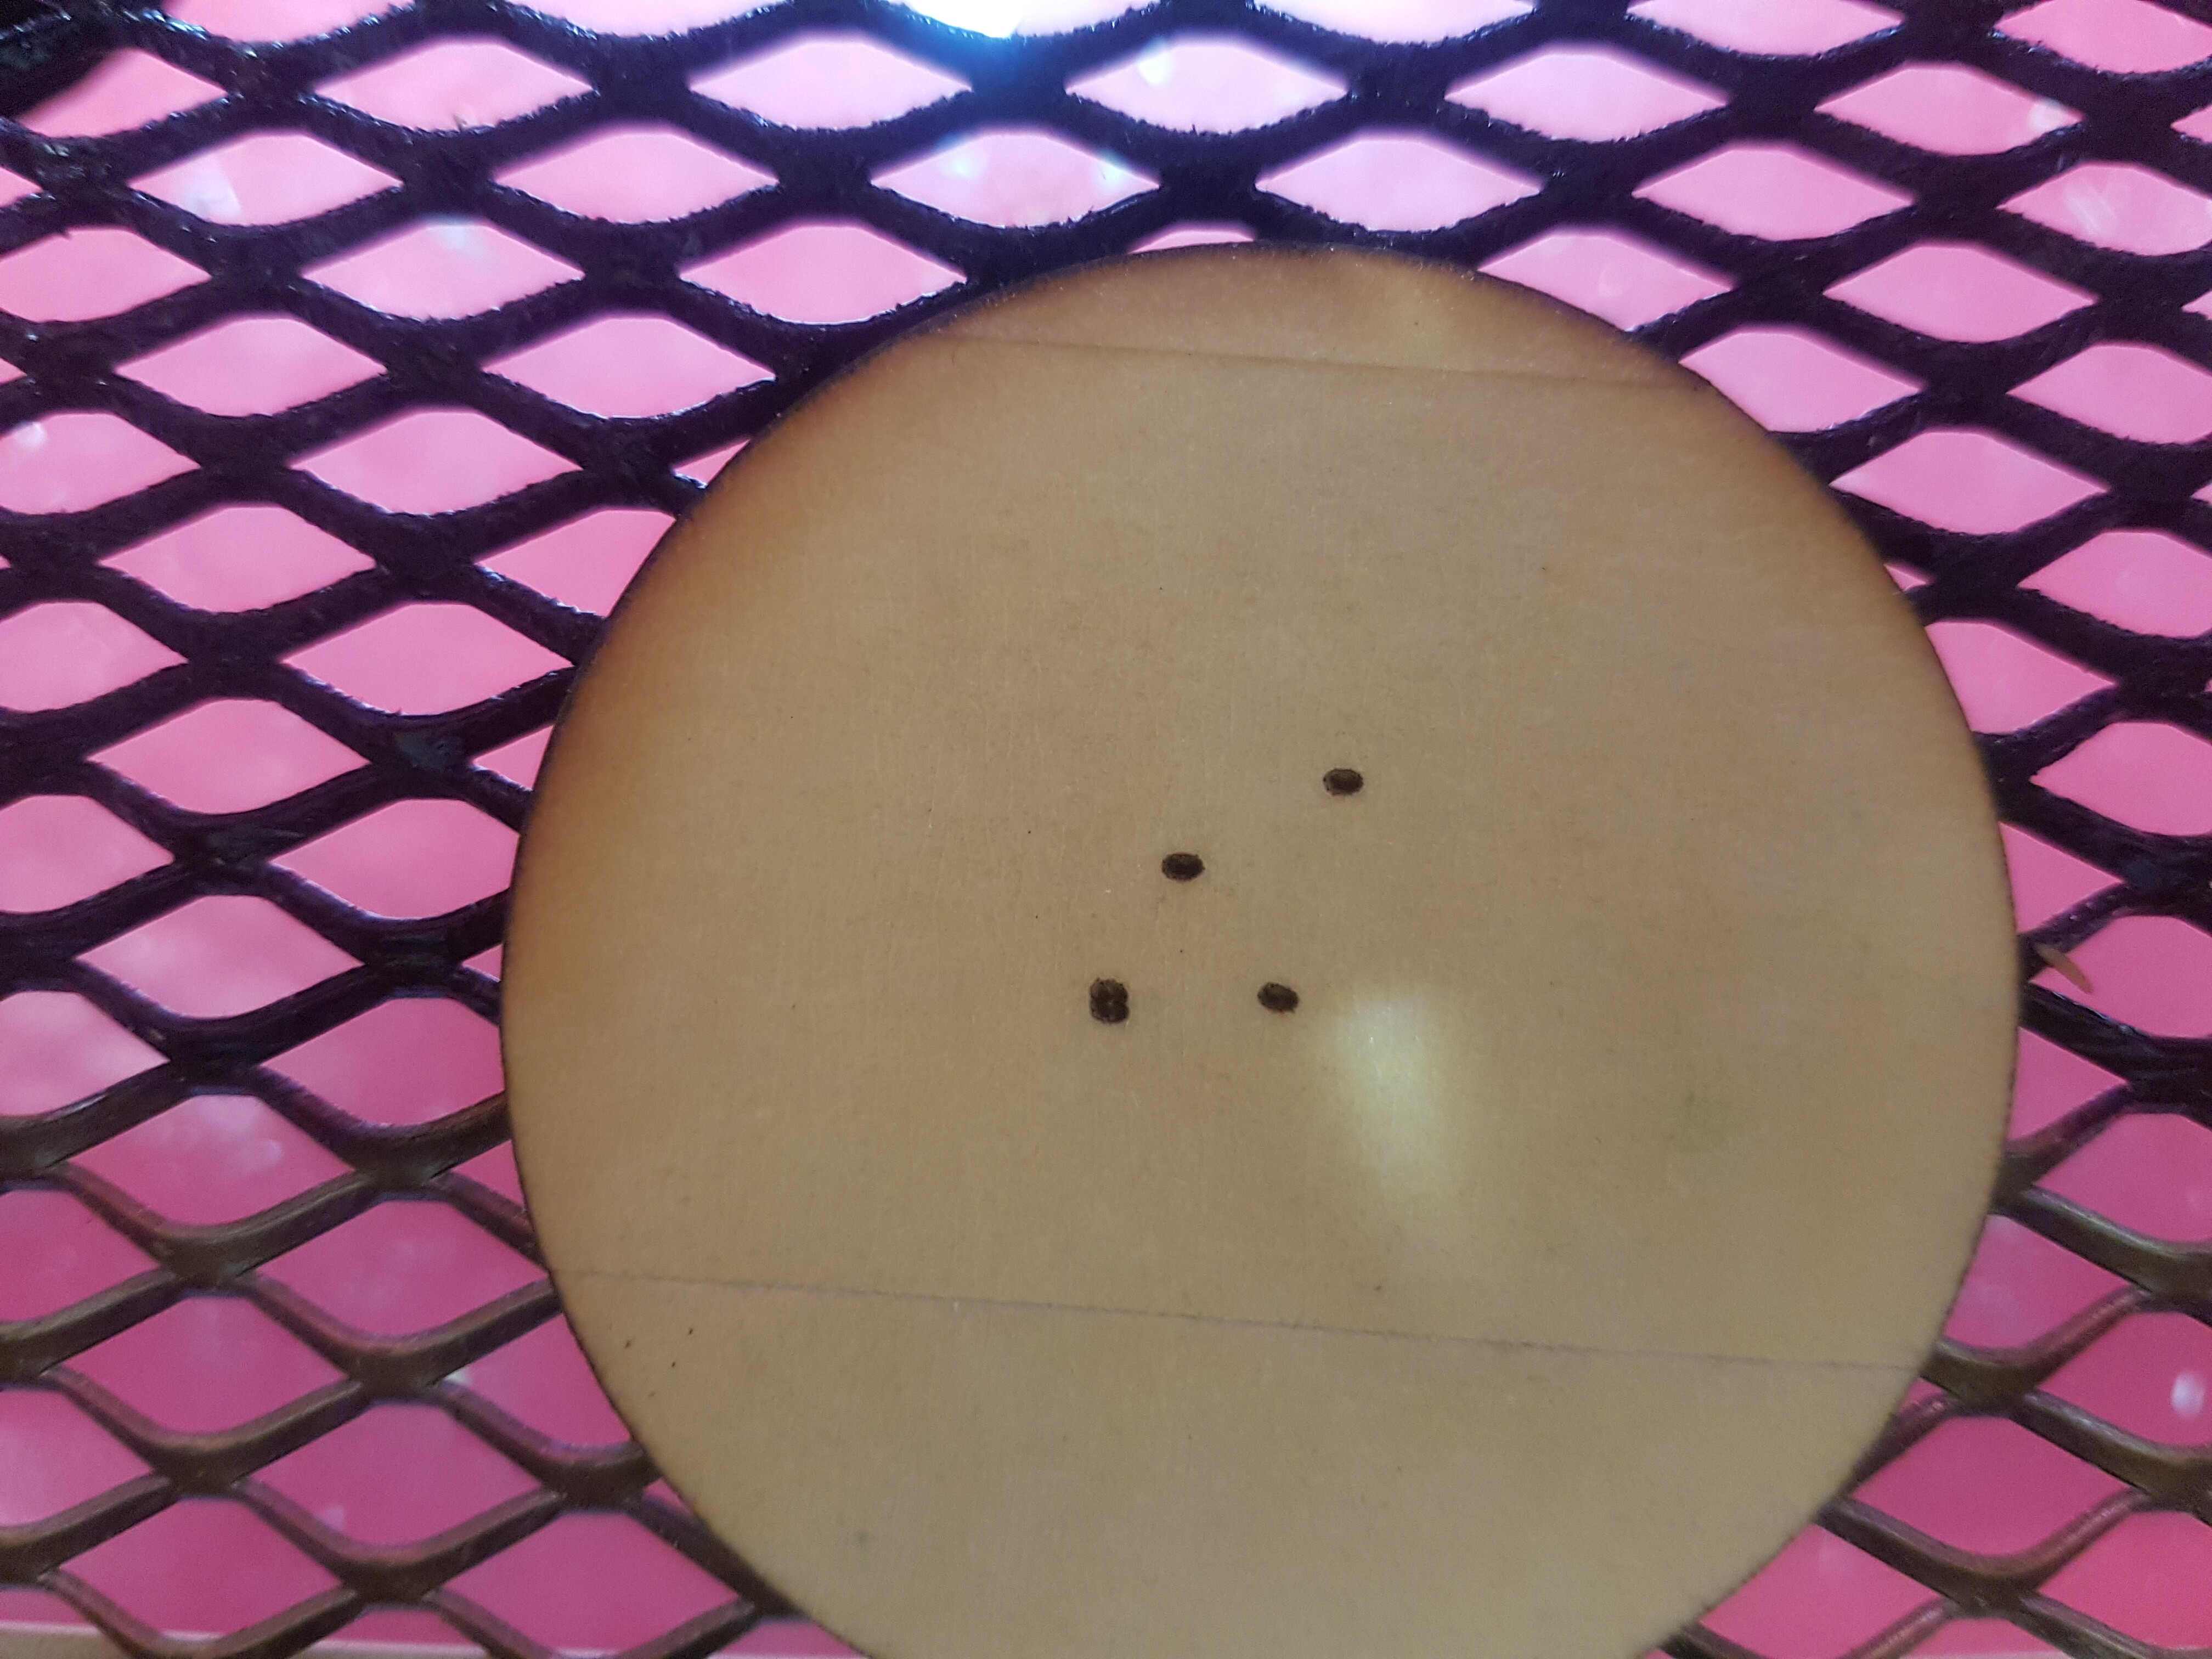
Sadly it’s not with current meter its with digital power % . Those cuts are on 27% with 7 mm\s speed i did one testing square from Thingiverse i can cut this type of wood even at 20% power but it was on the top left corner so i assume when it gets far from there the power of the beam would become little less effective thats why i’m using 27% anything over 35% makes the wood catch fire quite quickly and smokes it a lot .
He was talking about the 4 corners of the bed. So it sounds like you did check the extremes.
_
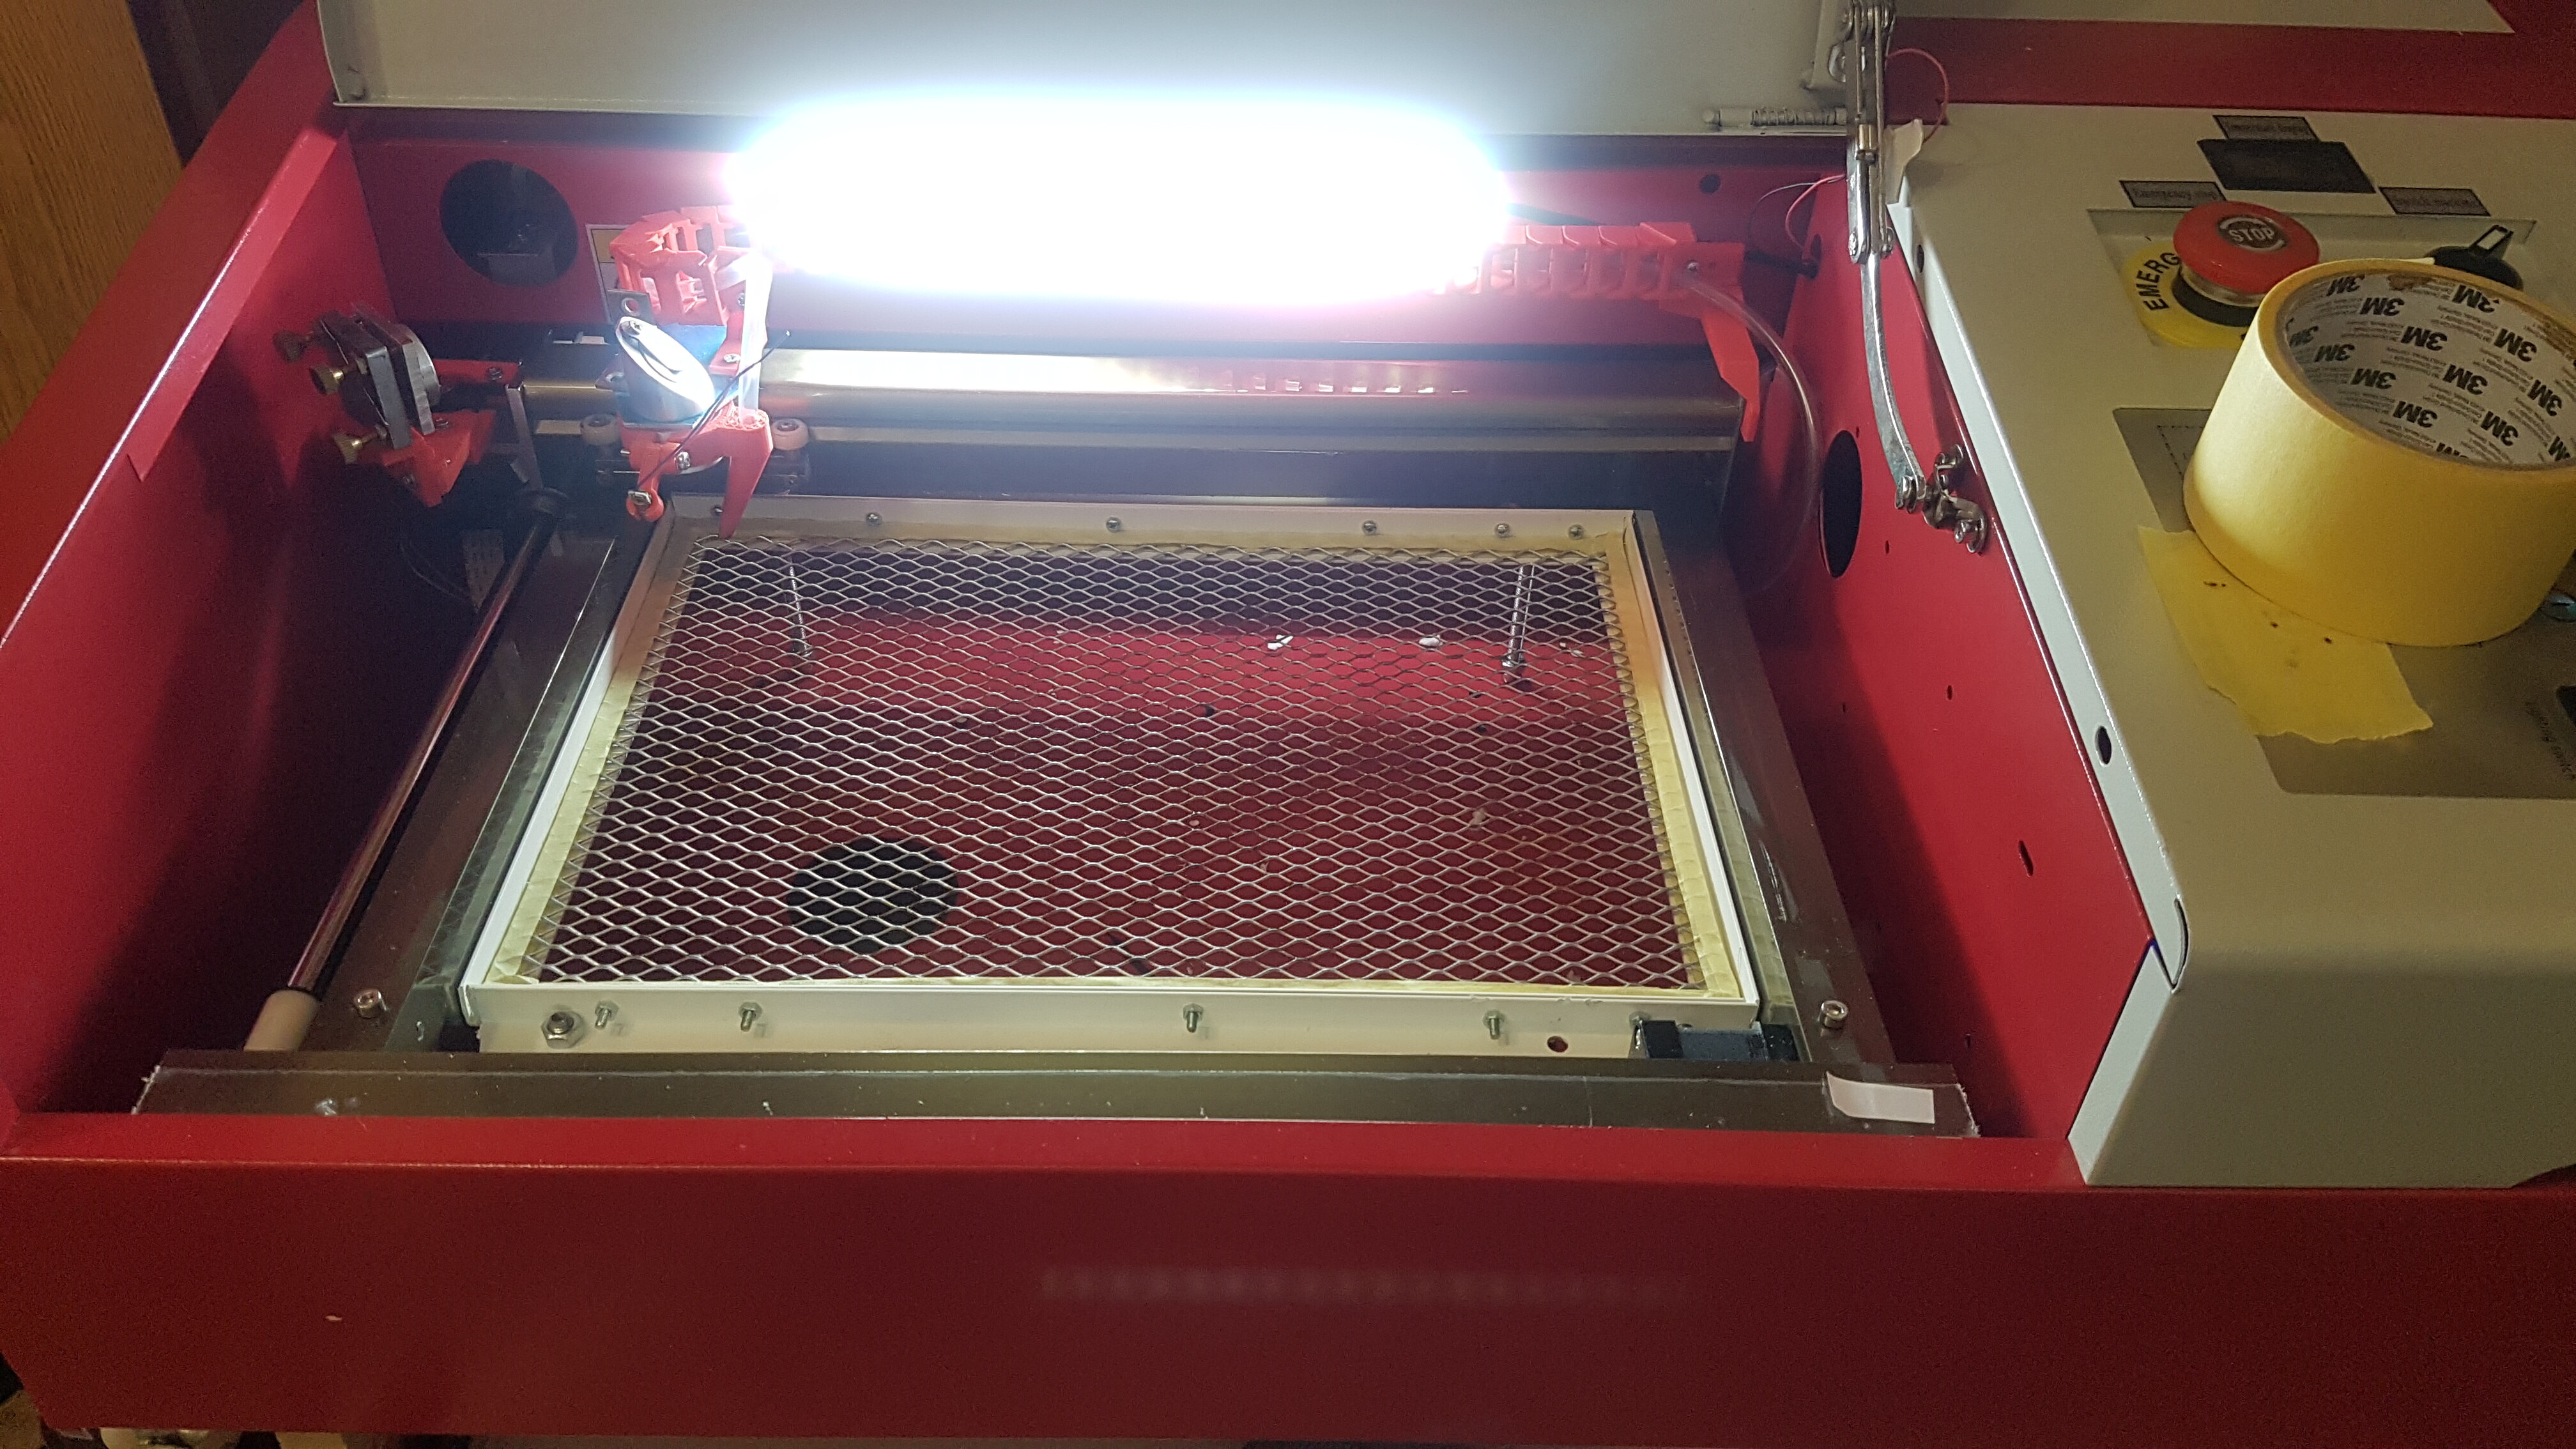
Can you provide a picture of what your bed currently looks like?
There are a number of options for an adjustable bed. (look through this post thread)
_
You should be able to cut through common 3mm ply without much problem. There is plywood made with a melamine glue that is much easier to cut, but it’s going to be more expensive.
–
This is not normal. What does your air assist set up look like? (pic preferably).
Sorry for not wrigting faster I dont have much time in the weekdays to work on the laser .
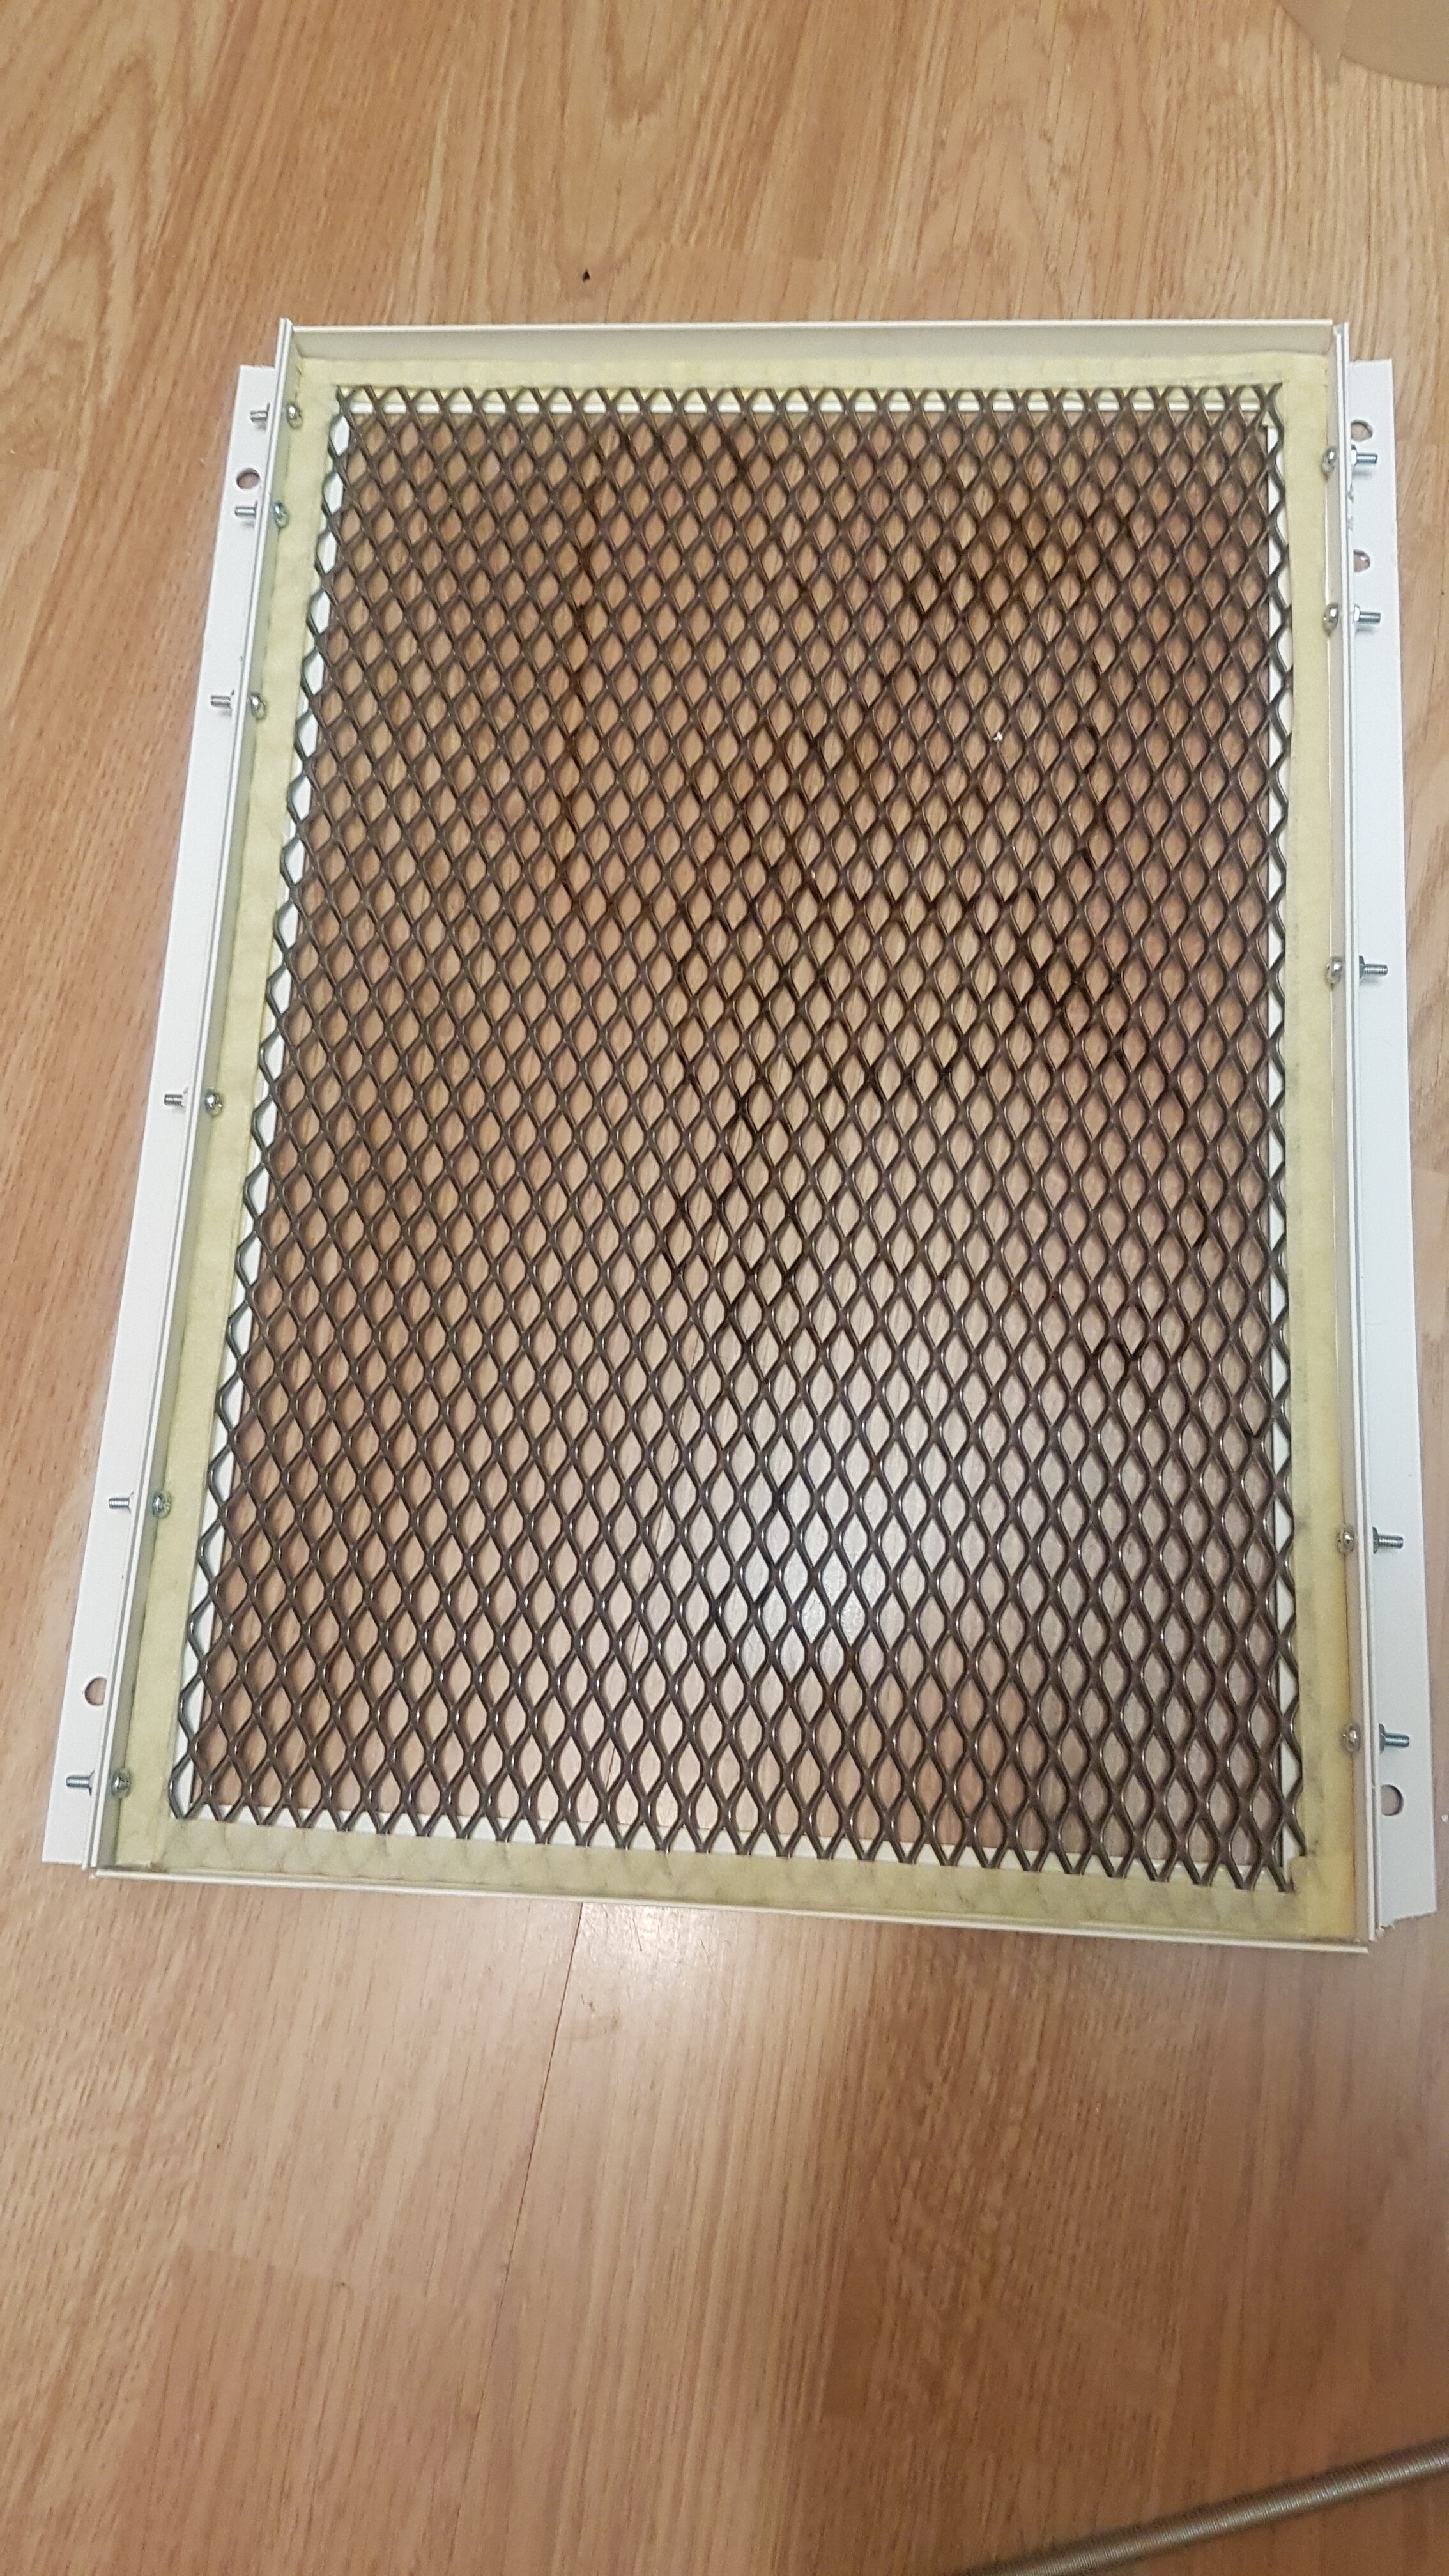
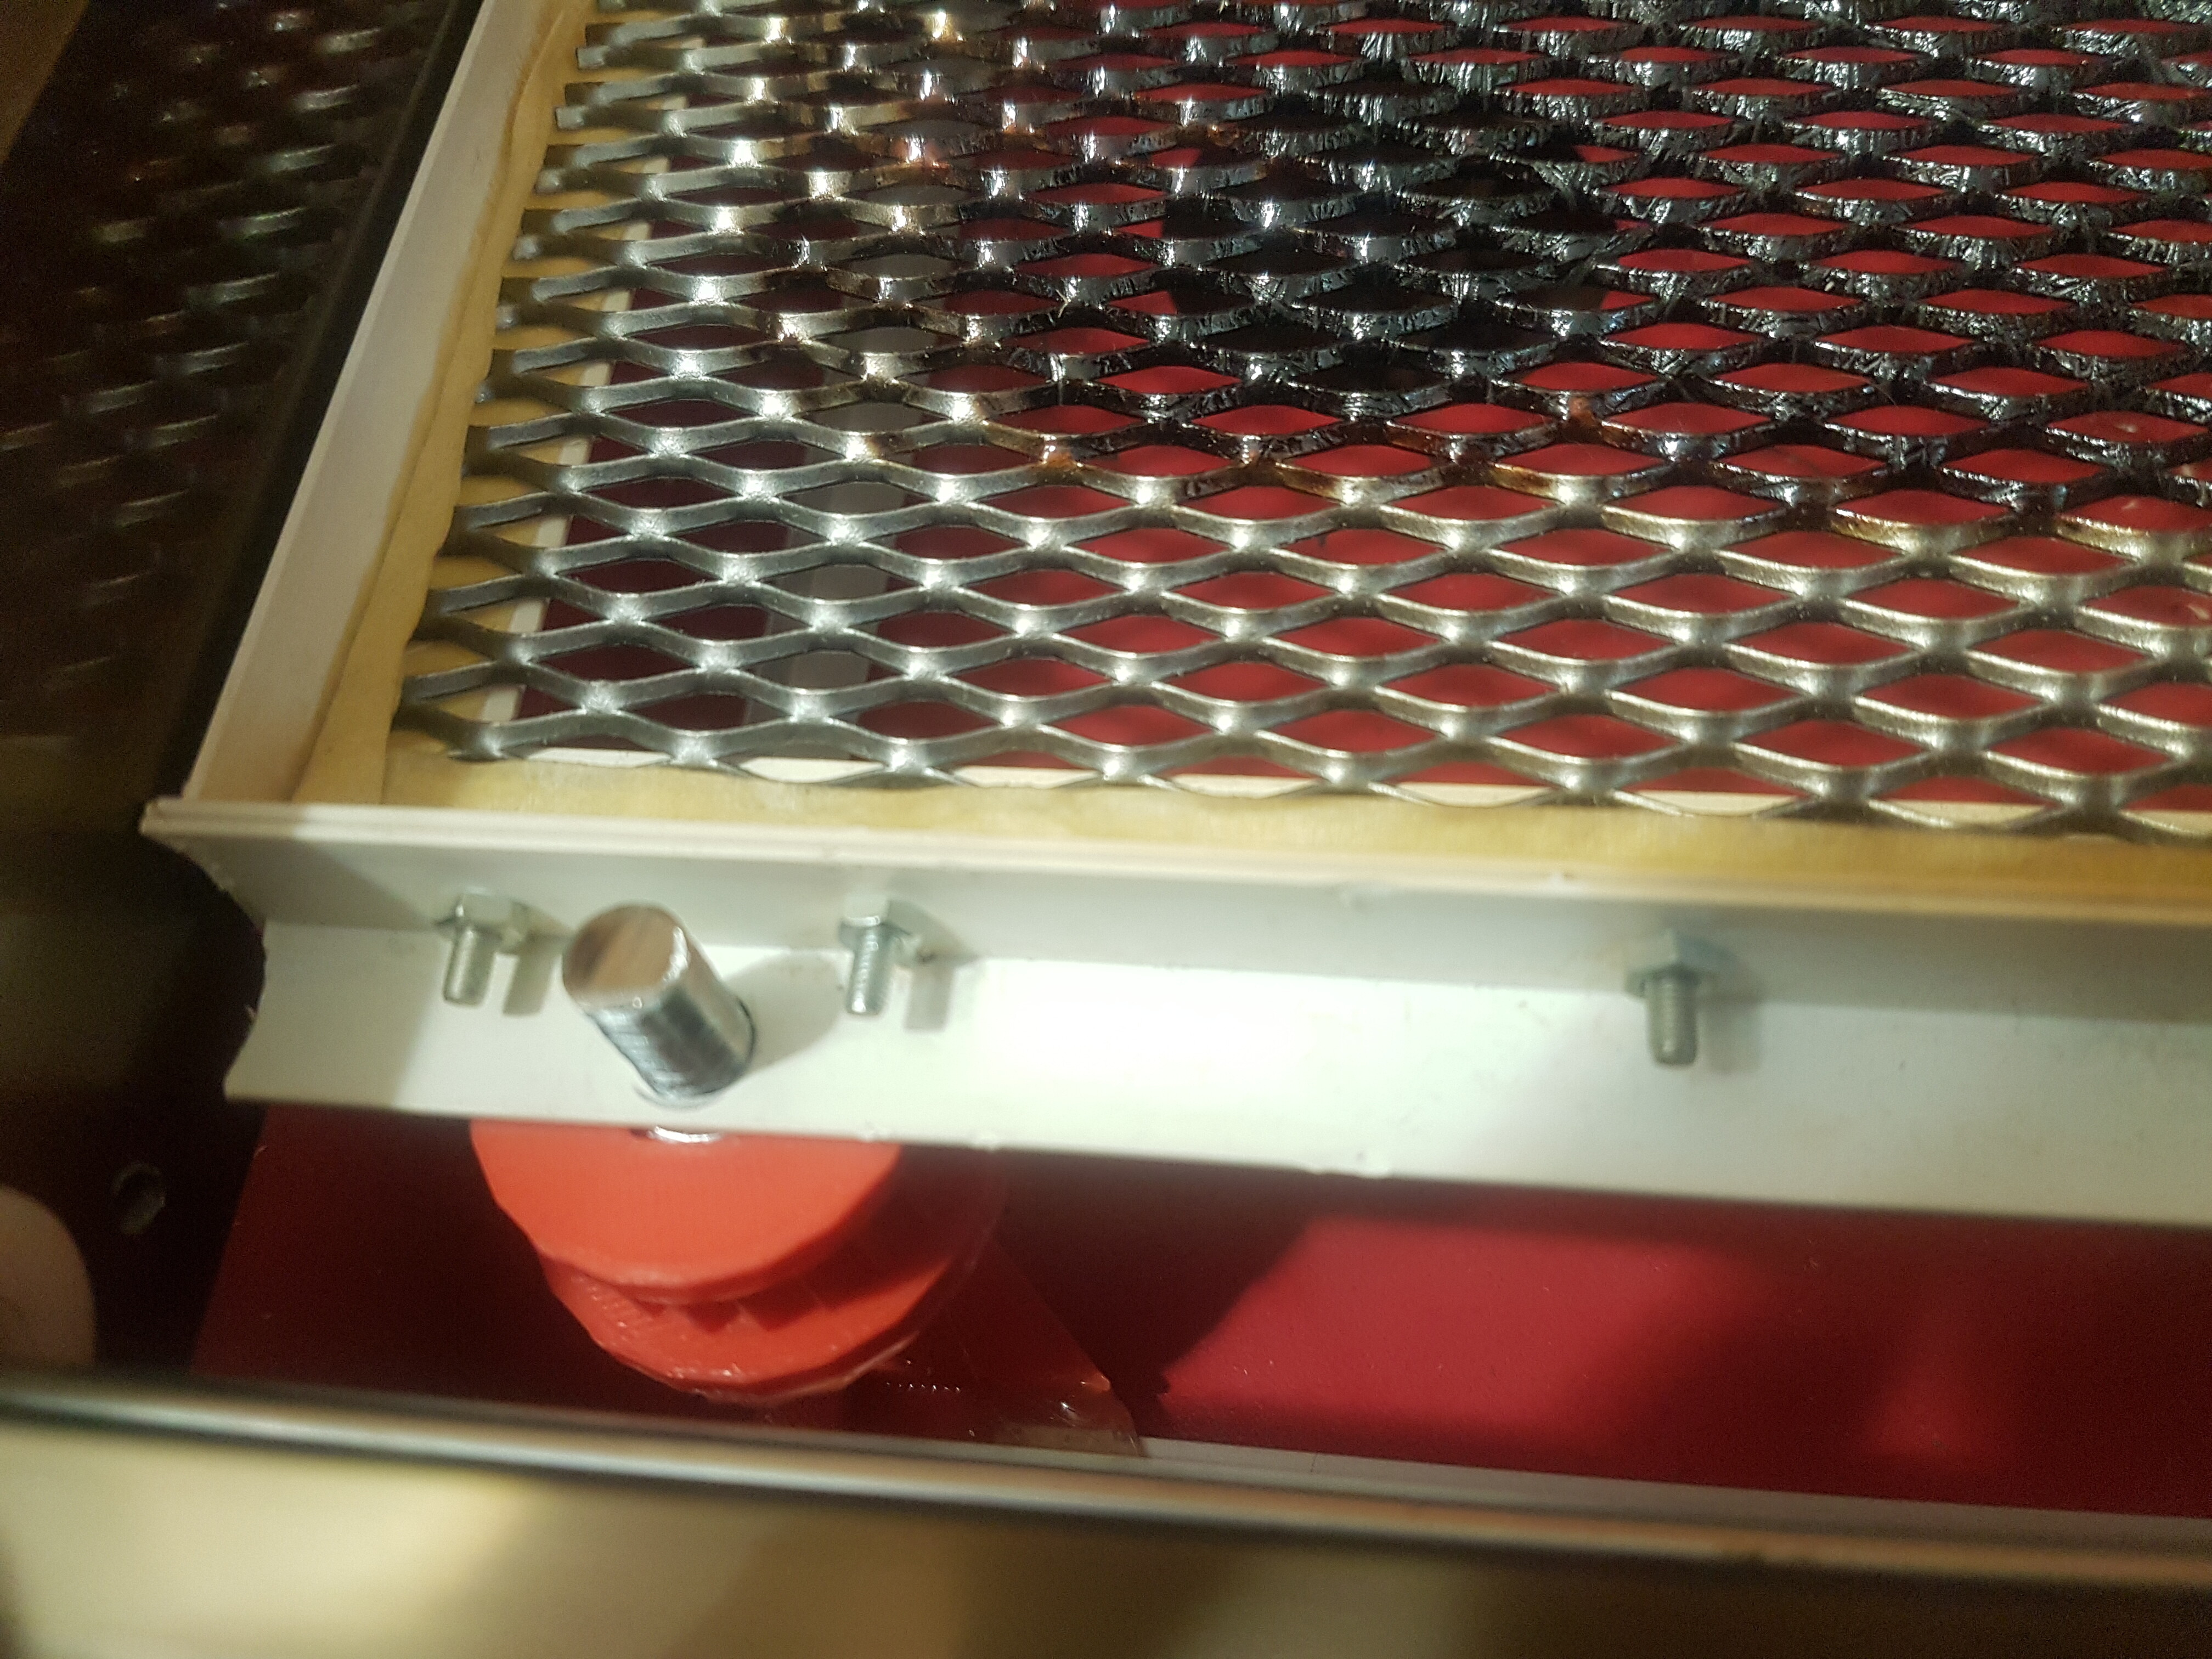
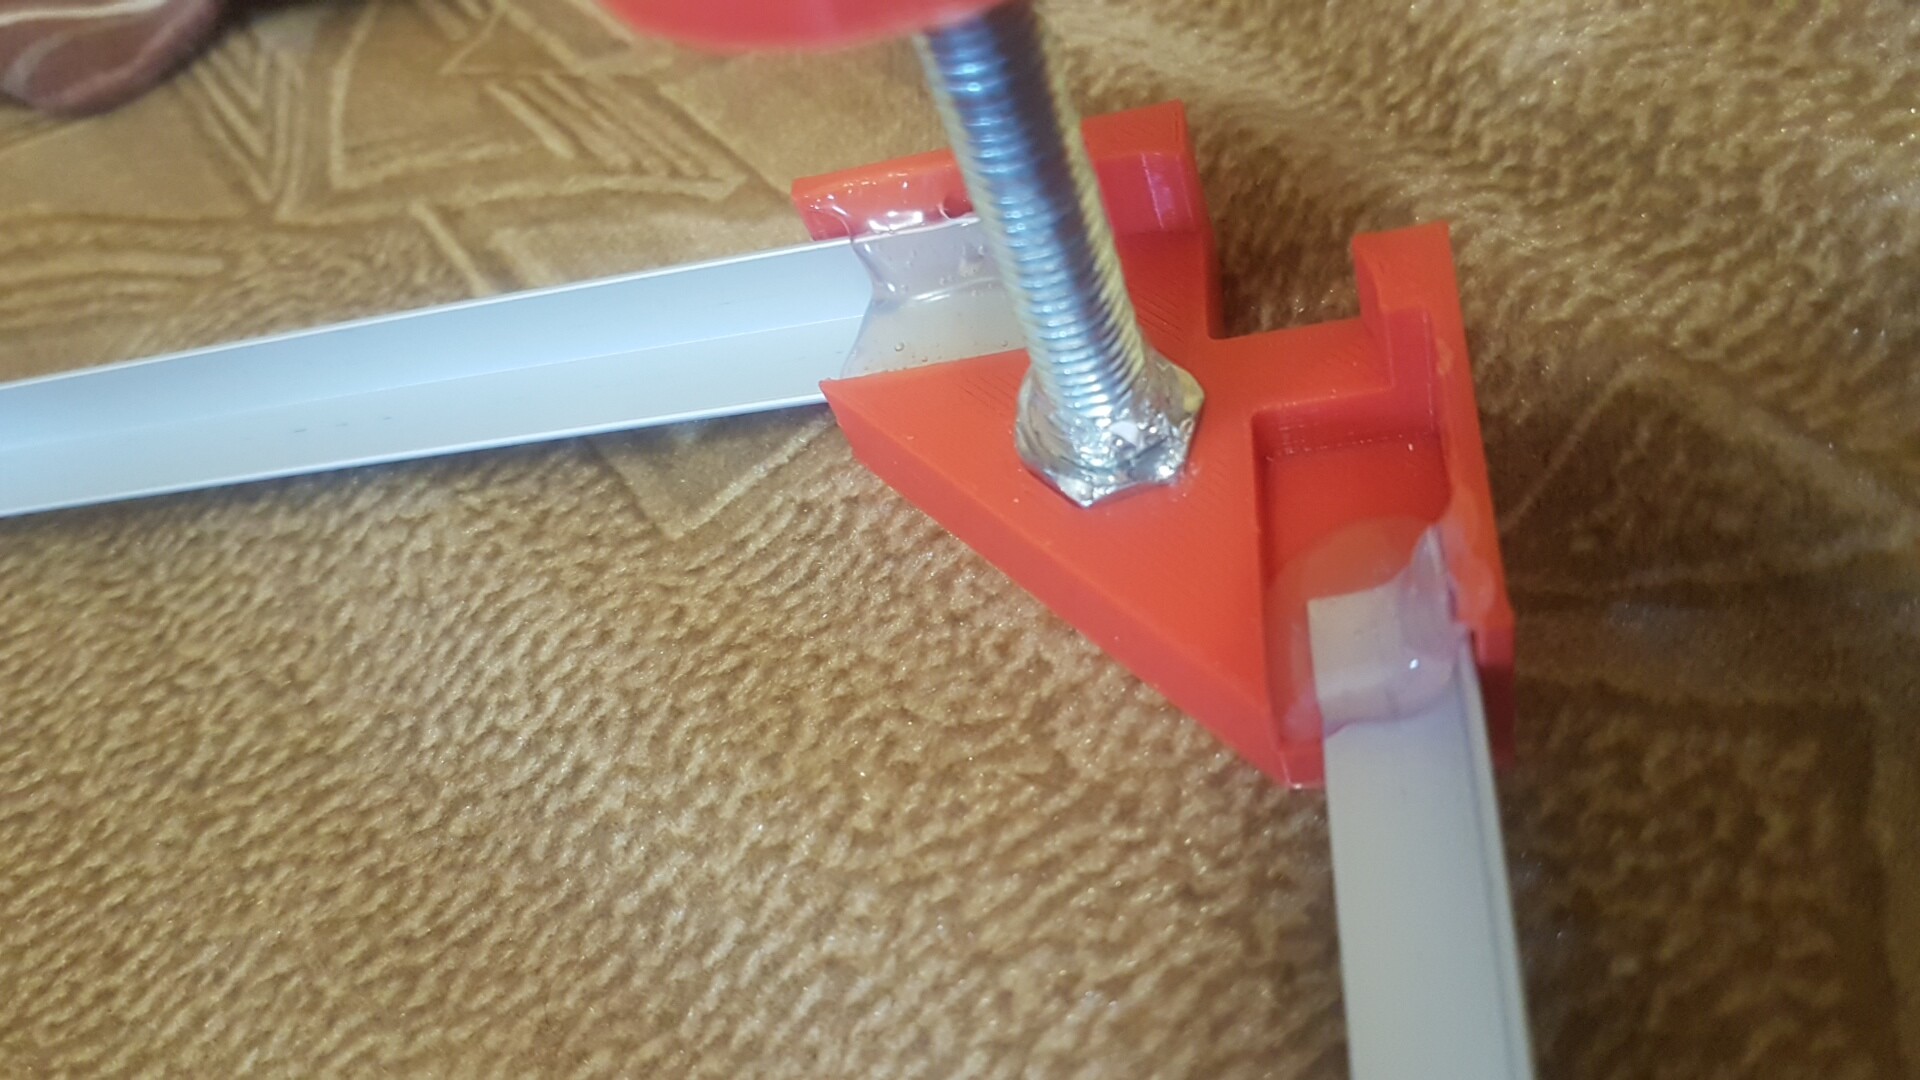
And i appolagise for t he messy picture apperantly i can share only 1 pic at the same time so i just mashed them all in one . The first 2 are the 2 beds i tried one was the stock one the other was a mesh one but it warped so now i’m making a holder (3rd picture) with some brakets to hold it and i had that long bolt thing cutted in 4 small pieces to be able to ajust it with nuts . The lower 3 pictures was my air assist which burned out i assume the propeller melted because it was not supposed to work more than 5 mins at a time who reads the manual before use . I will look for some fish tank pump . I will try to add more information about the progress as i go forward with it . I had to dissasemble the whole bed again (with the moving parts ) to get the exaust out and got it cut even more because it was in the way of the new bed in addition i noticed that there is a lot of room to allign the X and Y arms when i’m bolting them to the chassy (last 2 pictures) any advice how to properly mesure if i’m bolting them alligned . (I know i will have to re-allign the mirrors when i’m done but first i want to make sure the whole constuction is alligned ) .
That is anti-spam protection that applies to everyone when they first post, but we changed it right away because you obviously are not posting spam. So you can post more pictures now, no need to mash them together now.
I also had to removed the gantry on mine when I removed the internal exhaust port. Fortunately I had the fore thought to make marks so I could put the gantry frame back in the same spot. I think in your case you will just have to make your best guess and see how everything lines up when you test fire the laser. If your mirrors were aligned before you took out the gantry you could use to help you get the frame aligned back to the same position.
With your bed set up I do not think you are working at the optimum focus point for cutting. You really need to have someway to adjust the bed height. You can search on here for a number of options for an adjustable bed. Here is a quick and easy one I did when I first got my laser.
I made some ajustable bed and with a toothpick i manage to adjust it almost perfectly should work untill i figure something better . And for air assist i found a very old weak air pump for aquarium but it works good enough i get clean cuts now .
Yay! Part of what I love about the maker community is finding ways to make do with what we have! Making do for now and then knowing what you can get next if/when it fails is win-win.
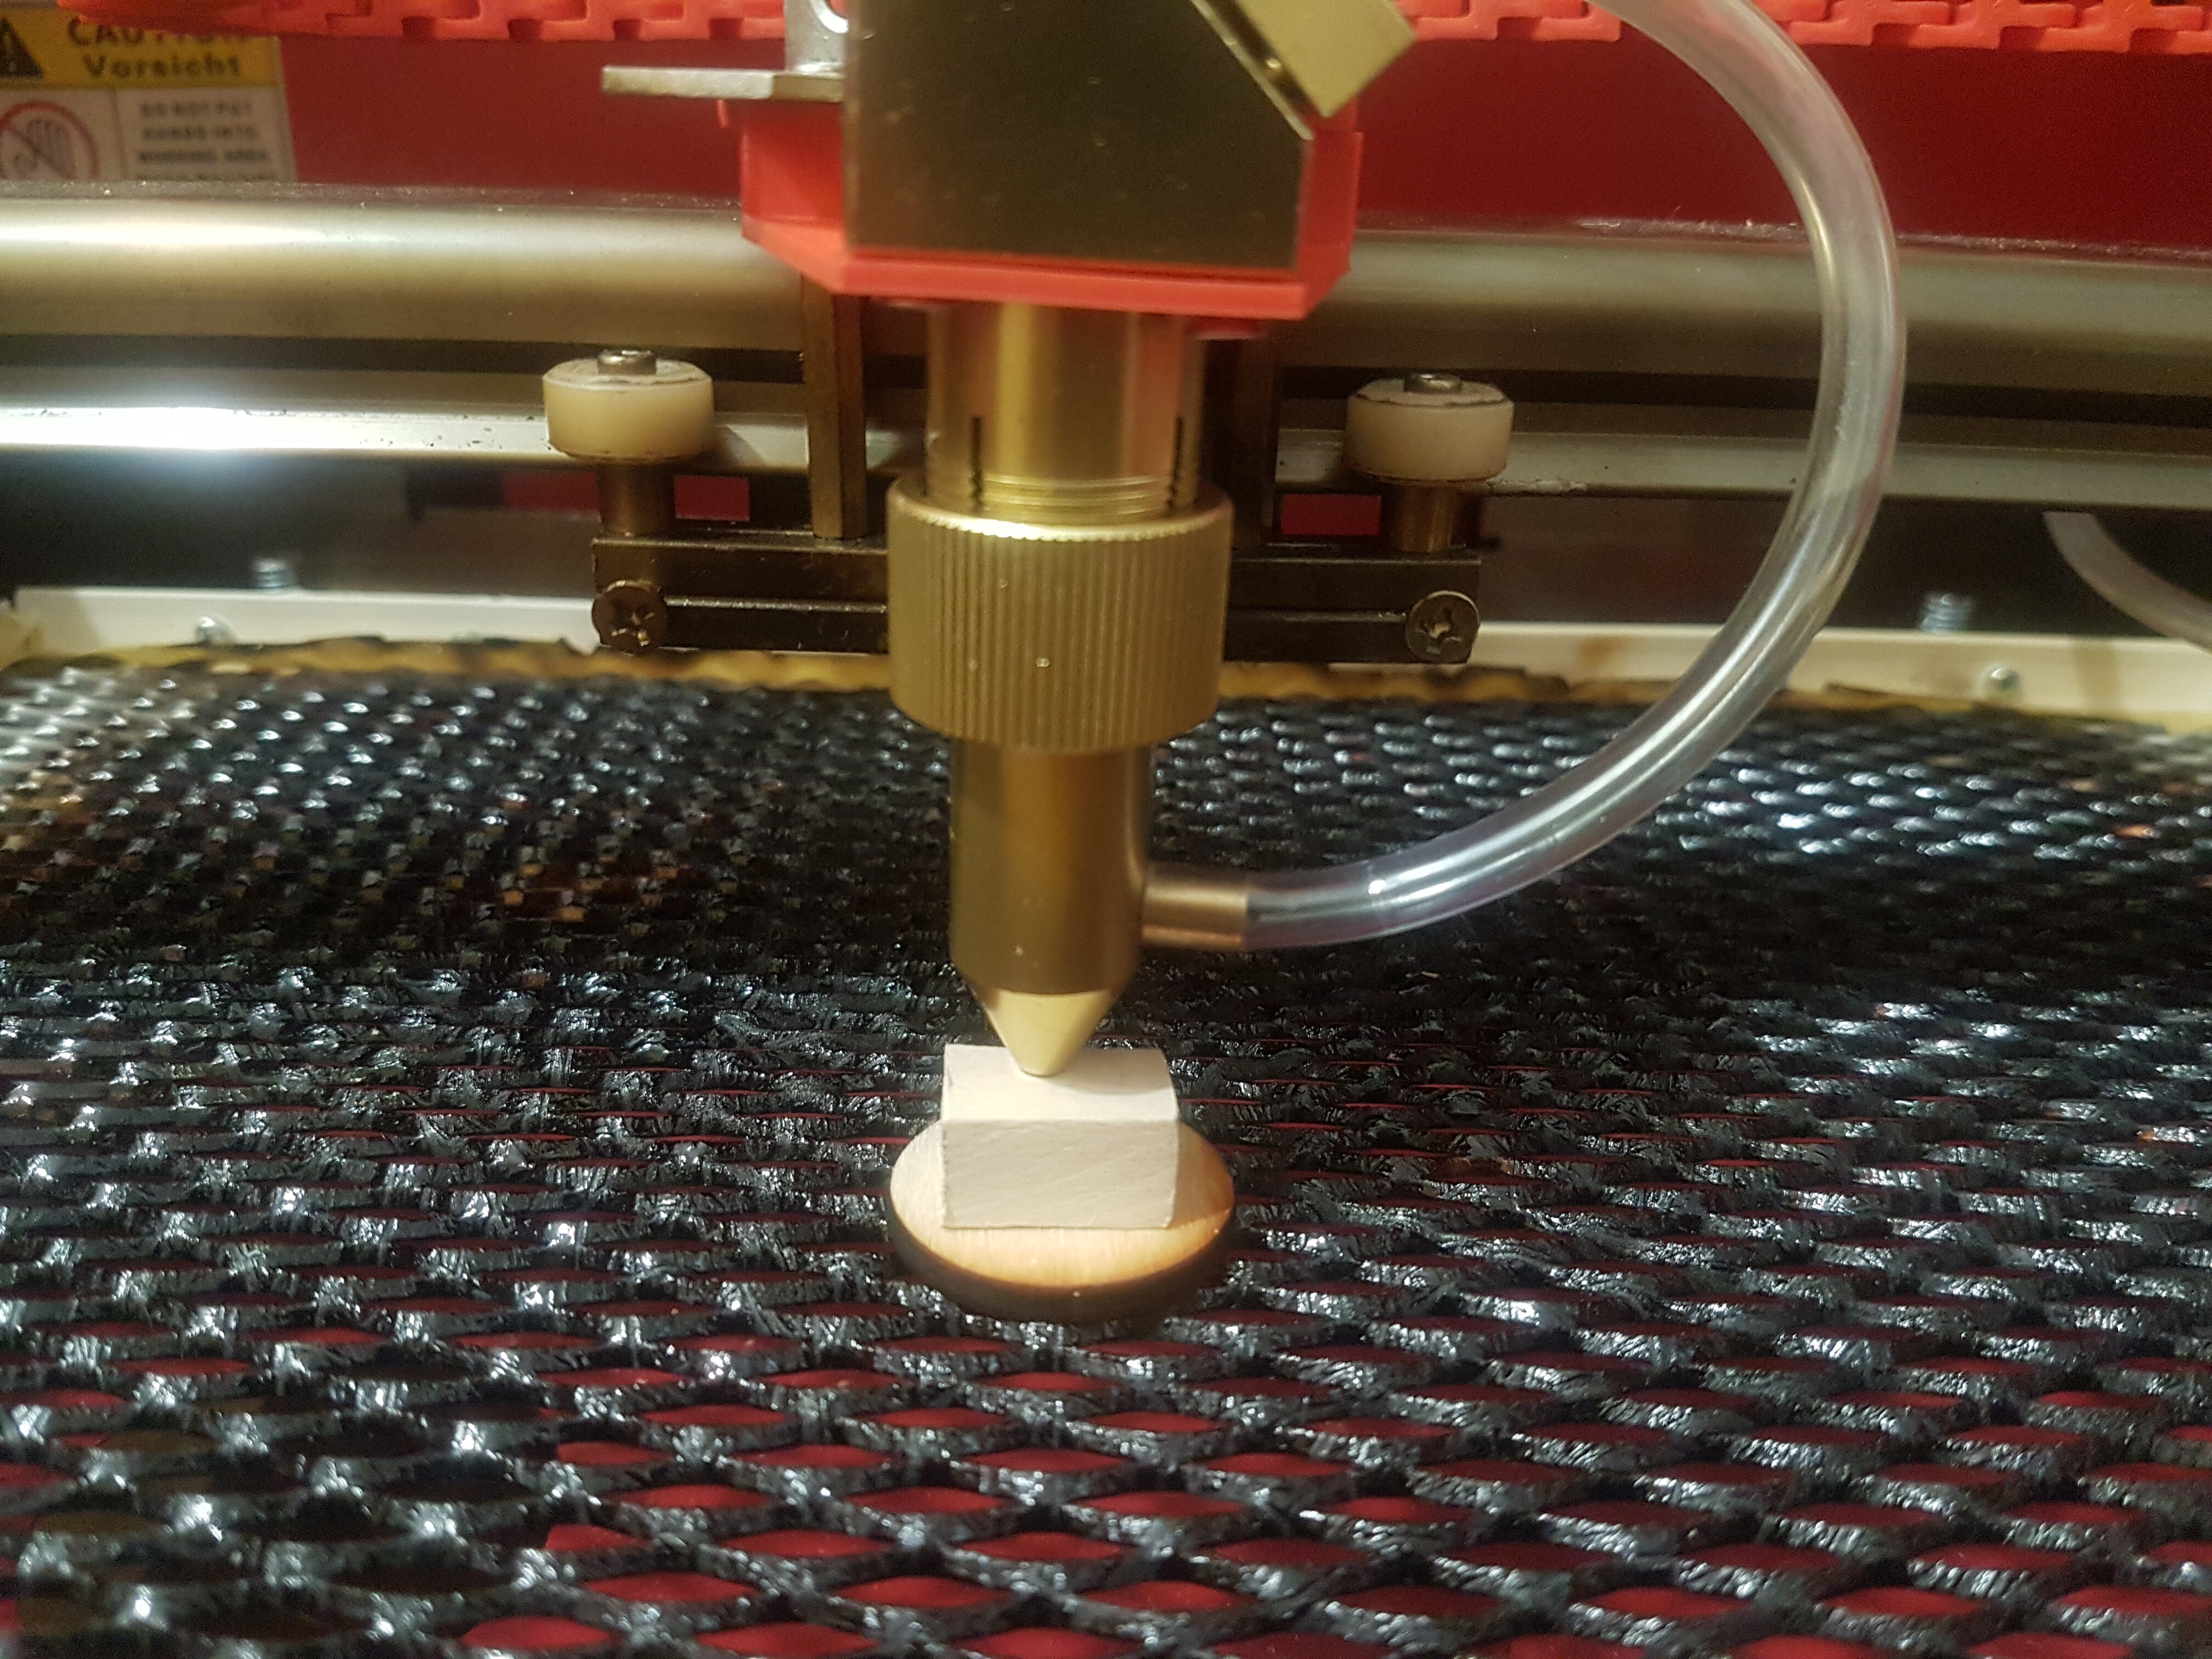
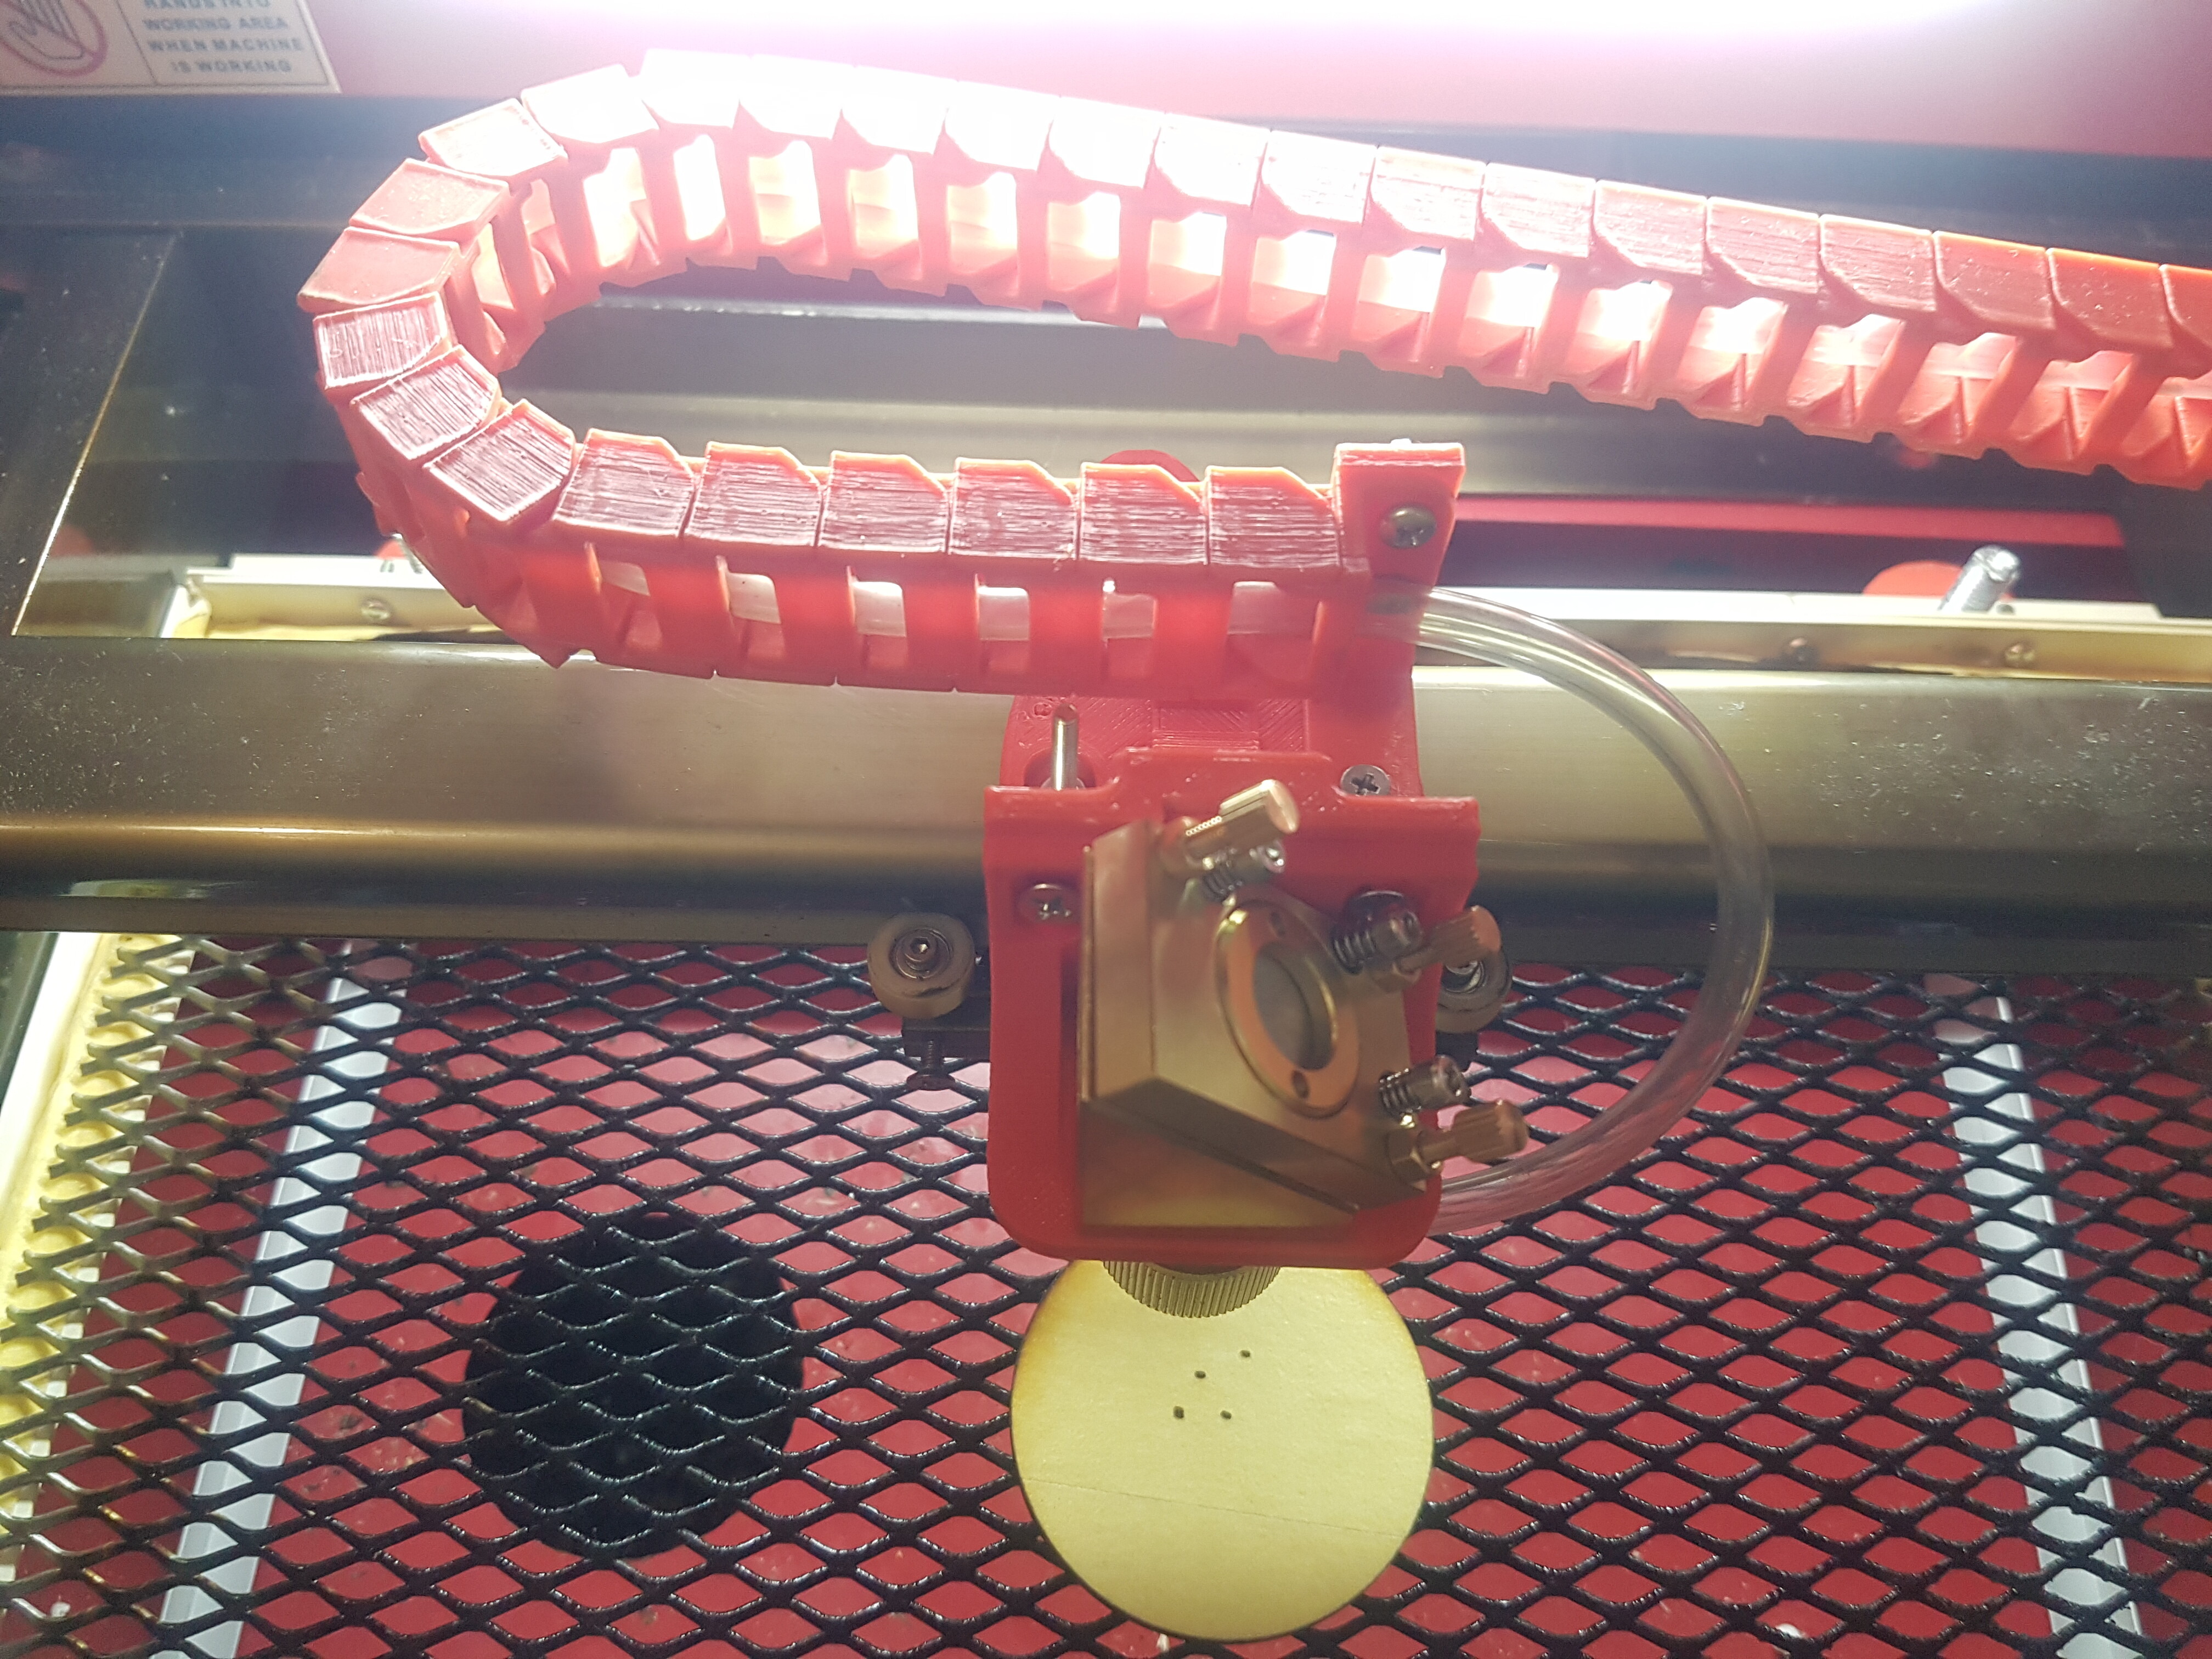
A bit of an update still havent tested it and when i do will write again . I changed the head with the one in the picture and change the base of the metal mesh . It is supposed to have a belt to move it up and down but i assume i wont need it that much having in mind the new possible Z movement of the head . I will still need to calculate some things because from the lens to the tip of the head is 40.8 and the lens is 50.8 so i need 10mm between the tip and the bead but if i put lets say 5mm thic wood that little 10mm chip i use wont be usefull and i will need to make one that is 7.5mm (from the tip to the material) for example ot at 3mm will need 8.5mm chip to hit the middle of the wood .
And yes i used hot glue to glue the base while keeping the same tabletop from the previous try but it was wobly and harder to level . The base is a 3d model from thingiverse .
you definately NEED air assist to not only help keep your main lens clean but it greatly improves cutting capability. The pump @NedMan posted a link to( ~$45 ) is the one to get. I use a compressor and a small diameter tube blowing right at the cut but will be moving to this same compressor since my main compressor is so noisy and requires pressure regulation and a hose running across my garage. The air assist also blows the smoke, fire, debris away from the cut and out of the way of the cutting beam.
And if you have a digital display on that machine PLEASE put a current meter on that and validate what digital setting gets you to 18mA and don’t go any higher than that. Also don’t operate your laser with the water temp over 25C. These are tube longevity items…
Yeah im planning to upgrade the air assist in the future for now im using an air pump for aquarium its a bit weak but for the 3mm and 4 mm wood that i cut it works . About the analog A meter im not exceeding 27% power its enough to cut but having in mind that i may want to start something more serious i will pprobaby put one . The temperature is a bit of an issue i try to never go over 22 degrees and mostly i manage keeping it between 18 and 22 but it melts my ice quite fast and i can use it only for like hour and a half 2 max a day . I had ordered a “chiller” cw-3000 but i read its just a fan and will chill to room temperature so i canceled the order thinking about a diy chiller from an old fridge compressor maybe will have to read a lot about it first . And for the interlocks i already shot my finger once didnt even leave a scar but it was between the 2nd and 3rd mirror not a bad idea to have .
I know im trying to be extra careful the only time I’m working with the laser open is for mirror alignment and then when i run the laser first times im always always putting something in front of my face and looking the other way and after that looking at the marks on the tape . When im sure that the laser is hitting closer to the center im a bit more reckless with the minor adjustments. But thank you for the worry i will try to be careful .
Hi everyone . A bit of update i manage to butcher it on the laser head with my trusty 3d printer and some thingivers models. My only issue now is how to align the 3rd mirror towards the lens . Currently its making the laser dot a bit like elips instead of a dot . Any suggestions
 who reads the manual before use . I will look for some fish tank pump . I will try to add more information about the progress as i go forward with it . I had to dissasemble the whole bed again (with the moving parts ) to get the exaust out and got it cut even more because it was in the way of the new bed in addition i noticed that there is a lot of room to allign the X and Y arms when i’m bolting them to the chassy (last 2 pictures) any advice how to properly mesure if i’m bolting them alligned . (I know i will have to re-allign the mirrors when i’m done but first i want to make sure the whole constuction is alligned ) .