Installed the second mirror mount to get this started because it appeared to be a direct drop in replacement.
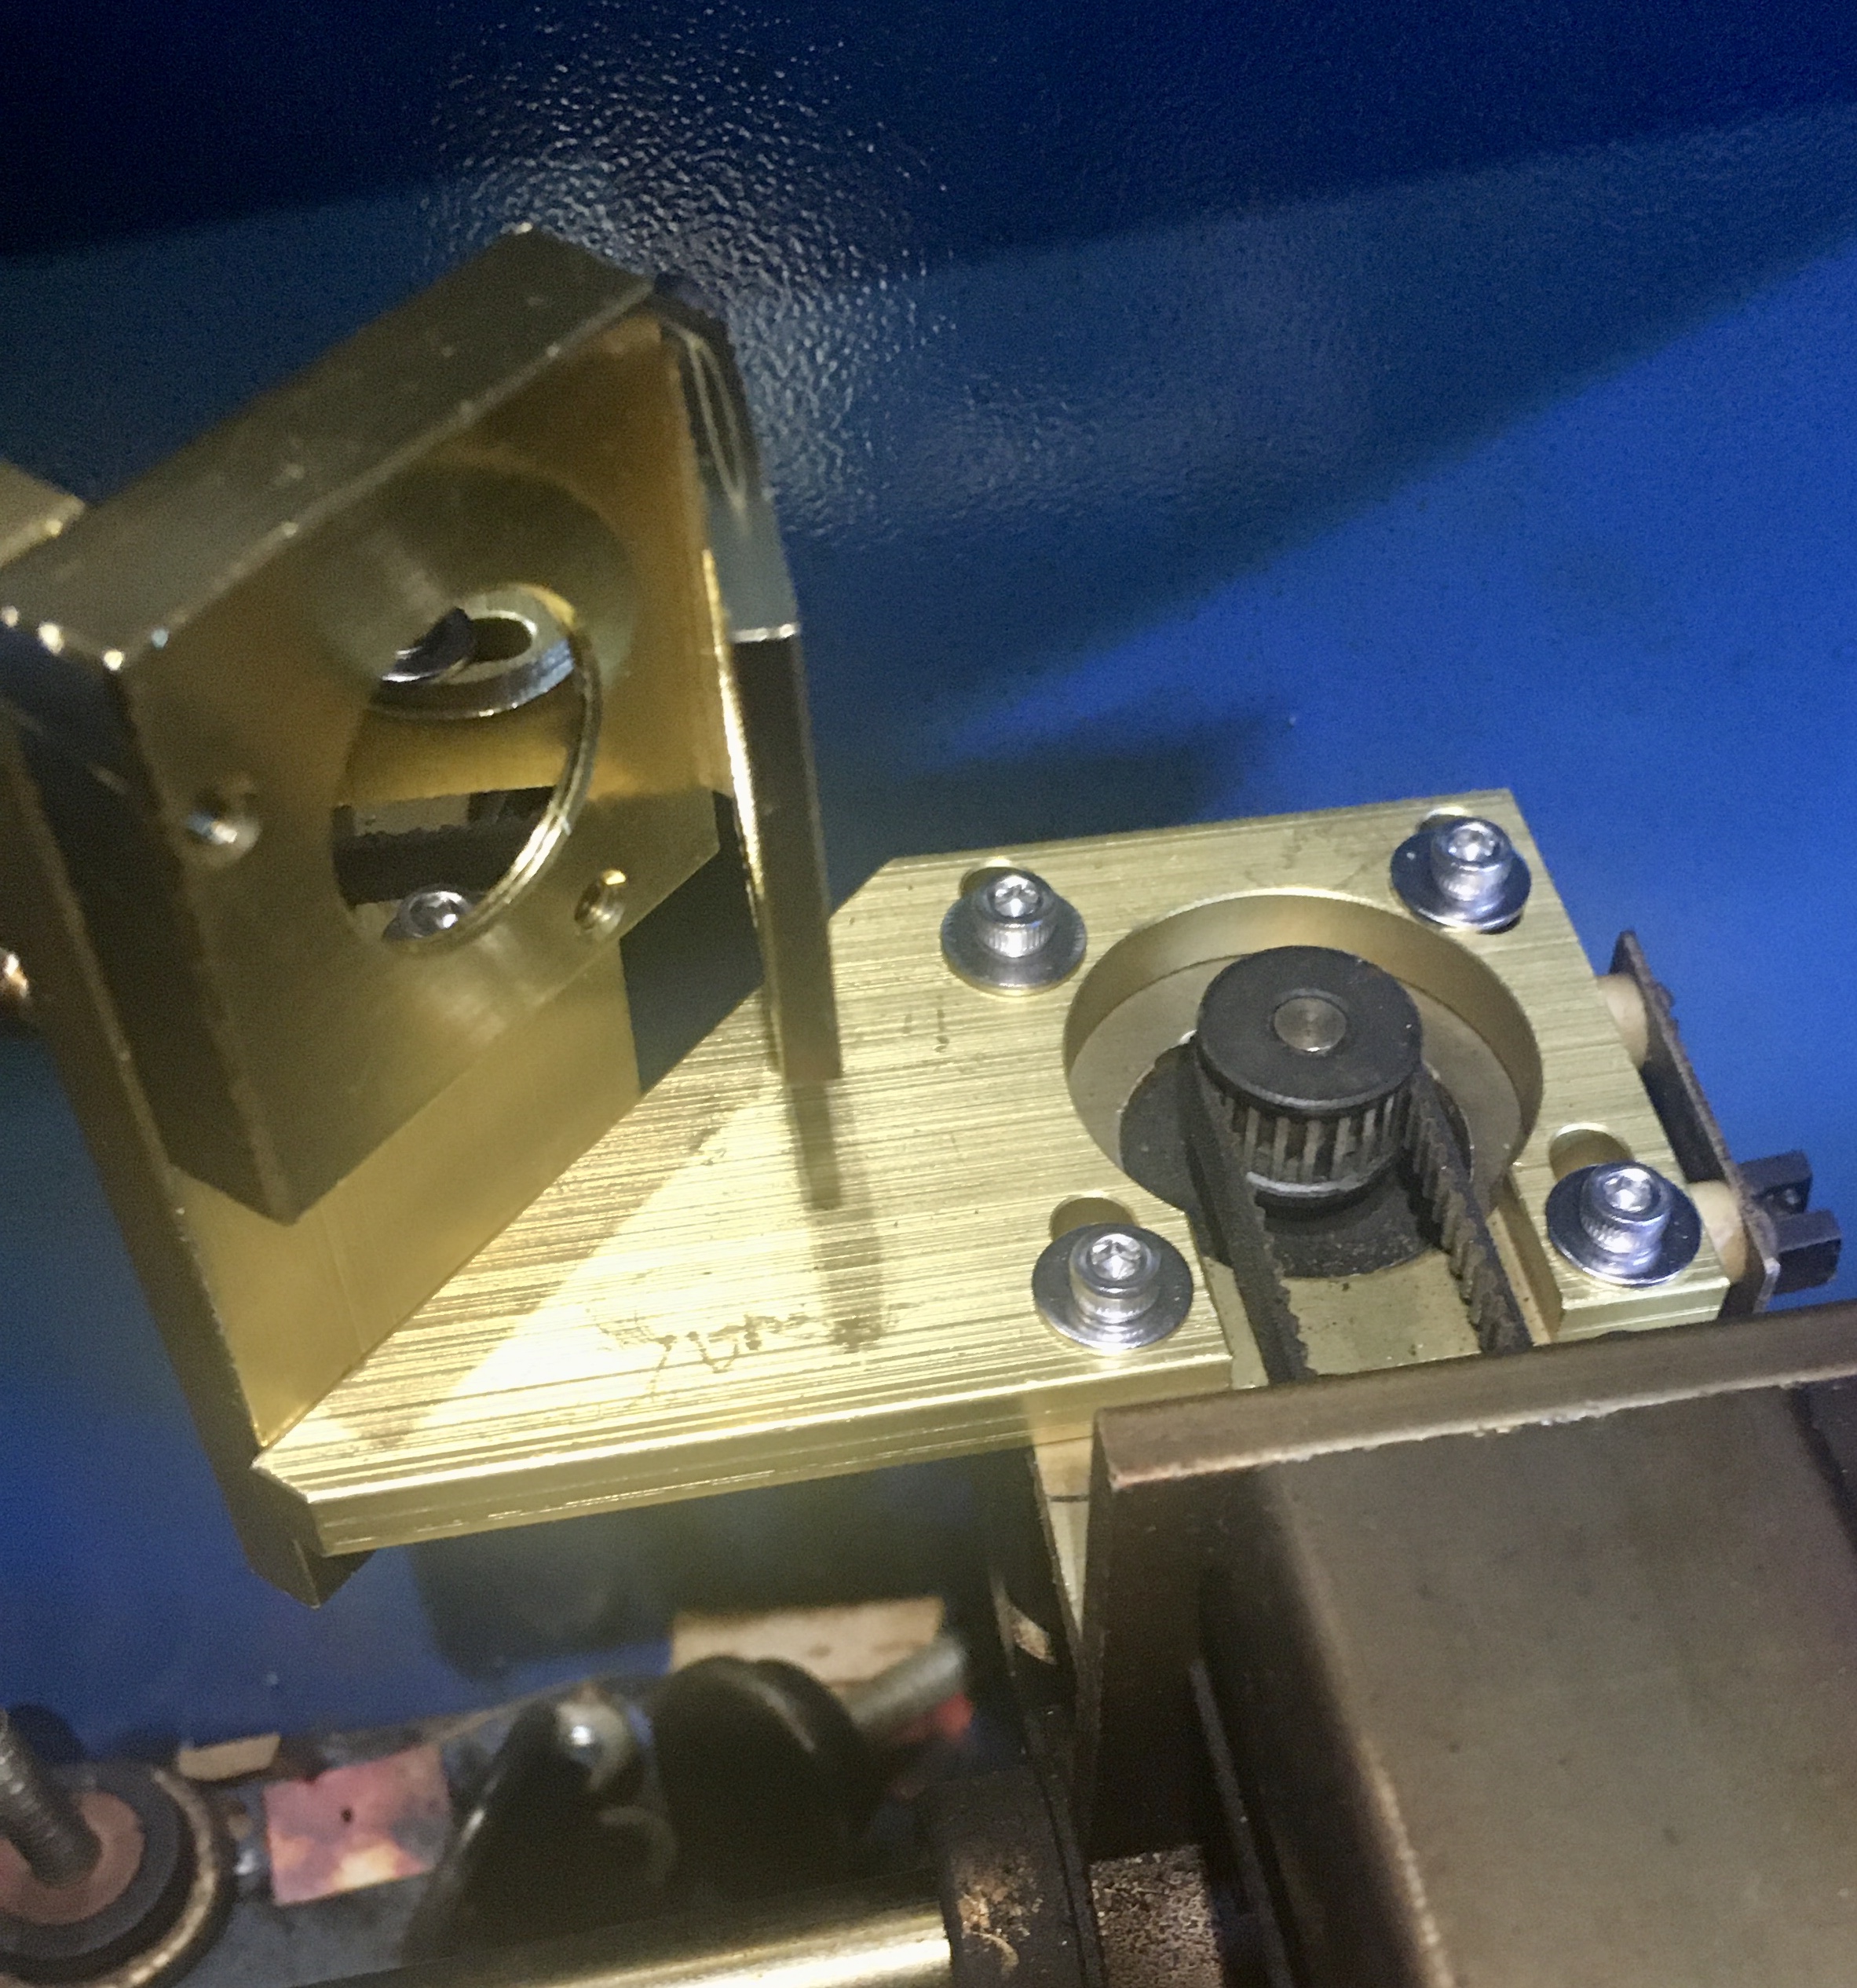
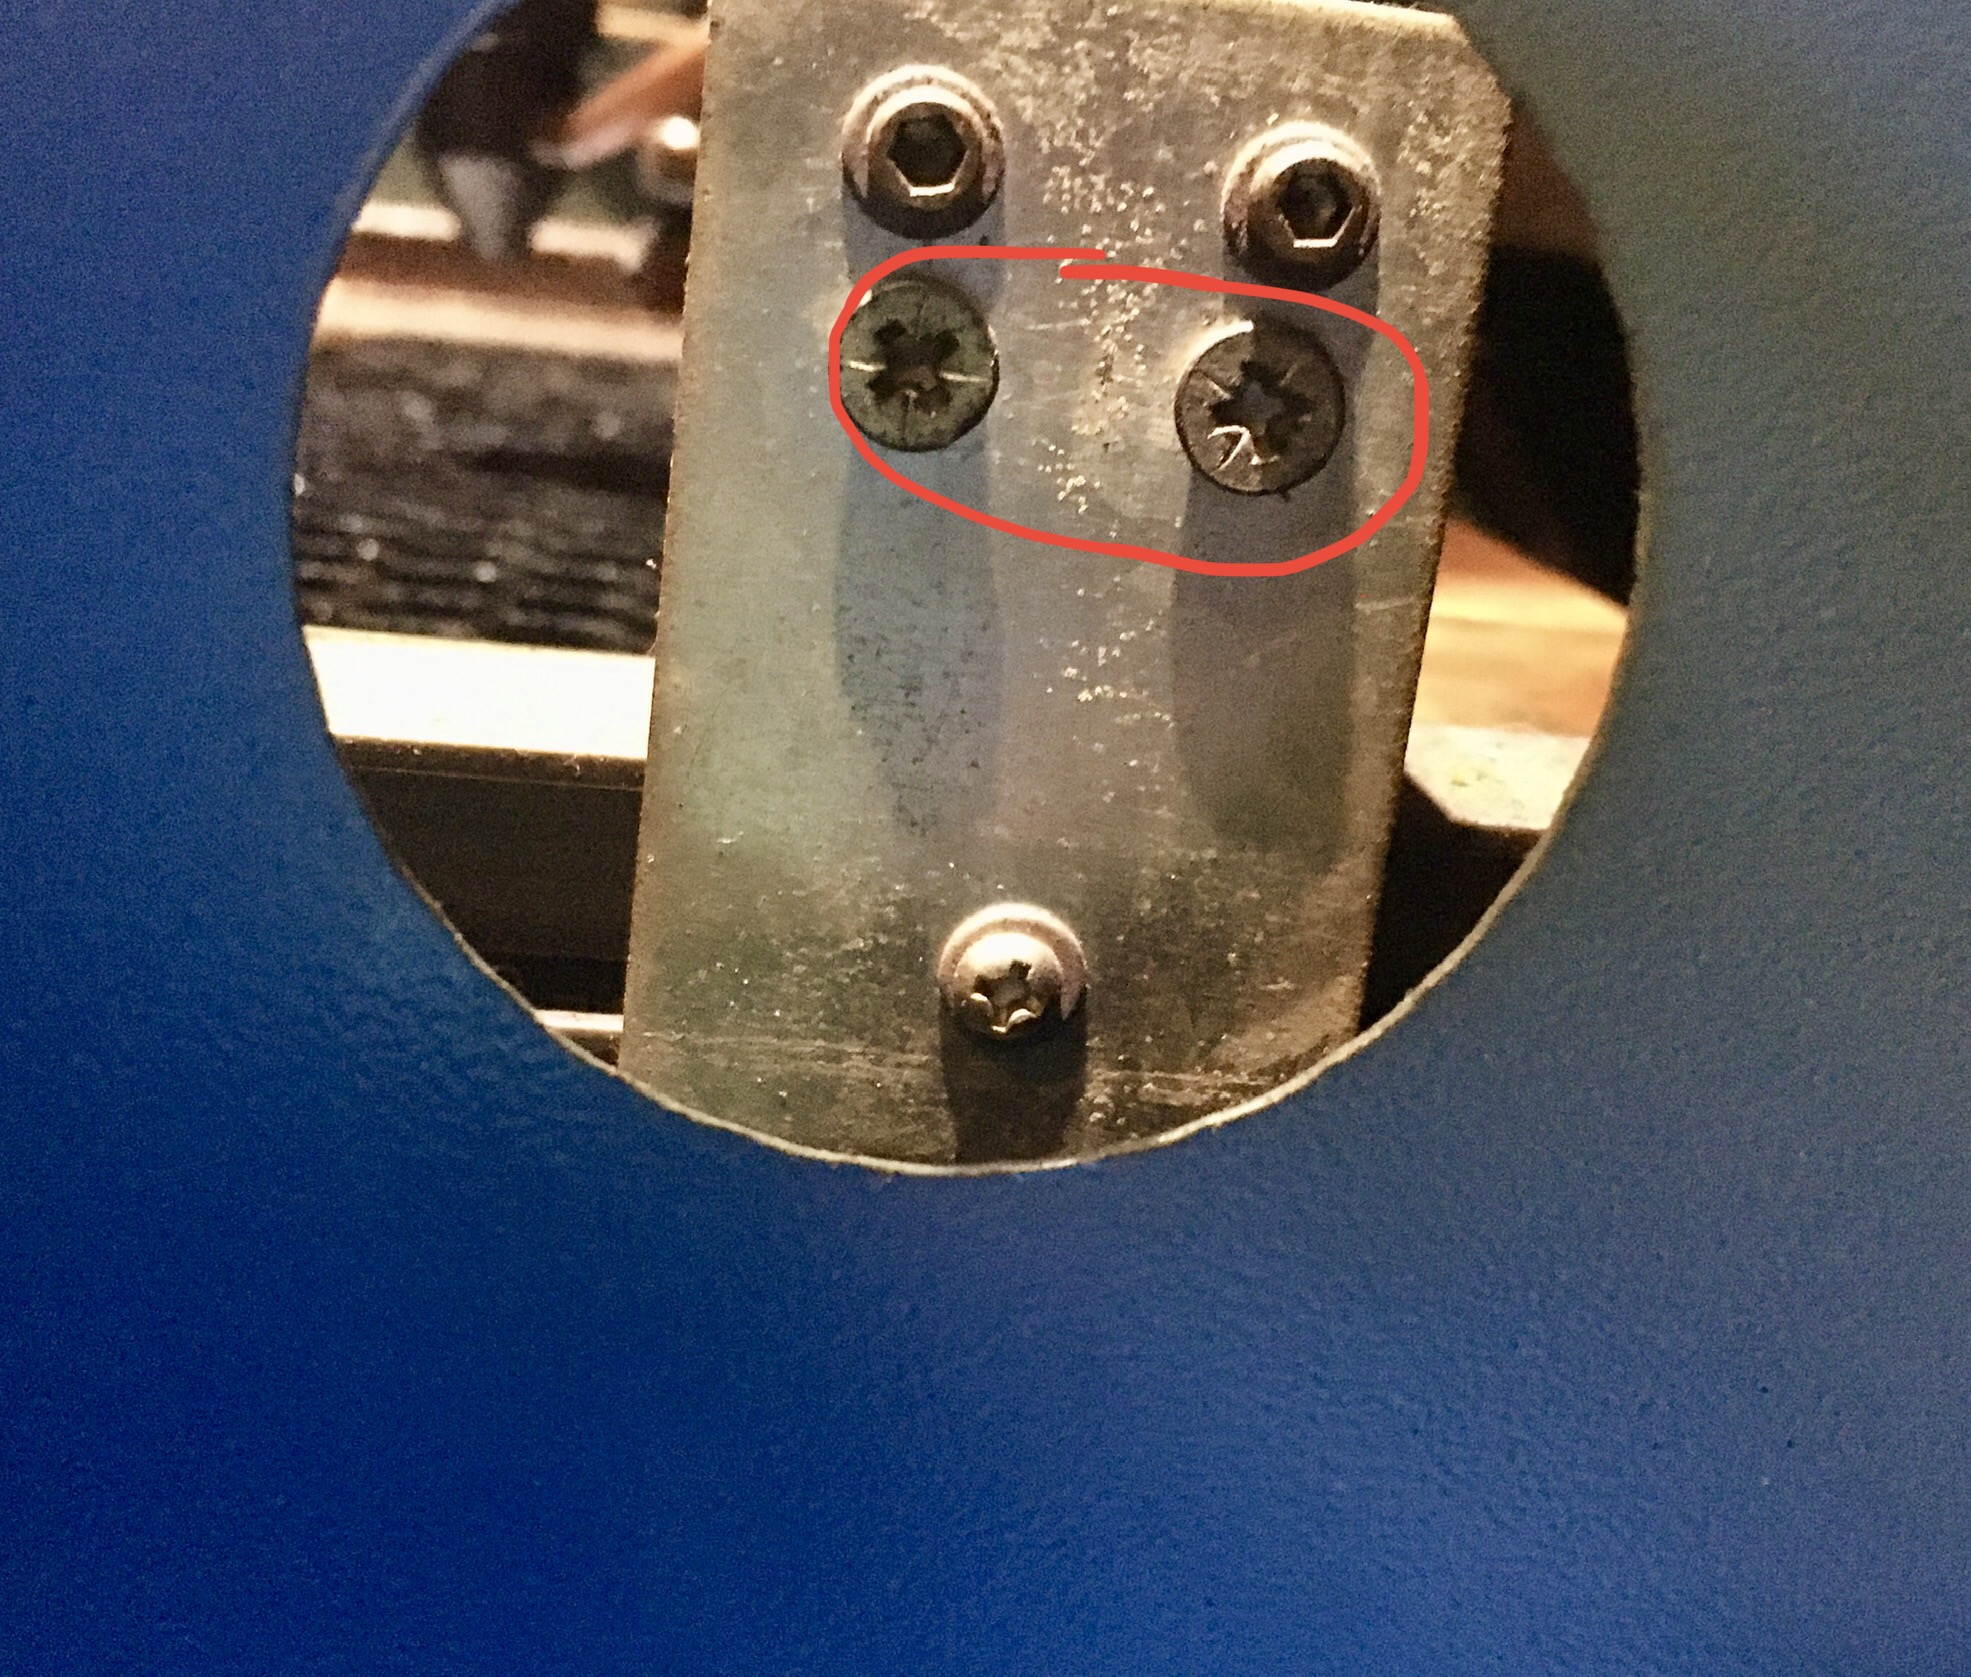
The mounting plate goes over the motor, around the pulley, with a section milled out for the belt to pass over. This means you have to loosen the x-belt and remove it from the motor pulley. If you haven’t worked with the x-belt, the belt tensioning screws are on the right side. You access the screws from a hole in the wall between the laser compartment and the LPS compartment. Loosen both screws, shown circled, about the same amount until you can remove the belt from the motor pulley.
Mounted the new mirror mount using 4 M3 x 15mm stainless steel hex cap screws with washers and reinstalled the belt. Be sure not to over tighten the belt which can cause binding.
Lightly tightened the new mounting screws just enough so I could still move the mount side to side. Placed a piece of tape over the alignment wing and moved the mount back and forth, with test fires, until I got it centered on the beam. Tried to keep the back edge of the mounting plate parallel to the edge of the motor. Tightened all screws.
Aligning the mirror to the laser head actually went fairly quickly. Looks so purty
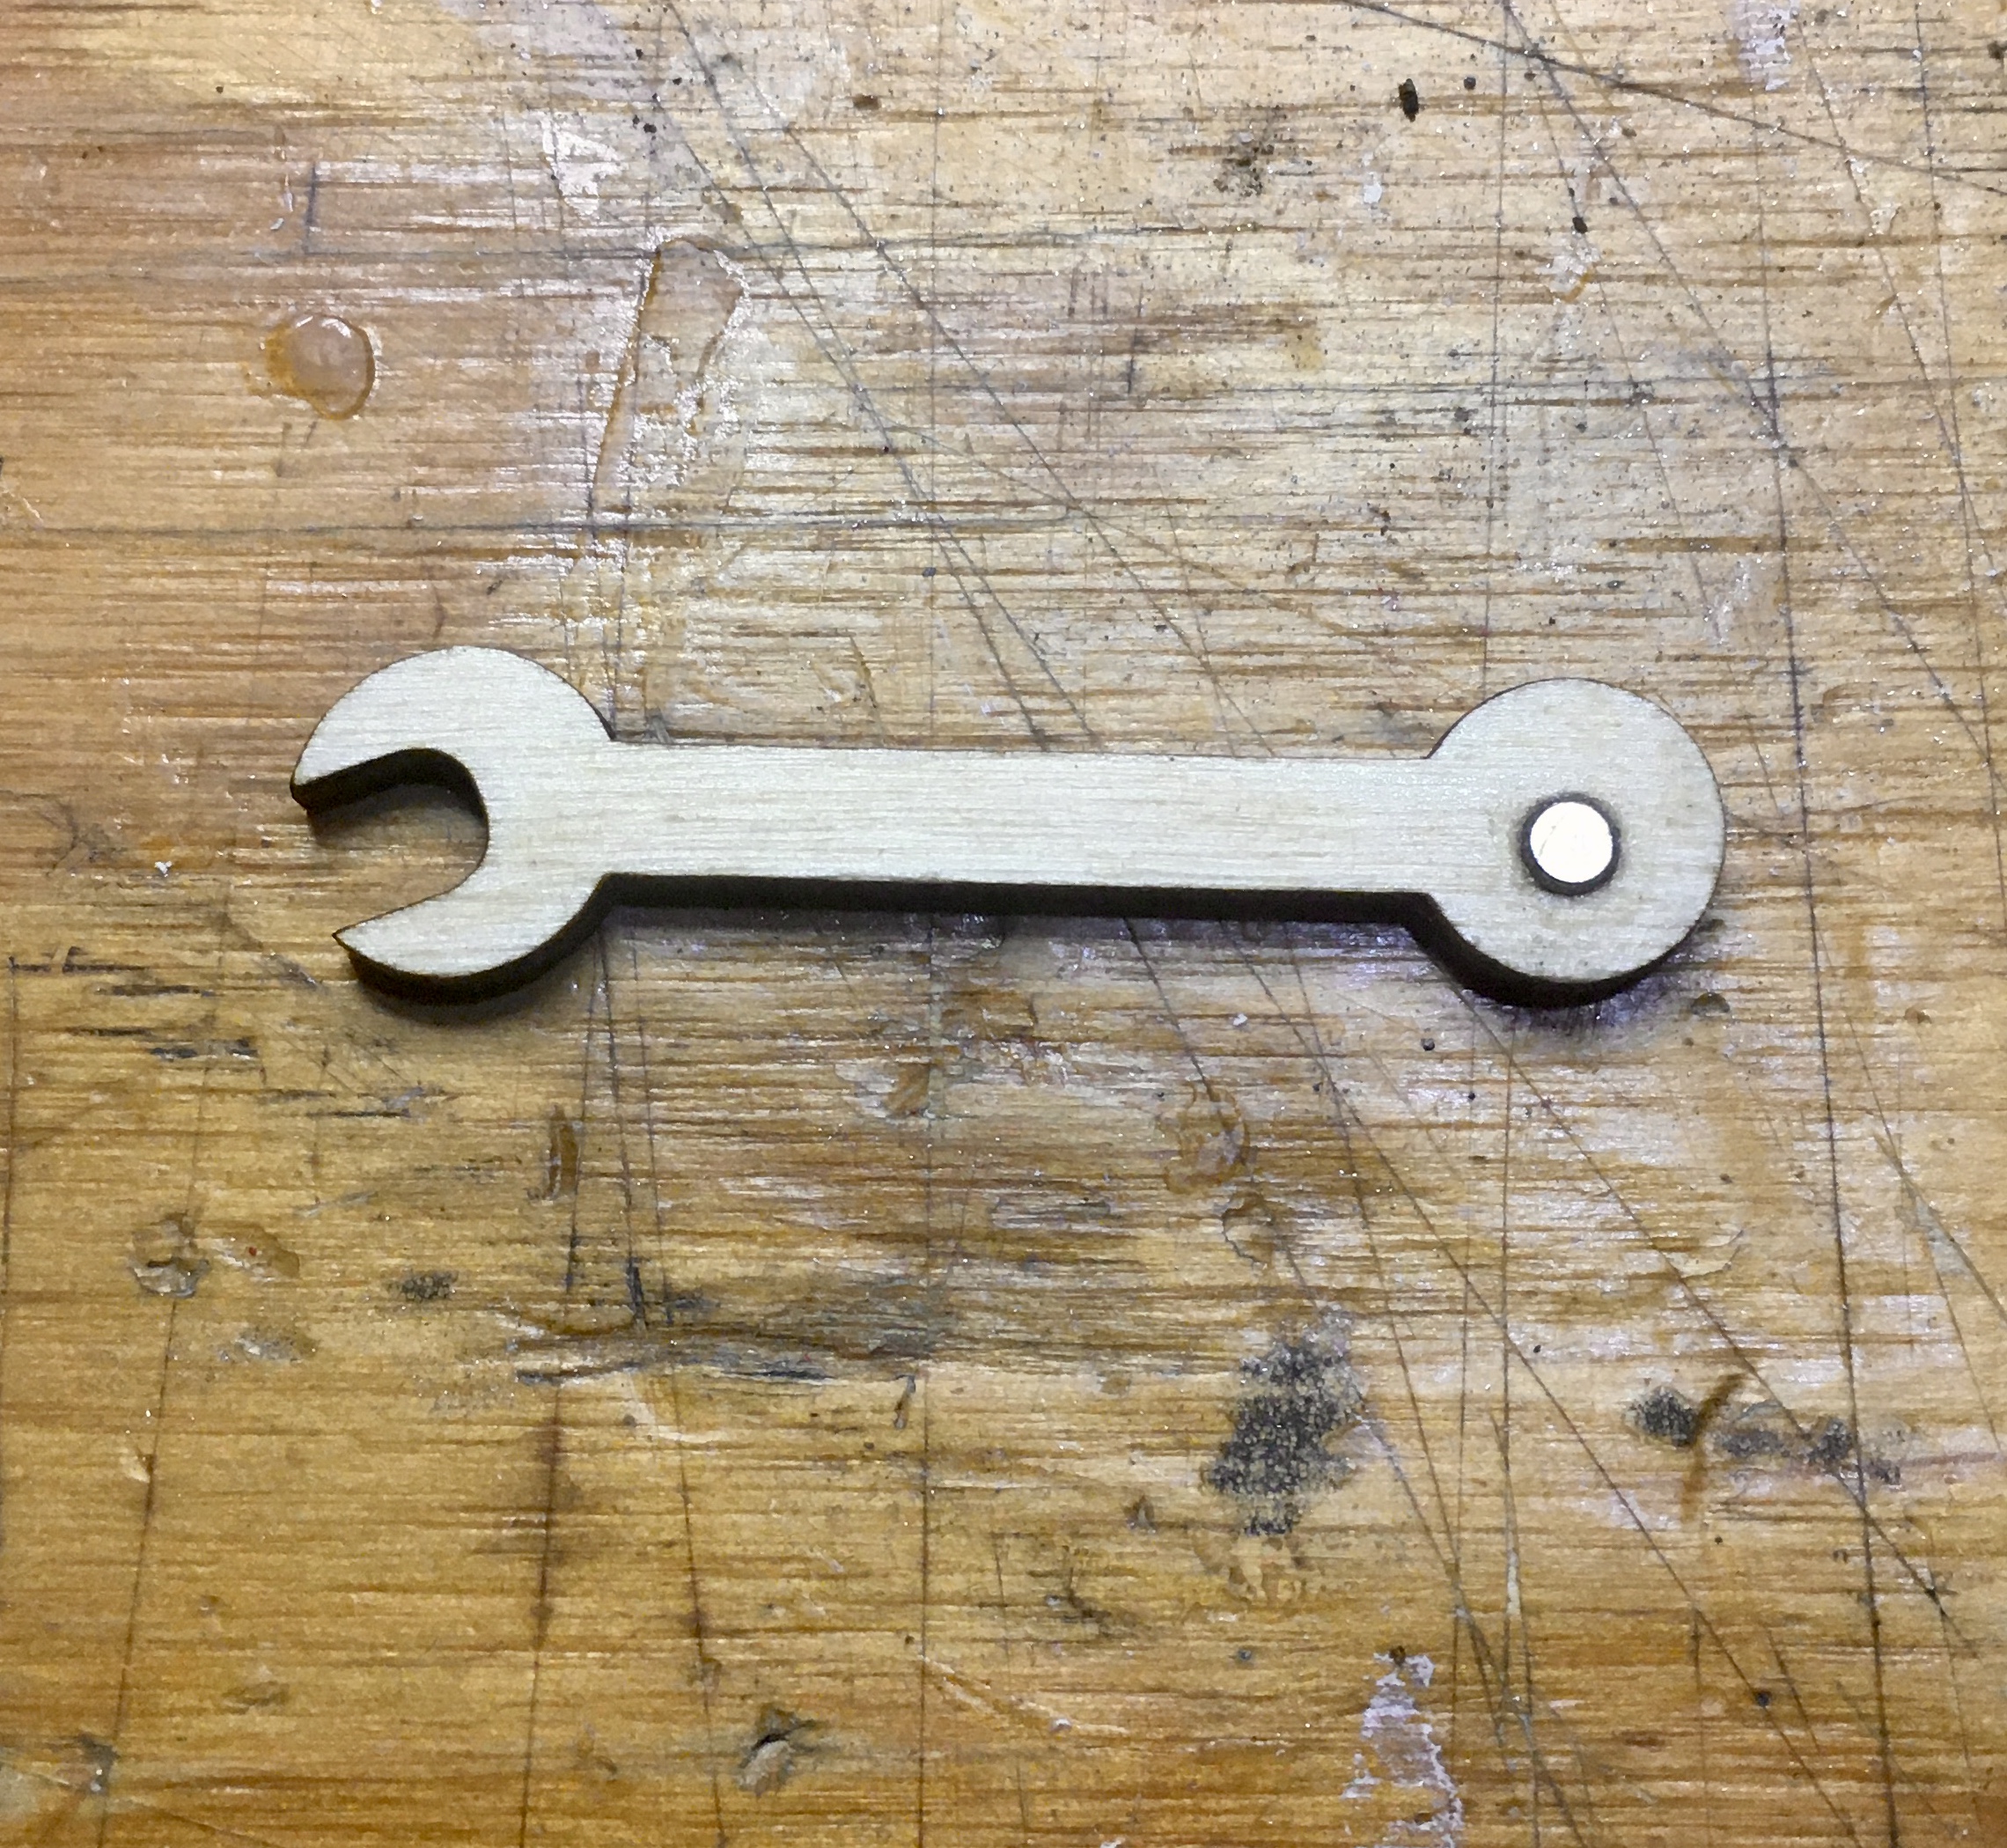
The locking nuts on mirror adjustment screws are 5mm. I don’t have a 5mm open end wrench, so I laser cut one from 1/8" ply. Here is the SVG file if anyone needs it.
I embedded a small 3mm magnet into the end of mine so I could stick it to the inside of the compartment to keep track of it.
Yeah, the basic set of metric wrenches I have from harbor freight only goes down to 7mm. But fortunately I don’t need super amounts of torque and I’ve been finding laser cutting my own wrenches super handy.
It is almost a catch-22, you cannot adjust the mirrors unless you have the proper tools but you could cut your own tools if your laser mirrors are properly adjusted.
Tool making is a big part of the 3d printer groups. The first thing I printed was vernier caliper. I’ve also printed a couple of wrenches. Once you get hooked on these toys, your imagination goes wild…
I just looked at this photo again.
If you cut out the area of the bracket below the belt could you put this bracket on without removing the belt??
I dont think with 4 mounting screws this would weaken the mounting of the mirror???
Since the #2 bracket forms a C around the motor why does the belt need to be removed at all? The motor comes up from the bottom of the Y carriage. The M3 bolts go thru the #2 bracket, the Y carriage and then into the motor frame.
WELL CRAP. Disregard my top post. I went back and looked at the big pic you posted of the part set and realized I missed the small tab between the legs of the #2 bracket. I agree that you should be able to remove this tab as the original #2 is not near as row bust.
I just purchased this kit, and have Mirror 2 installed. My OMTech K40 is newer, so it looks like the lens carrier is also correct. (4 mounting holes at least, so should need nothing more than a spacer at most).
I am also not happy with the length, so ordered the 20mm die cutter to tighten things up.
I was more worried about mount 1 and making sure that was parallel with mirror 2.
I was able to install the complete CloudRay K Series kit (20mm) last night and get it aligned without (major) modification to a new Omtech K40.
The only mod was to align and drill mounting holes for the 1st mirror next to the tube and raise the tube a few mm. I aligned this by marking a center line between the existing mounting holes, and the centers of the ends of the new mirror bracket for reference.
Mirror 2 bolted on to the mount and motor with 5mm longer M3 screws and washers.
As for the lens mount, the new Omtechs have an updated lens bracket that has the correct mounts for this setup.
The total length of the lens tube is way too long as @NedMan states above and limits maximum workable table size. I will be doing his die mod to the lens tube as soon as the die arrives.
@jkwilborn I couldn’t find the kit shipped to me so inexpensive as $25. I also don’t have enough patience to wait for AliExpress, so I paid $70 on Amazon for the kit with new lens and mirrors last month. The whole kit is on sale from CloudRay right now for under $50 on their website.
 Looks so purty