My situation is very similar to another post on this help forum. However, that post targets the Raspberry Pi Zero, rather than the Raspberry Pi 4.
As is the case, with that post, I’m unable to install LaserWeb4. I have tried following the suggestions for that post, yet, the suggestions don’t seem to work. Installation still fails.
Because I’m using a Raspberry Pi 4, rather than a Raspberry Pi Zero, I’ve also followed the instructions on the following link:
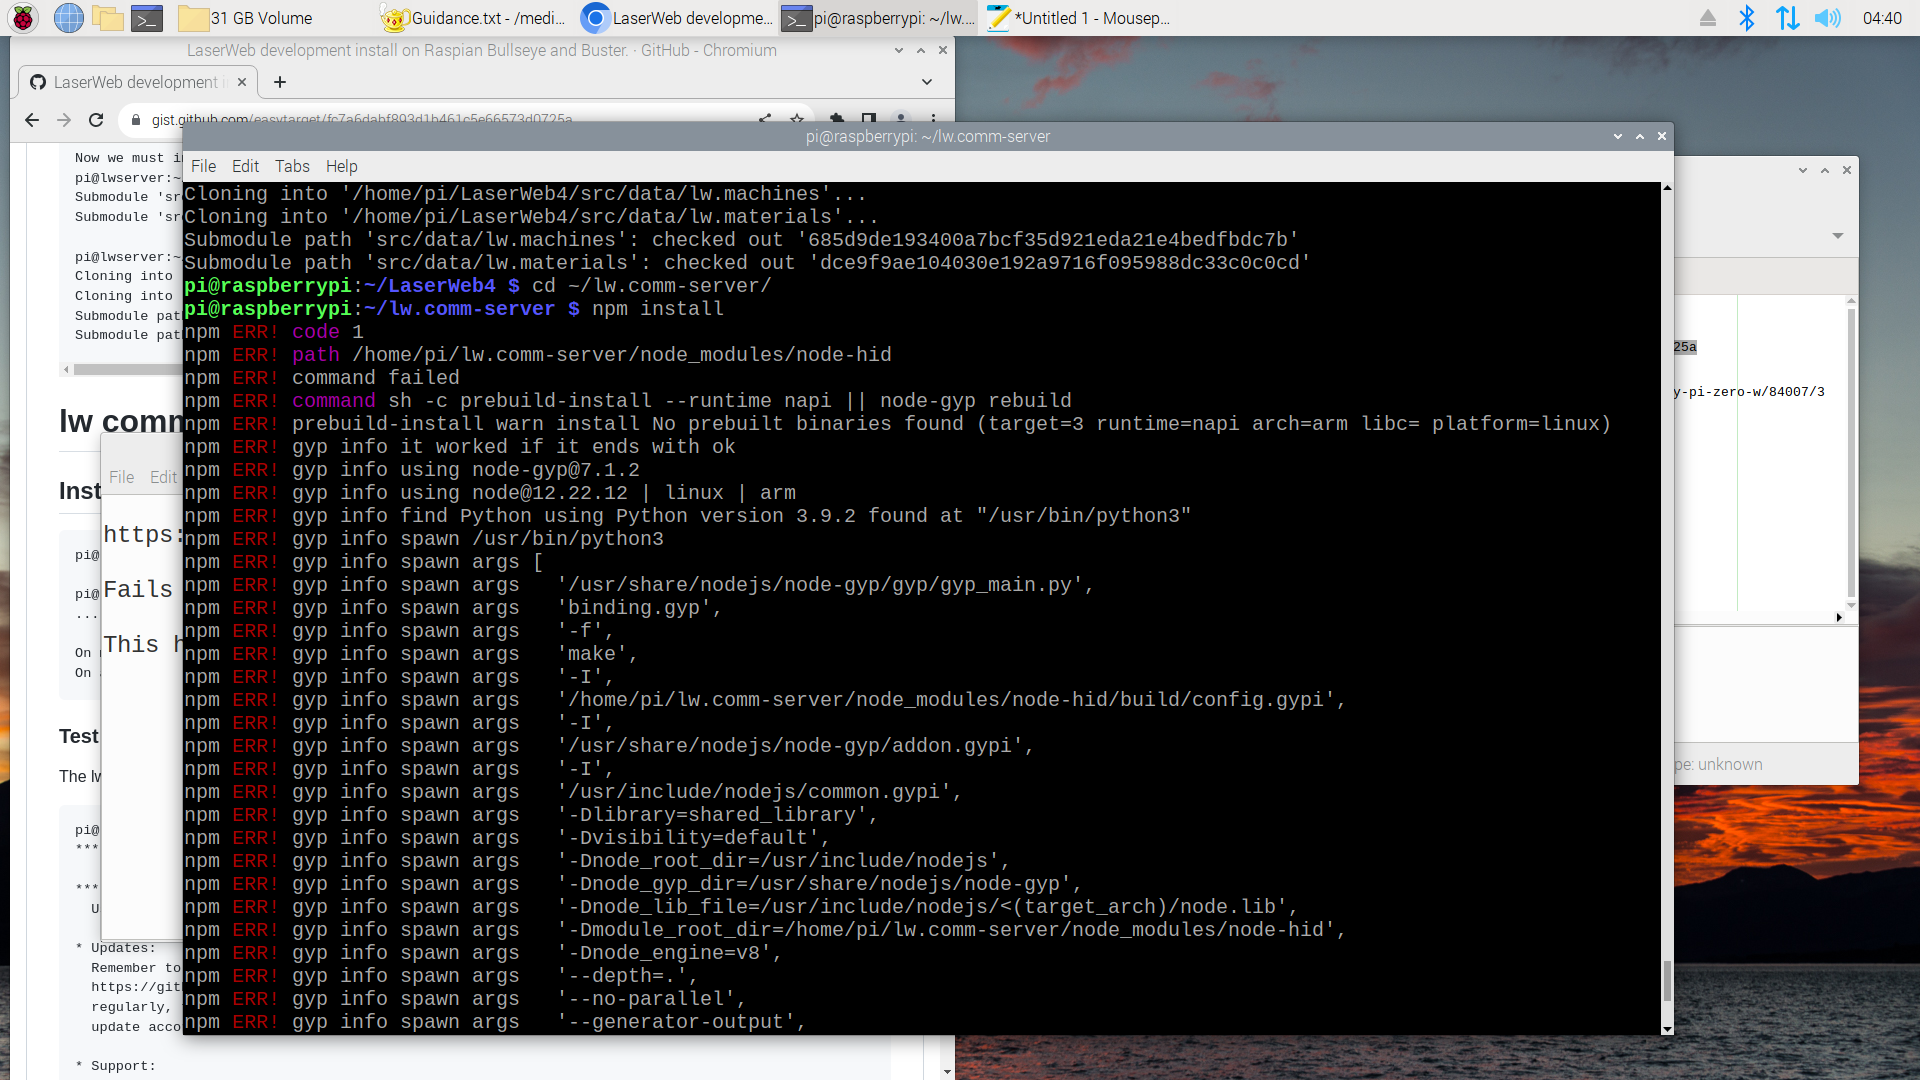
This link offers instructions on how to install LaserWeb4 onto a Raspberry Pi 4, with 4GB of RAM. This is exactly what I’m attempting to do. However, when I follow the instructions, after a fresh installation of Bullseye (the 32-bit version), I receive error messages, while trying to install npm.
Has anyone recently tried to install LaserWeb4 on a Raspberry Pi 4? If so, do you run into this same error, or have you been successful?
Please forgive me if the solution to this problem turns out to be simple. I’m an extremely new user, and have never used LaserWeb4. I bought my first laser cutter, a little over a week ago. I’m able to follow detailed instructions, like those shown in the above link. However, I’m not very skilled at troubleshooting, when something goes wrong, and the detailed instructions fail.
Thanks for your time. I appreciate any guidance that anyone may be willing to provide.
To get LaserWeb Server running on a Raspberry Pi, you only need to clone & install lw.comm-server (not LaserWeb4). The LW4 frontend is embedded into lw.comm-server and provided as a webpage.
Can you please post which node and npm versions you use?
I’ve finally found a solution, and have gotten my laser cutter to work with open-source software. I’ve opted to use a program called Octoprint.
What’s great about Octoprint, is that, if you have a Raspberry Pi, they offer a simple way to install their software. They offer an image that you can copy to a micro SD card. All you have to do is put the image on the SD card, using the Linux dd command, and then pop the SD card into a Raspberry Pi 4. There are no hassles with any sort of difficult installation.
Another added bonus, is that, because you’re using a Raspberry Pi, all you have to do is connect your Pi to a local network. You can then run your laser cutter by opening a web browser with any computer that’s on that network.
Octoprint is accessed via a web browser. Just type the Raspberry Pi’s IP address into a web browser, and you’re able to access the software. This is great, since it allows you to put your laser cutter outside, or anywhere a long ethernet cable is able to reach. You could even use WiFi; presumably. The laser cutter is connected to one of the Raspberry Pi’s USB ports, and the Pi is connected to the network, via WiFi, or by using an ethernet cable.
Ocotoprint accepts gcode files. If you’re cutting simple patterns, you can write your own gcode file, or you can use some other program to convert your design to gcode.
If you’re in a situation where you’re a Linux user, and you’re looking for an open-source program to run your laser cutter, I highly recommend using Ocotoprint with a Raspberry Pi.