Improved calibration of my RepRapPro.
Old printing (black background): huge layers, and the fitting U test (http://www.thingiverse.com/download:17274) did not fit at all. 50mm wall was not 50mm in wall width. Measures were not exact (e.g. 52mm instead of 50, and not square)
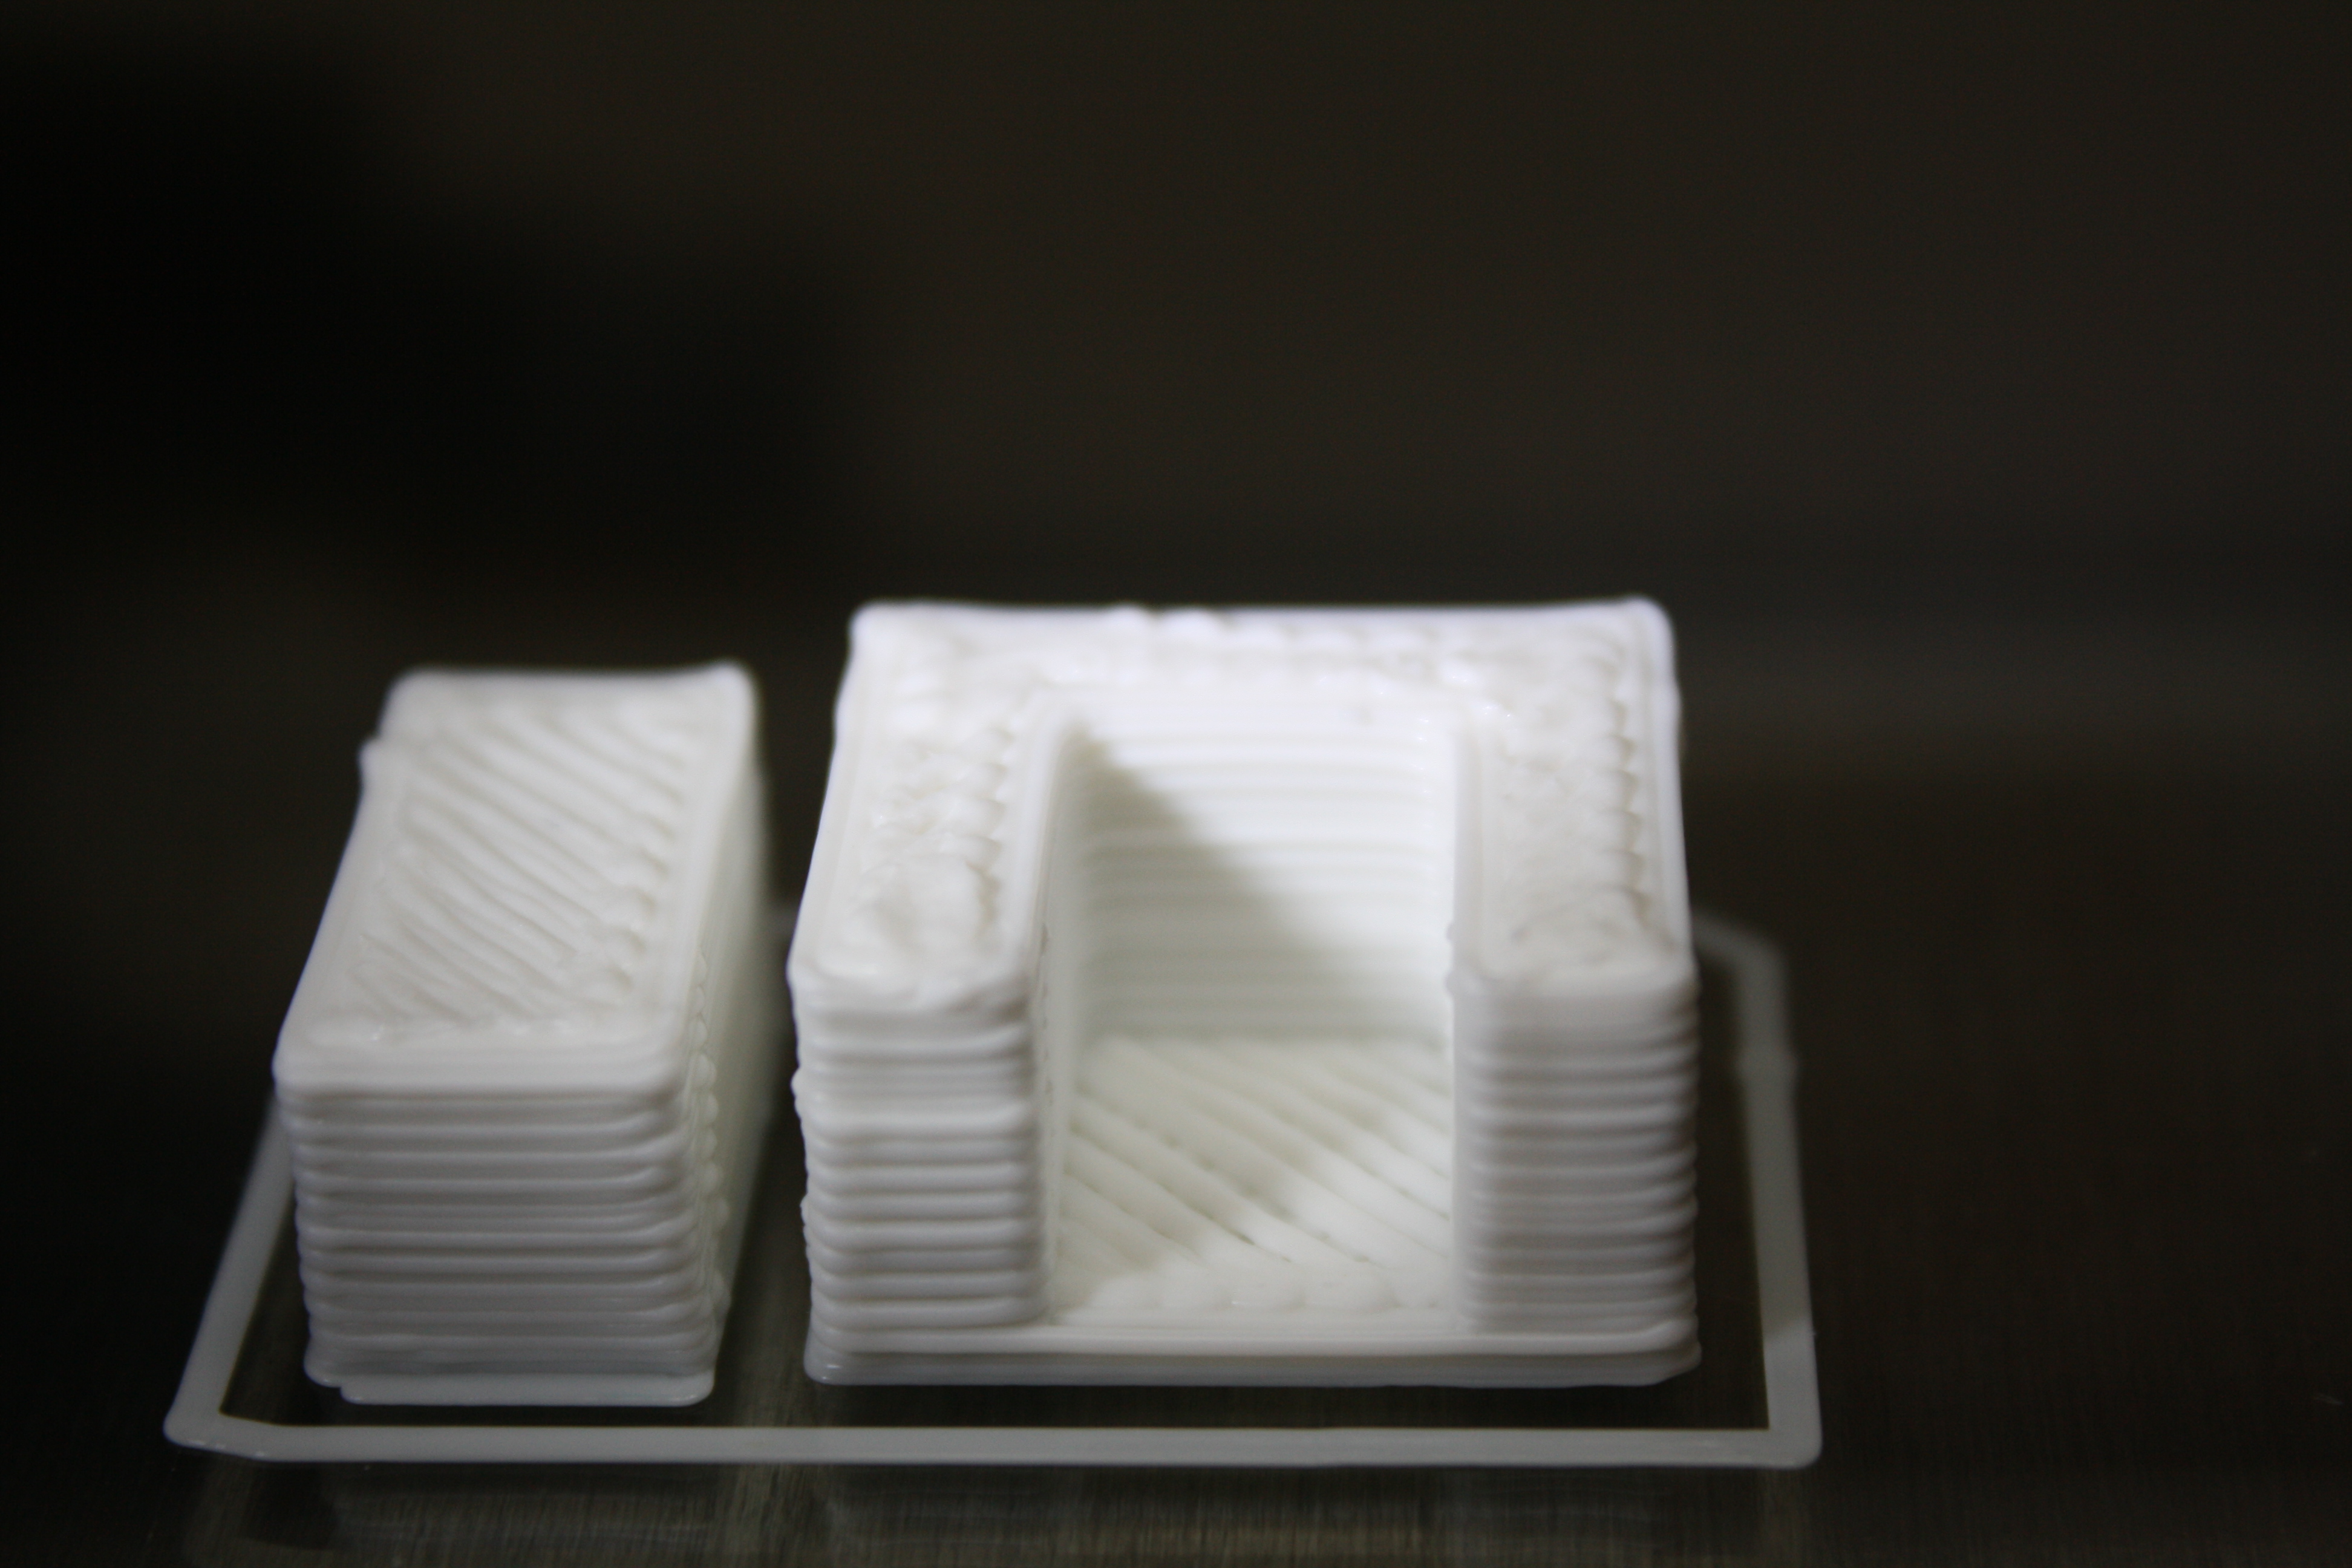
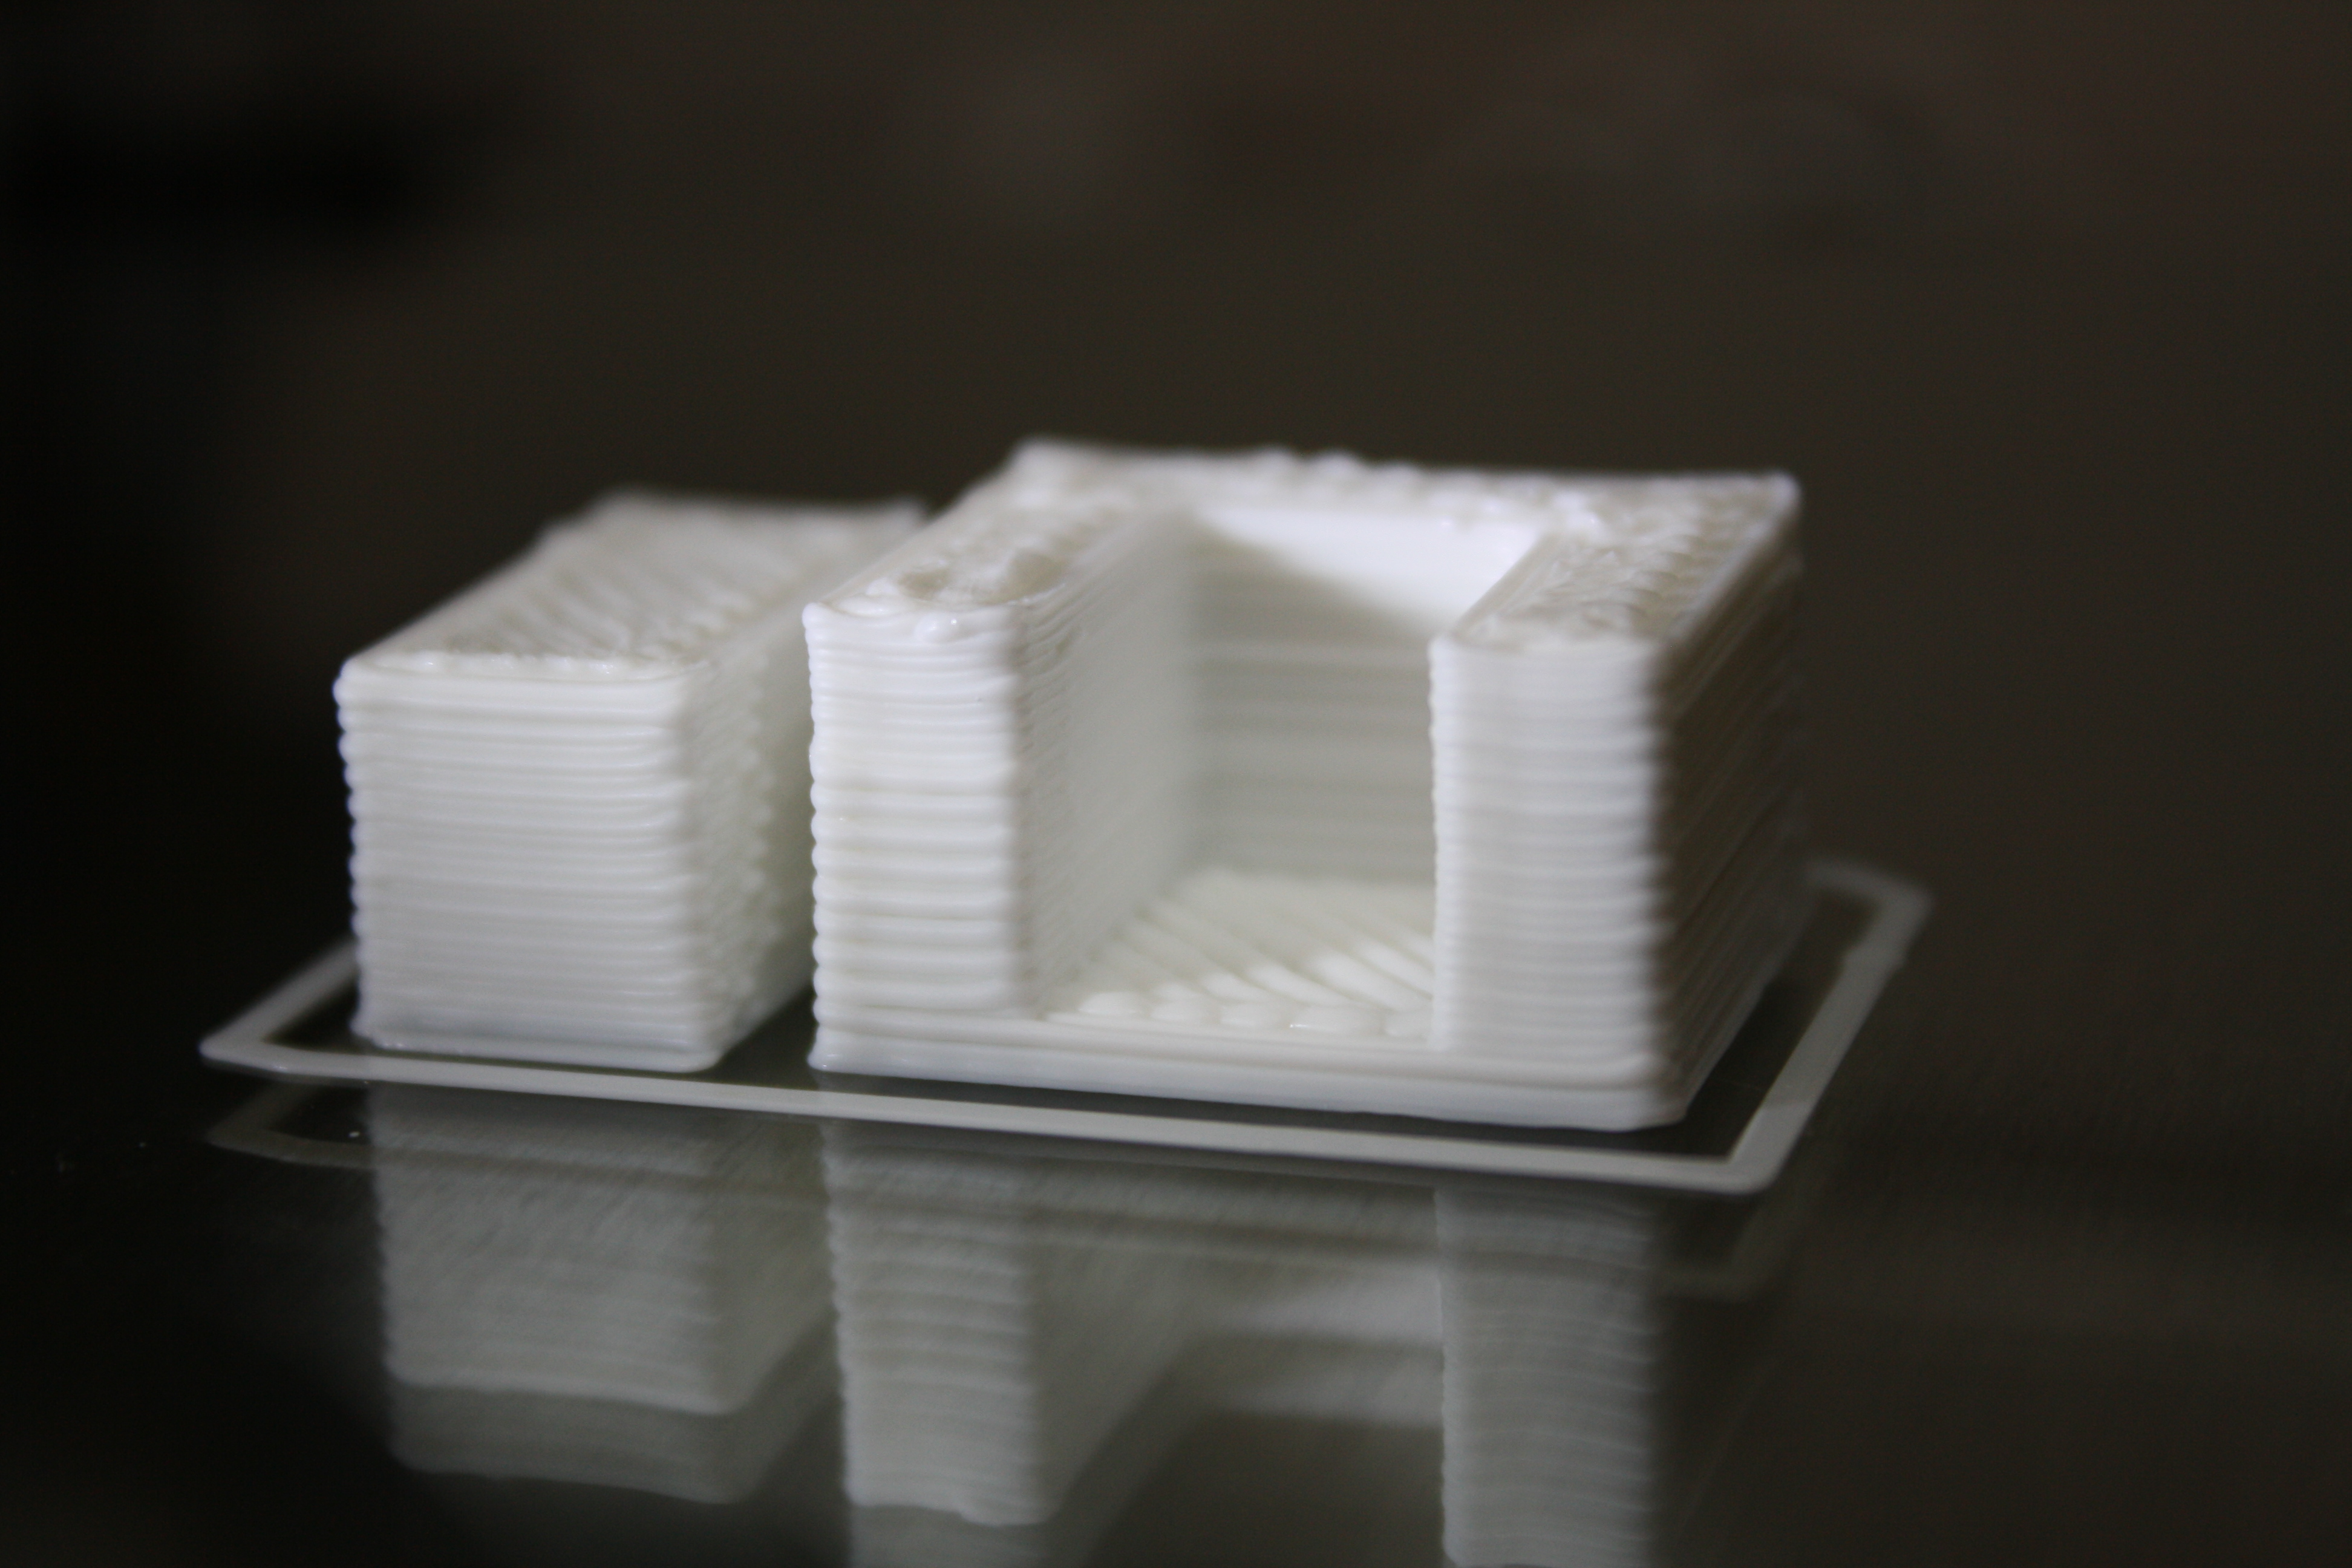
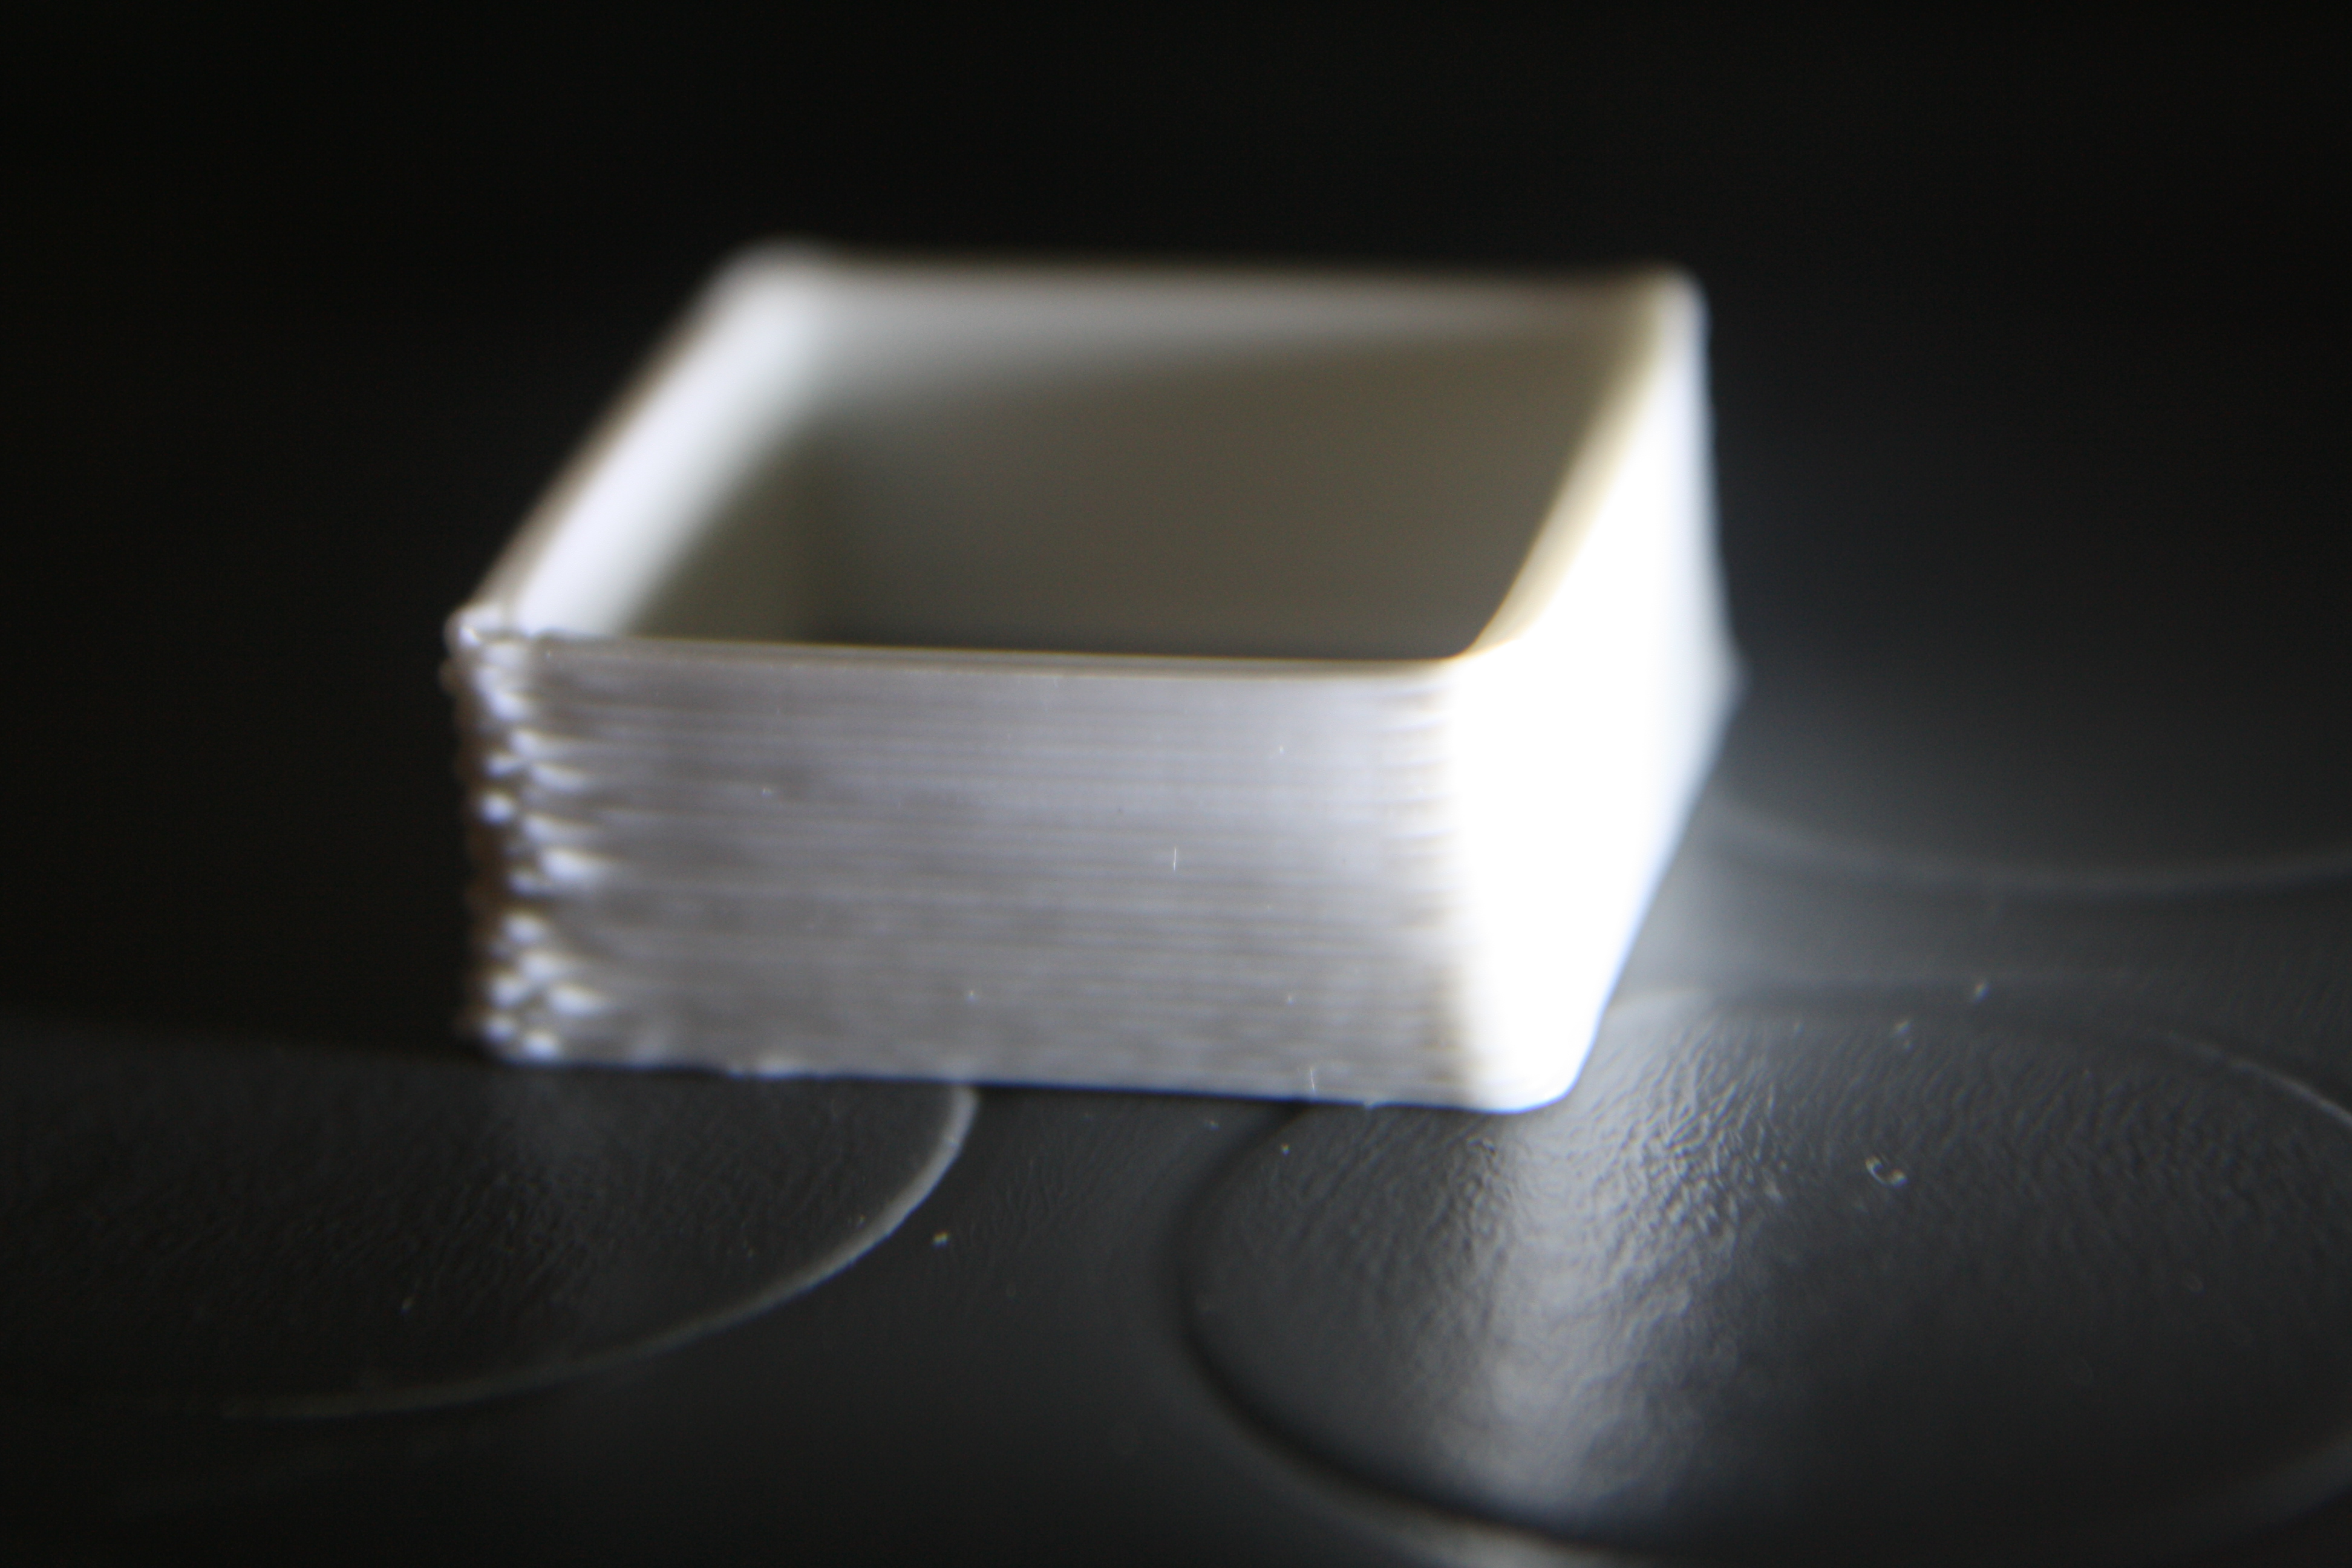
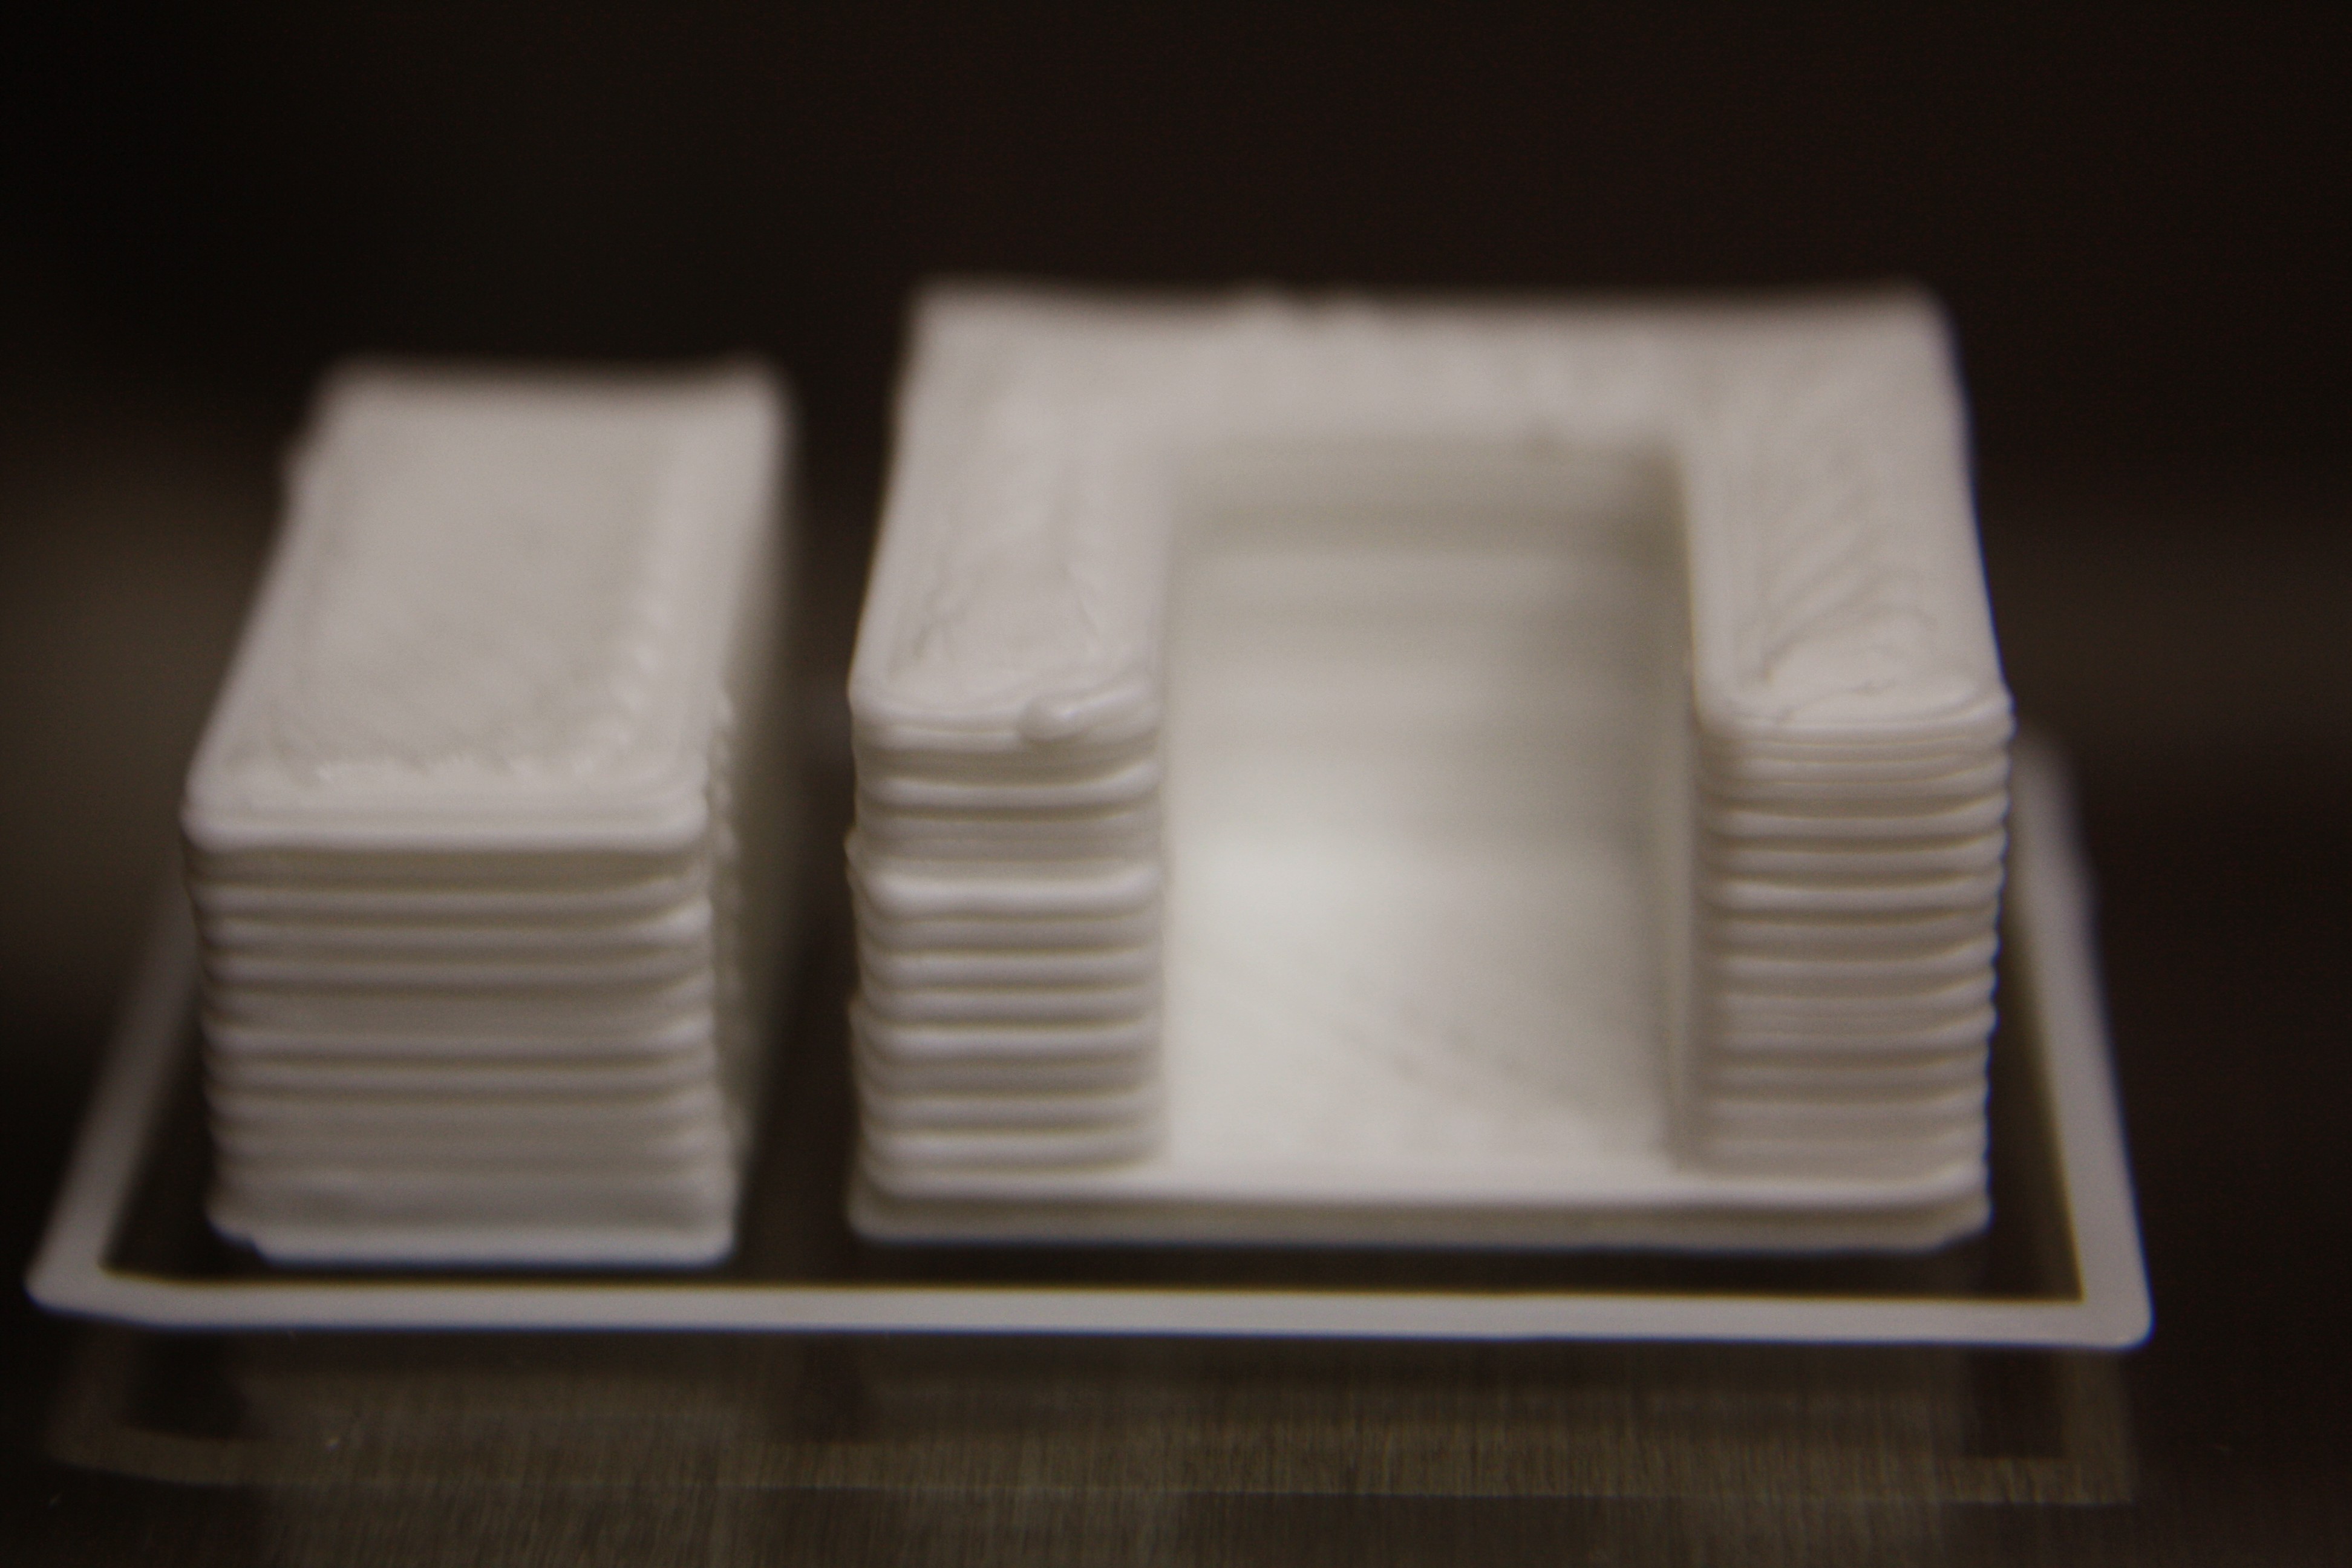
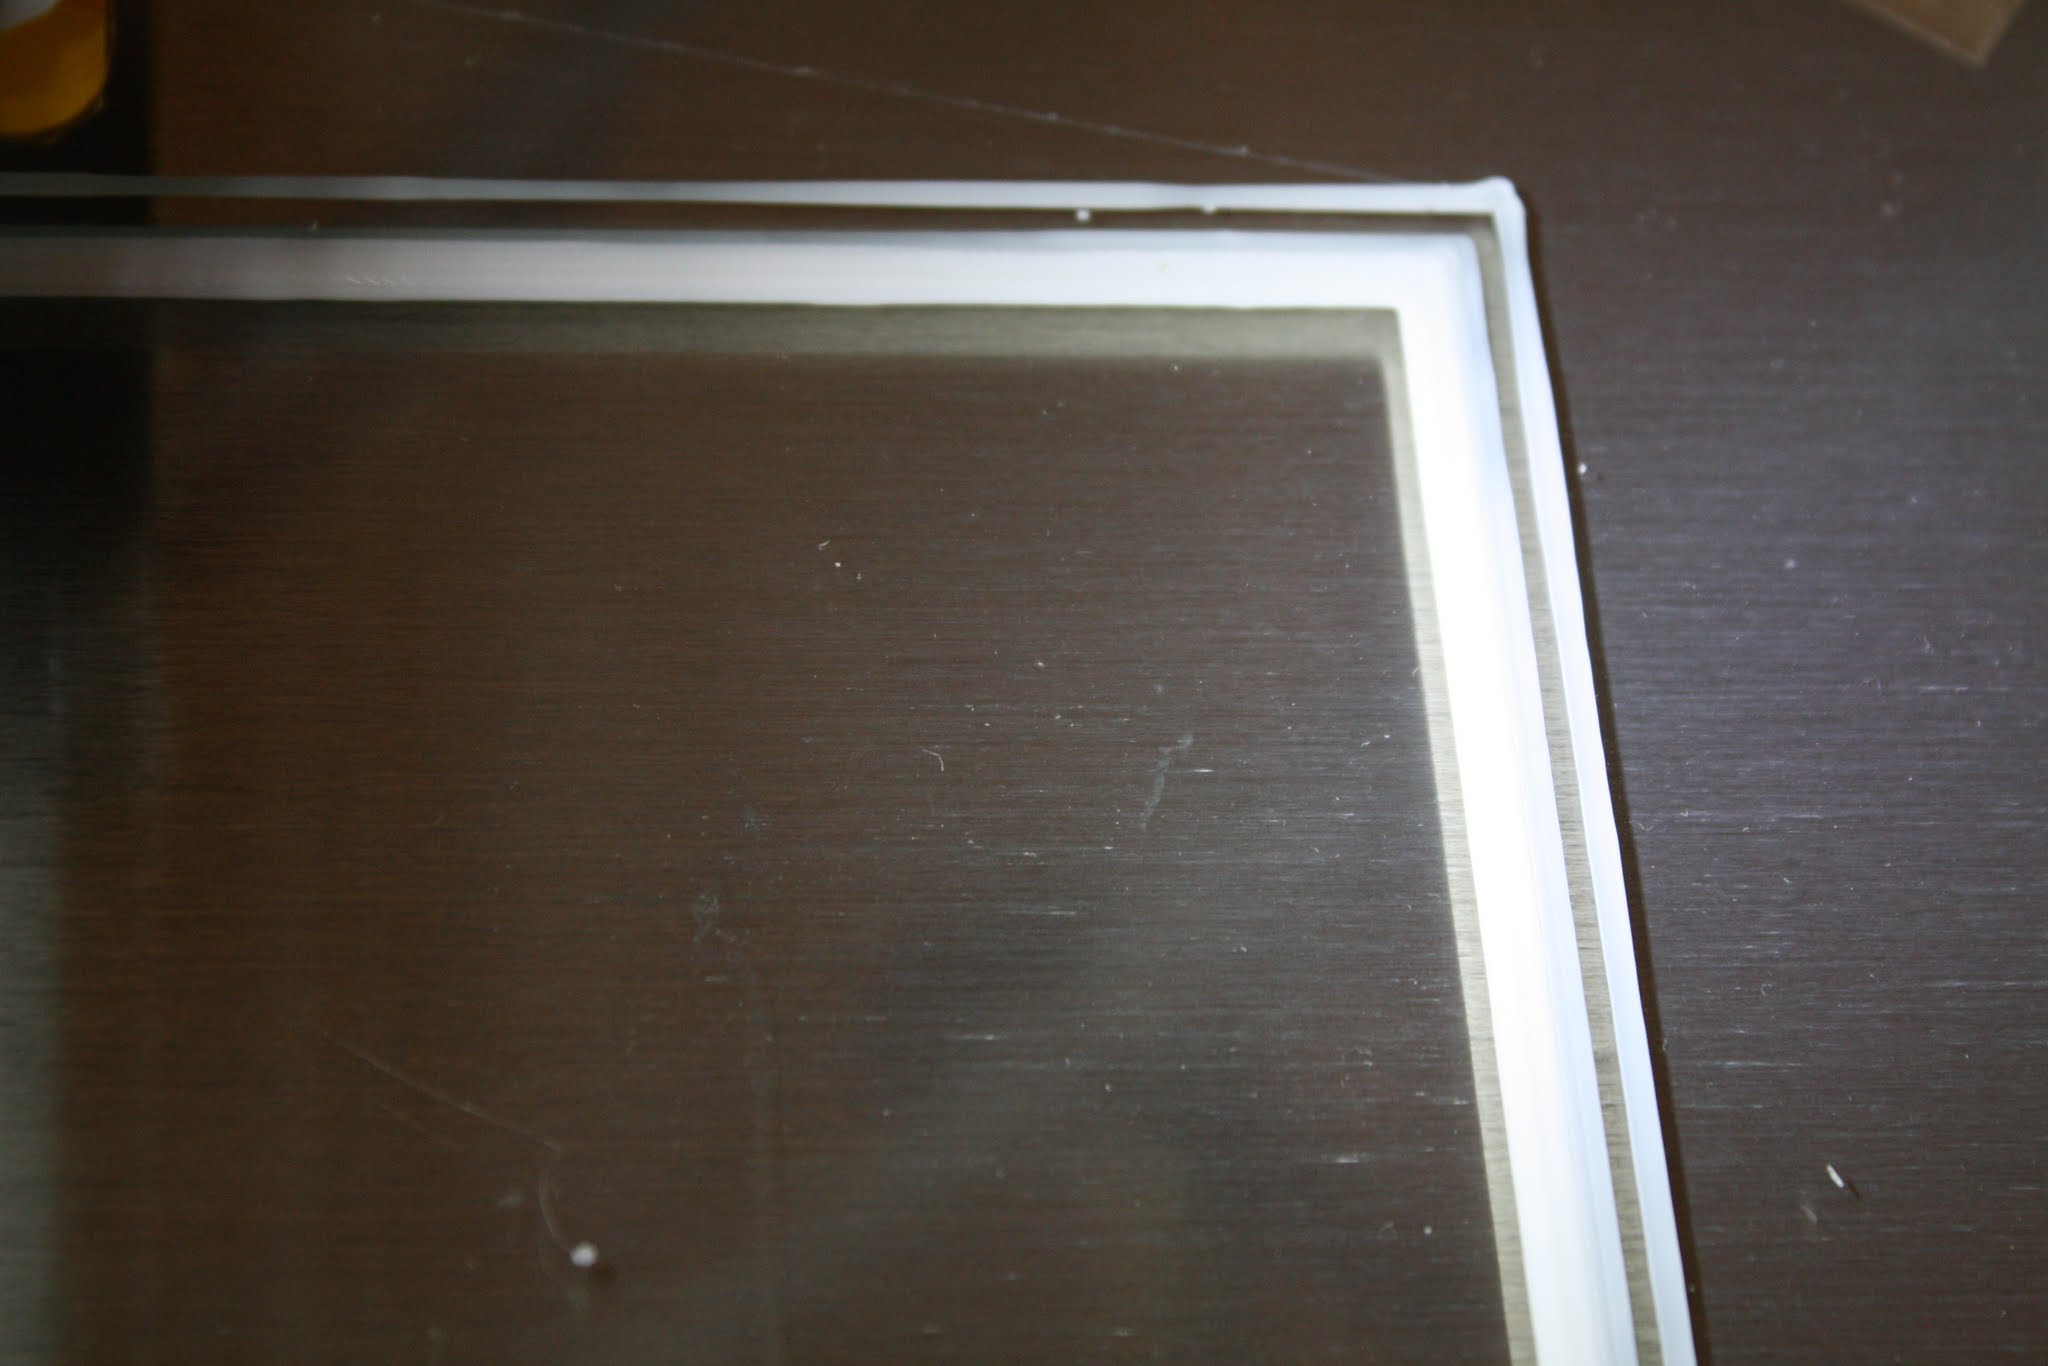
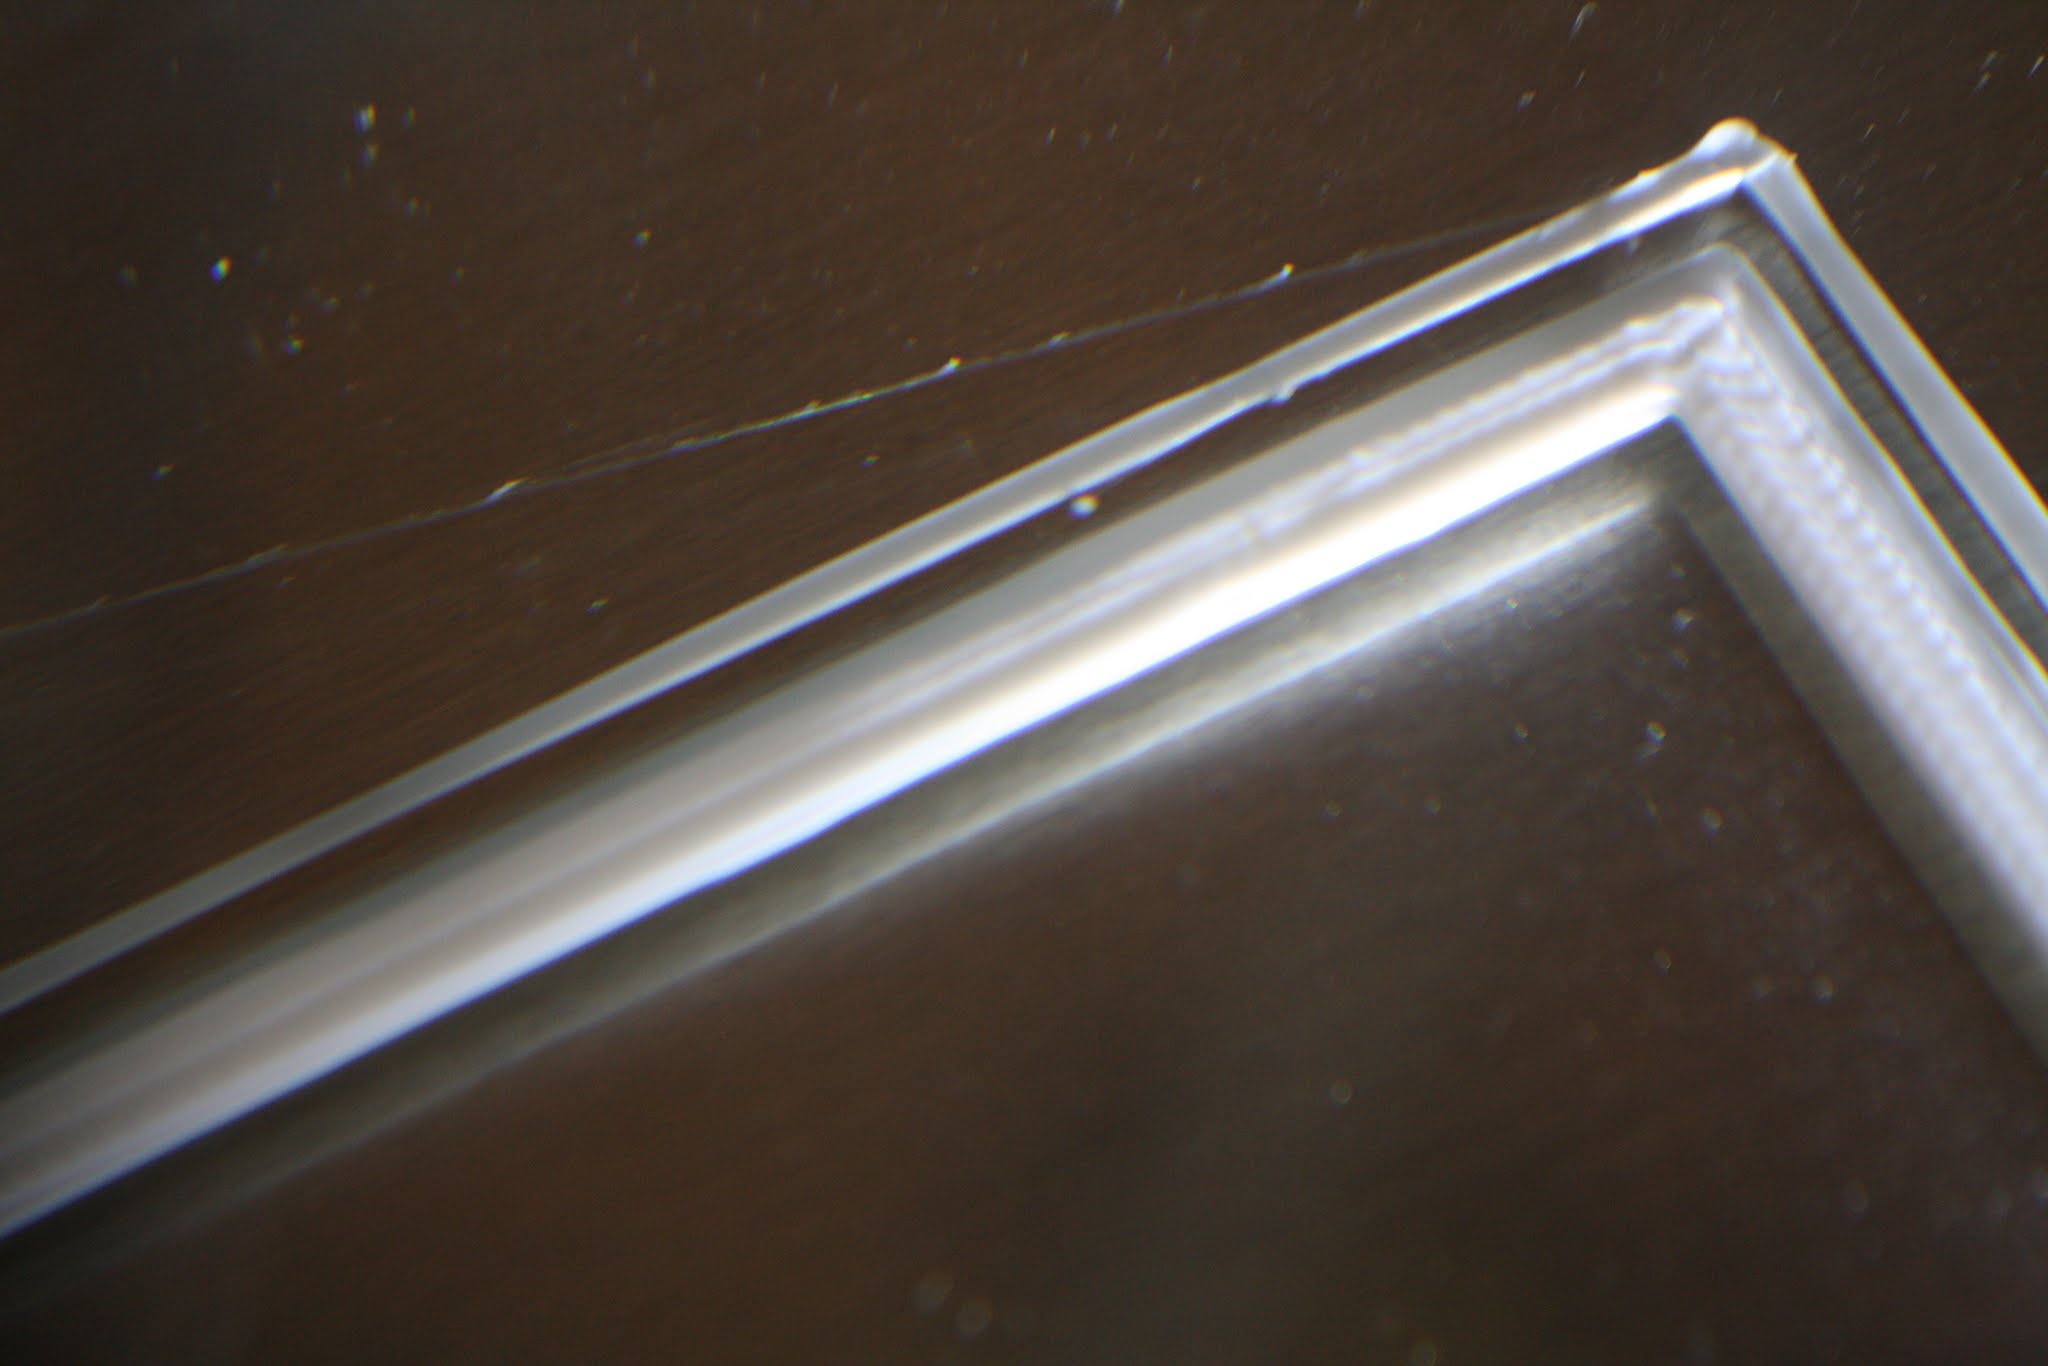
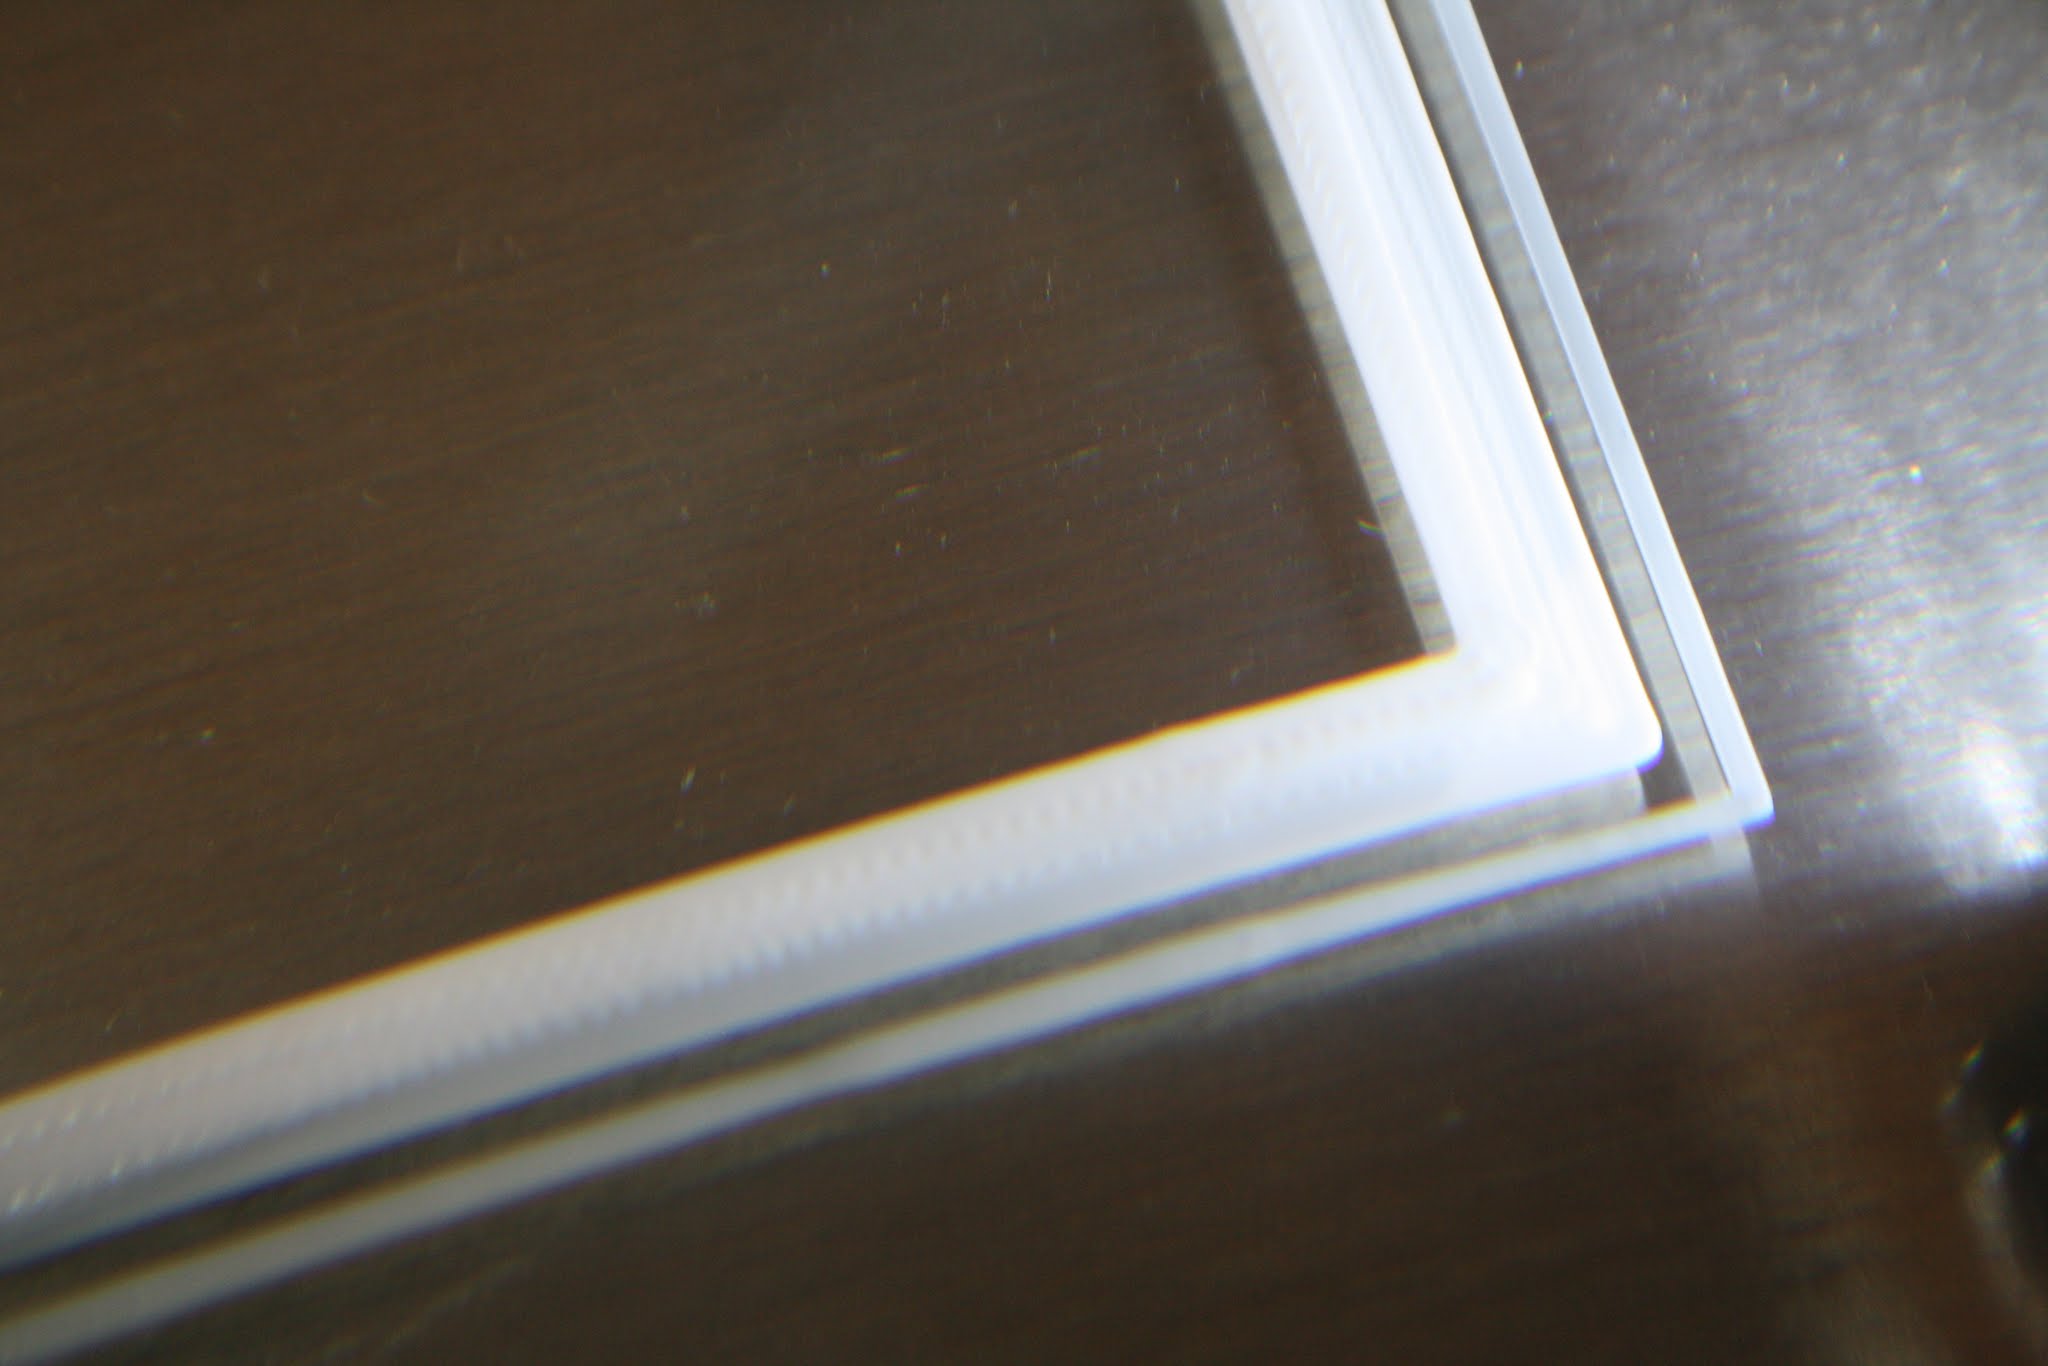
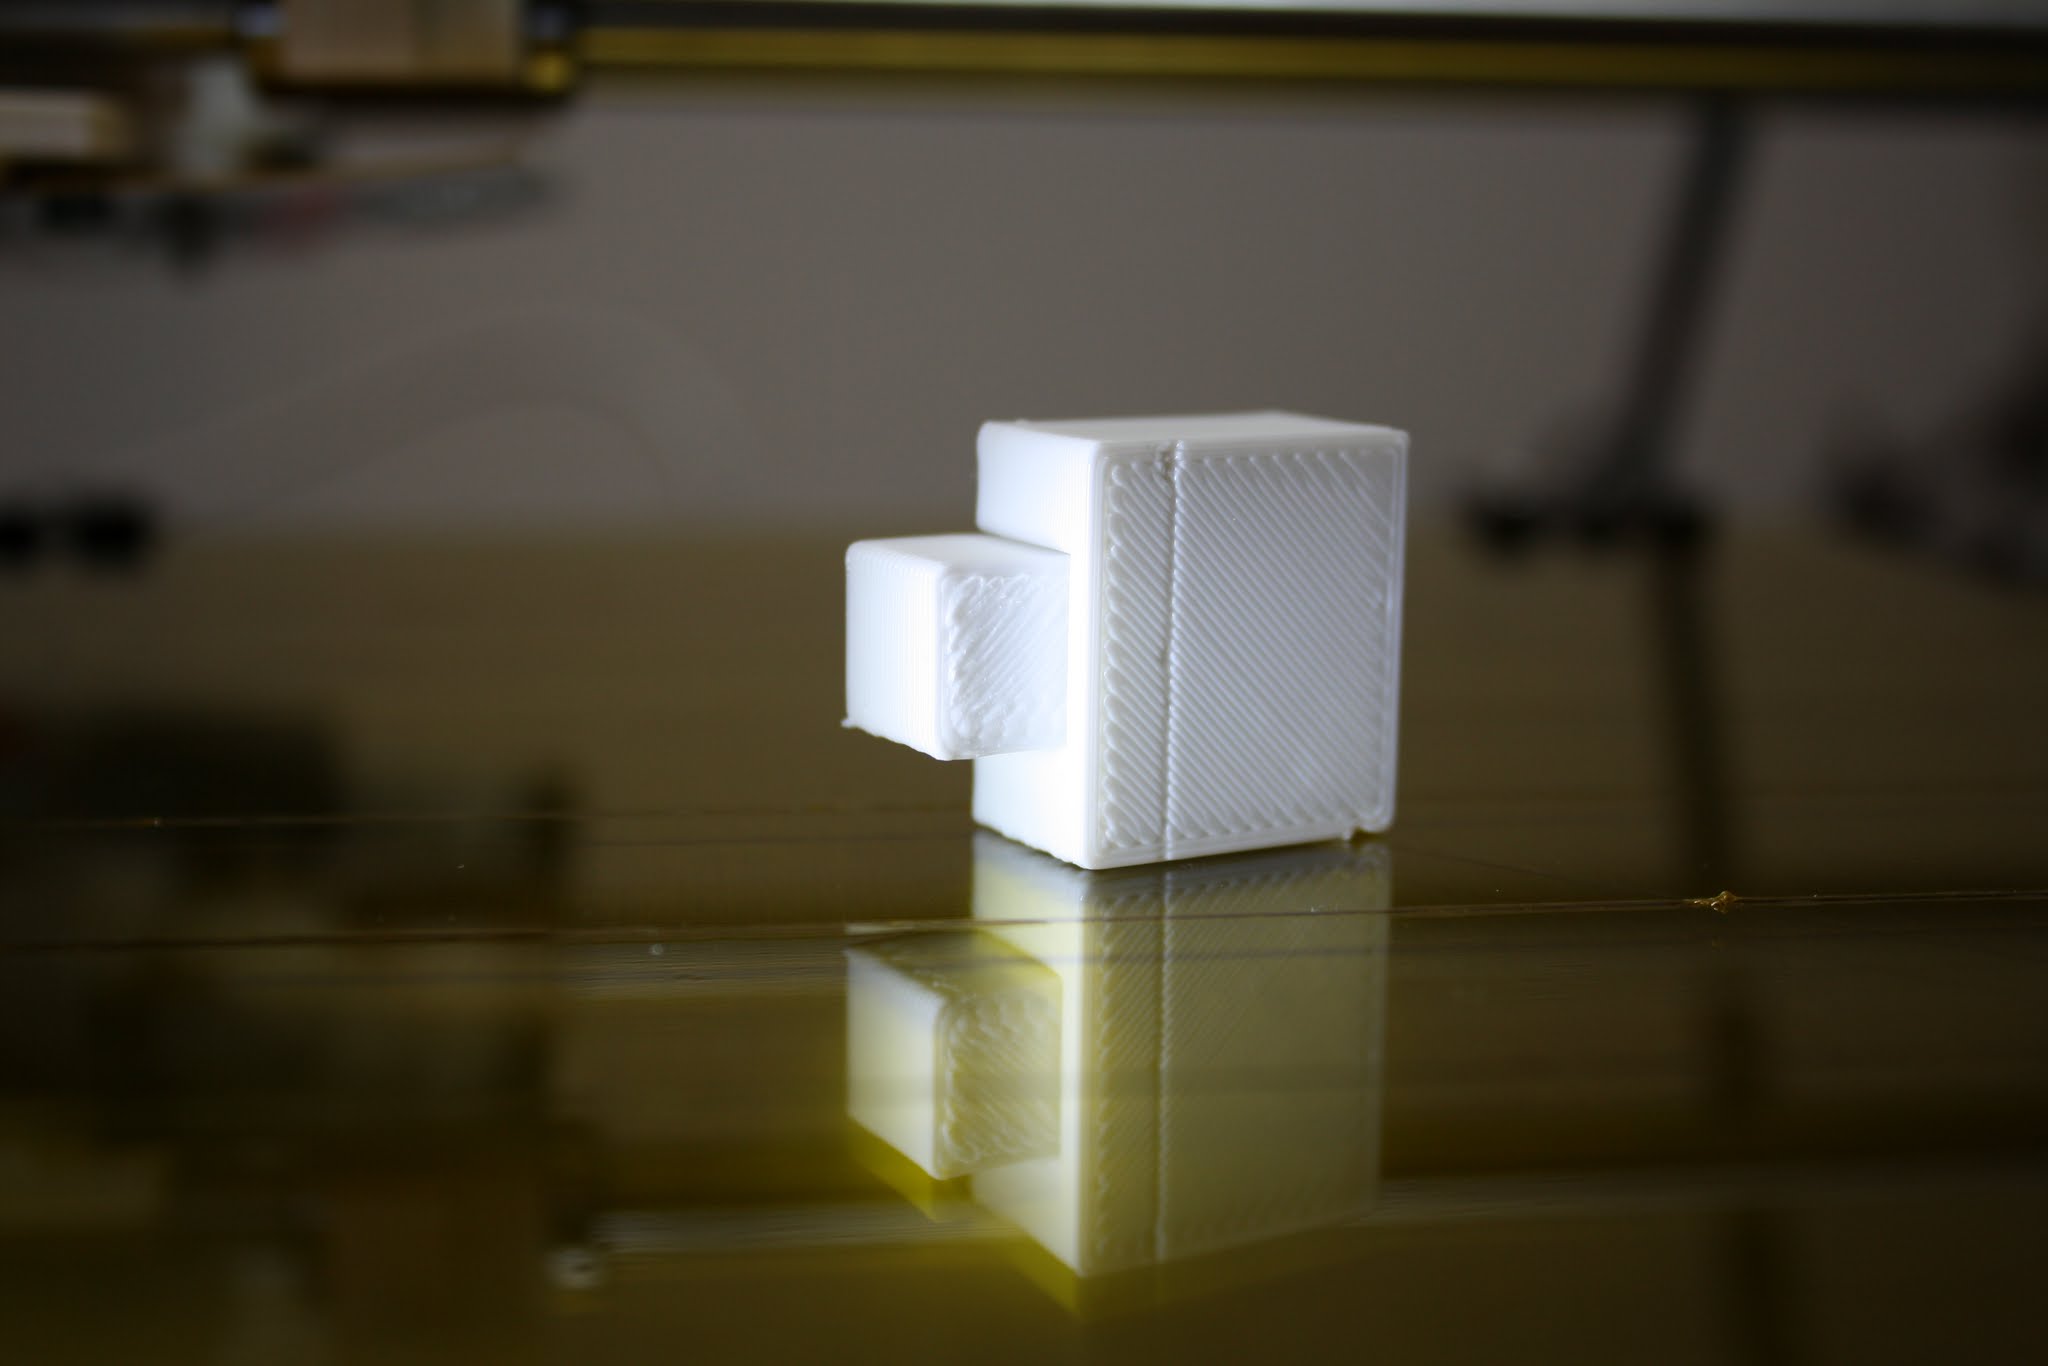
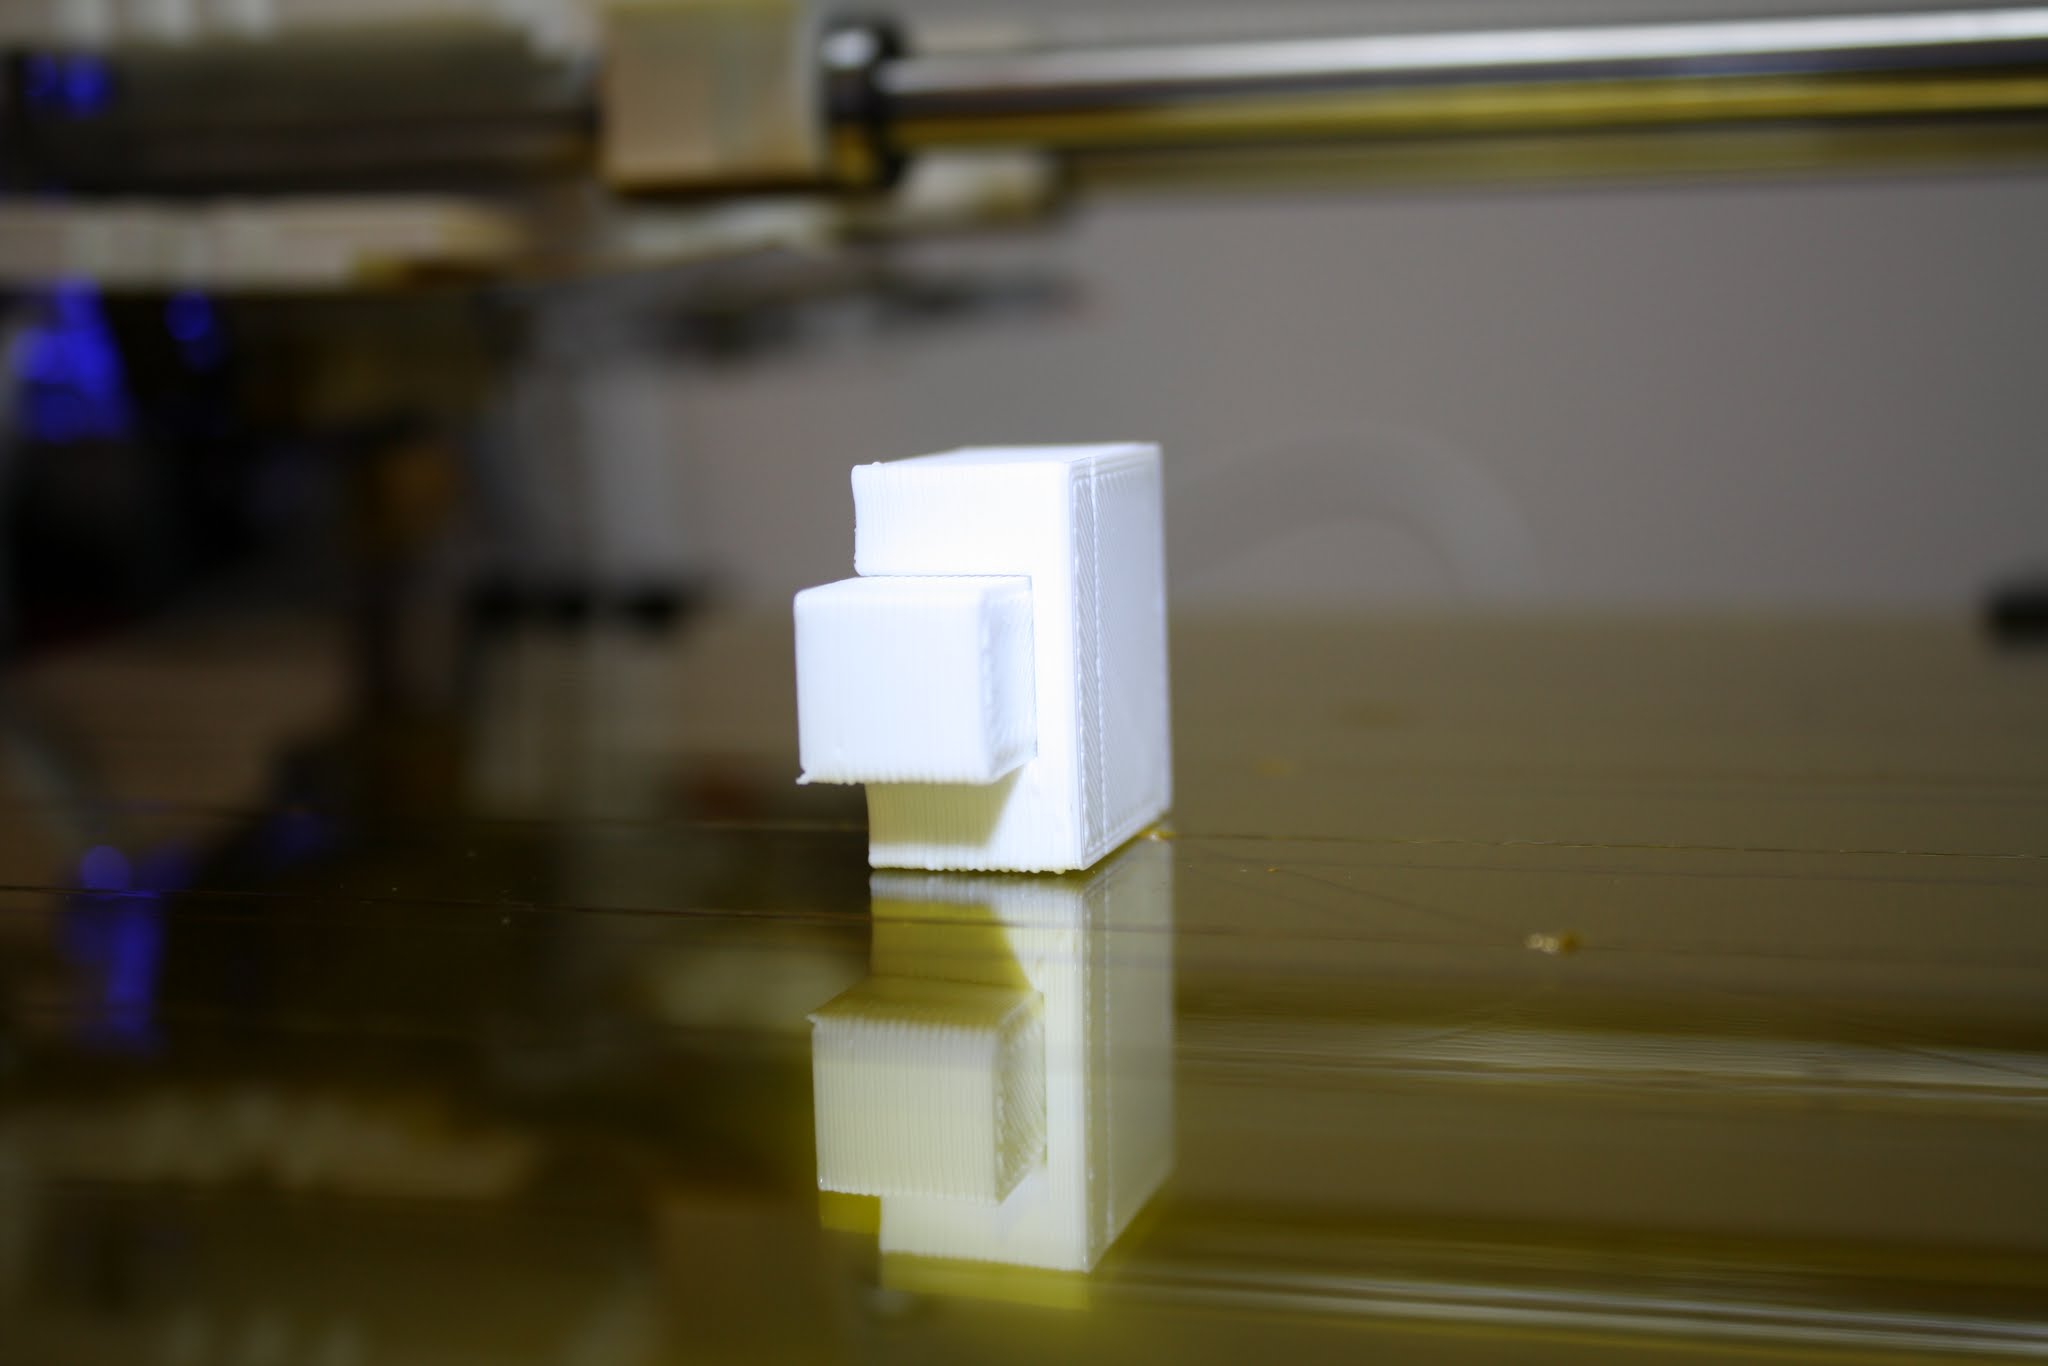
Current printing (green and yellow bed): Measures are near OK (50mm is 50.4mm or 50.5) Layers are near good. The new U fit test worked fine and I was able to fit a piece in the other almost completely (just about 1mm left).
WHAT I DONE:
- General check and fine alignment of the mechanics (trying to get absolute 90 degree between some axes)
- Repaired the extruder gear that was shifting (not regular extrusion).
- Glued the Y-axe plastic pulley (jumped out. Ordered a new one in Aluminium)
- Tighten the x and y belts
- Increased the accuracy of the X,Y,E M92 params.
- DELETED THE SKEINFORGE profile (I played too much with the parameters, and it went out of control) and restore the factory settings coming from RepRapPro, and changed some minor values (e.g. bed centre)
- Lowered the PLA melting point to 185C
TO DO:
One Z-rods is not perfectly stright and causes some slight move of the X-axe. I will need to find one exactly stright. I tried to fix but it is almost impossible. I looked at a local shop, and they are all bended more or less!
I can’t understand why the 50mm thin wall (http://www.thingiverse.com/download:17273) have a 3mm gap at the beginning. It starts do draw the first layer and the plastic stops 3mm before closing the gap. In my opinion it should depend from a wrong Extrusion coefficient (e.g. the plastic ends before it expects) but when I measured the extruded filament length with G1 E100 seemed to extrude 10cm.
- May be another random shift problem ?
- Is it the extruder back filament value too hight that should be lowered ? Where is it ?
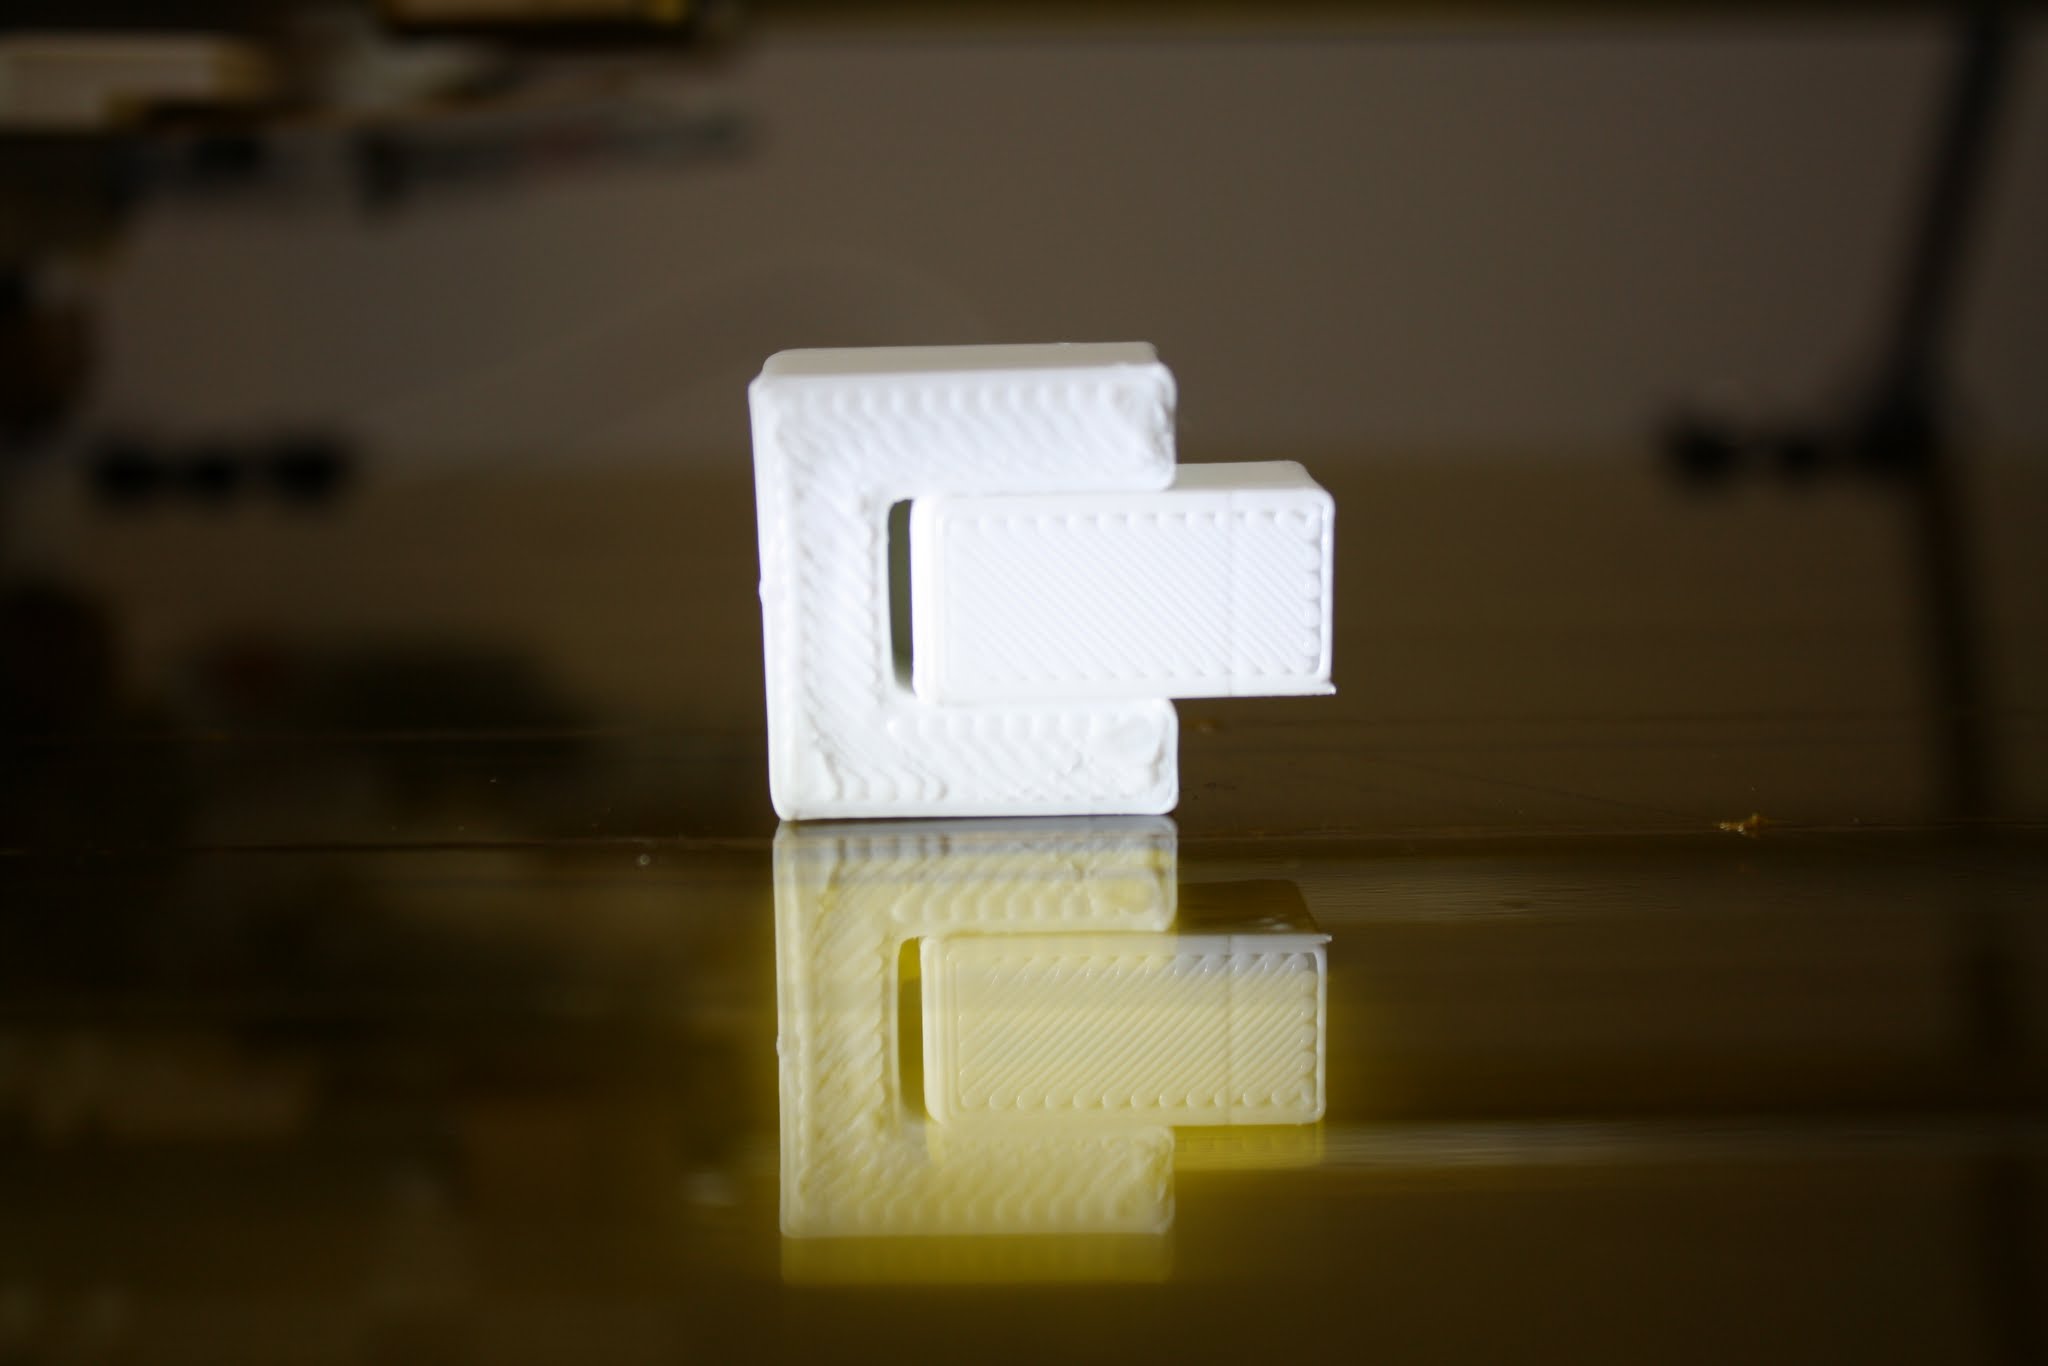
Another issue is the melting of PLA in short items. The square tower become a half melted cylinder. Even the small parallelepiped on the small circled item in photo is melting down and rotating on itself.
I do not use any fan at the moment.
-
IS IT MANDATORY in the RepRapPro Mendel ?
If yes, it should be included as base project option like the hot bed is.
If not, what is the current best approach ? -
Check the level of belt tight.
I would need a scientific approach to measure the belt tight.
My proposal: if I pluck the belt as a string, I get a sound of a certain frequency, that changes as soon as I tighten and loosen the screw. -
Can any of you that owns a RepRapPro Mendel Mono well calibrated record the sound you obtain by plucking the belt and post the wav/mp3 ?
That would be simple easy to tight the belt until the same sound frequency (and some tight). Of course the recording should be done on the exact same machine model, otherwise other mechanical parameters can change the sound.
Then we could post the file on the Mendel installing Wiki.