I’m upgrading my laser engraver. I’m having an issue where at transitions the laser hangs too long and creates dark edges. My theory is that this is due to serial lag, but I’m wondering if there are others seeing this or have solutions.
My setup raspberry pi, Osepp Uno R3 Plus, CNC Shield, and a FET breakout board to control the laser.
Is there a way to improve performance? Optimal speed settings?
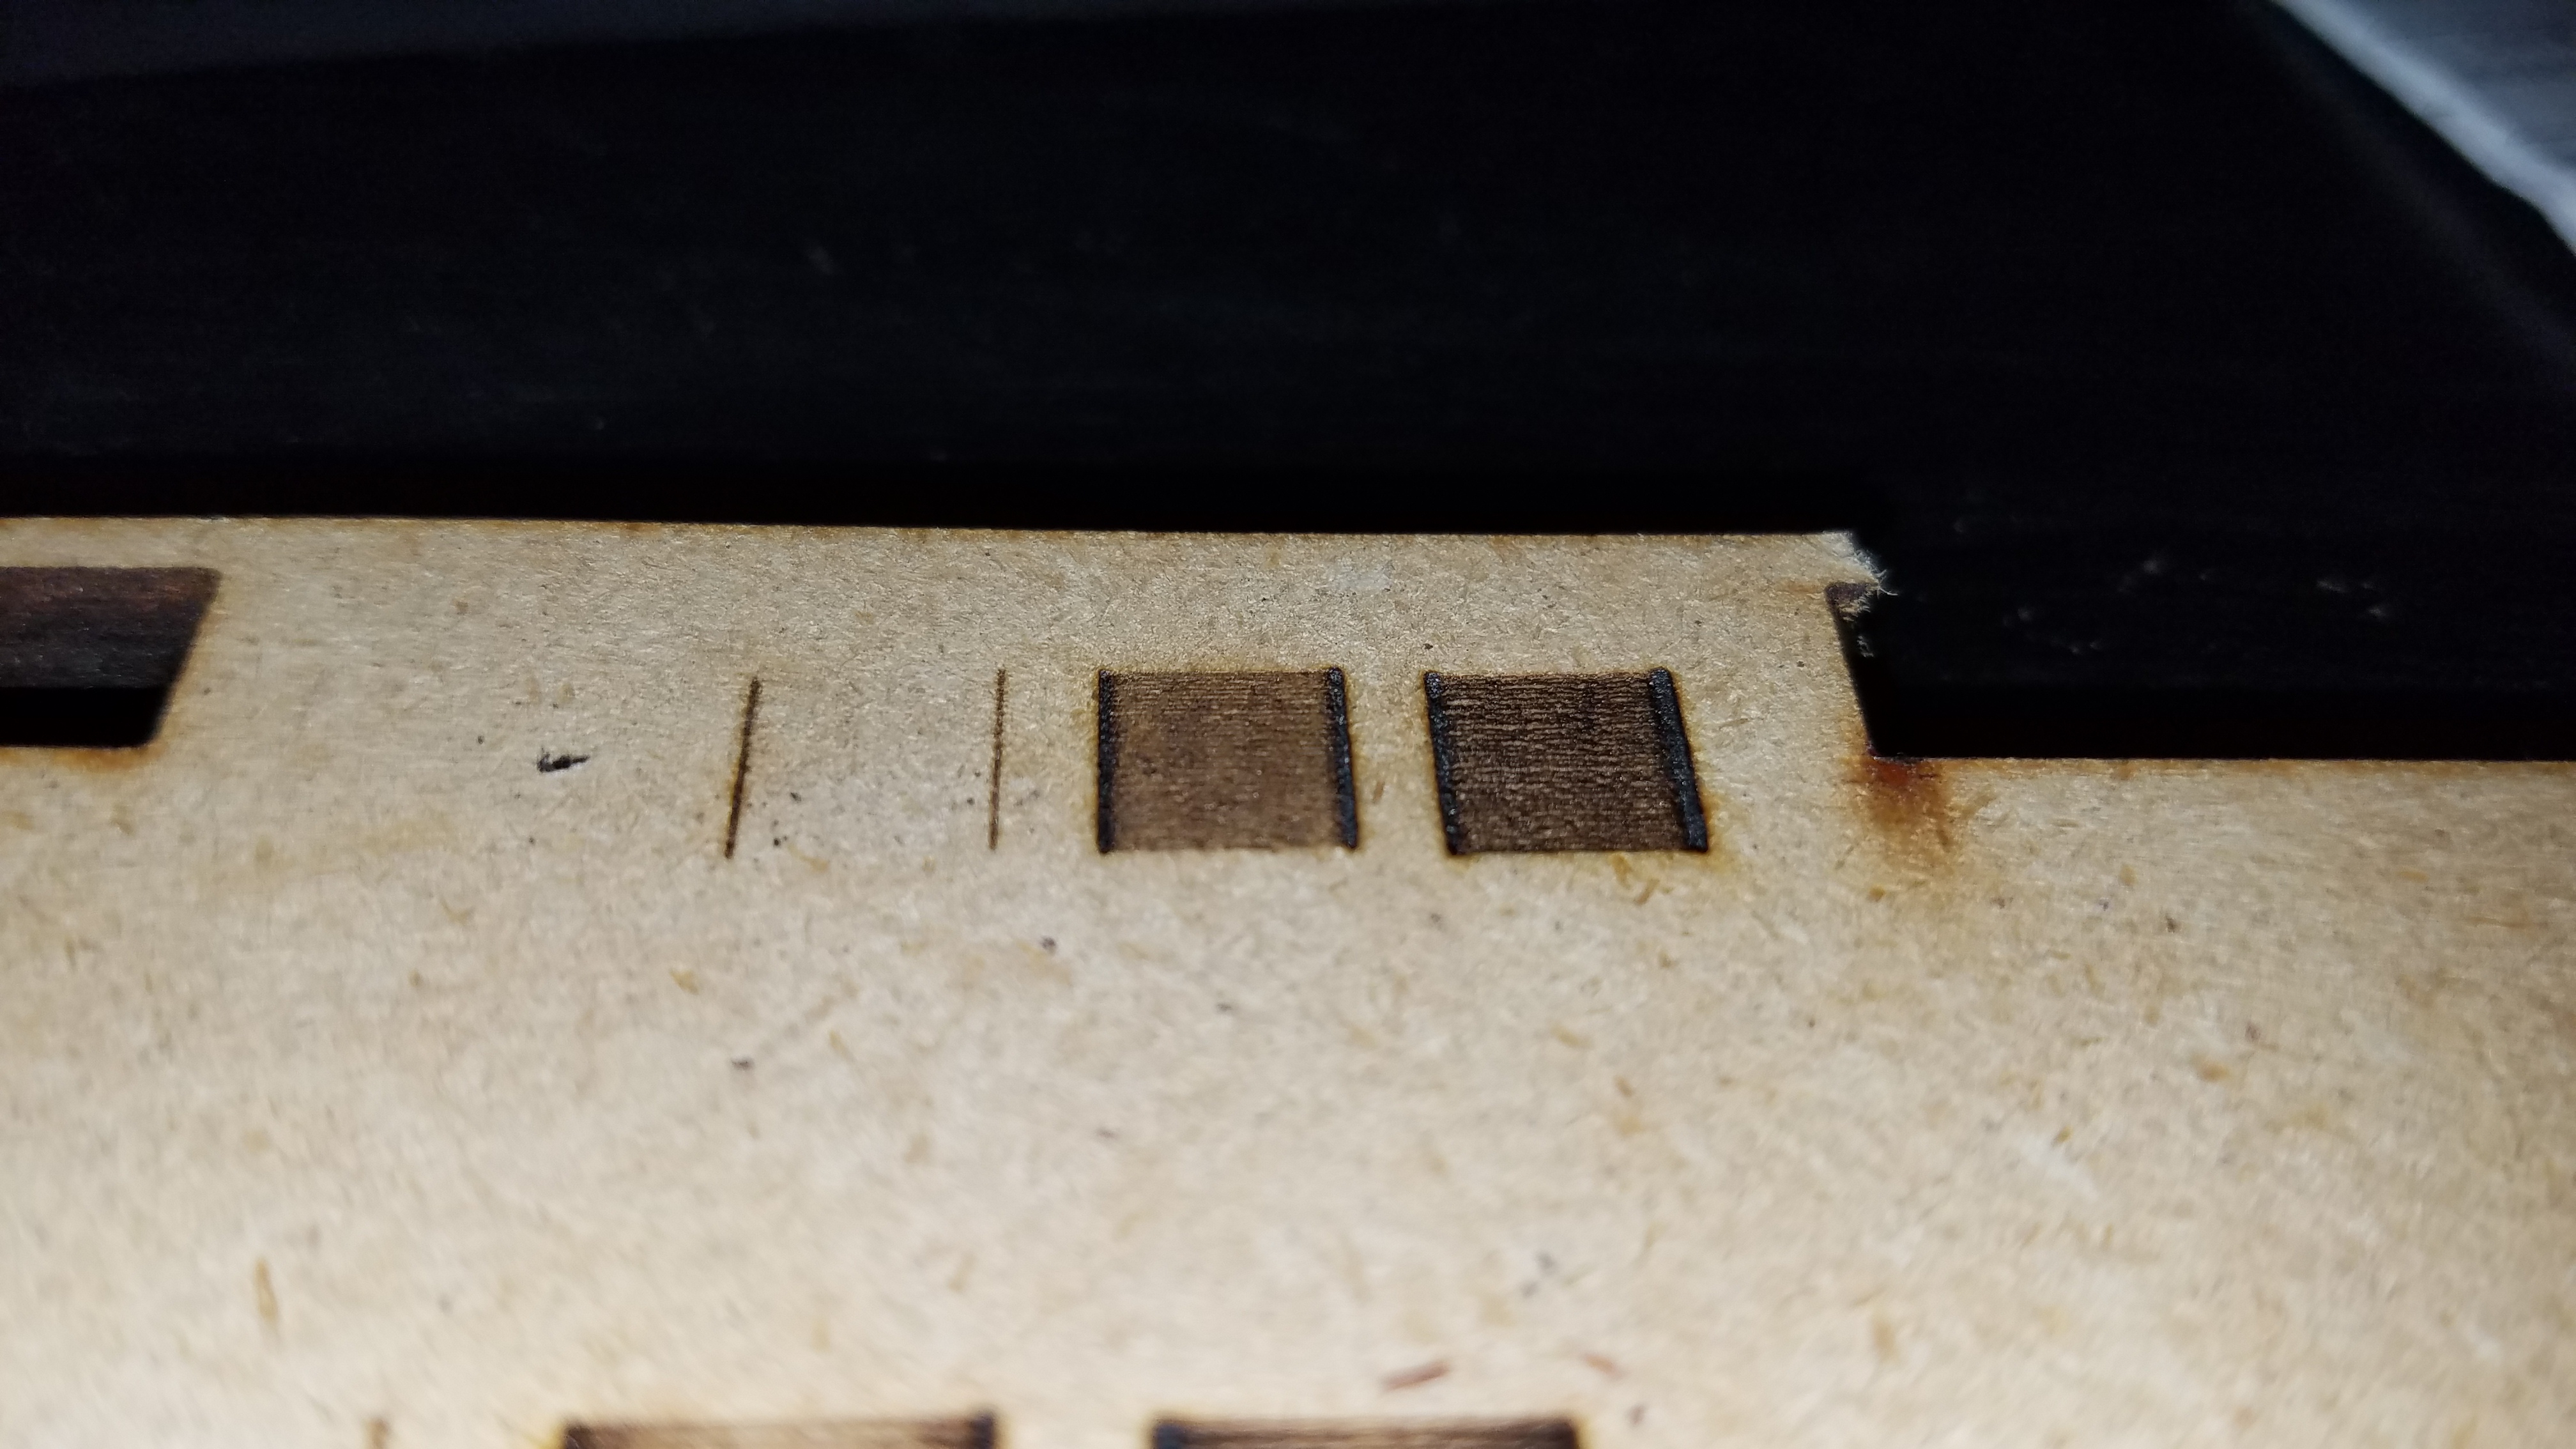
Increasing acceleration to 1000 minimized as shown in the picture.
In my previous setup I have the laser control built into the move functions so when the engraver moved I could specify for the laser to turn on during that movement. In grbl the laser is turned on then move commands are issued.
Two issues I have with this. 1) if I cancel the job, the laser could potentially remain on. 2) multiple commands need to be issued to make draw moves. (Ex. M3, M5, G0, S100)
The reason for this is the laser is spending too long at the edges due to deceleration and reaceleration. Smoothie board has a feature where the power is altered to compensate for this. But another way to fix this is the draw a larger box around your object your want to cut and the laser will then travel full speed over your object and do the change in speed while not firing.
@Bonne Wilce Can you reword that explanation? Im not sure i understand.
Also, is there a way for speed compensation in grbl?
i figured it was due to hanging too long on those edges, but im wondering if there is a way to solve this on my current board without upgrading to a smoothie board. That would be overkill for this setup.
@Cid_Vilas lowering power on deceleraration is not supported on grbl so the solution above is that you make you design bleed on the edges and then cut it. I don’t understand why would smoothie be an overkill. It’s a good investment no matter the machine you have, specially as there are many great people in our community them
@Cid_Vilas I think what Bonne is saying is that if you are wanting to engrave say a 50 x 50mm image, then create a rectangle around it that is say 55 x 55mm. Then the laser will travel that extra 2.5mm (on each side) & the image won’t have darker edges, just the rectangle (which you can then trim off later).
@Yuusuf_Sallahuddin_Y Thats a good suggestion. The problem though, is that the dark edges happen on all transitions. So if i have multiple shades within the image, there is always a dark edge in the image. The image i added before is from a single image with three free floating squares. The background was white. As it transitioned from some shade to white and back, it would always hang for a short while.
Sorry late night and early start
I am not sure if it is possible in grbl it involves some caculations. Which I’m not sure it can keep up with hence the smoothie with the 32 bit.
The best way to fix your problem would be to draw a large box around where you wish to engrave. This means the laser head will travel full speed over the engraved area and change speed and reverse over the outer box line.
+Peter van der Walt I don’t know if it would be possible to create a fake offset of a few mm in laser Web to fix this in laser Web rather than the file?
+Peter van der Walt thanks for the info. The suggestions above didn’t solve my issue. There is just too much delay from serial communications in between turning the laser on and then off. I’ve modified a firmware previously so that if S### is present on a G command then the number is assigned to the laser PWM. The issue I have now is that LaserWeb3 uses commands I didn’t write in for position. I think this is locking it up. Can more options be added to LaserWeb3 to toggle these functions? Minimizing communications to bare essentials might help solve my problem too.
To me it seems like grbl’s path opzimizer is not working when the laser is switched on and off for each line, like LaserWeb3 for GRBL does. Why not leave the laser on and just dimm the pwm down with S0 (or below marking level)?
I think i figured out the solution. I went back to GRBL and modofied the firmware to turn the laser on/off by adding S### to G# movement commands. Now i have a feature request.
+Peter van der Walt Im not sure how good I am at programming, but this GRBL mod is working well for me. The PWM isnt tuned, and requires adjustment to make the correct shading. I tested it with some basic images, and it works well. I also etched a N64 logo and it looks good. I’ve added it to the main post. Its 1x1cm