I have uploaded my modification of Prusa’s compact extruder to youmagine: http://www.youmagine.com/designs/prusa-compact-extruder-rework
My printer is a Prusa i3 box frame and the printed parts I bought to make it (my first printer) included the x carriage and reworked Wades extruder from here: http://www.thingiverse.com/thing:119616.
I was pretty happy with this setup until I realised that the nozzle was more than 0.1 mm closer to the bed when positioned at the x center of the bed than it was at the x edges of the bed, making tramming to better than 0.1 mm impossible. Eventually, after trying many things, I determined that the cause of this problem was the flex in the (8 mm) x rods combined with the centre of mass of the heavy Wades extruder being well forward of the x rods and the nozzle also being well forward of the x rods. This meant the nozzle drooped towards the bed to a greater extent when at the center of the x range than it did at the ends of the x range.
As a result I decided to make a new extruder and mount that would move the nozzle as close as possible to the bottom x rod and also move the center of mass closer to the x rods.
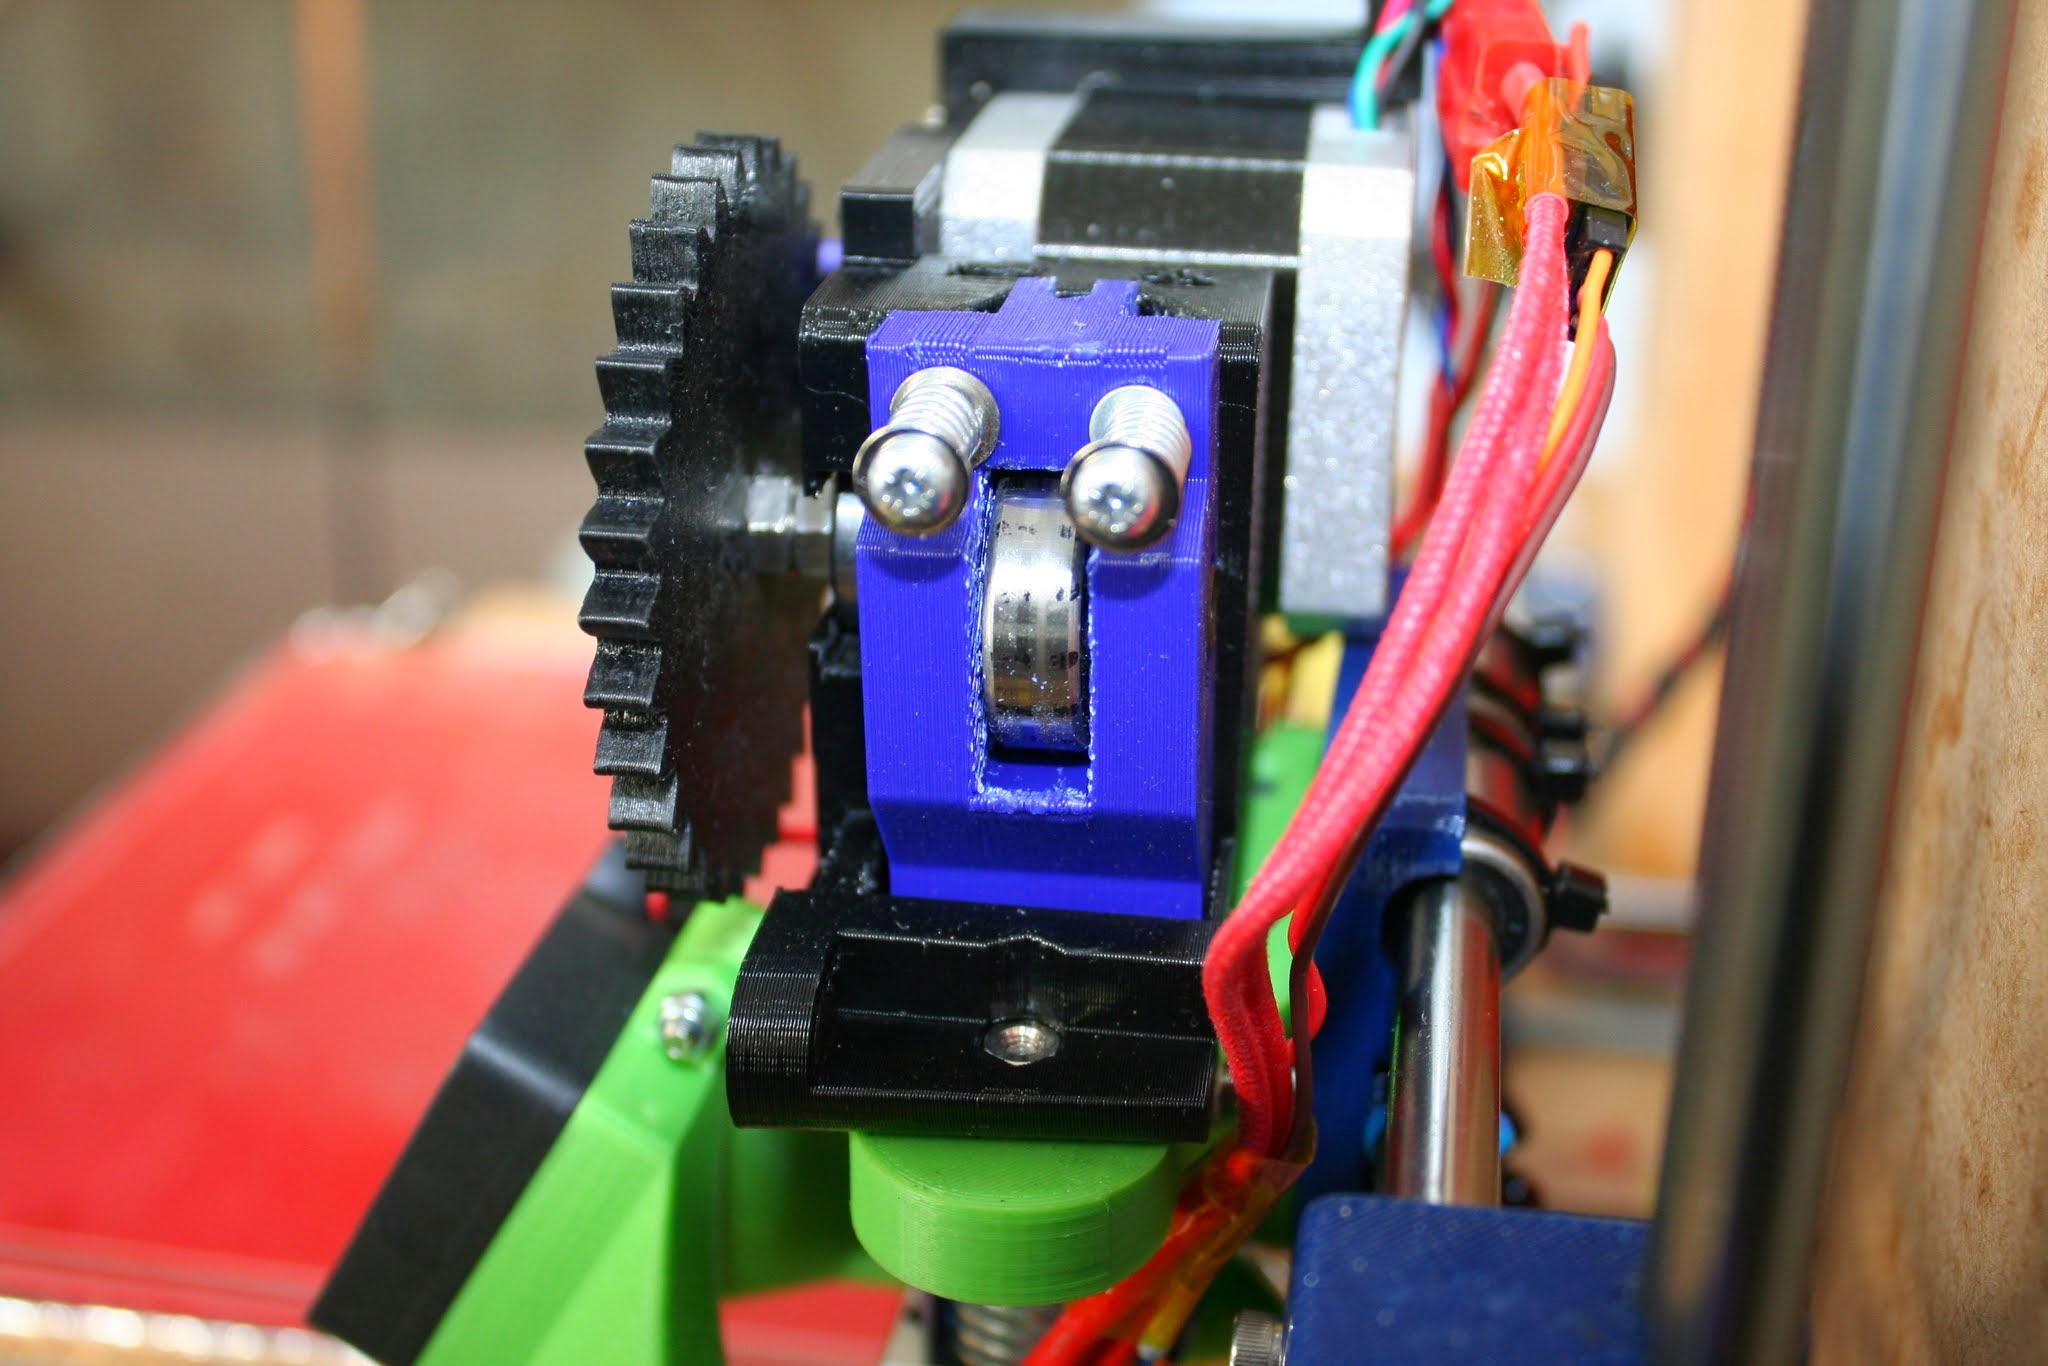
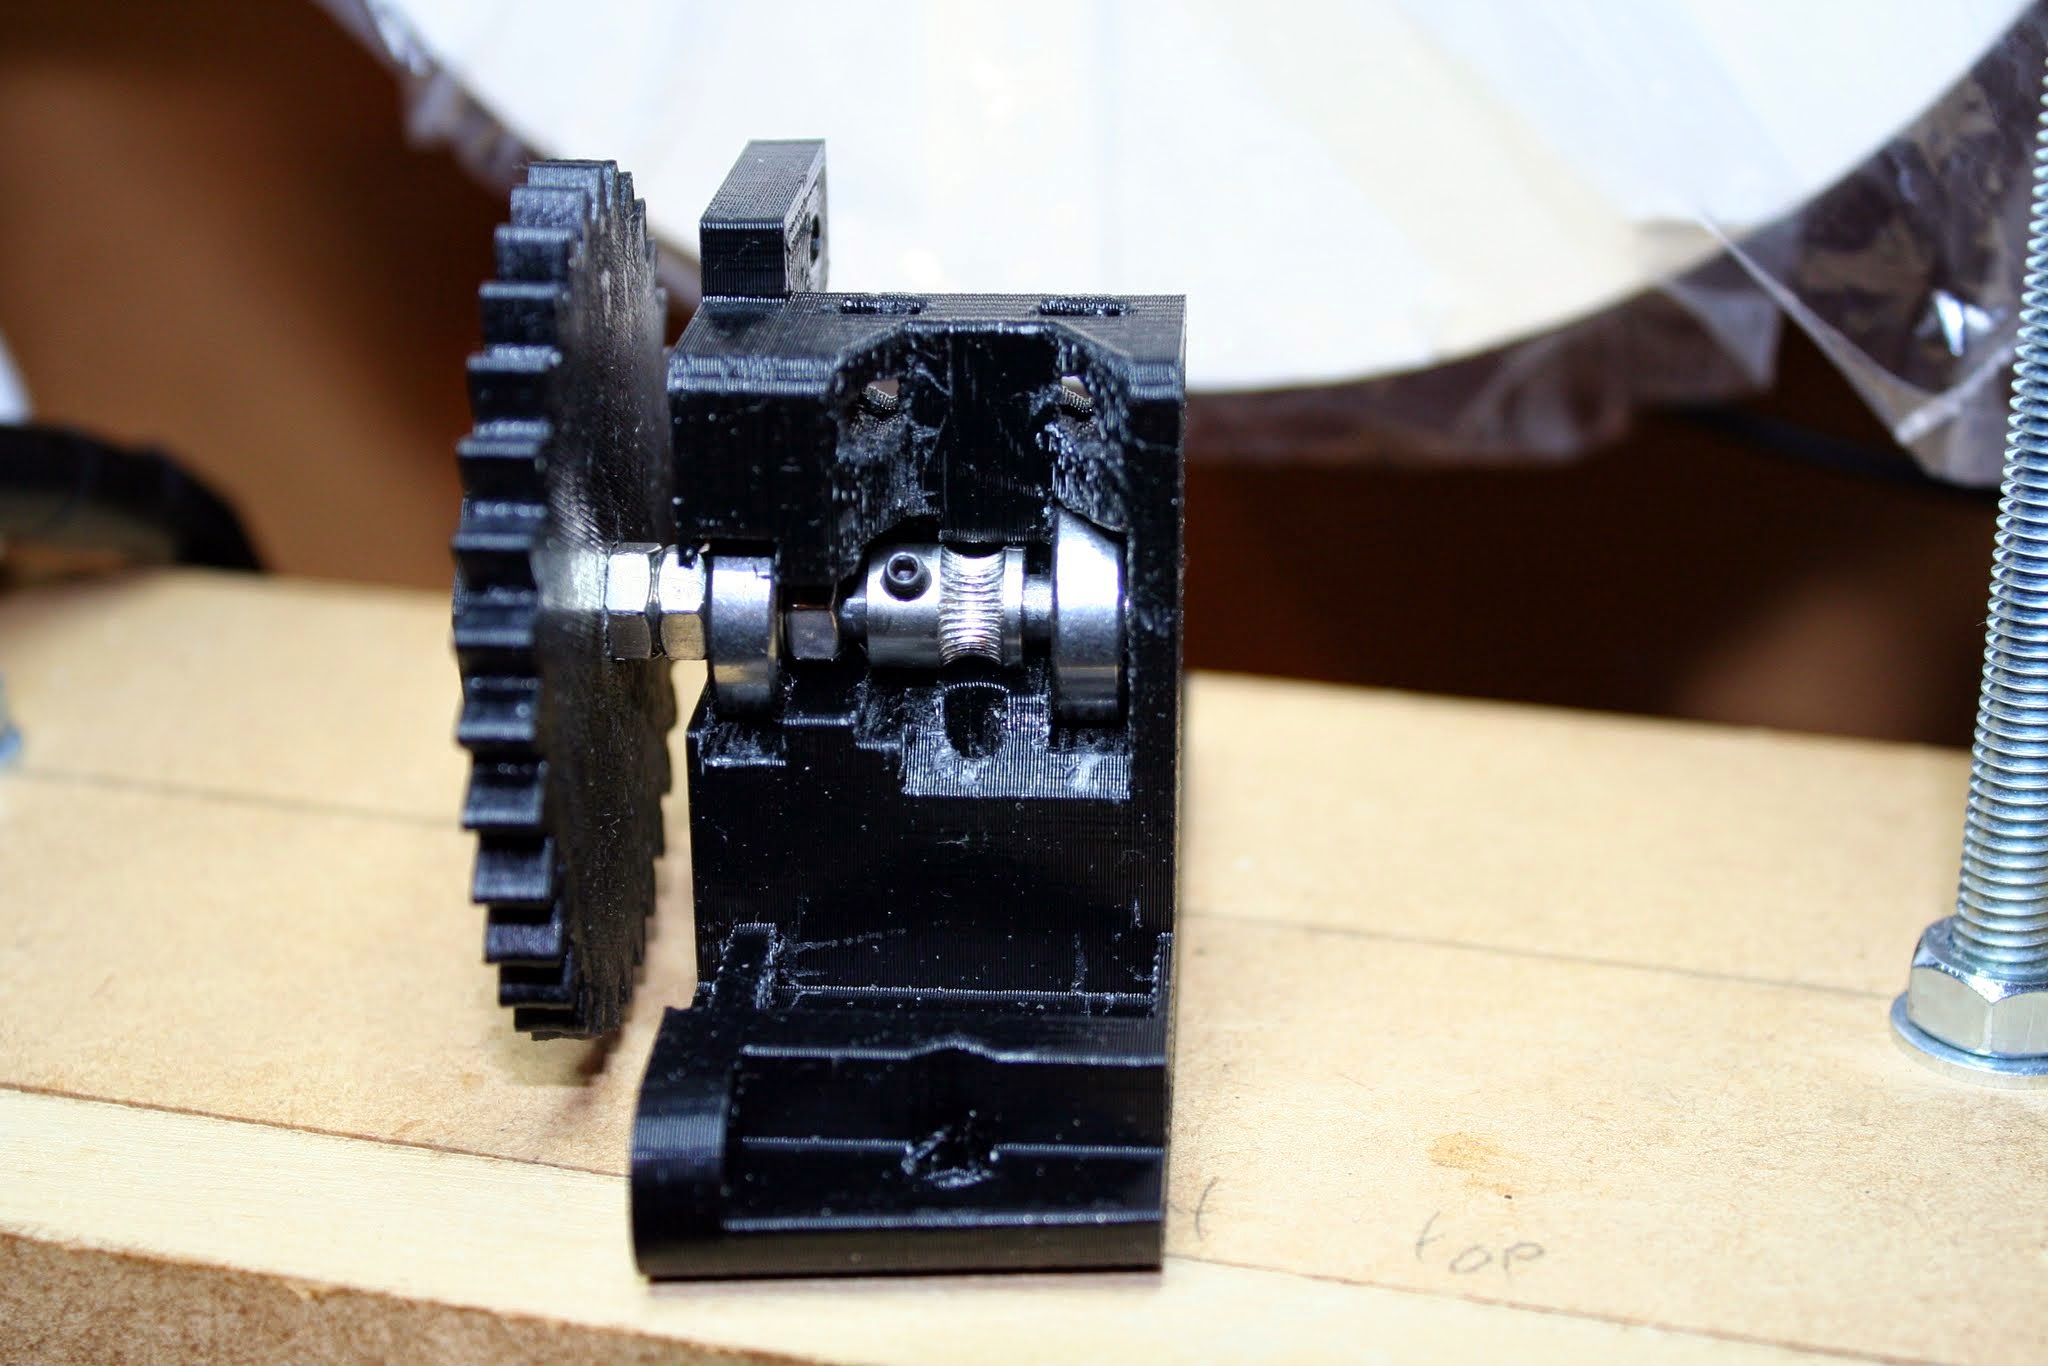
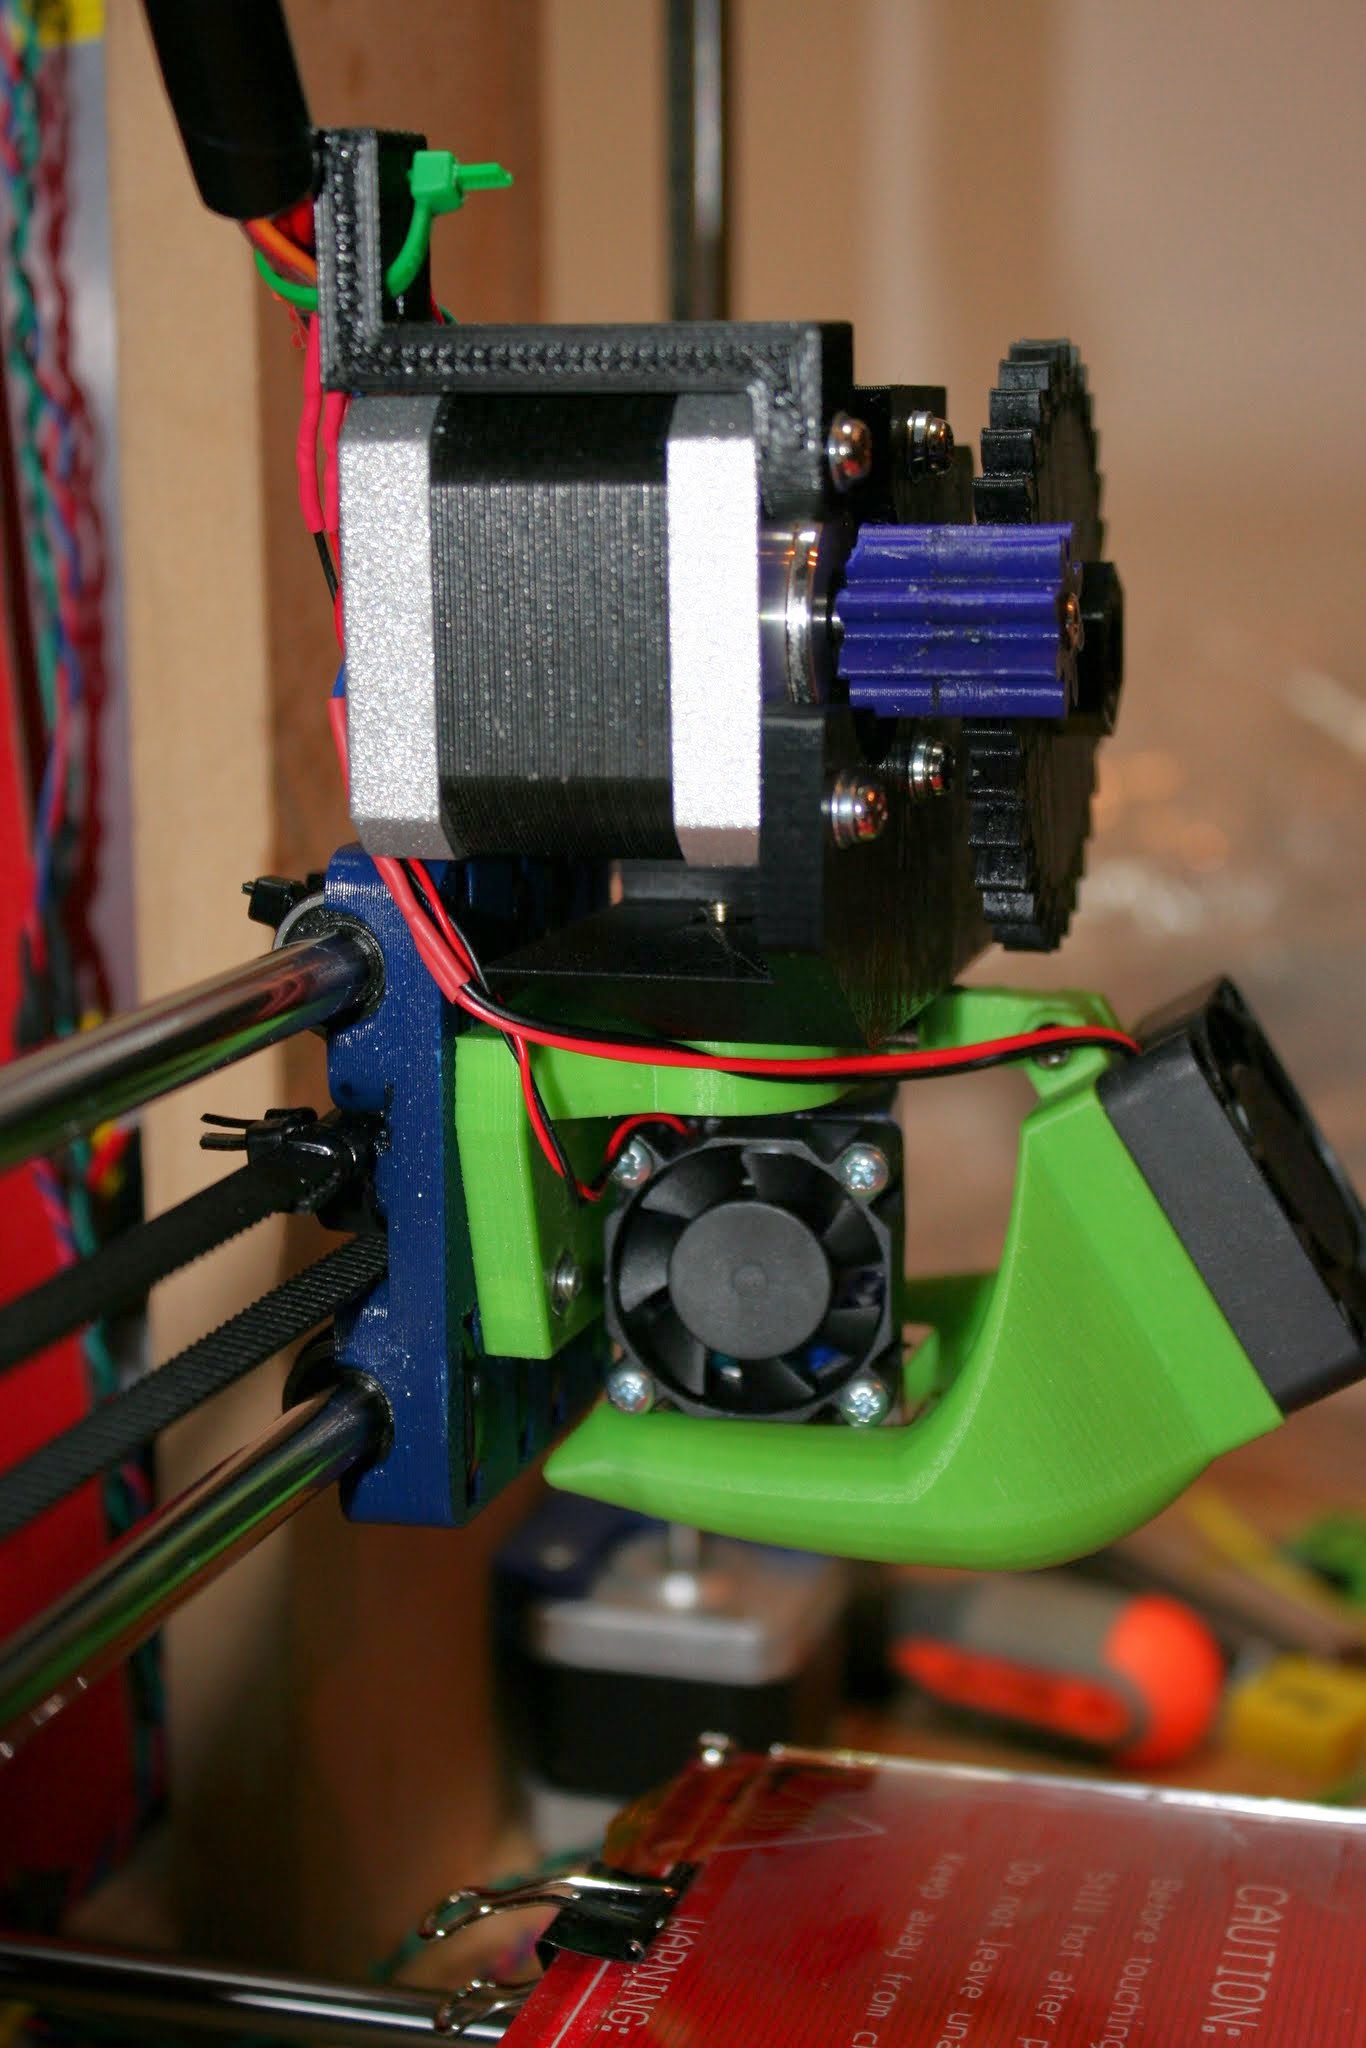
I use 3 mm filament and I also like to use a light weight (230 gm) stepper on the (non-Bowden) extruder to keep the x carriage total mass down, so I need a reasonably large gear ratio (1:4) and a Mk8 hobbed gear to get enough torque. Prusa’s compact extruder from the prusa-vanilla repo looked simple and light (M5 rod and 625ZZ bearings), so I redesigned it to use an 8 to 32 gear ratio (up from 8 to 24). To move the center of mass as close as possible to the x rods I raised the motor so that its back could extend over the top of the x carriage.
I also made the hobbed gear more accessible , added a guide to the idler, and strengthened the idler.
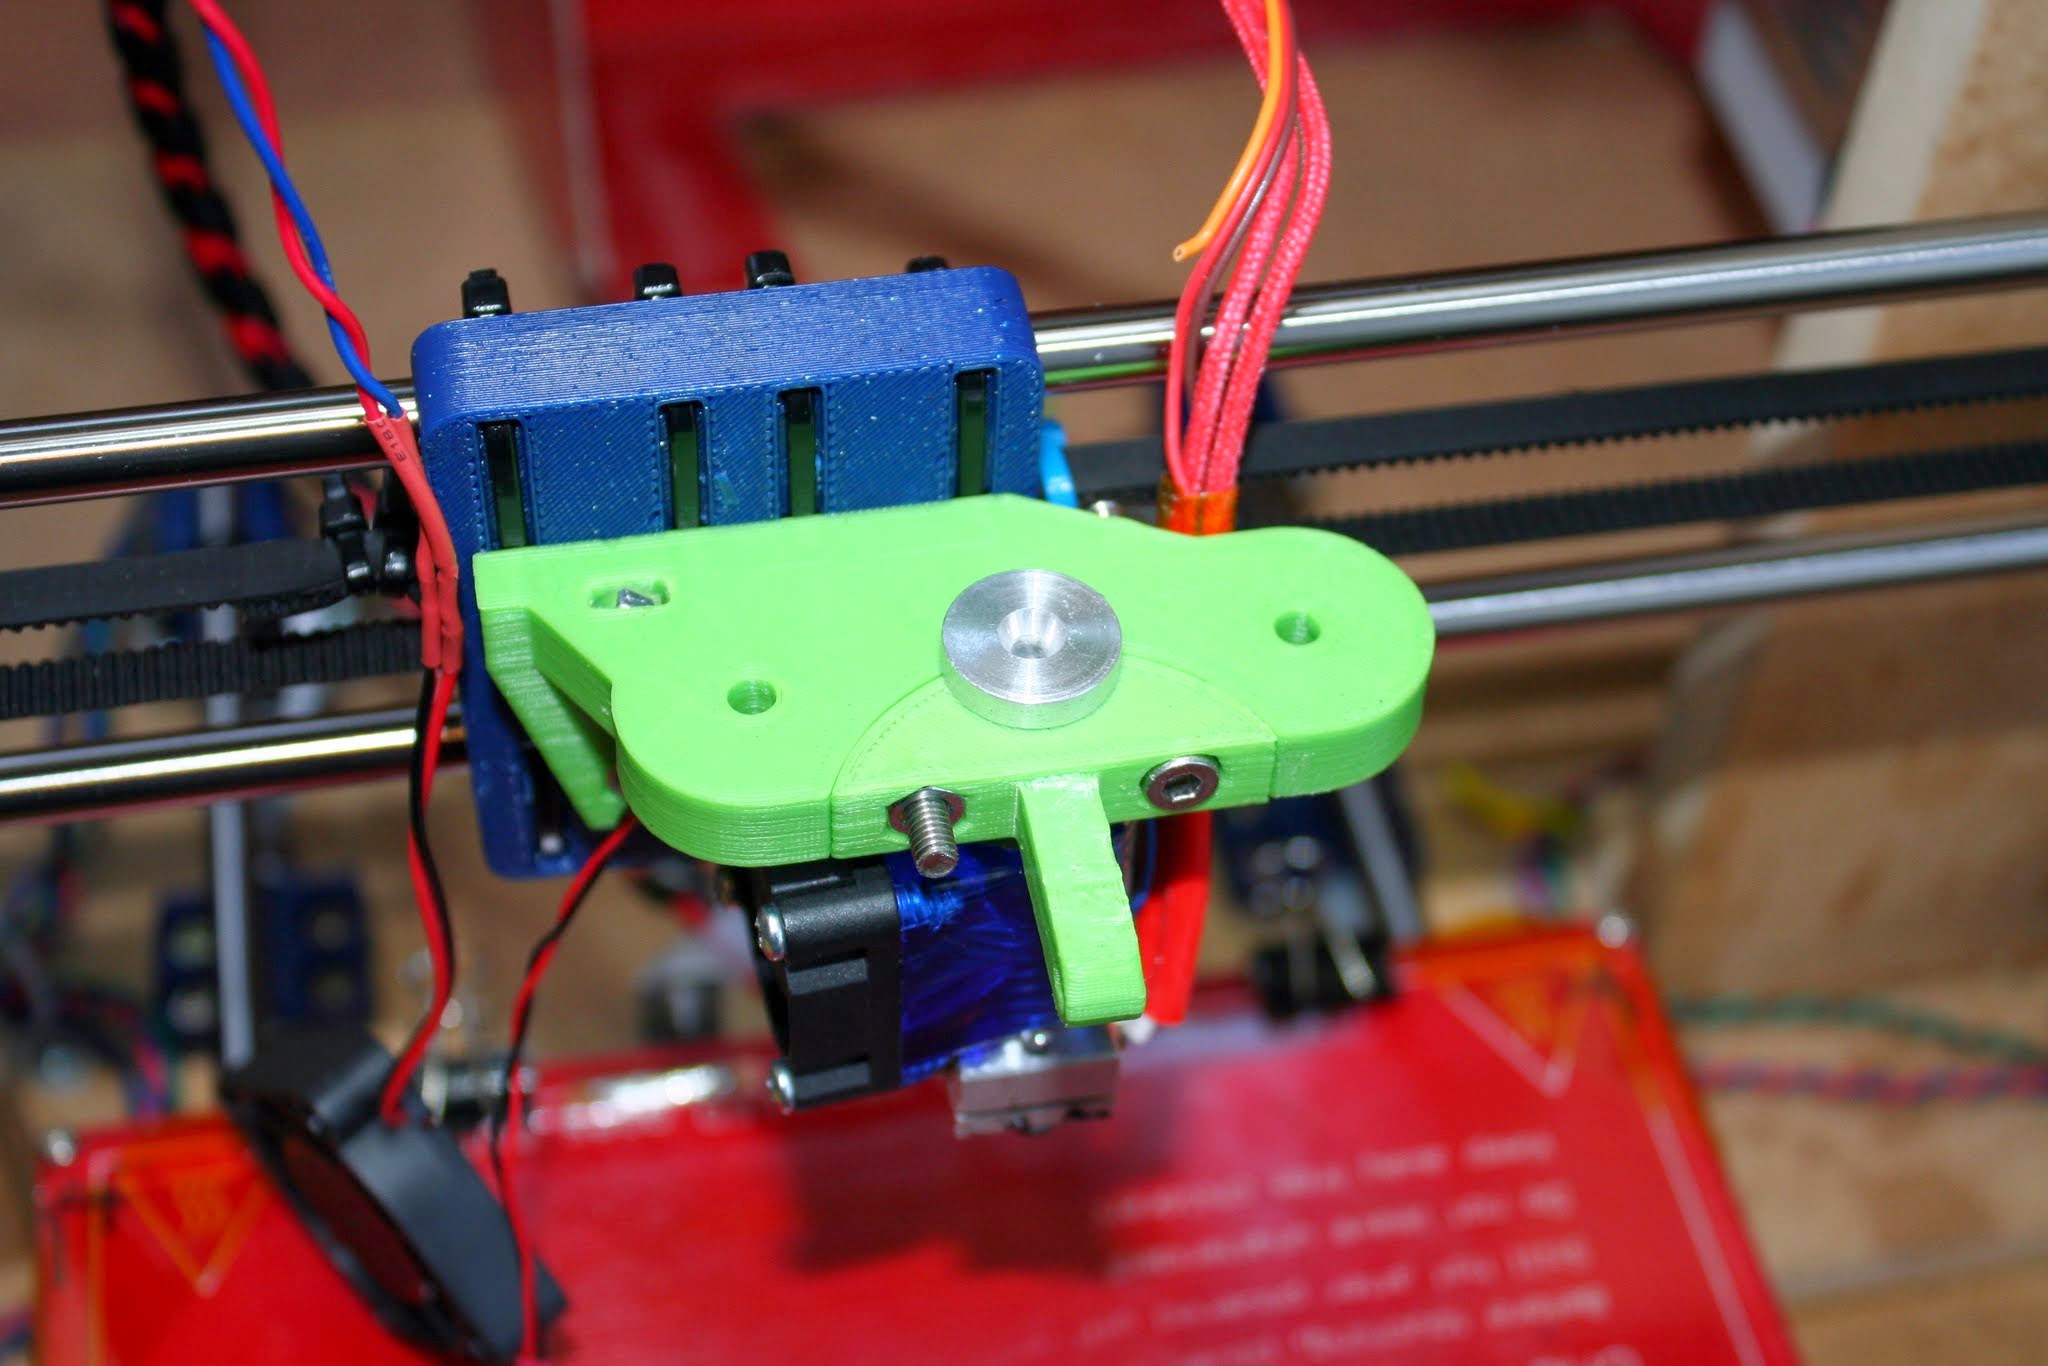
I did not want to change the x carriage because it is really smooth and slop free, so I designed a mount ( based on http://www.thingiverse.com/thing:148536) to attach my E3D v6 directly to the existing carriage, as high as possible. I then bolt the extruder to this mount using normal 50 mm spaced groovemount holes on the extruder.
I can now tram accurately across the whole 200x200 build plate.
Sources also available here: https://github.com/spinorkit/Prusa3-vanilla