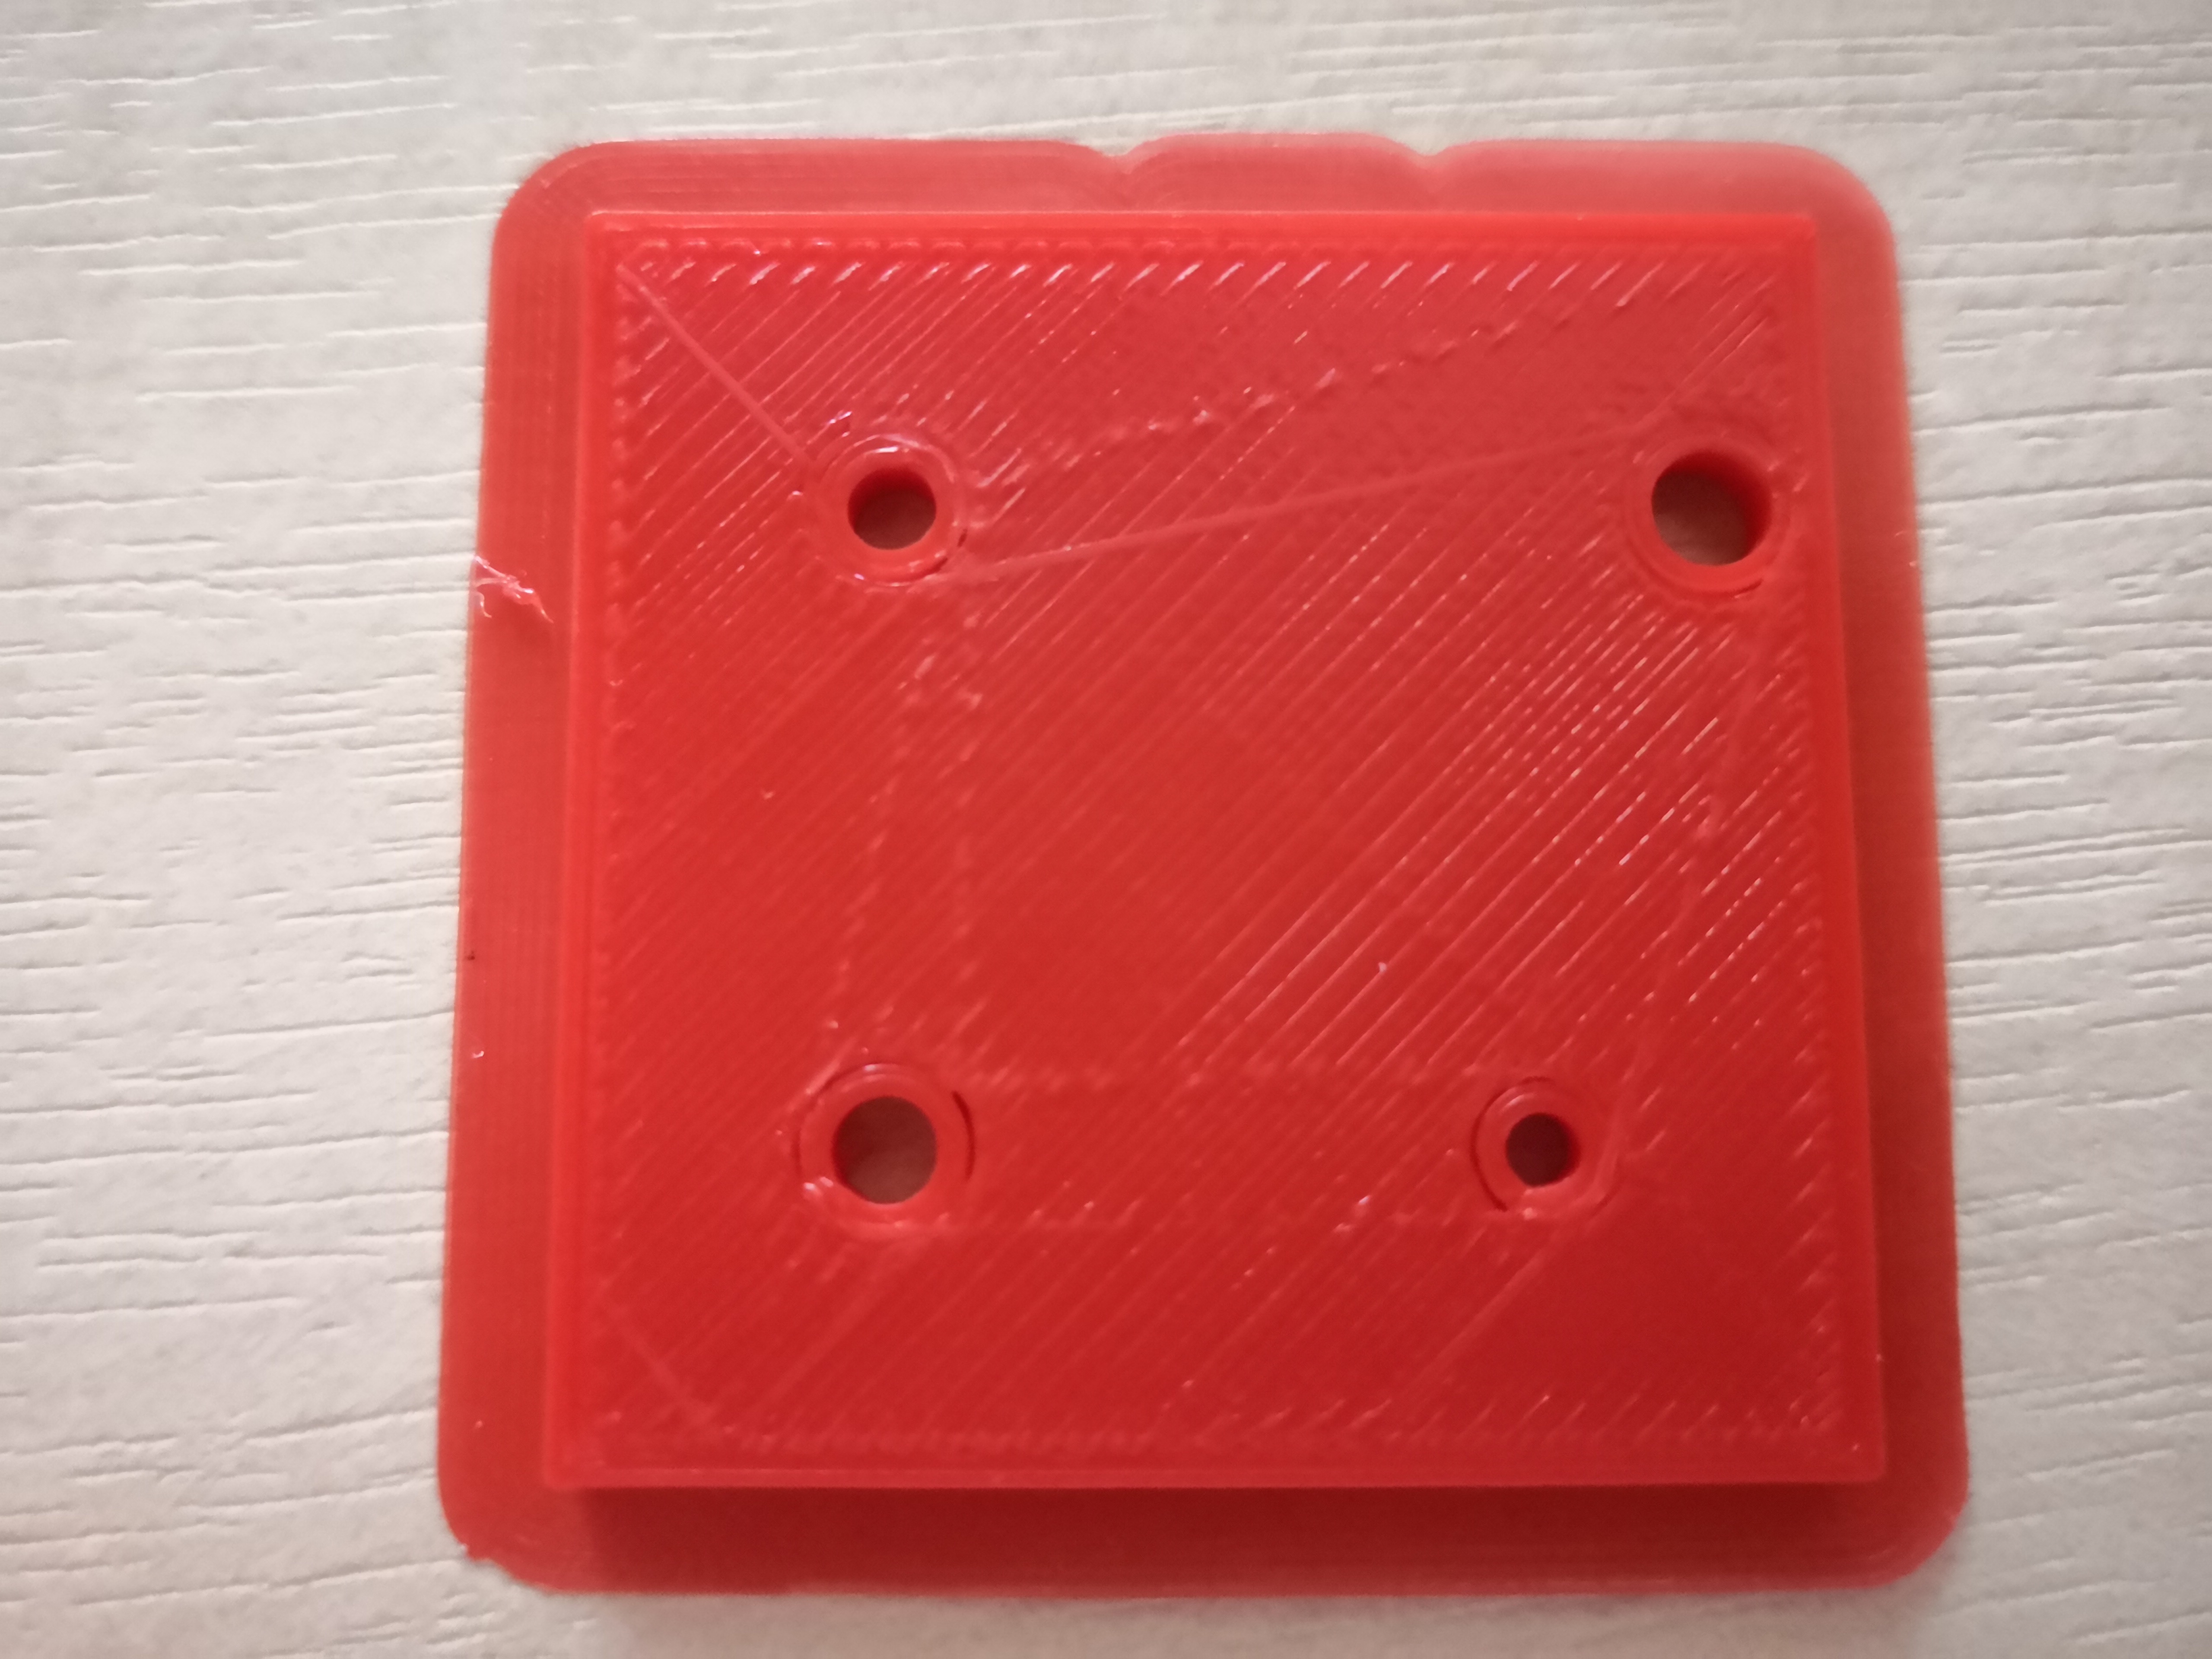
I have the following problem with my Anet A8. There are gaps around but mostly on the right of holes. They are between the perimeter and the top solid infill. Another thing i have found out is that this problem only occurs at a height of up to 5mm. I think it is a mechanical problem but i have no idea what it could be.
I had an issue where my Z axis screws were slightly bent and it caused the print head to wobble back and forth as it moved to higher layers.
Another possible issue is that you’re under extruding (though it doesn’t really look like it).
A possible fix is to use a concentric profile for your top layers instead of a zig zag. Is would cause the printer to just put more rings around the hole. It’s worth a shot.
@Richard_Karlson that’s exactly what he doesn’t want to do. You don’t solve problems with 3D printers by covering them up. This isn’t just a visual thing, it’s also going to make his parts mechanically inaccurate.
Find and fix the problems at the source. Find the mechanical issue, fix the mechanical issue. Otherwise the only thing that will be worth printing is vases and other decorative items.
@Jan19998 – What kind of couplers are your Z axis using? A picture of the printer would help perhaps. Sometimes manufacturers don’t realize the problems with some of their component selection.
On ID circles, filament has a tendency to pull to the inside. Might try printing infill first before perimeters. Then (at least in Cura), you can increase the overlap, so the circle has something to stick to.
Just had a quick idea. Raise your Z axis up maybe 75mm; check the linear rods in the Z axis. Make sure there aren’t grooves worn in them. Could be allowing the X stage to rock.
Essentially, diagnostic is like this: Grab things, twist things, push and pull things…tighten up anything that moves differently than it should.
If you ‘upgraded’ things on X and Y, check what components it affected. Belts should be tight, pulleys should have their set screws double checked and tightened down.
@Jan19998 The grooves are likely because the rods given with your machine are probably not chrome plated precision rods. The hardness of the chrome balls in the linear bearings are going to wear grooves into them. Since you’re homing to the build plate, you roll on that 4-5mm of surface the most, and it wears in more often.
You’ve checked your belt tensions on X/Y, as well as the pulley setscrews for those axis?
This is a more extreme example with a much larger hole. Worn threads are not the issue (this came off a delta), although bed adhesion clearly played a role here, in addition to the circular path filament shrinkage. After a few layers the problem went away. missing/deleted image from Google+
@Jan19998 You’re just masking a mechanical problem somewhere. While this does look better, there’s something loose. It might be good enough for you. Your call.