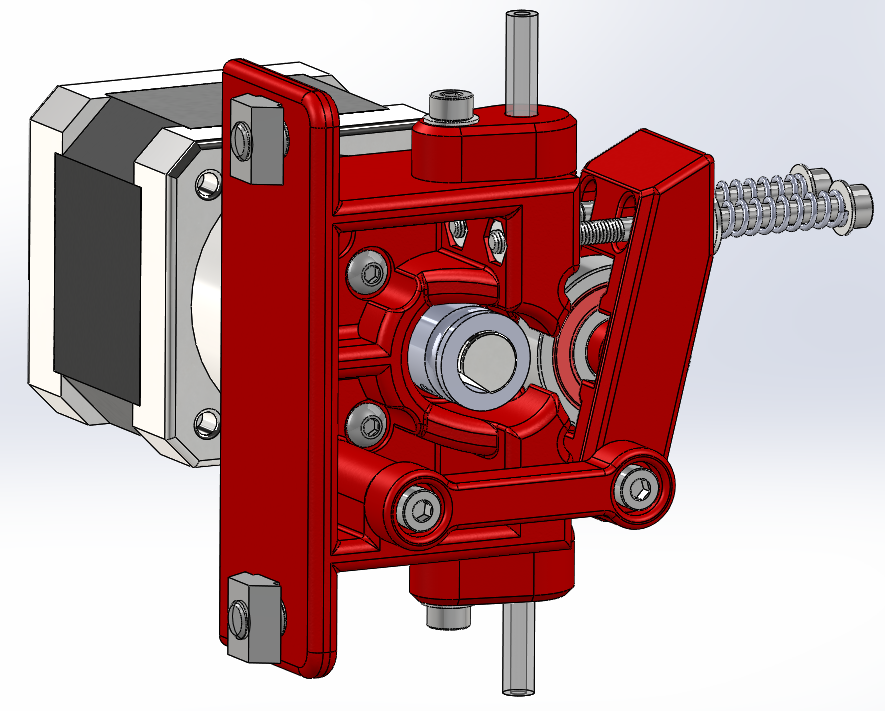
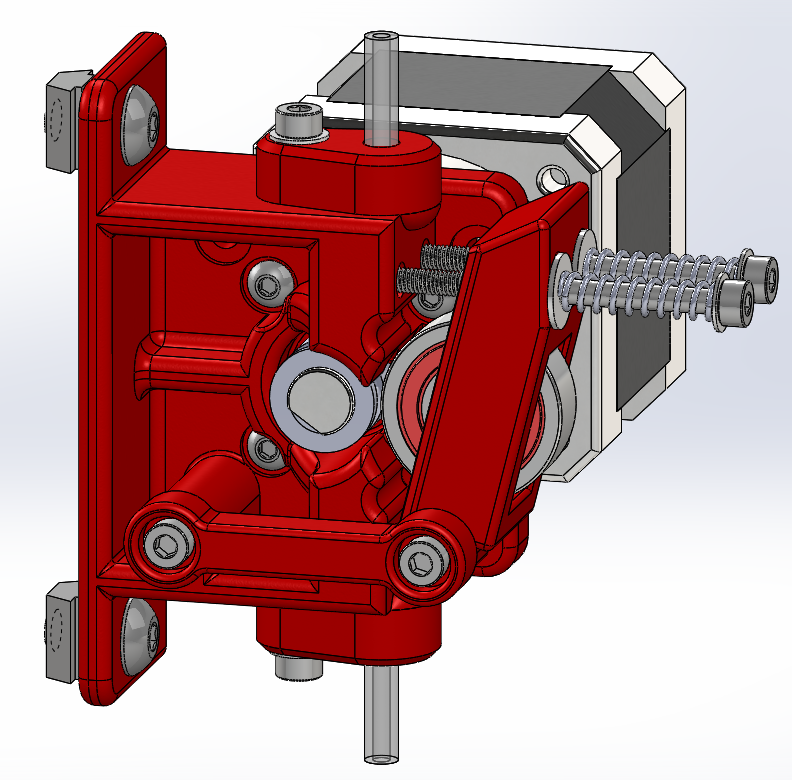
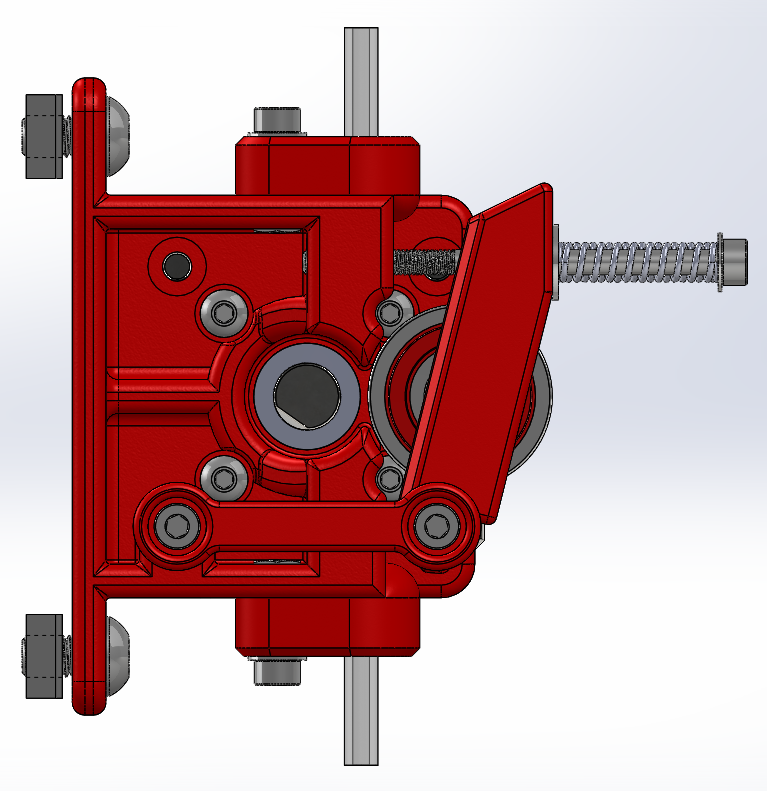
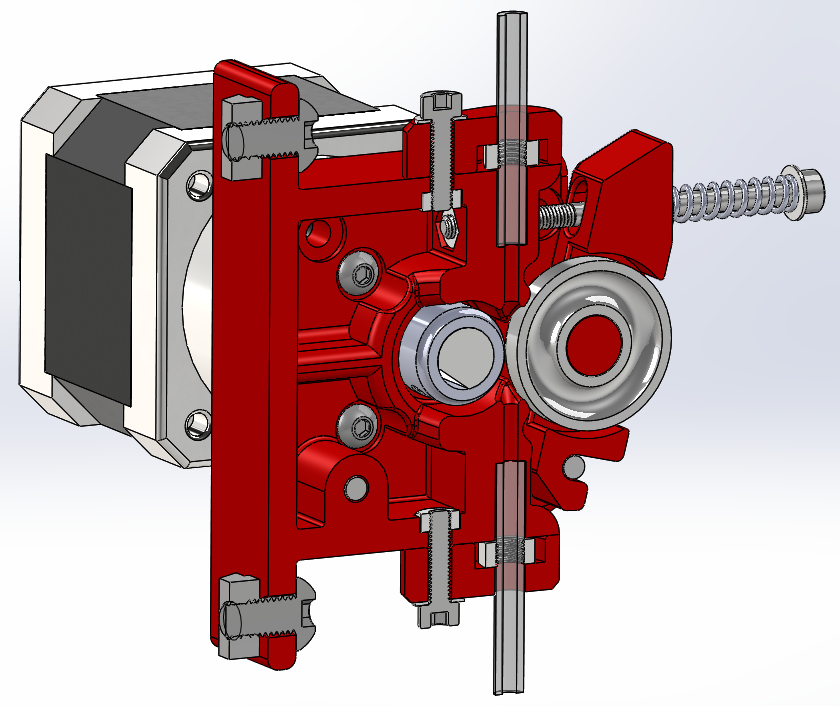
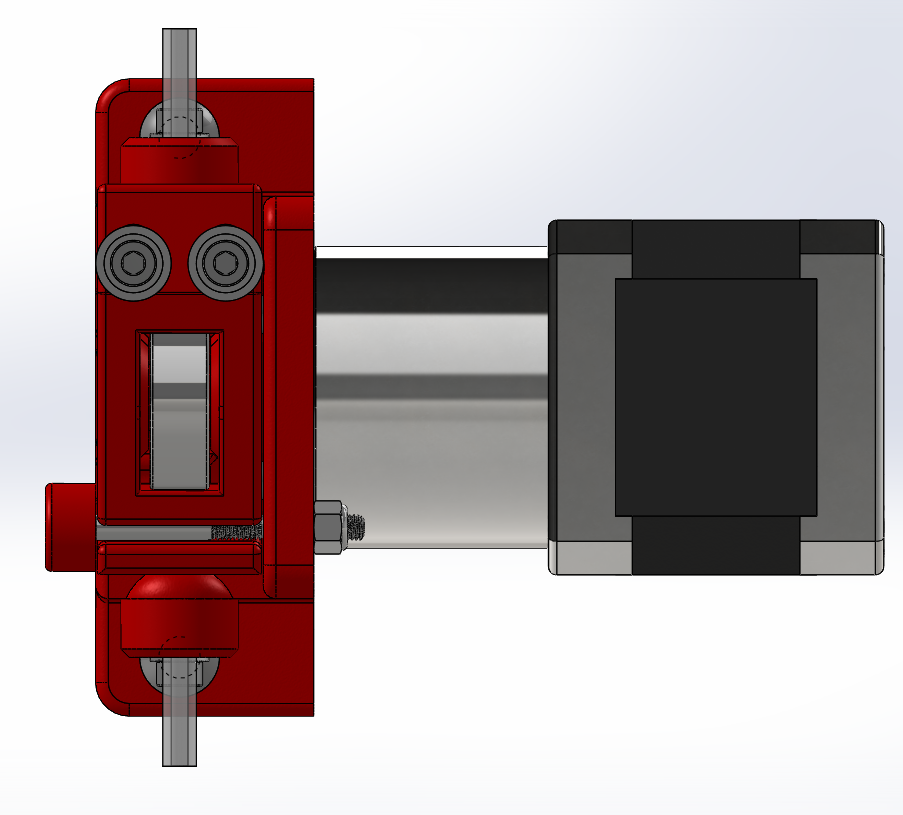
I am working on a bowden extruder to replace the PlanetCNC Airtripper variant I have been using.
I wanted to be able to clean the gear teeth while filament is loaded, so I cut away from the back side support near the hobb gear. I also wanted to be able to run either Nema 17, or Nema 17 with gear reduction which is a different bolt pattern. I wanted to support the filament as close as possible to the contact between the hobb gear and the bearing. Lastly I wanted to replace the bowden tube pneumatic tube fittings with another retention method. I cannot even remove the tube from the fitting on my current extruder. I have only seen the 4mm nut around the bowden tube trick before online… but I have never done it. Can anyone with experience confirm it works well?
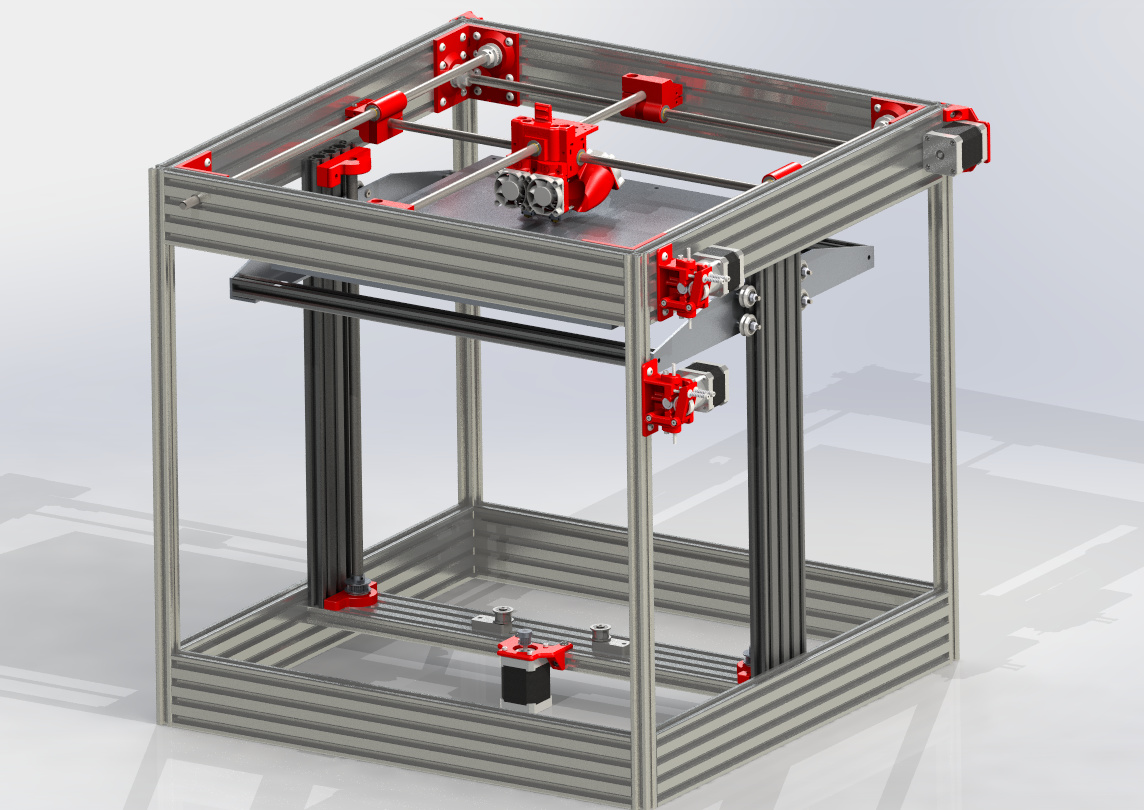
Also I have some updated screenshots of the modeling progress on the printer assembly.
I’ve been using it on my air tripper since December. Ive never had the tube pull out. But you will need to drill the bowden tube back to 2mm after you thread it in.
@Joe_Spanier I can bring the tube past the retention point (I like how the E3D v6 does this to put the Bowden tube right at the heat break).
And I have never had it pull out on my current setup. But due to pressure of the filament biting the tube into the fitting, my tube is the veritable sword from the stone to ever get it out of the fitting at my airtripper outlet.
haha yea they really do bite into the tubes after a while.I usually have to push it in a few mm and then yank it out. I get some 4mm fittings from fastenal and drill them out. I can send you a couple to try if you want.
The only problem I see is I would have to fatten up the area to accept the thread. I have some M5 thread ones that are OK. But they don’t allow the tube to pass through, and they don’t have much thread bite into the printed part:
I also drill out the 4mm to 1/8" push to connect. Just use a 4.5mm ( i tried a 4mm but it a bit to tight) steel drill bit and the hex design under the fitting.
I find that using airtripper’s method of holding the fitting is really easy to remove afterward.
@Shauki I am a smoker unfortunately. But in the states all they have is the safety lighters. They are higher on the side then in the center of the Flint wheel to allow for the safety cover.
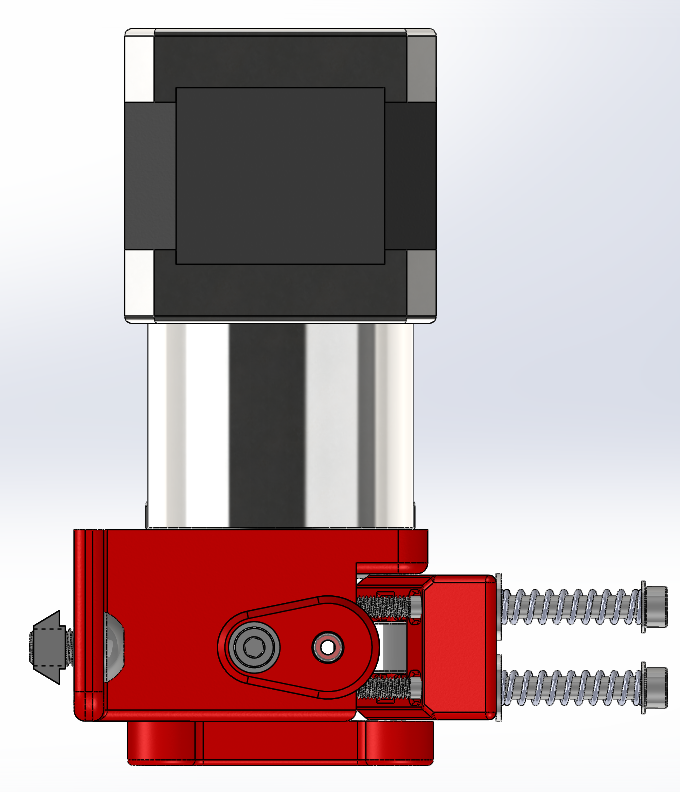
FYI I just added pictures of the actual printed version. I need longer bolts. So for now I have cut down springs and the longest bolts I had. But even with that I am printing with it now, and it works great.
@George_Salgueiro 5mm button head screws slide into the z extrusion tslot. Then they are tightened through holes predrilled through the z extrusion into the end of the horizontal which was threaded. Also I may use a corner bracket on the underside if the horizontal extrusion.
@Shauki I agree. Dual extrusion is a pain. I ditched it before already when my bot was corexy. If I doesn’t work well this time I am over them for good and will reprint a single head carriage. Nice thing about having two printers. If at least one is working iteration is easier.
At least this time I have independent hot end adjustment in Z.
@George_Salgueiro see the post I just put up about drilling the holes for access with an allen key to the button head bolt allen bolts from the outside of the frame.