I’m looking at different methods that people use to line up\center\position material in the right place for cutting or engraving. What method do you personally use to make sure that everything is where it’s supposed to be before you begin?
I have a red diode laser mounted on my laser head. Using K40 whisperer , I use the outline function to ensure I am setup correctly.
1 Like
I use an angle that I cut out of MDF. It is important that one’s machine bed is static, that is, cannot move. On the machine bed, I have laid and fixed the MDF plate and cut my X and my Y in full length (actually 400x600mm, which is my max X and Y)
Now I have my 0:0 perfect for reference and for aligning my parts to be machined. Typically I adjust the part with a margin of X+5mm and Y+5mm in LightBurn.
Hope you understand what I mean, otherwise you can come back
3 Likes
Yes, same here. I have what looks like a set square that sits in the top left corner and proivdes a true X and Y edge. I commonly use 2.5mm margin on the sides of any design/cut to ensure it fits comfortably.
2 Likes
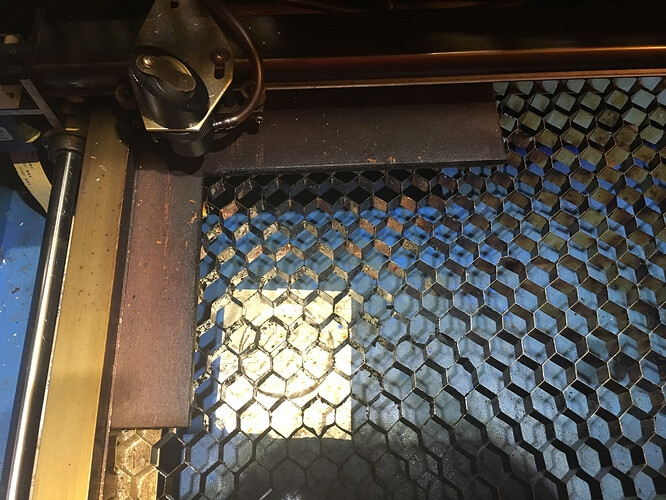
I just found a picture from my co2 laser. Here you can see that there is an MDF strip at the top, and on the left side is an aluminum edge (can’t really be seen) which forms a perfect 90 degree. When I e.g. want to engrave on slate slabs, I have a template that fits that. I save the setup itself as a template file.
2 Likes
You don’t say whether you are using a diode laser or a CO2 laser. For my diode laser, xTool D1 Pro, I use a Comgrow Lightburn camera. With that it doesn’t matter if the material is centered or positioned properly. You can just rotate the image you want to cut or engrave to fit the material.
1 Like
Depends on your laser and software.
-
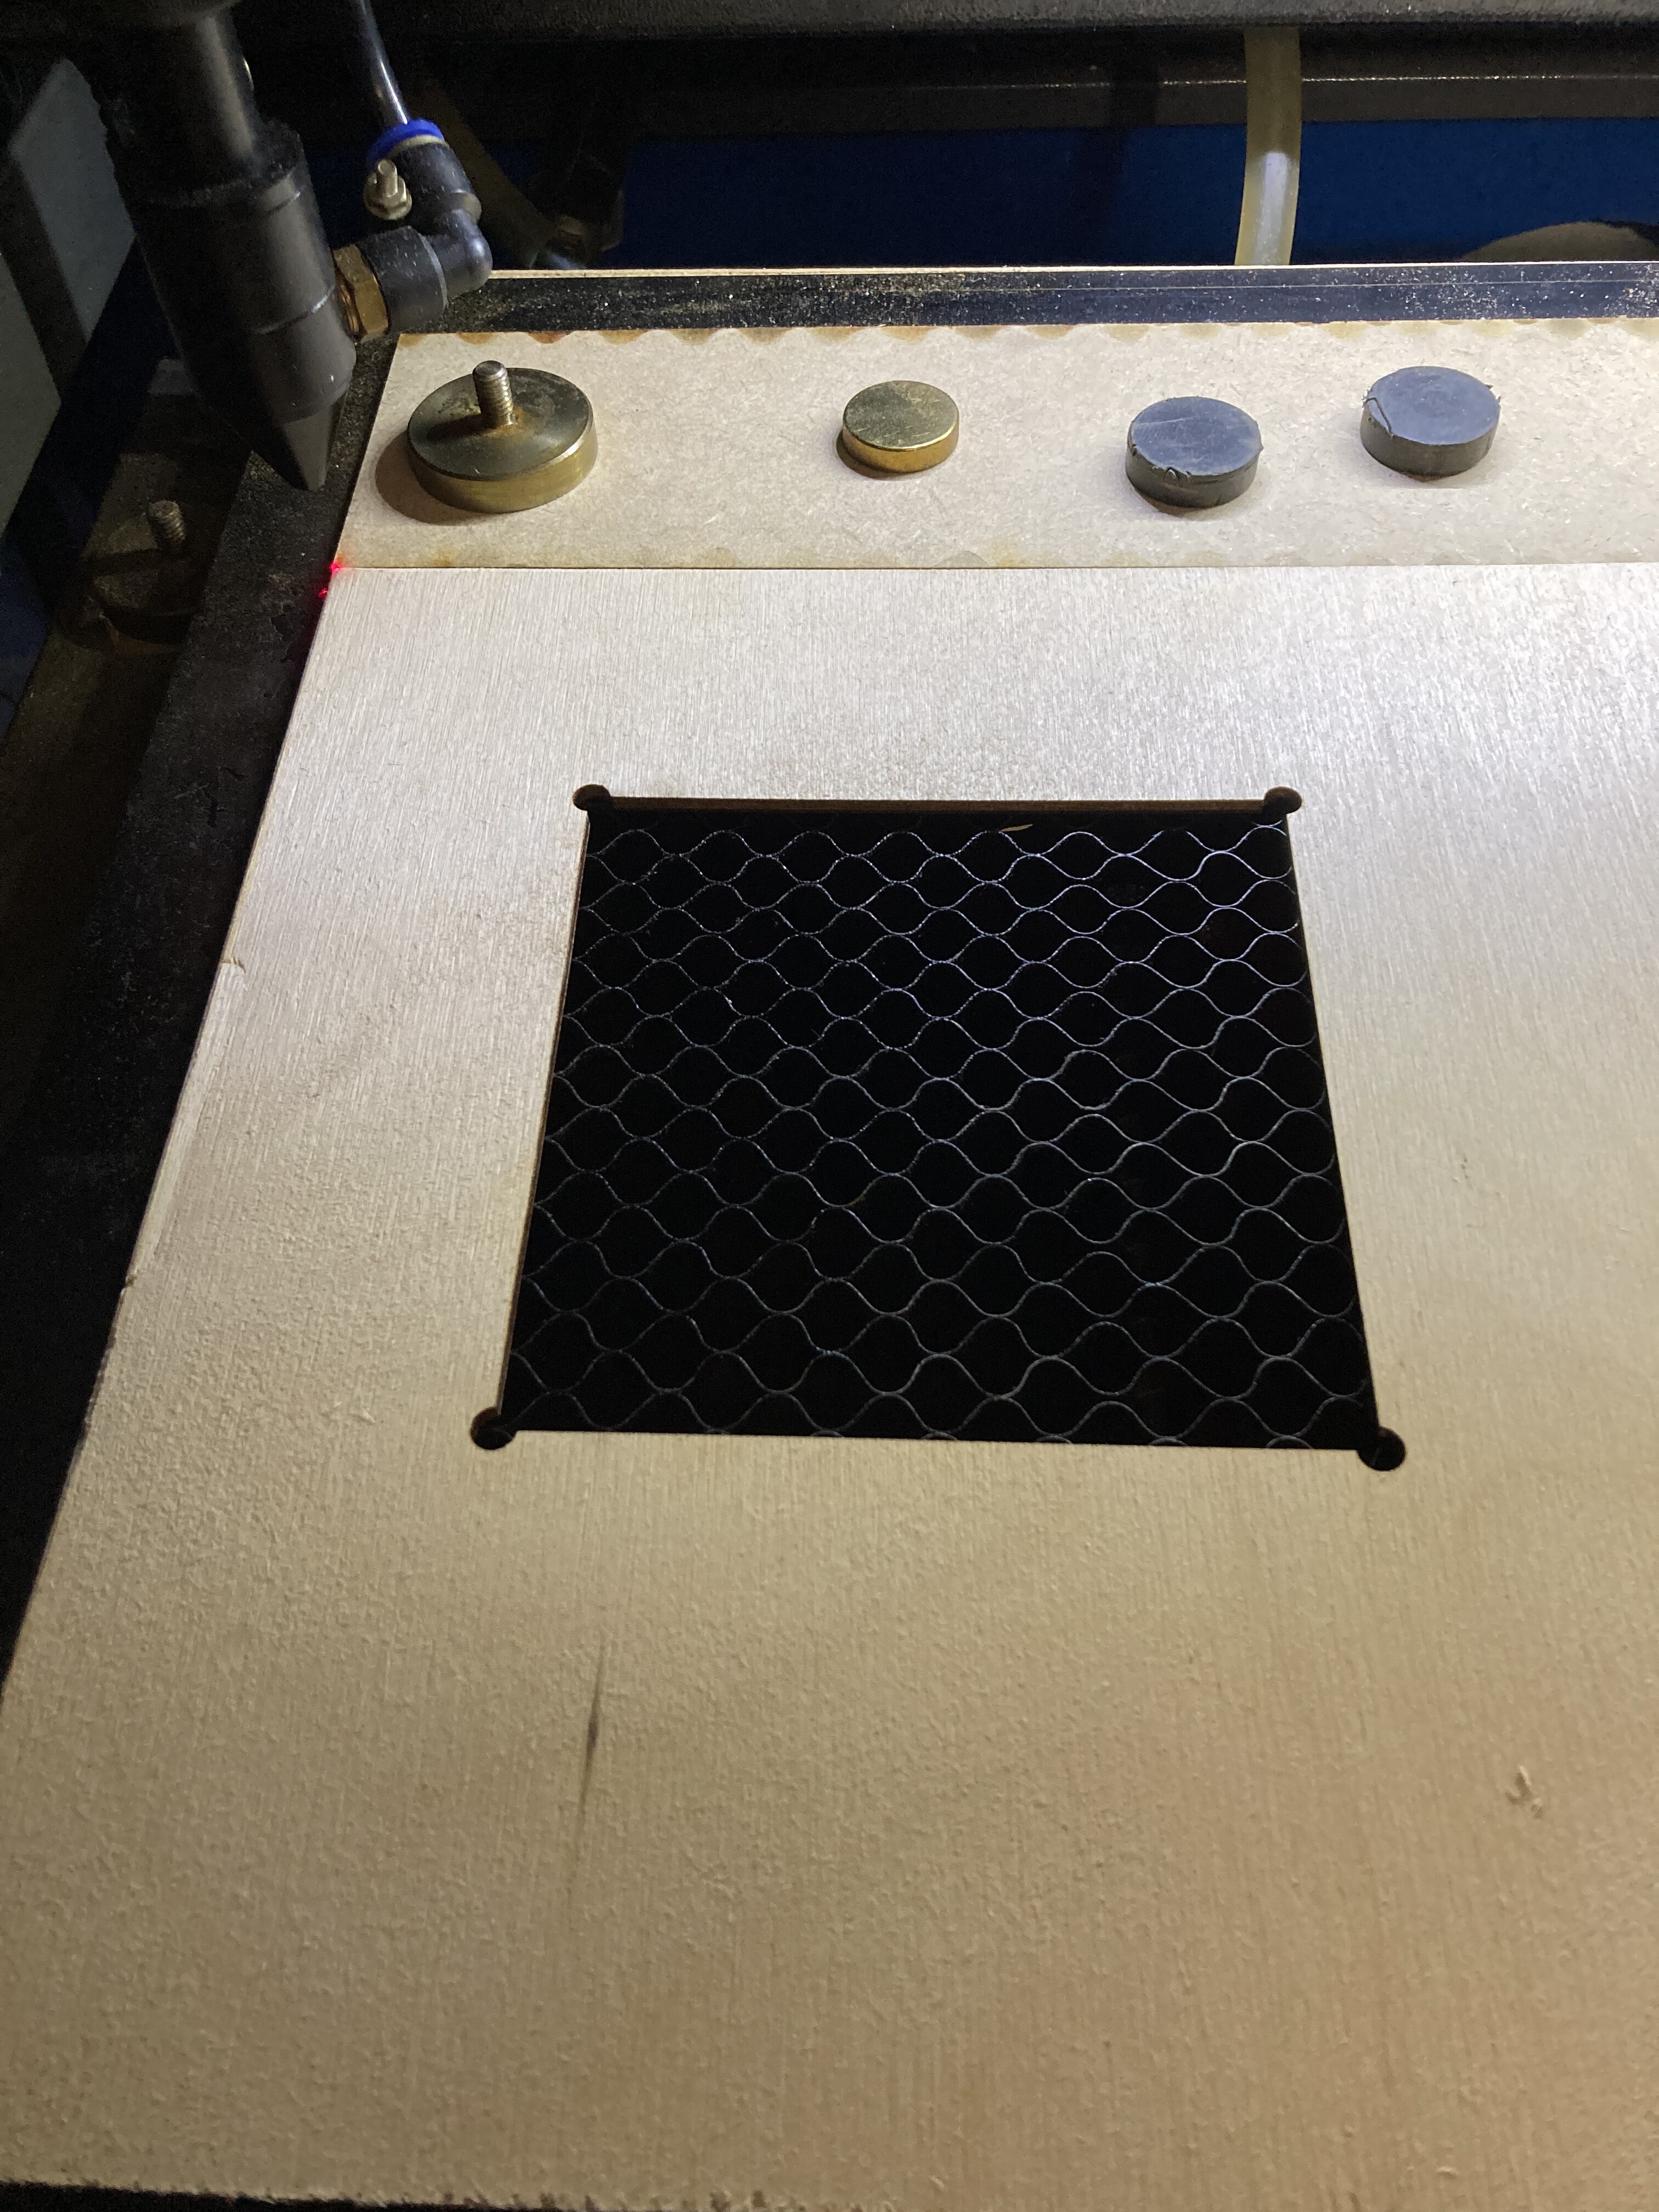
With my k40 I have always used an origin Jig which is made from a piece of plywood jammed into the top left corner and then cutting a square L along the axis zero lines. This gives me a precise 0,0 origin to place my work piece and uses absolute coordinates from the origin.
Like @Jammy mentioned you can have a laser pointer mounted to the head and do an outline trace if your software supports it. For engraving things that are not cut out, you can custom cut a positioning jig outline of the work piece and then lower the bed to get the right height for the engraving. I’ve also covered the workpiece in multiple layers of masking and duct tape and did a very low power/high speed outline of the object. to fine tune the positioning.
K40 Shop Tips - #8 by NedMan -
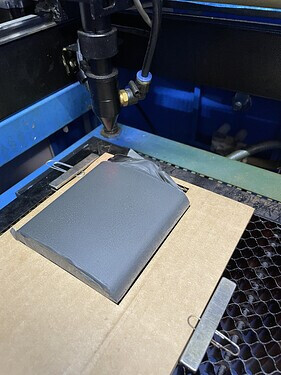
For my 50W laser, using Lightburn software, I start from where I position the head and use the attached laser pointer to outline the area to be engraved/cut to get the alignment. I also cut positioning jigs from cardboard, locked down with magnets, as needed and the lower the bed to the right height.
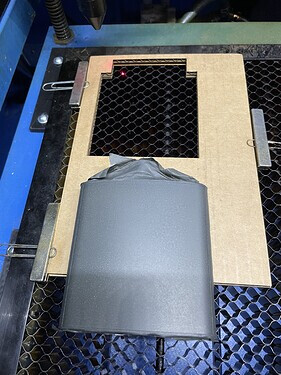
The Lightburn software also has a camera option that allows your to image the bed and position exactly were the engraving should go.
3 Likes