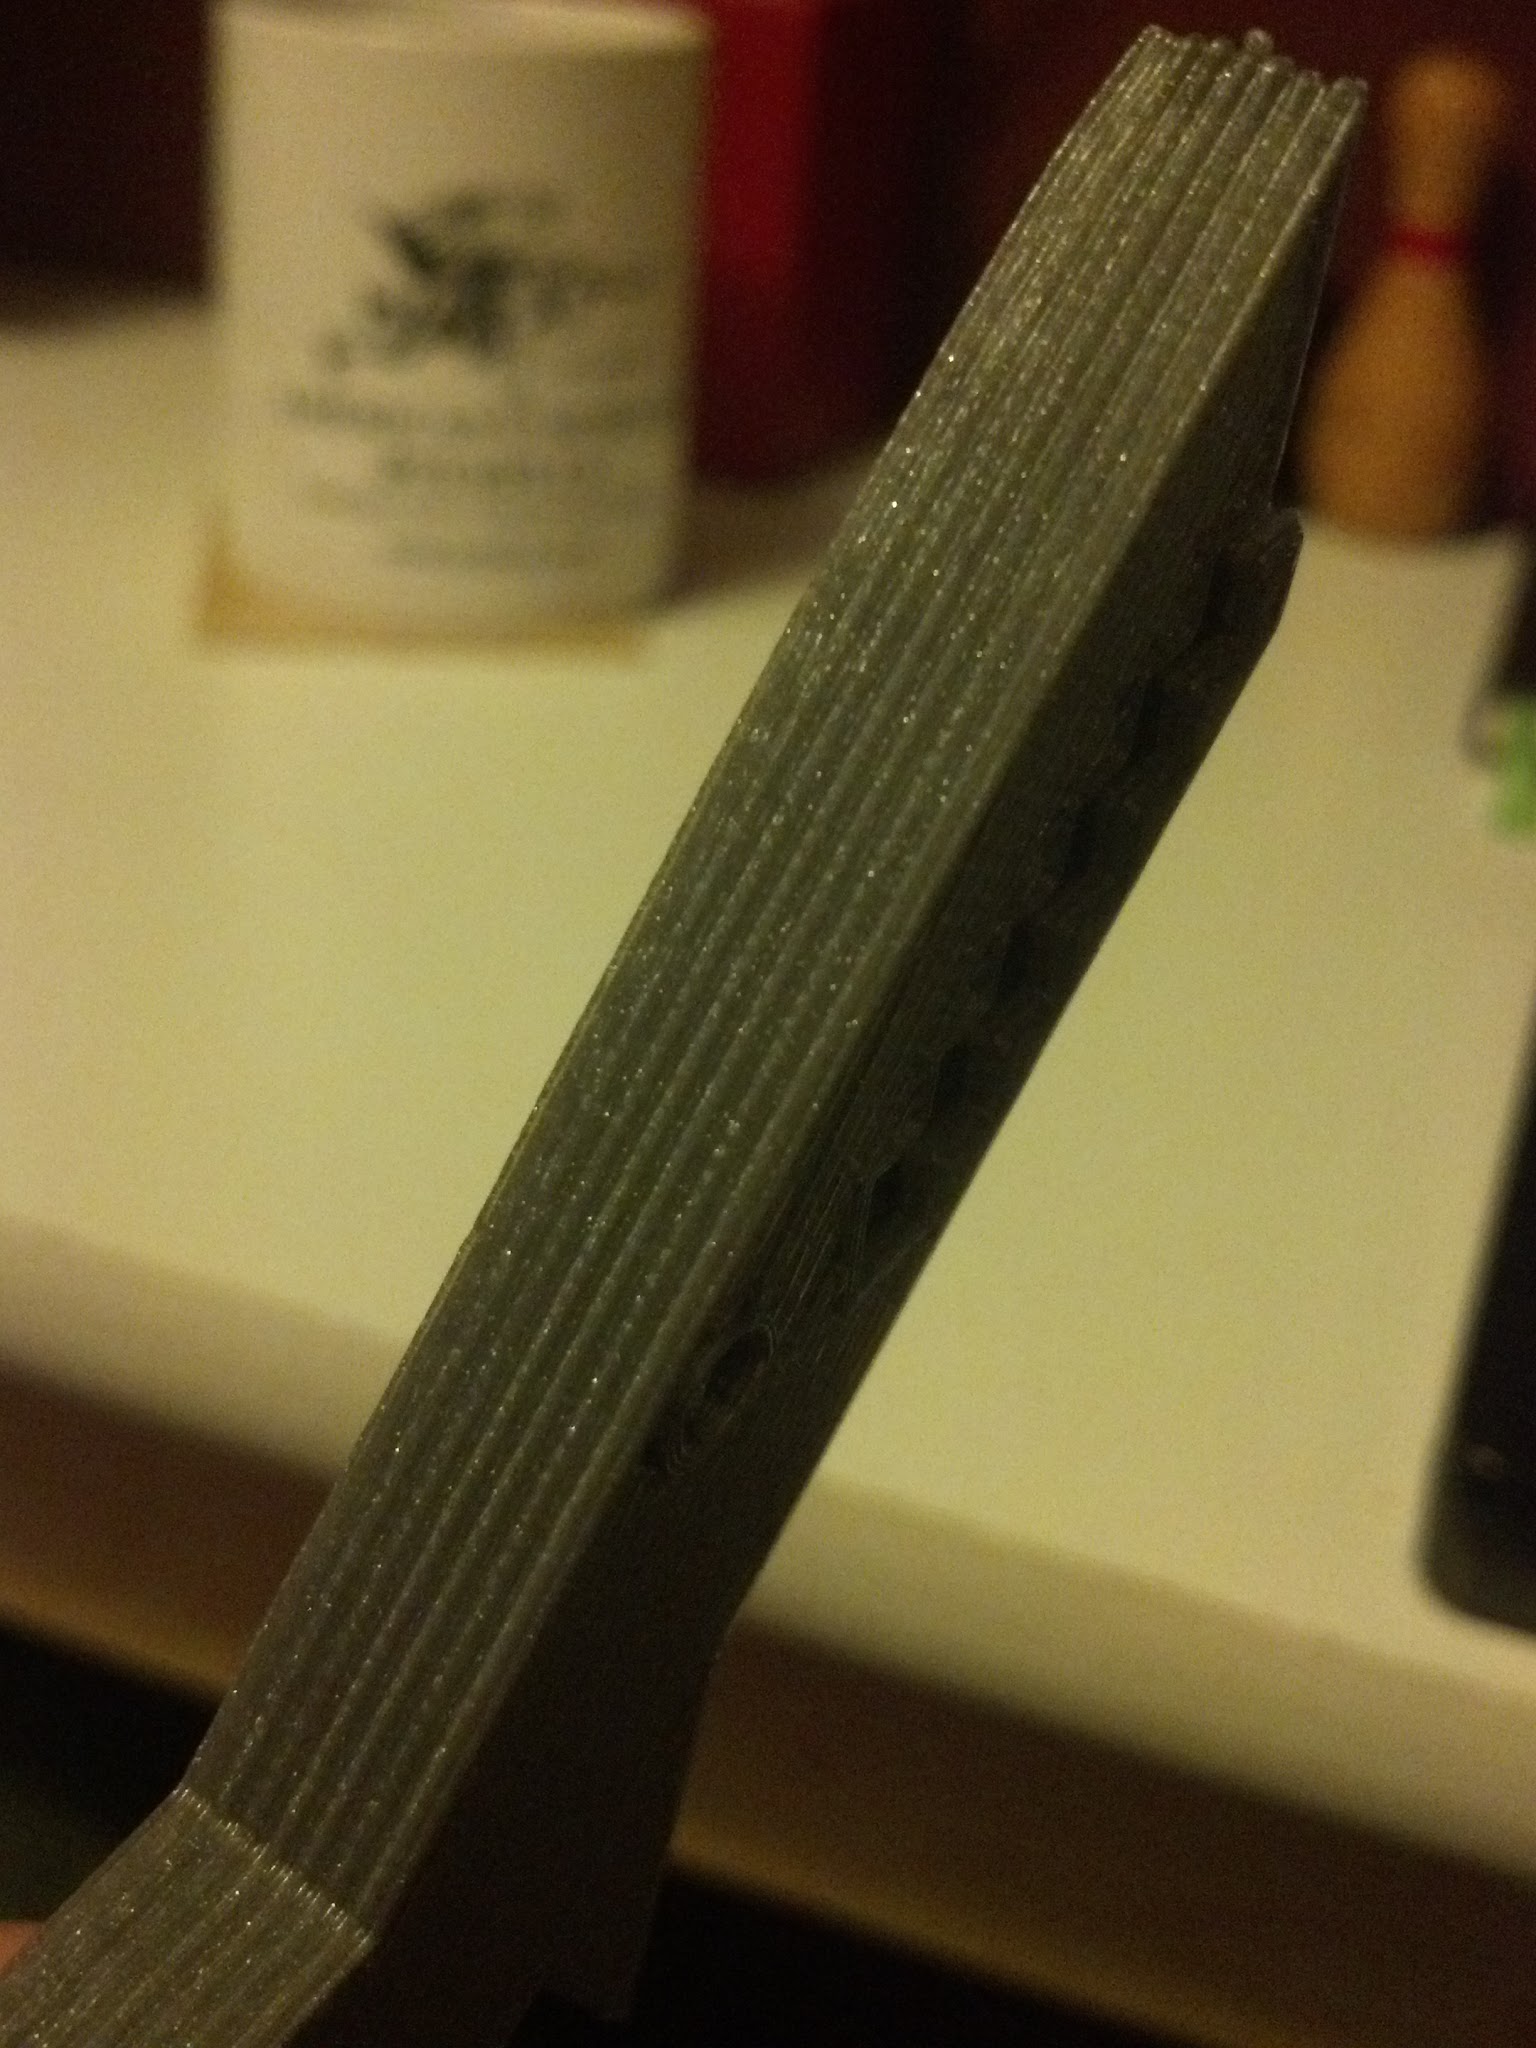
Got the J-Head mounted up and it’s just so cool to see my RepRap working again! Printed a shark and looked pretty good, but I have this interesting ribbing happening every few layers?
Are distance matching with pitch of lead screw? Using heatbed without pid ? Is there shift of layer or its spread means if there 1 ripple come out on one side is there any opposite side ripple that is inward?
More on what @Karan_Chaphekar said, I had that on my printer.
It was a bent Z rod. What fixed it for me was Z wobble isolation - the type that allowed the Z rod to wander all over the place and not impose it’s deflections on the z carriage. http://www.thingiverse.com/thing:20147
Some people try to constrain the Z more and more to force the bend out, but that’s what flexes the printer and puts the ripples in the print.
Running the printer up and down as fast as it will go should show a slight wobble in the Z rod.
Or, it could be something else.
No heatbed (PLA), and I haven’t been able to discern a shift (although it’s a possibility, the method I’m using to hold the build surface to the carriage is shall we say, “temporary” :).
Interestingly it doesn’t seem to appear in the first few layers, but then after that the pattern is very regular. Bent z-rod is a possibility as well (I run my z-motors unfastened and they do wiggle a bit), so that might be something to look at as well.
I’ll also print some more “proper” calibration objects that can shed some more precise light on the issue, but since I had the pictures up I thought I’d see what they might say to the assortment of more experienced reprappers in here first 
(I should also mention that my machine is a Prusa RepRap, from a Makergear kit, although I think you figured that much out
Thanks for the tips!
What I did on my MG Prusa.
I left the Z motors bolted. I still use the solid metal connectors. I popped the bearings out of the bottom of the Z rods. I printed and installed those widgets I linked too above. I did 4. The bottom ones are installed as they depict, the upper ones I heated up with a lighter and mounted against the carriage. I had to drill out the Z rod hole to isolate the wobbling. Did it too much, so the springs would fall through. Thus the upper isolators as well.
You may get away with just popping the bottom bearings. Letting the top and bottom wobble may be enough to clear it up for you. (Hey, it’s easy and would give you a cleaner print of the parts to fix the printer if it’s not 100%)
Next time you have the printer apart. The Z rods are the same length as the rods going across the printer. Just swap them out. I’ve yet to do this. I plan on using the lower rods as nothing else is hanging off them and they don’t need to be perfectly straight like the uppers do.
J-Head is ace
Wobble / Bent Z rod issues can be worked around by not over constraining the rods: flexible tubing (vinyl , aquarium tubing) Z couplers help, and having no constraints on the bottom of the rods solved this kind of issue for me.
If you are running z motors unfastened and they wobble, then you have uneven layer height and this may be symptom.
I’ve gotta second the suggestion for vinyl tubing as Z threaded rod couplers and disconnecting any bottom constraints that you have. This is the setup that I’ve adjusted the machines at my lab to have, and they have perfect layer matchups.
Also, before doing that though, change your layer height to something more round. 0.20, 0.30, etc and see how that affects your prints.
Good tips, I’m going to be tearing the machine up a bit next week so I’ll try each of these and let you know how it goes, thanks!
If you have time, get M5 rod, M5 nut (brass is better) and some aquarium tubing. Print M8 to M5 insert and try changing the threaded rods. M5 is way softer and so it shouldn’t make those artifacts.
@Vaclav_Hula , M5’s are harder to calculate proper layer height with. They have a 0.8mm thread pitch. Much easier to go with 6mm because the 1mm thread pitch, and you can more easily calculate proper layer heights. And most of his problem isn’t the threaded rod, it’s just that it’s too loosely constrained on the Z axis, too heavily constrained on the X/Y.
@Mike_Creuzer finally got a chance to print those isolators (http://www.thingiverse.com/thing:20147) and get them mounted up. It made a world of difference! There’s still some ripple, but it’s nothing compared to what was there before.
I did drill out the x-ends a little to make room for the threaded rod to wander (and wander it does!). I’m also going to try some M6 rod in place of the M8 but I couldn’t find any locally so I’ll get to get some on order.
One problem I’ve noticed with those isolators though is that now I no longer have a nut forcing the x-carriage back down when z travels in the negative direction, and I notice that the bearing on one side hangs up sometimes and then all hell breaks loose I’m thinking about making a modified part for the top of the x-ends but for now I just need to remember to rest a hand on it when I home the z axis.
Thanks again to everyone for the tips!
I’d put 2 of those isolators on the top as well. You can see this in a video I took last night. http://www.youtube.com/watch?v=1JuKD1frHJ8 I think I am going to print some shims/bushings that I can drop down into the upper nut carrier and re-install the springs.
I’d guess that you could still be touching the inside of the carriage a little bit of you are still seeing some issues. Does the patterning still exactly match the threads in the rod? If not, it may be something else, one of the other suggestions.
I have a photoset of my printer, it’s just not current. https://picasaweb.google.com/112180831536834517676/MakerGearPrusaMendelRepRapBuild and my blog http://mike.creuzer.com/topic/builds/his/reprap
I felt that video would be the most telling, as I discussed the Z wobble eliminators if I remember correctly.