Sorry to confuse you. Yes, I am referring to the GF design in which the tube is attached to the y gantry.
If you do use LightBurn software, they have an option to use a camera for positioning. It is very accurate and easy to use. It attaches to the lid of the laser, not on the head.
If you go to about the 16:20 mark, you can see what a camera is good for.
Thanks for the camera tip … that’s a back burner consideration at this time.
I do have a question that’s probably solved in Lightburn.
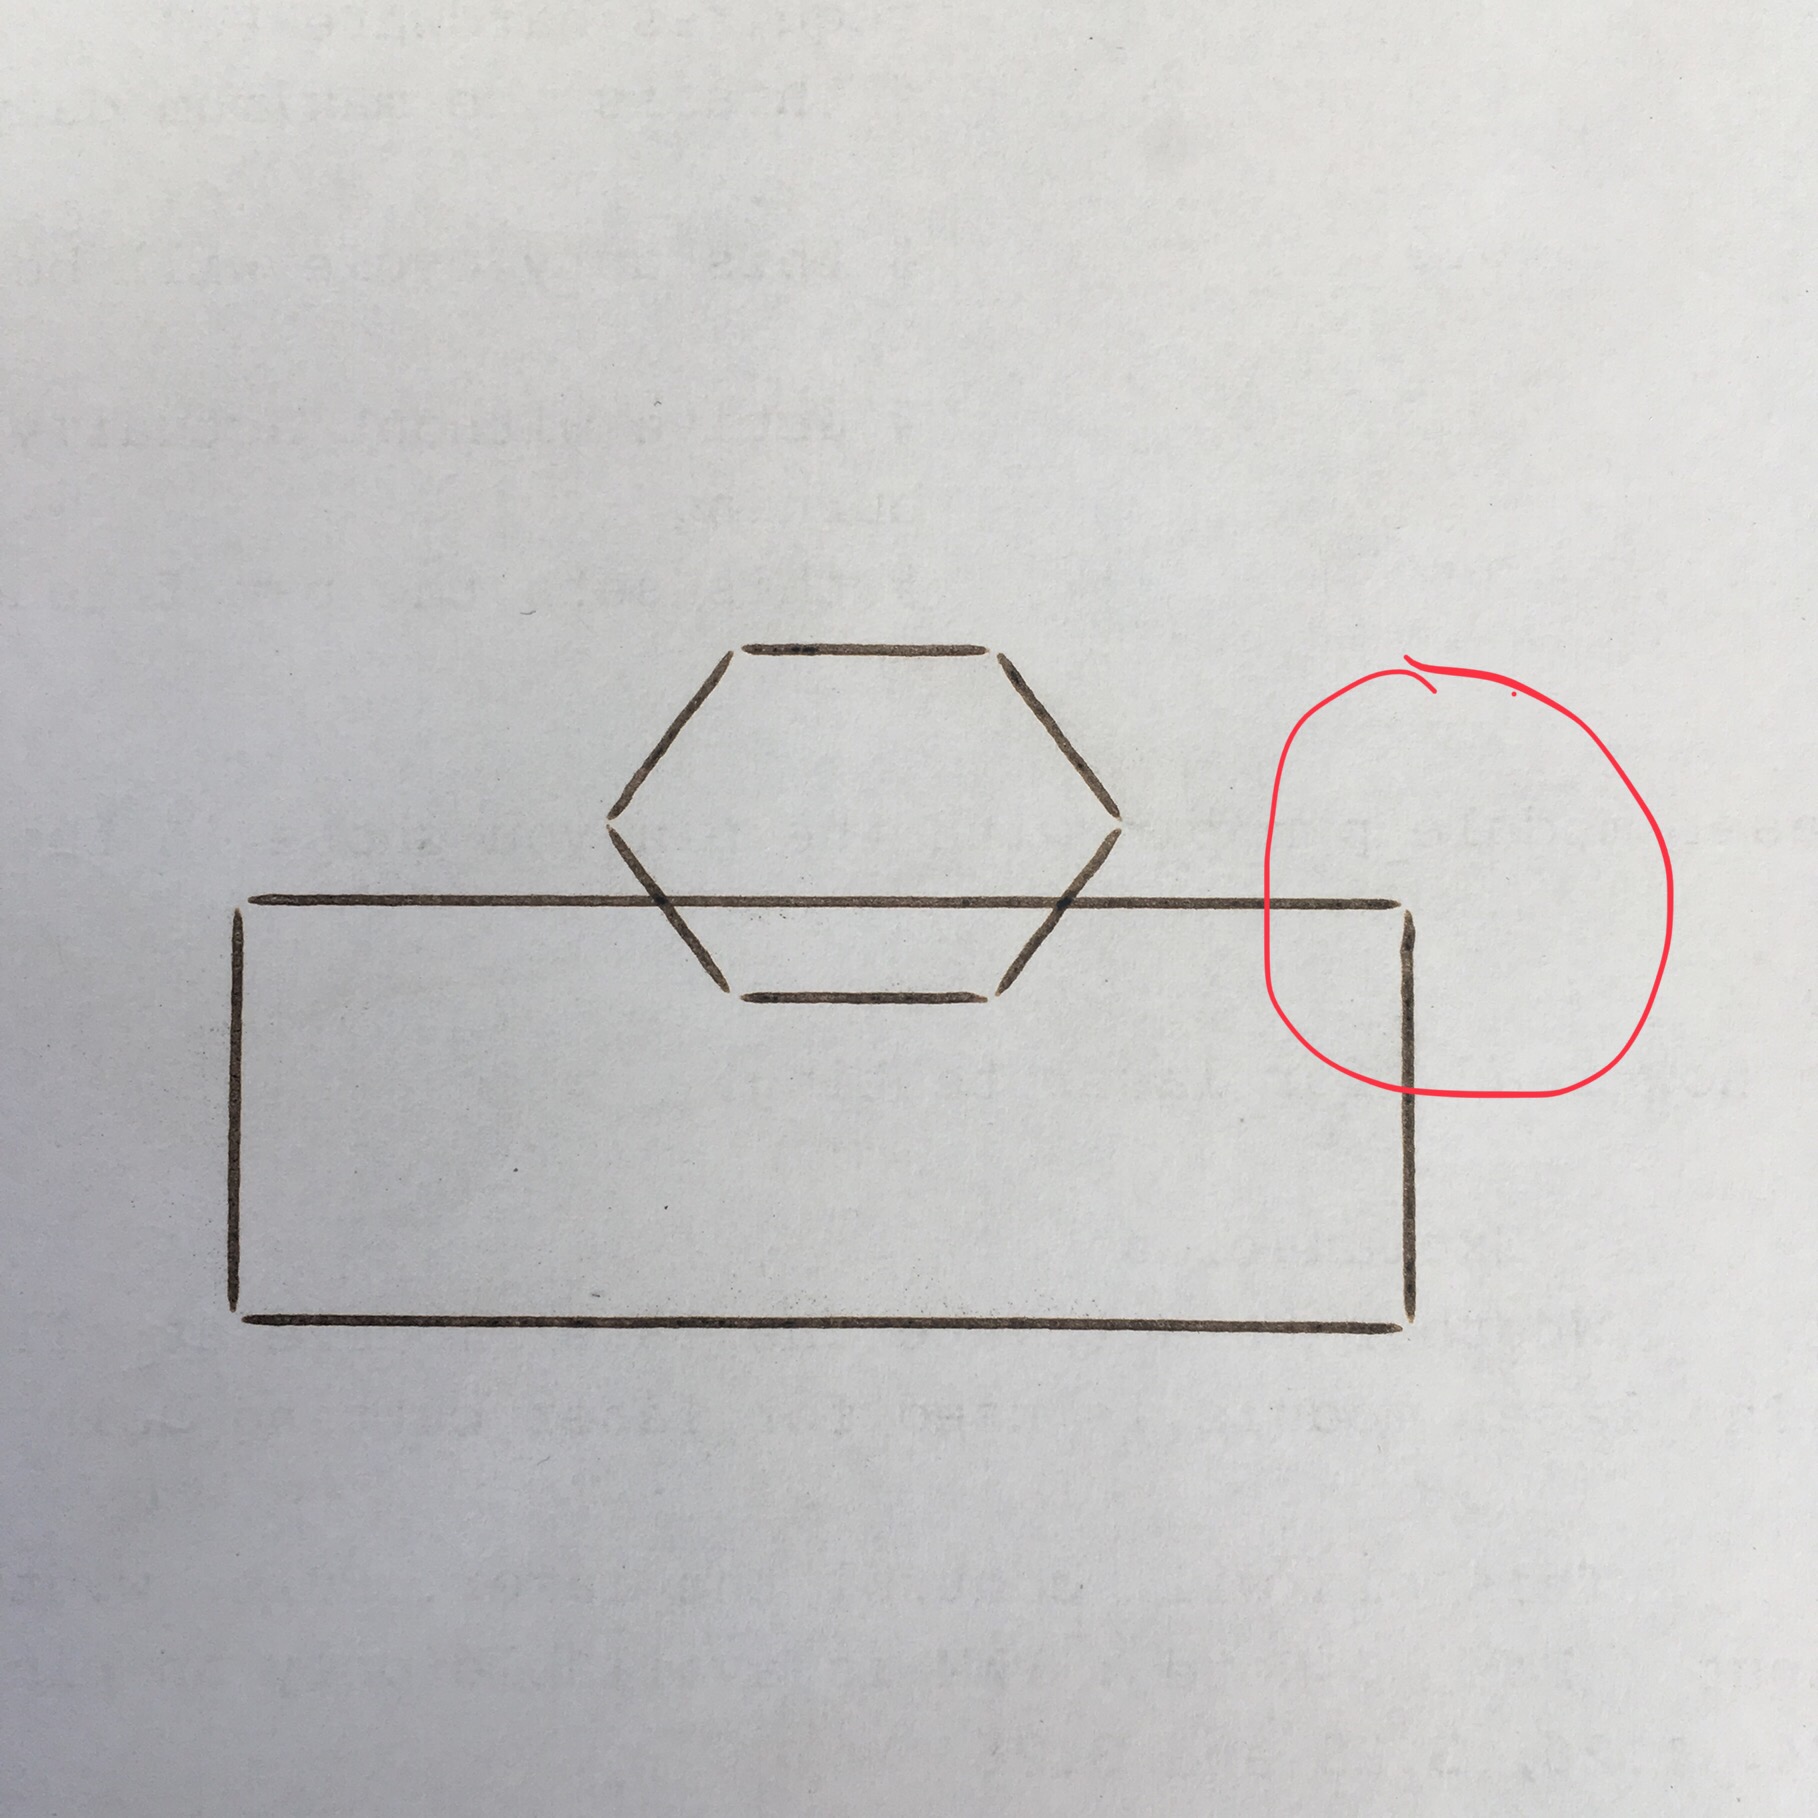
Note the open corners in the sample test. (attached photo)
Would this be a setting change in the “cut settings editor” ?
What is a typical setting to fix this ?
A bit reluctant to do a bunch of testing until the fume extraction is complete.
Thanks
Correct … purchased last year.
Lightburn if familiar to the control software on industrial machines.
Previous machine experience includes but not all :
Epilog
Metabeam
Fablite3D
Omax waterjet
HAAS machining centers
etc.
Current version 0.9.22 - Cut Setting Editor doesn’t have a constant power button.
Although the issue is now only showing up in a low power etch.
Using enough power for a cut through is working out fine.
Thanks
Starting to find some mistakes on this “Rat Rod” build.
When testing the Glowforge designed coolant system for heat rejection capacity the results aren’t encouraging.
Their system uses a small radiator laying flat with two square fans (120mm) covering the fin area plus a circulation pump.
Test monitoring is done by dropping a probe from a digital thermometer into the water tank.
Ambient temp for the day is 63 ~ 64F.
With just the pump running the temp climbed to 80F in 40 minutes. (Laser off / coolant fans off).
The pump running on it’s own is generating a fair bit heat. That was a surprise.
Turning on one fan full speed dropped the temp down to 67 ~ 68F.
Now the second fan is also turned on to full speed which brought the water temp down to 60.
Actually running the laser long term in this configuration probably won’t work.
The mistake may be that I mounted the radiator vertical with both hose connectors on top.
Coolant could be could be bypassing in the tank directly from input connection to output connection.
Or the maybe the mistake is an odd radiator design.
Most automotive radiators the coolant flow is done it a way that forces a path thru the fins.
Inlet on one side, outlet on the other, fins in the middle.
On the Glowforge radiator both inlet and outlet are on the same end of the radiator.
Unless there some unseen internal baffling the coolant is free to bypass the fins.
Hopefully there is enough slack in the hoses to re-position the radiator for further testing.
With a crumb tray / fume extraction finally designed and in place the machine can be tested more robustly.
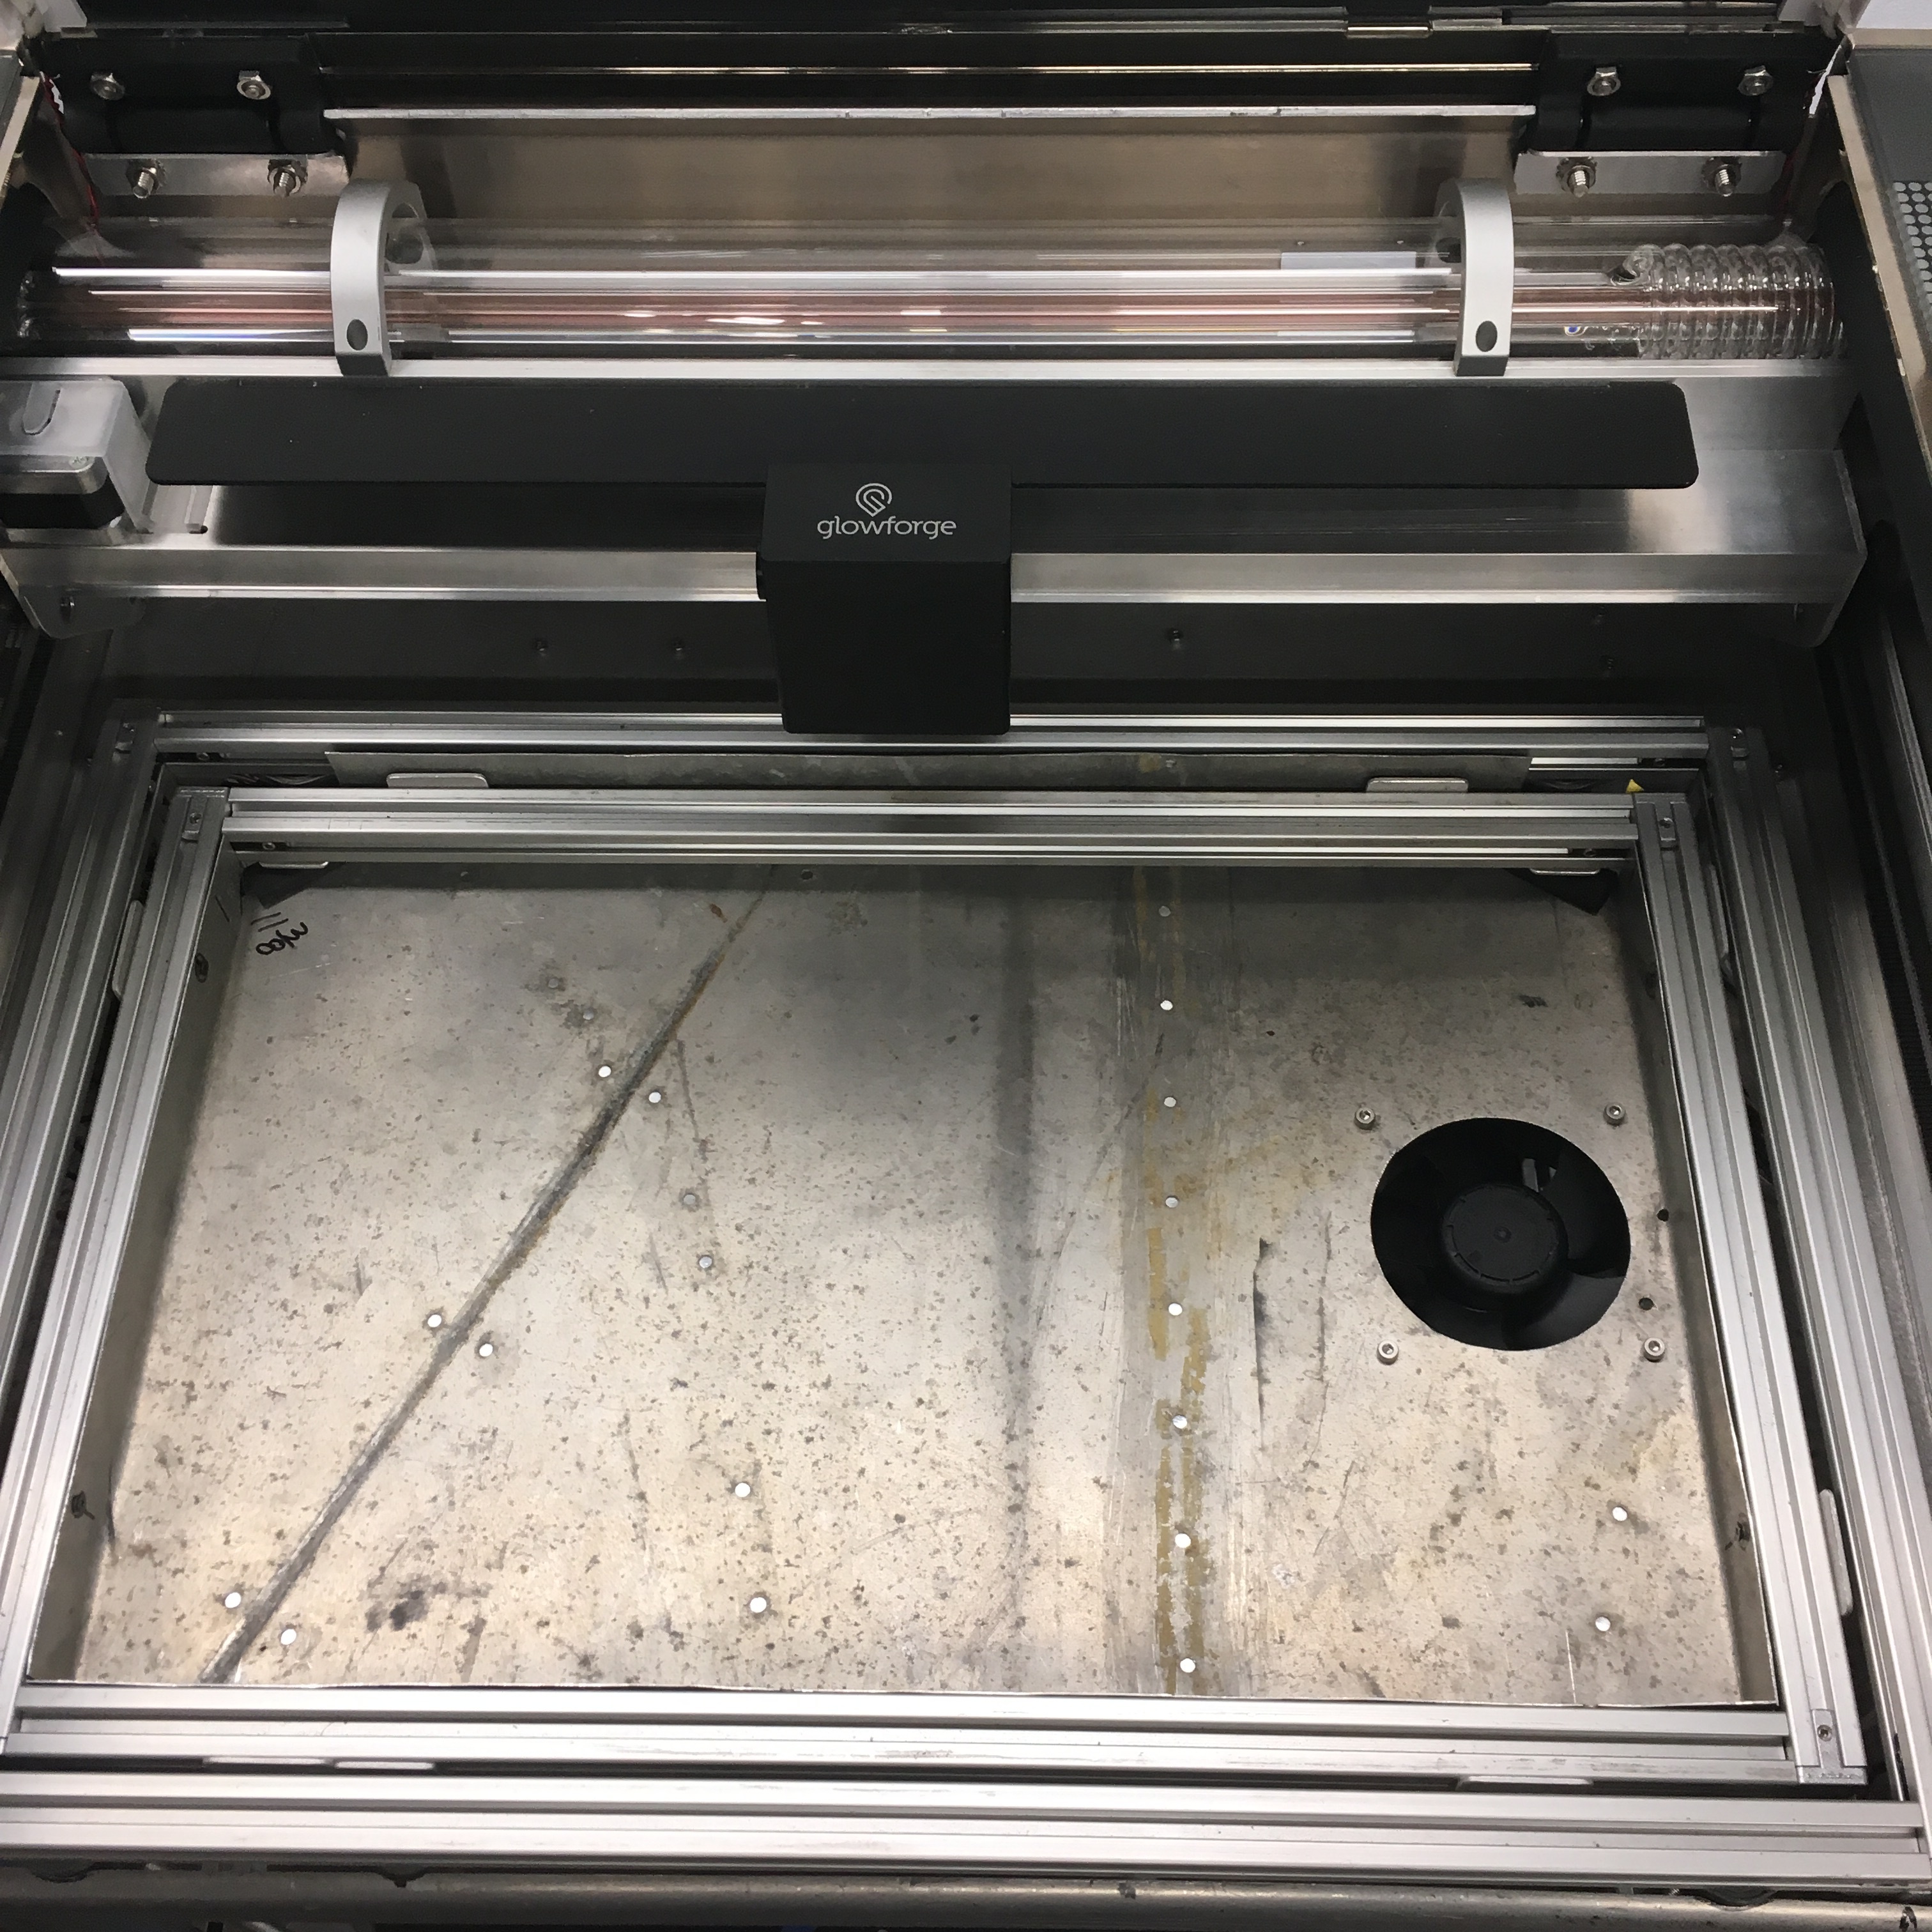
The standard Glowforge fan has great suction and pulls a warped piece of cardboard down to the honeycomb very well but the 13,000 RPM - 74dB is more noise then I care for.
Changing to a whisper quiet bathroom fan is on the update list.
Material for the crumb tray is .025" aluminum recycled from a streamlined bicycle project.
Notice the fan is offset to the right in the picture and centered in the .pdf.
Of course I learned straight away that centered is the preferred position
Now to learn and understand the nuances on the Lightburn interface.
Such as the focus test … which moves the “Z” axis opposite of how I have the motors wired …
A small gotcha …
The machine is close to usable and other projects are starting to beckon so won’t be posting much more on this … hopefully this write up will benefit someone else with a dead Glowforge someday.
Took on a small laser cut job for a local art gallery.
Having a job to do helps to show that there are still plenty of loose ends and bugs to chase out of the FrankenForge build.
Doing the work in the cool of the morning kept the water temp down so, that was good, as moving the radiator to different position hasn’t been tried yet.
I did need to change out the 12V power supply for a higher amperage version to keep the fans powered up.
Figured out the “X” and “Y” axis acceleration rate was much too fast causing erratic cuts and drive belt slippage.
Decreased the acceleration rate in the config file from 2500 mm/sec to 1500 mm/sec on both axis.
Cuts are far smoother and was able to finish the gallery job.
When other jobs roll in I may find a need to adjust the acceleration rate again.
So here’s a laser power question …
While verifying the stepper motor settings with the 100mm square test suddenly the laser needs a significant bump in power to cut the same material it was just cutting.
Or to say it a different way …
65# card stock was taking 11% power and then after changing the stepper number in the firmware the power needs a bump to 30% power to do the same job.
Cut speed is consistent, unchanged.
Any ideas ?
What about PWM tuning ?
Saw this page in the Cohesion3d knowledgebase.
Is this a thing ?
How I salvaged this machine was throw out any exclusive Glowforge parts and software.
The original, non function GlowForge cost nothing.
I’ve built a few 3D printers and had extra odds and ends from those projects to draw from.
Spend an additional 4 ~ $500 in parts.
And lots of hours.
Are you looking for a challenge ?
I sure missed that in April. The normal immediate answer is to first check alignment, and if that’s perfect then it’s likely the tube aging. But “suddenly” feels like a shift in alignment is possible.
My opinion ?
If you can’t get transfer of ownership from the seller then it’s a fairly big project to gut and replace with “off the shelf” components.
A used K40 would be a better purchase.
K40’s have many different forums to discuss repairs and upgrades, parts are common and available.
Glowforge engineering, design, repair and supply chain is flawed in so many ways I wouldn’t recommend it to anyone.
Please do not ask to take a discussion private, and please do not reach out to forum members in private messages to ask questions. Everyone has questions. Share yours here, and we can all learn together.
The reason to have a forum is to share information for everyone. Ask your questions in public posts. Taking questions to private messages tells all other forum participants that they are not worth learning from your questions.
Note that “private” messages on all Discourse forums like Maker Forums are not particularly private. All “private” message are visible to all staff, all participants in any “private” message can add other people or even groups of people to the “private” message, and your “private” message may be moved to public messages in the forum at any recipient’s discretion. Do not post on Maker Forums, even in a private message, any information that you wish to keep secret.
Asking to take questions to email is asking “to take a discussion private” and does not follow our site rules.