Follow-up to my earlier #calibration post: https://plus.google.com/108391086394206415586/posts/E2ivSd6B3GZ
Good progress so far. I still have a couple of things to work out, but here’s what I’ve done to this point:
a) Relaxed the belt tension on each tower (unscrewing it enough that the tension pulled the bearing down to a resting position).
b) Increased the extruder tension.
c) Realigned the extruder; I had been putting the “clips” in the center, which caused a number of corkscrew-jams with the filament not entering the Bowden tube properly.
d) Recalibrated (loosening the belt tensions threw the steps/mm:height ratio off)
e) Scuffed the painter’s tape and wiped it down with isopropyl.
f) Printed with nozzle temp at 220, bed at 55 (and 0.4mm layers for speed).
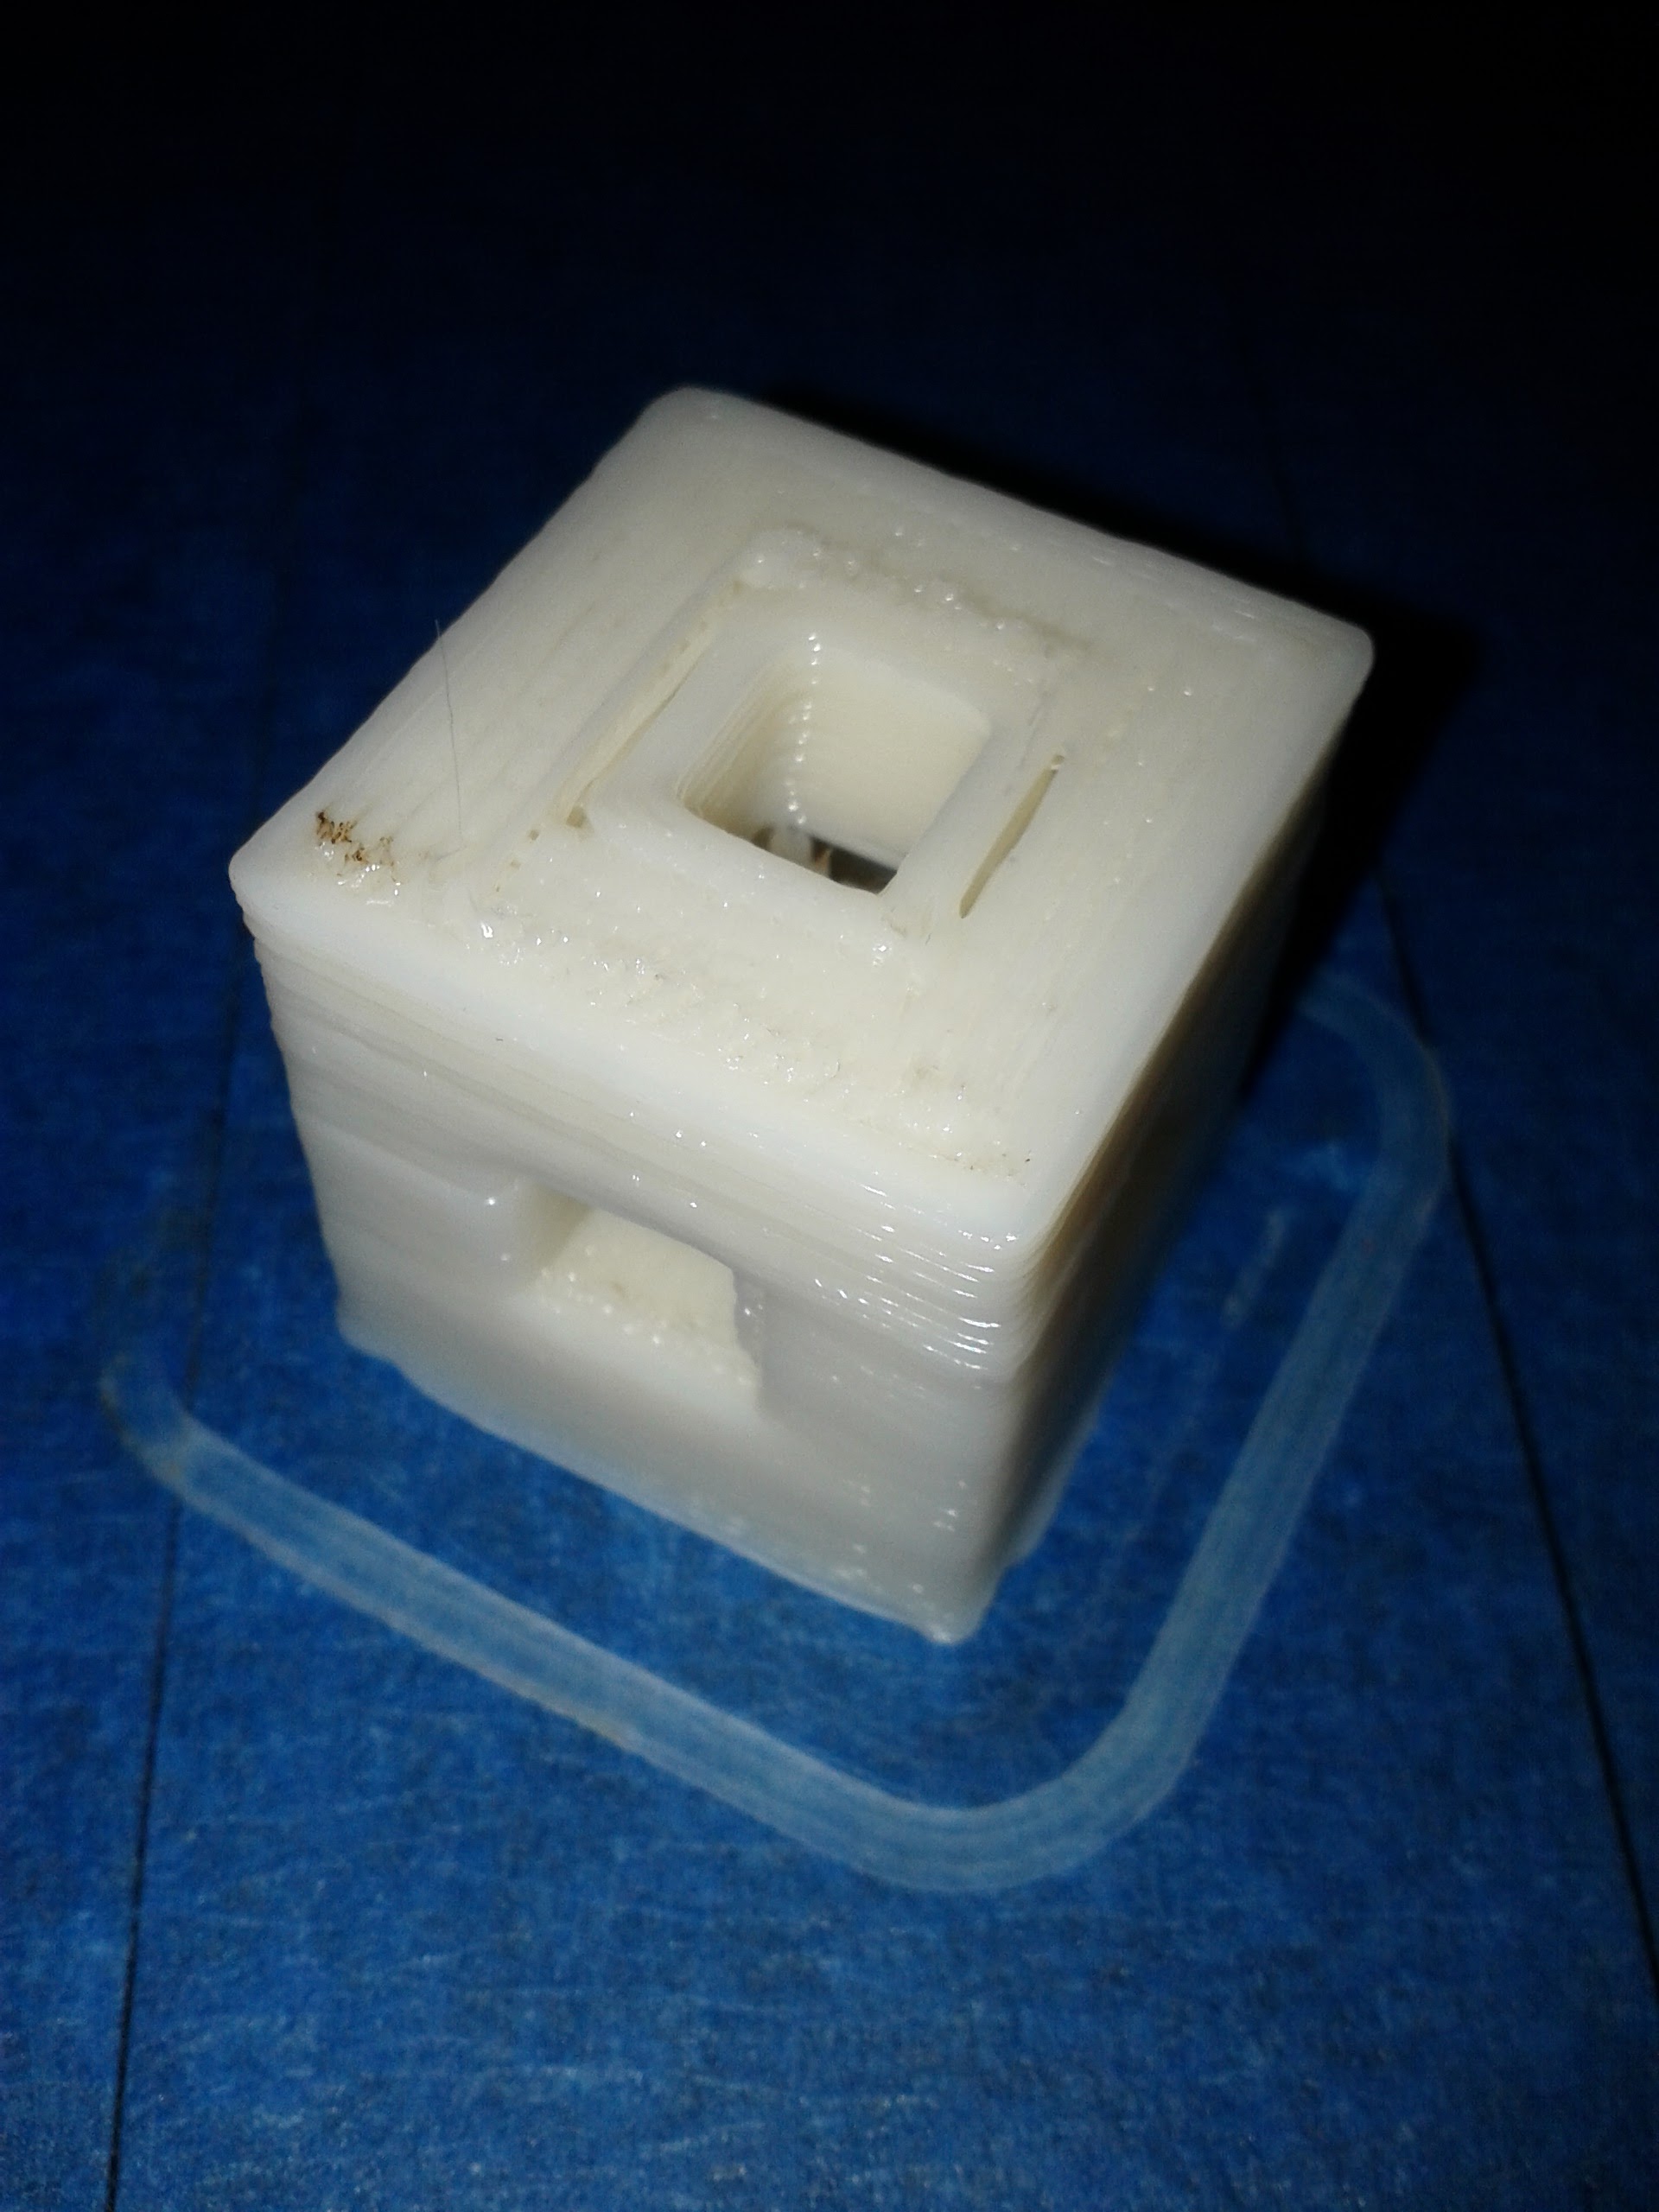
First layer adhesion is now excellent (maybe a little too good, actually - the print has some tape still stuck to its base). The verticals are now square (over this 25mm distance anyhow). Dimensions are still pretty good.
Problems remaining:
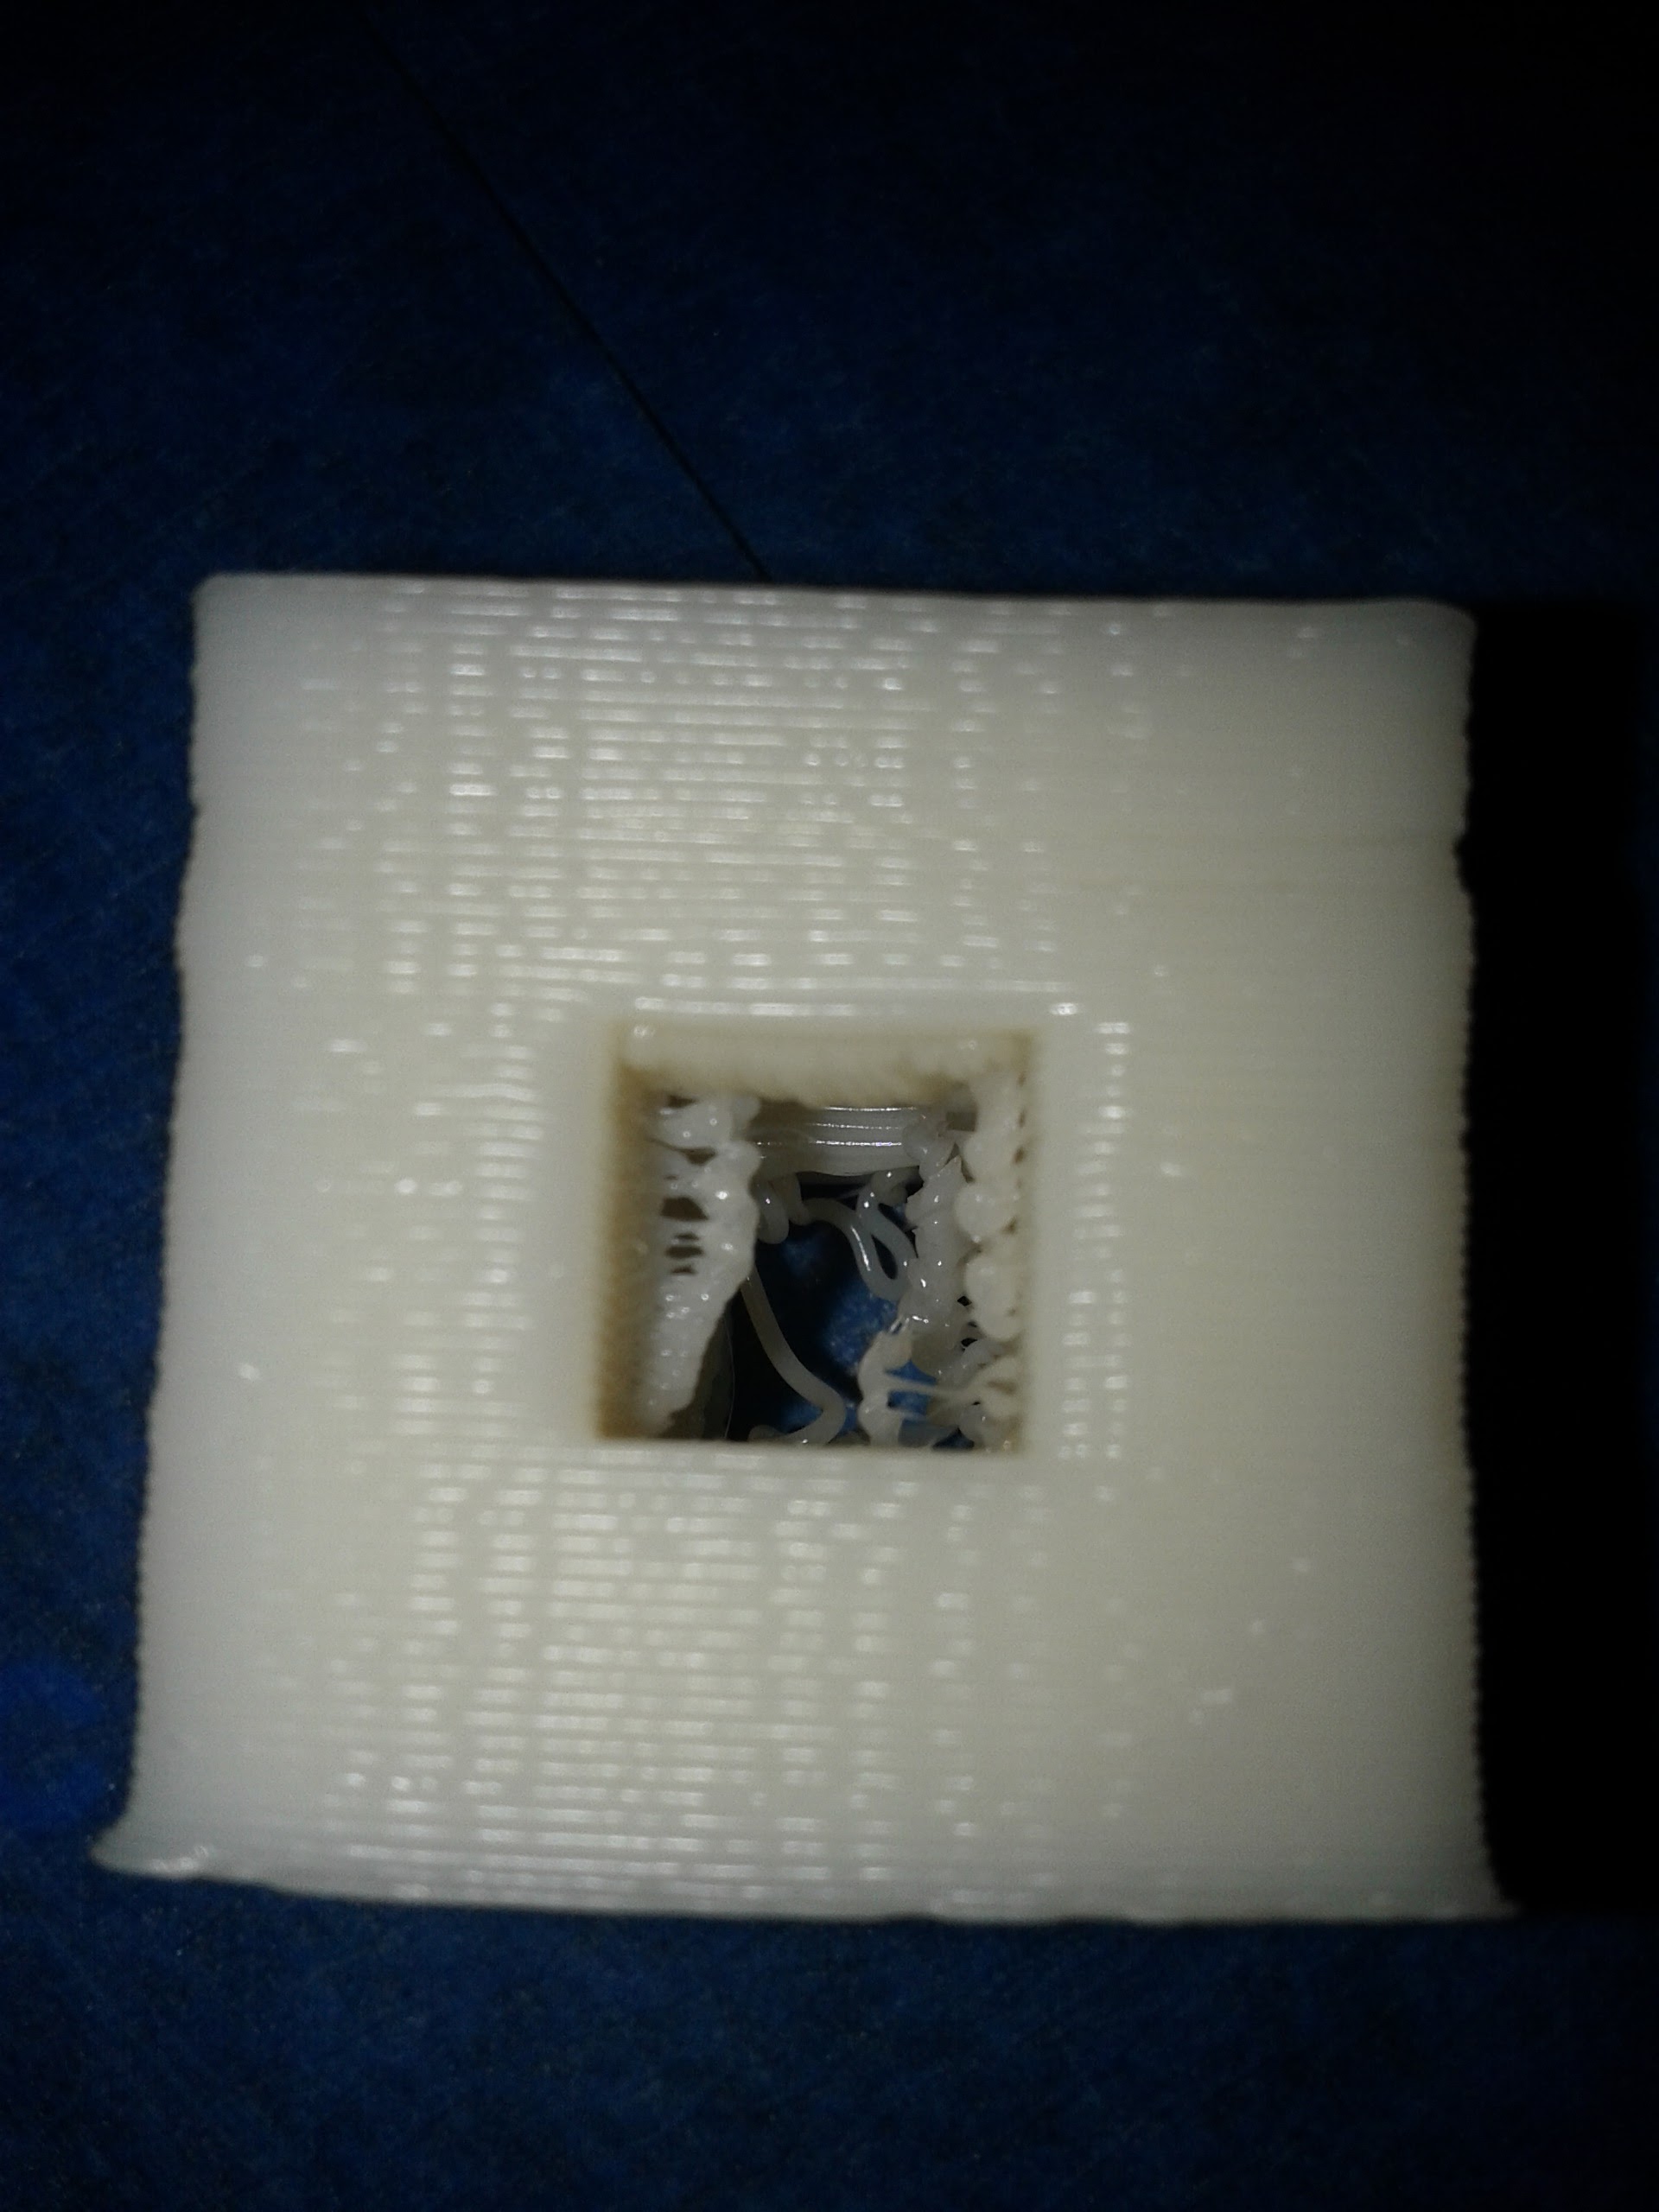
- I’m still getting some gapping in the upper layer between the inner perimeter and the fill. The gap doesn’t appear on the first layer. I think I’m going to try an alternate slicer for this.
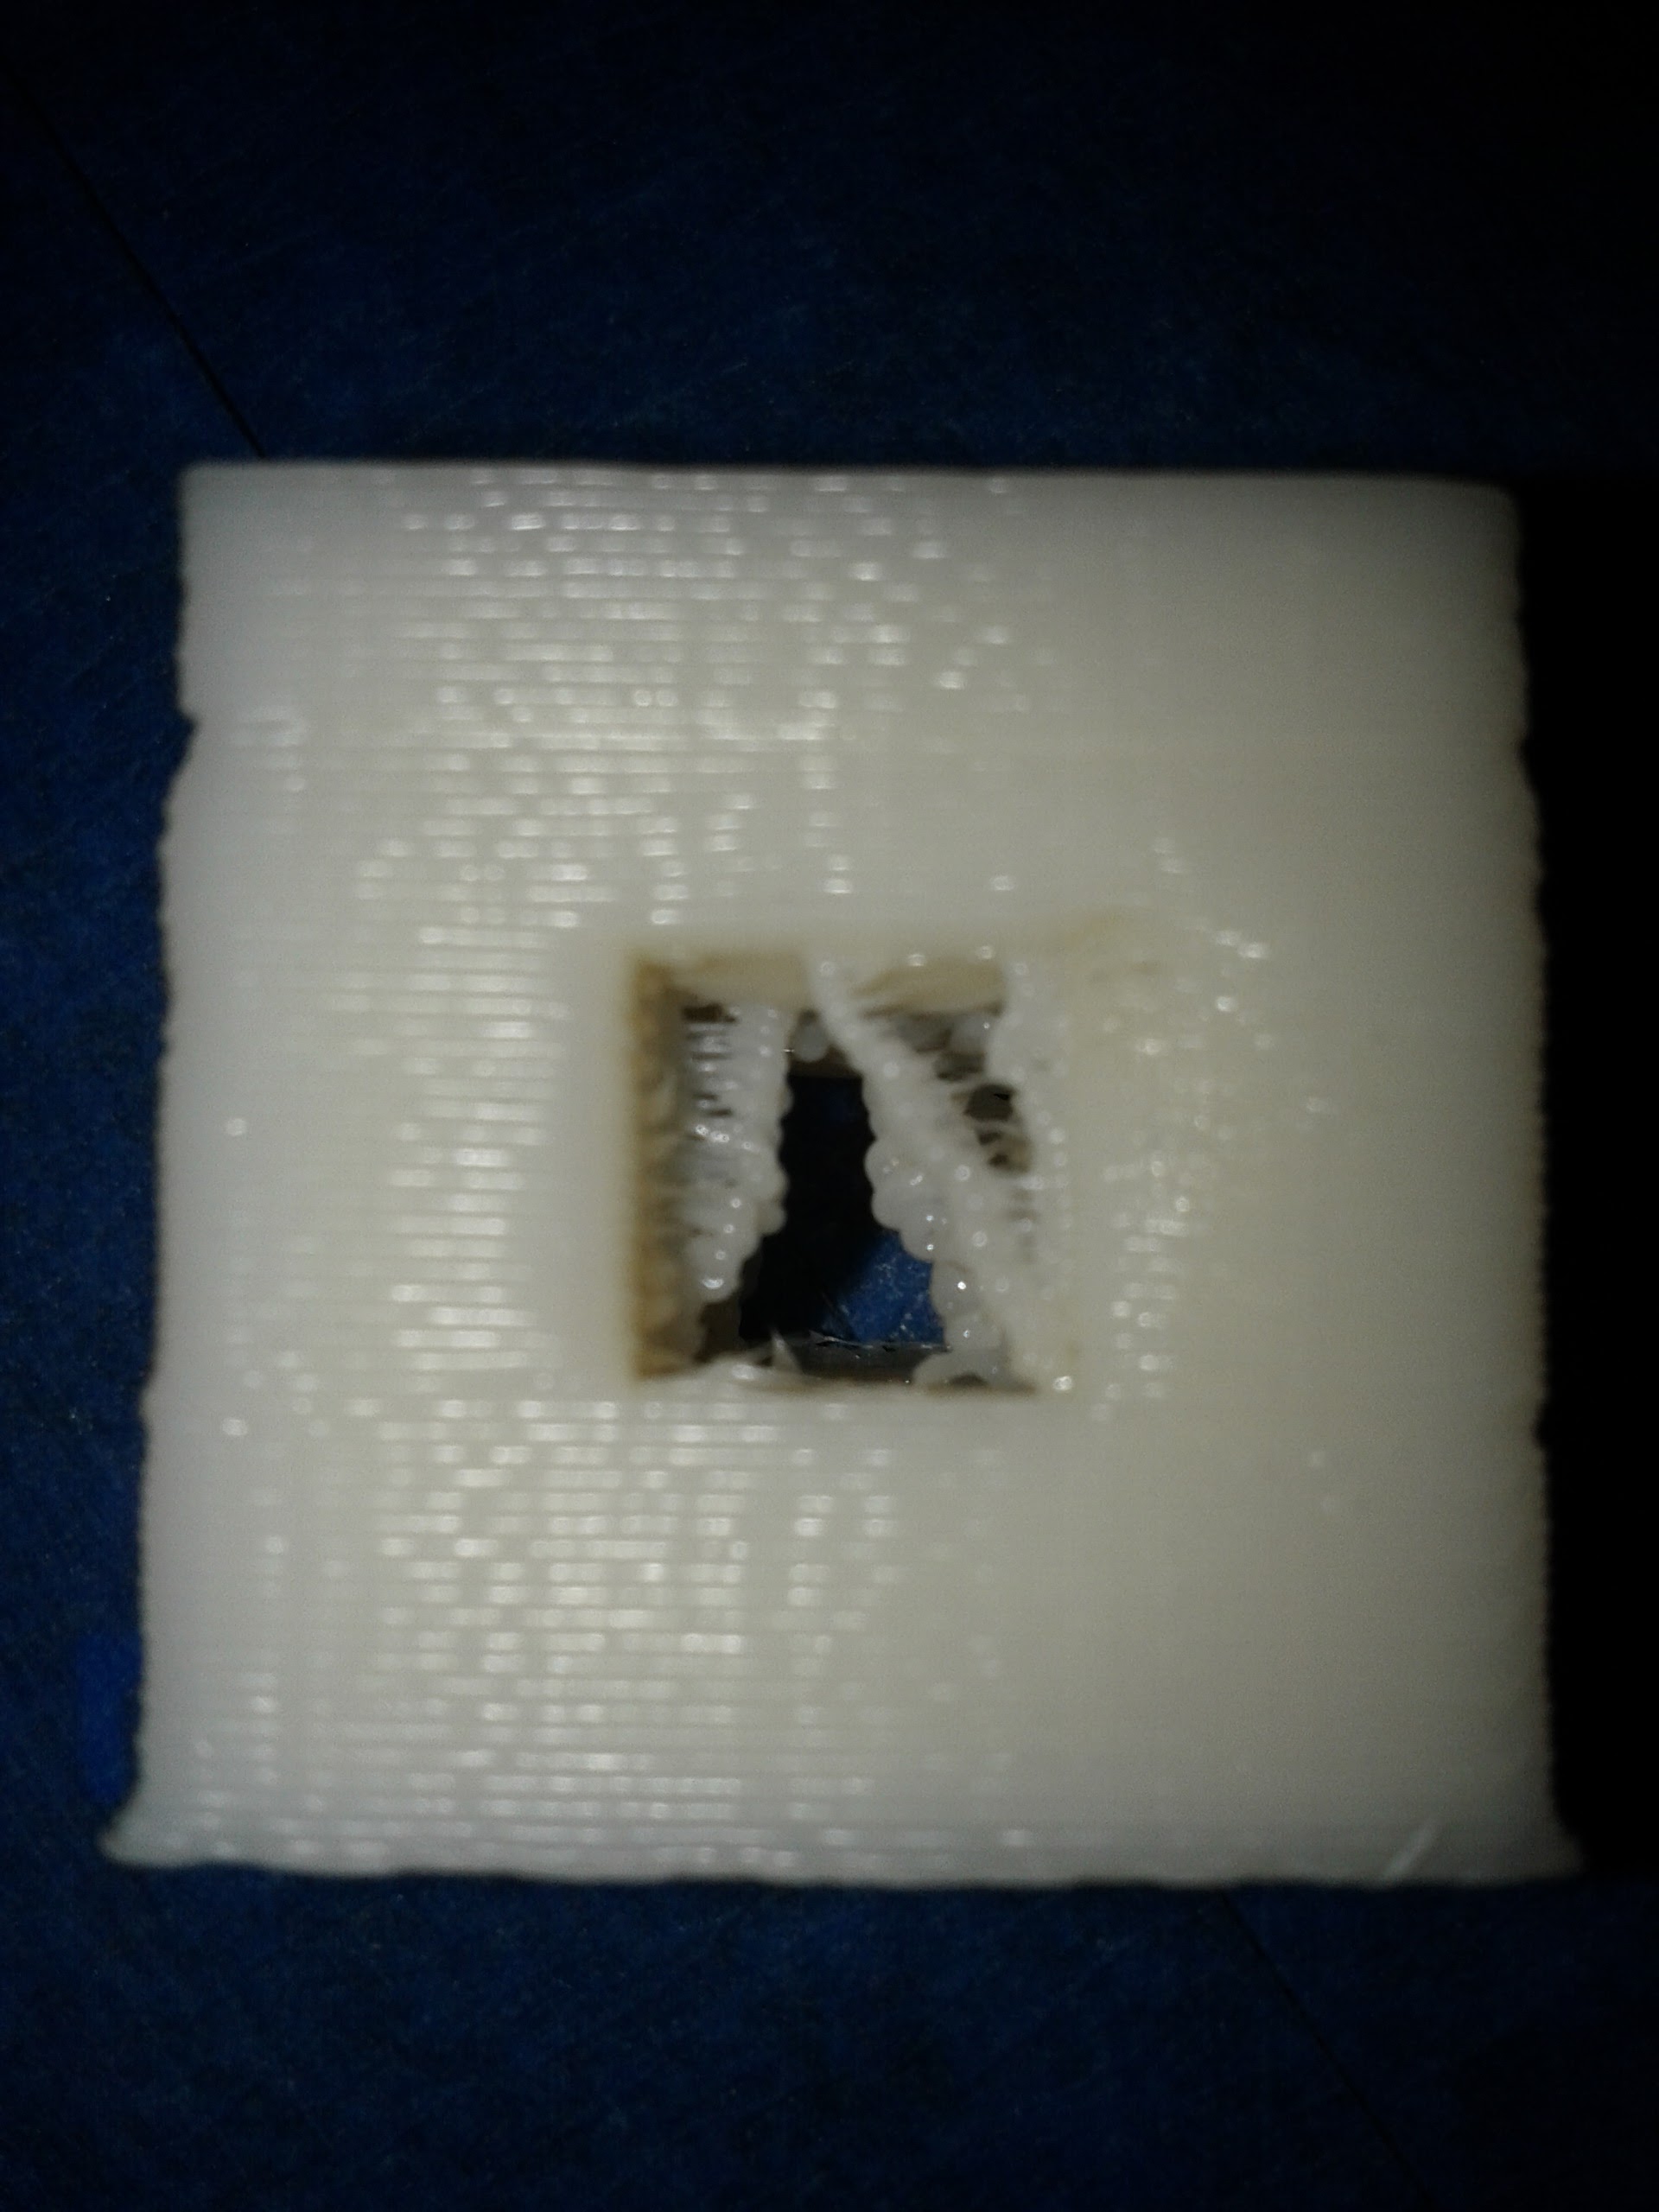
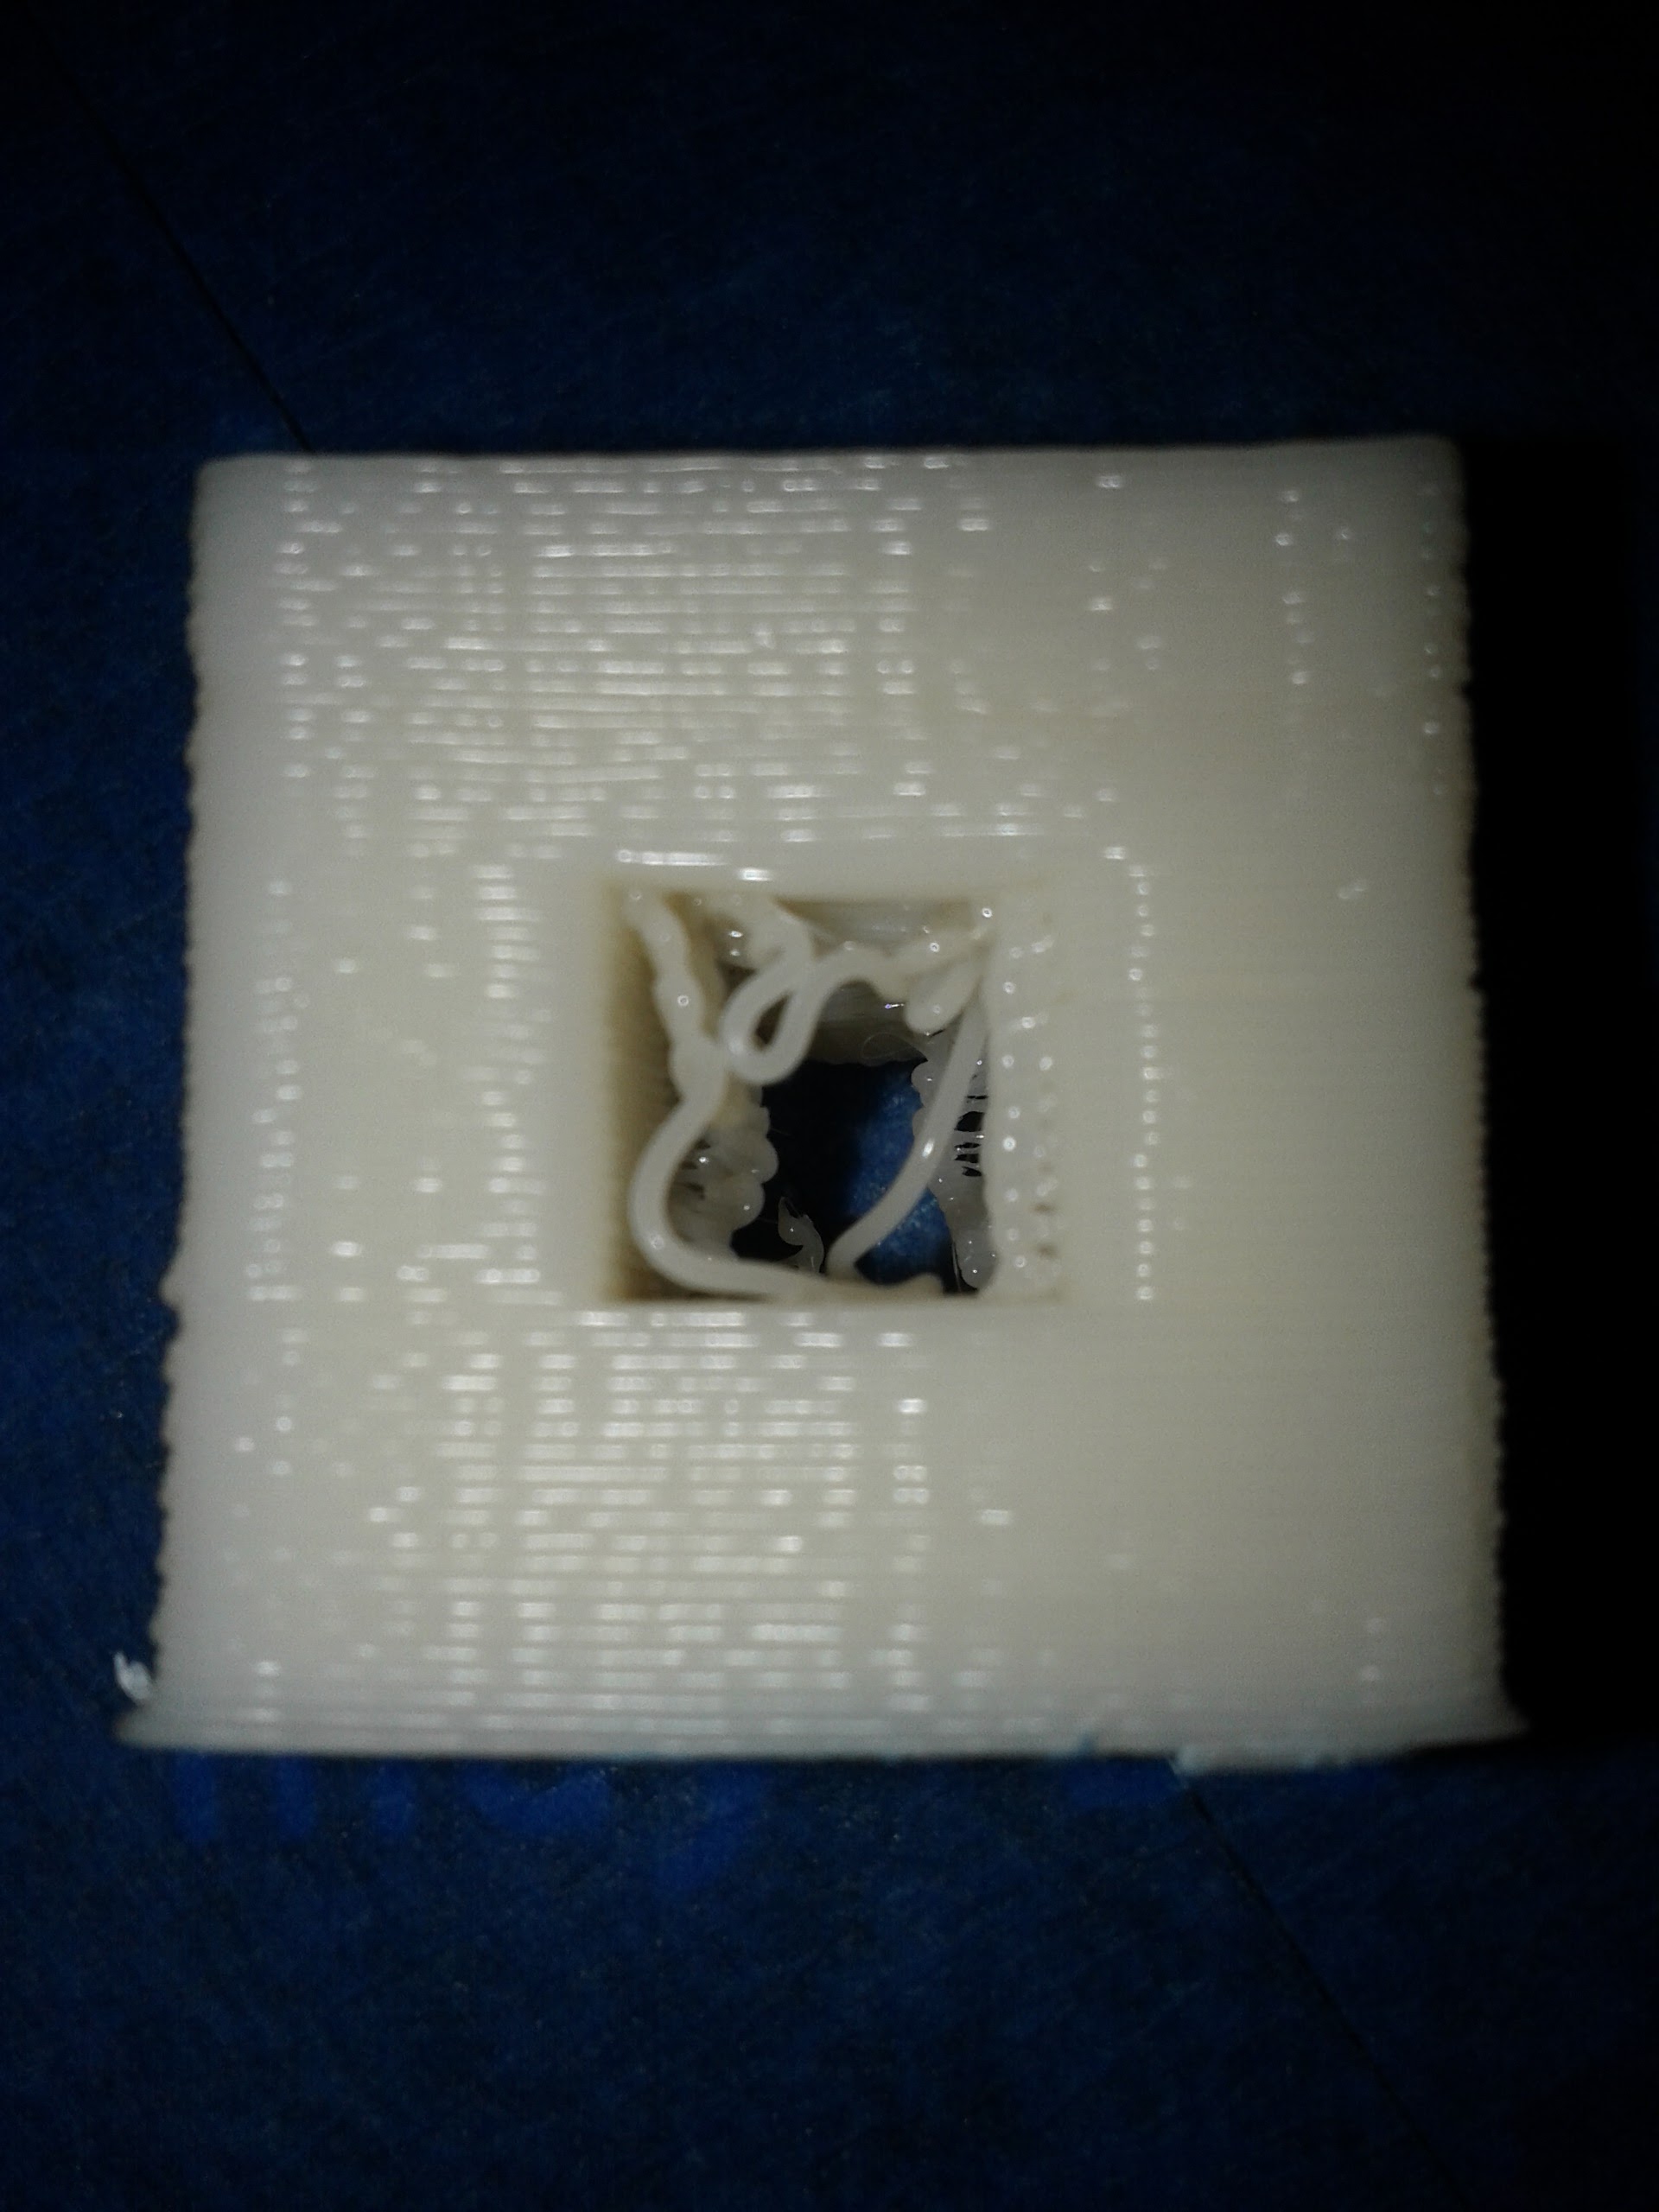
- I think I’m getting some oozing in the central hollow - it’s not a a bridging issue since it happens at several height before the bridge. I’ll have to play with my retract settings.
- The corners are more rounded than I’d like. Accel/decel setting, maybe?