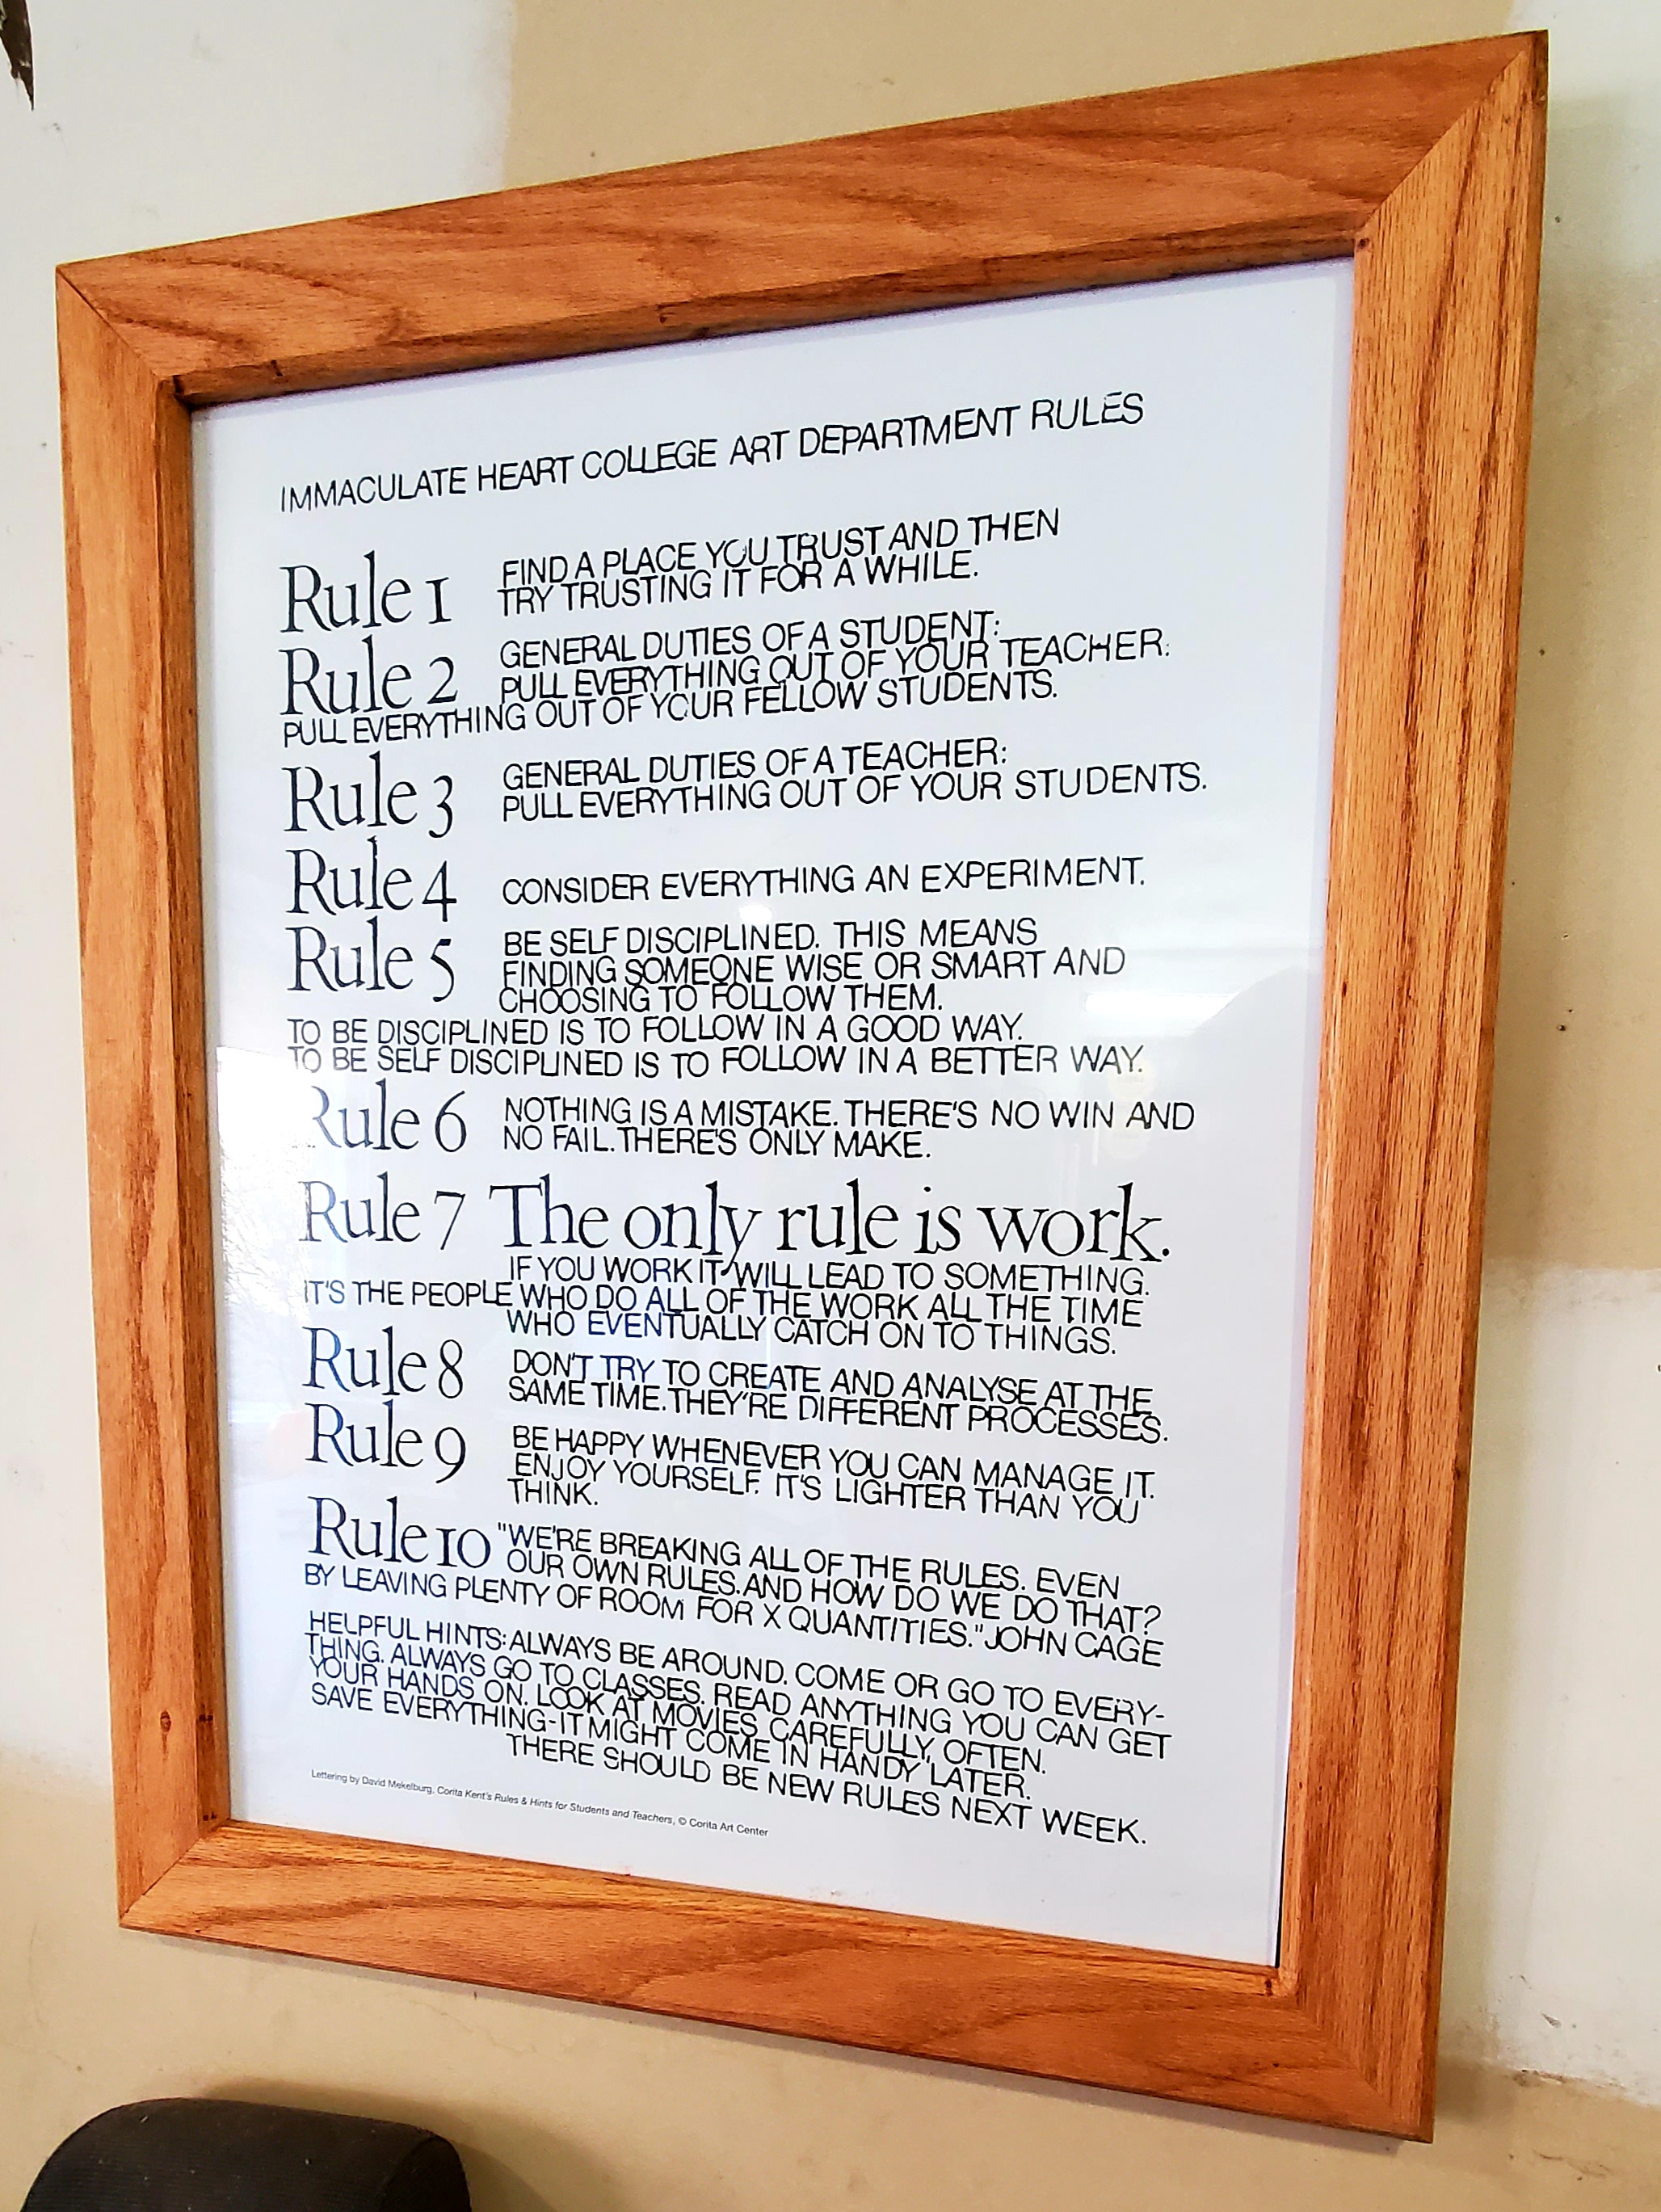
At long last, I have completed my first ever frame. Mistakes were made and I had to work around those but I am pleased with the final product for a first attempt.
Red oak from Lowes with splines made from an unknown hardwood shelf left my former owner of my house. Splines and frame wood are almost indistinguishable from each other. I used my table saw, cross cut sled, spine job, and picture frame jig (essentially a miter jig) to complete the project. BLO for the finish.
Managed to slice my left index finger at the second joint when cutting the window glass. I have been a stained glass artist since high school and forgot how fragile standard window glass is. No biggie. Just a bit of a blood smudge in the bottom of the poster.
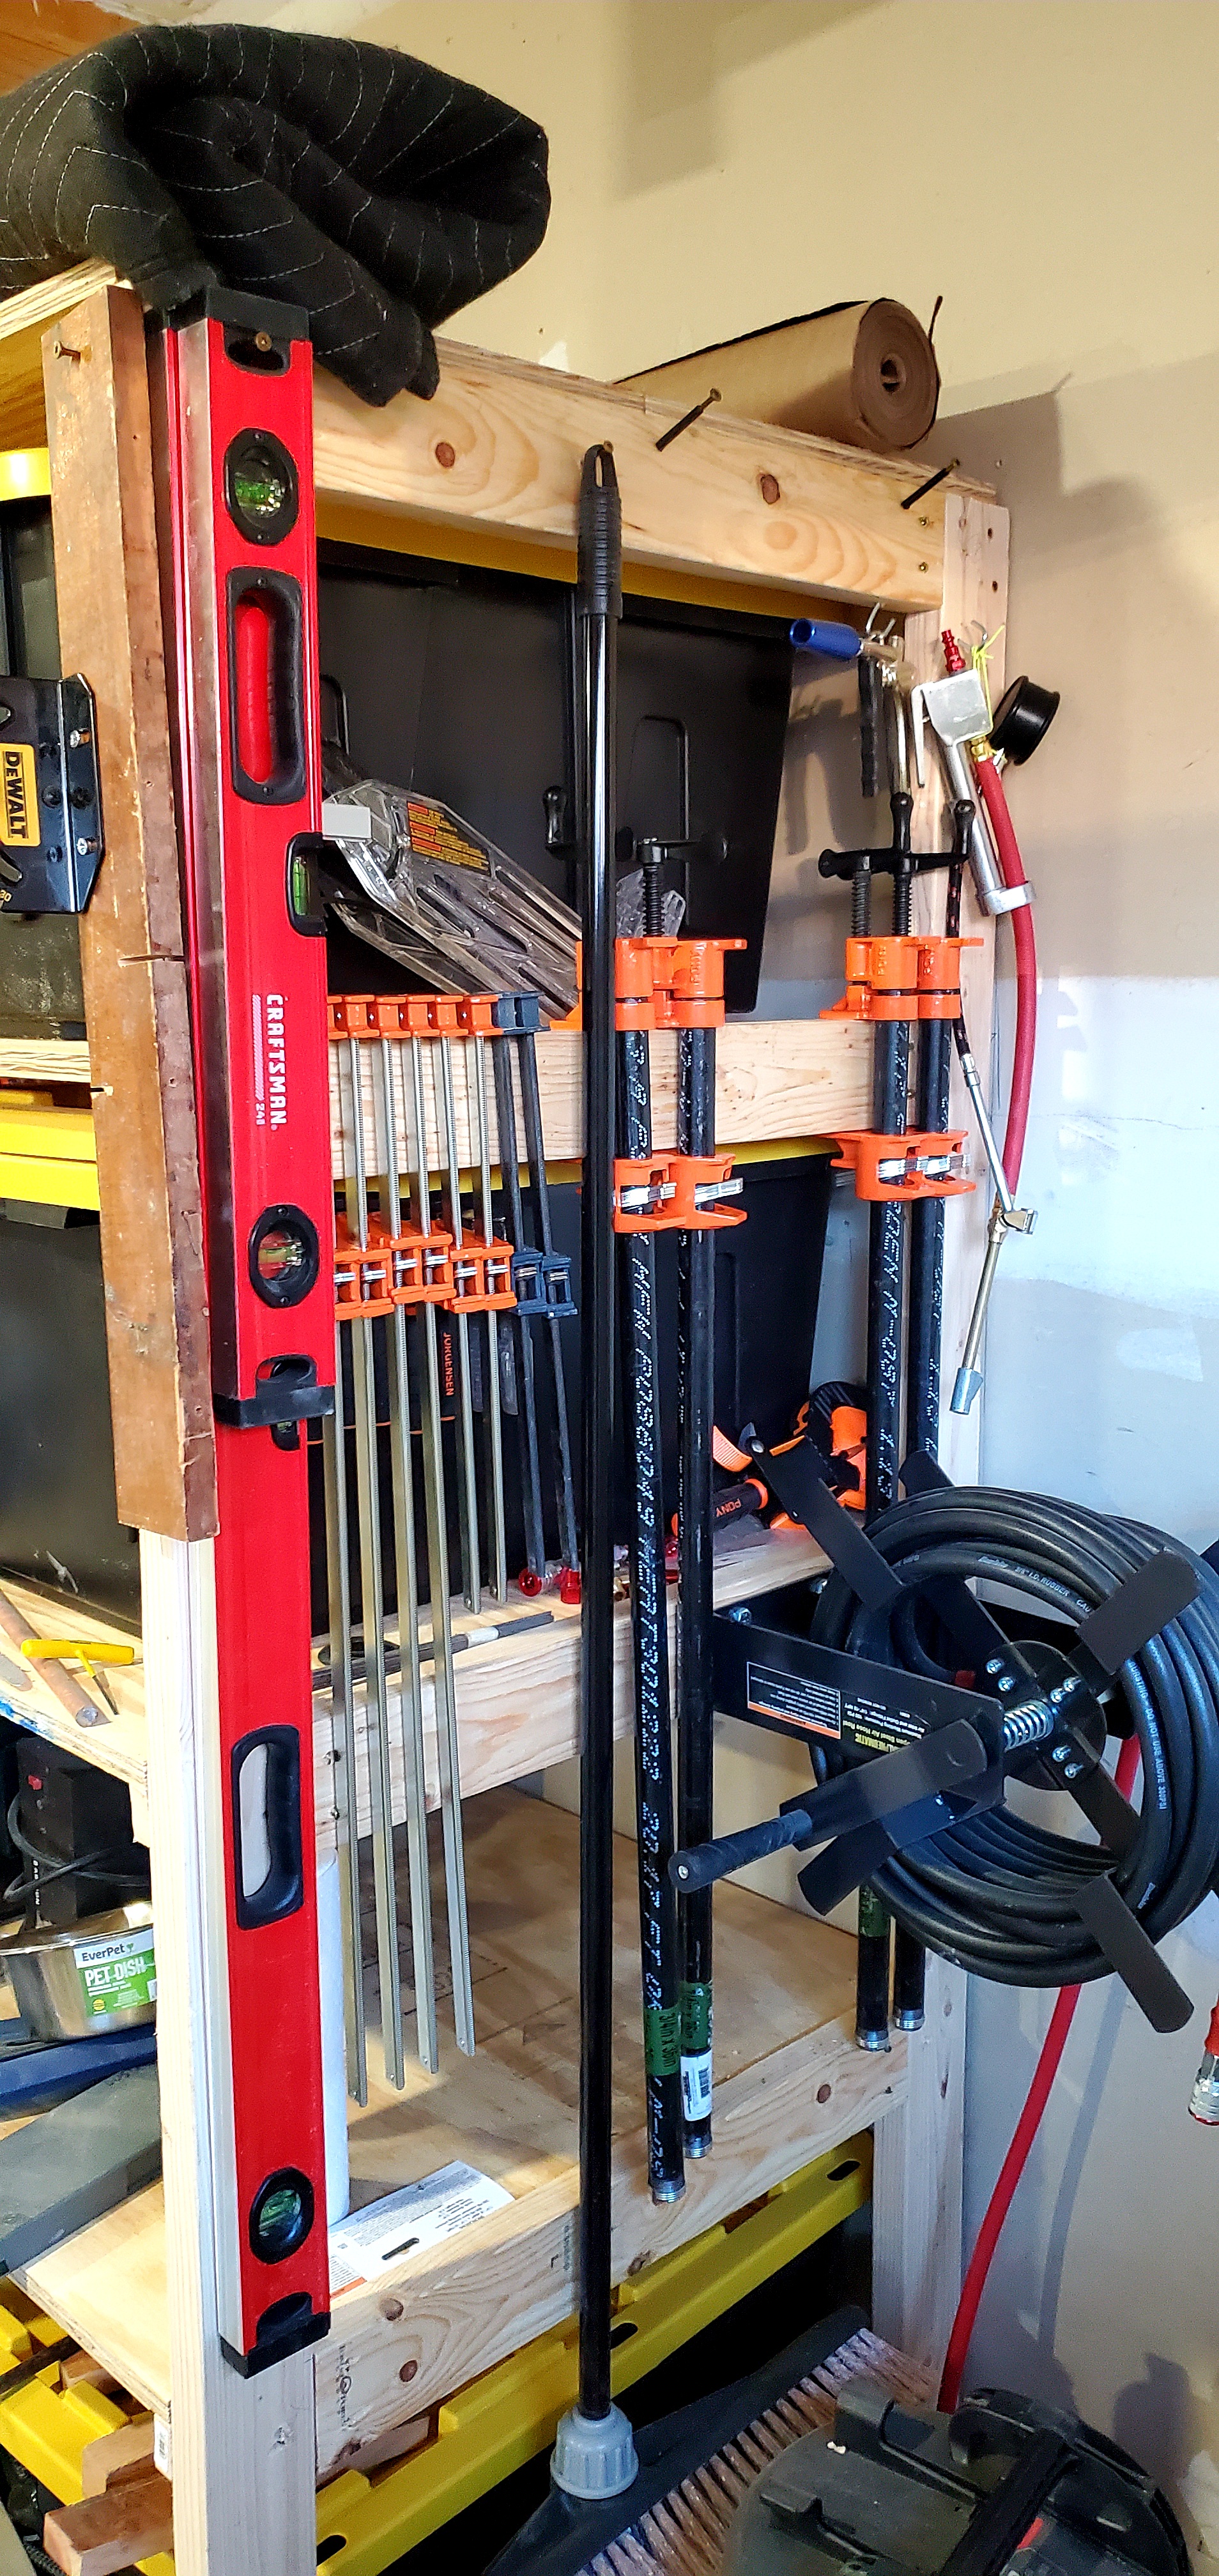
Cant have too many clamps…
A projects difficulty is measured by the # of clamps you had to use …
I’d say you are about 1/3 way toward the total # of clamps you need …
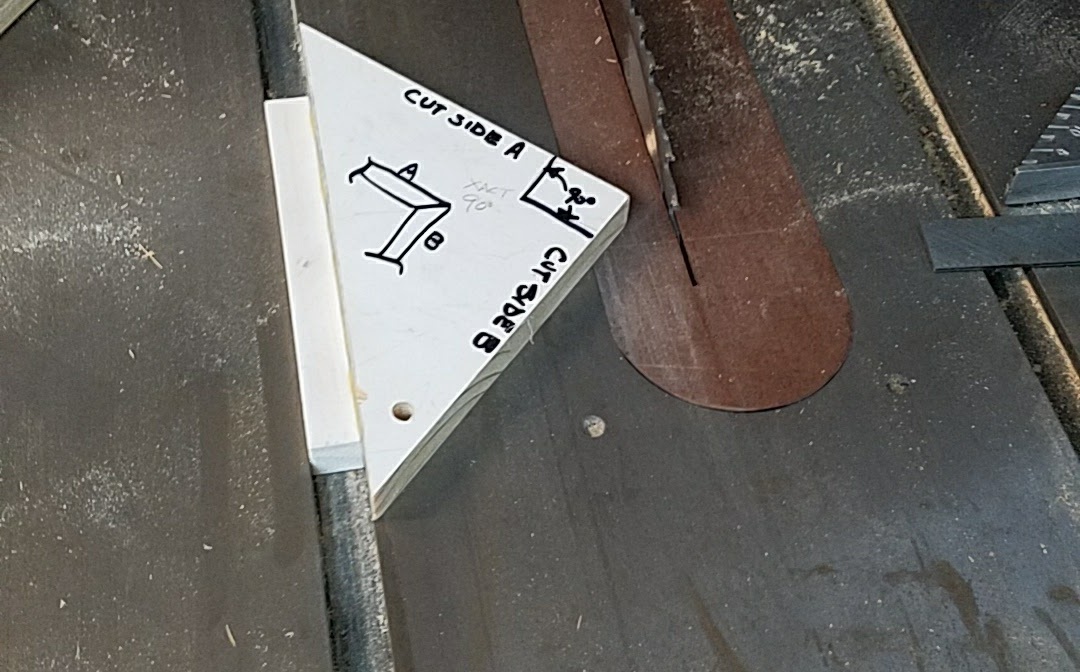
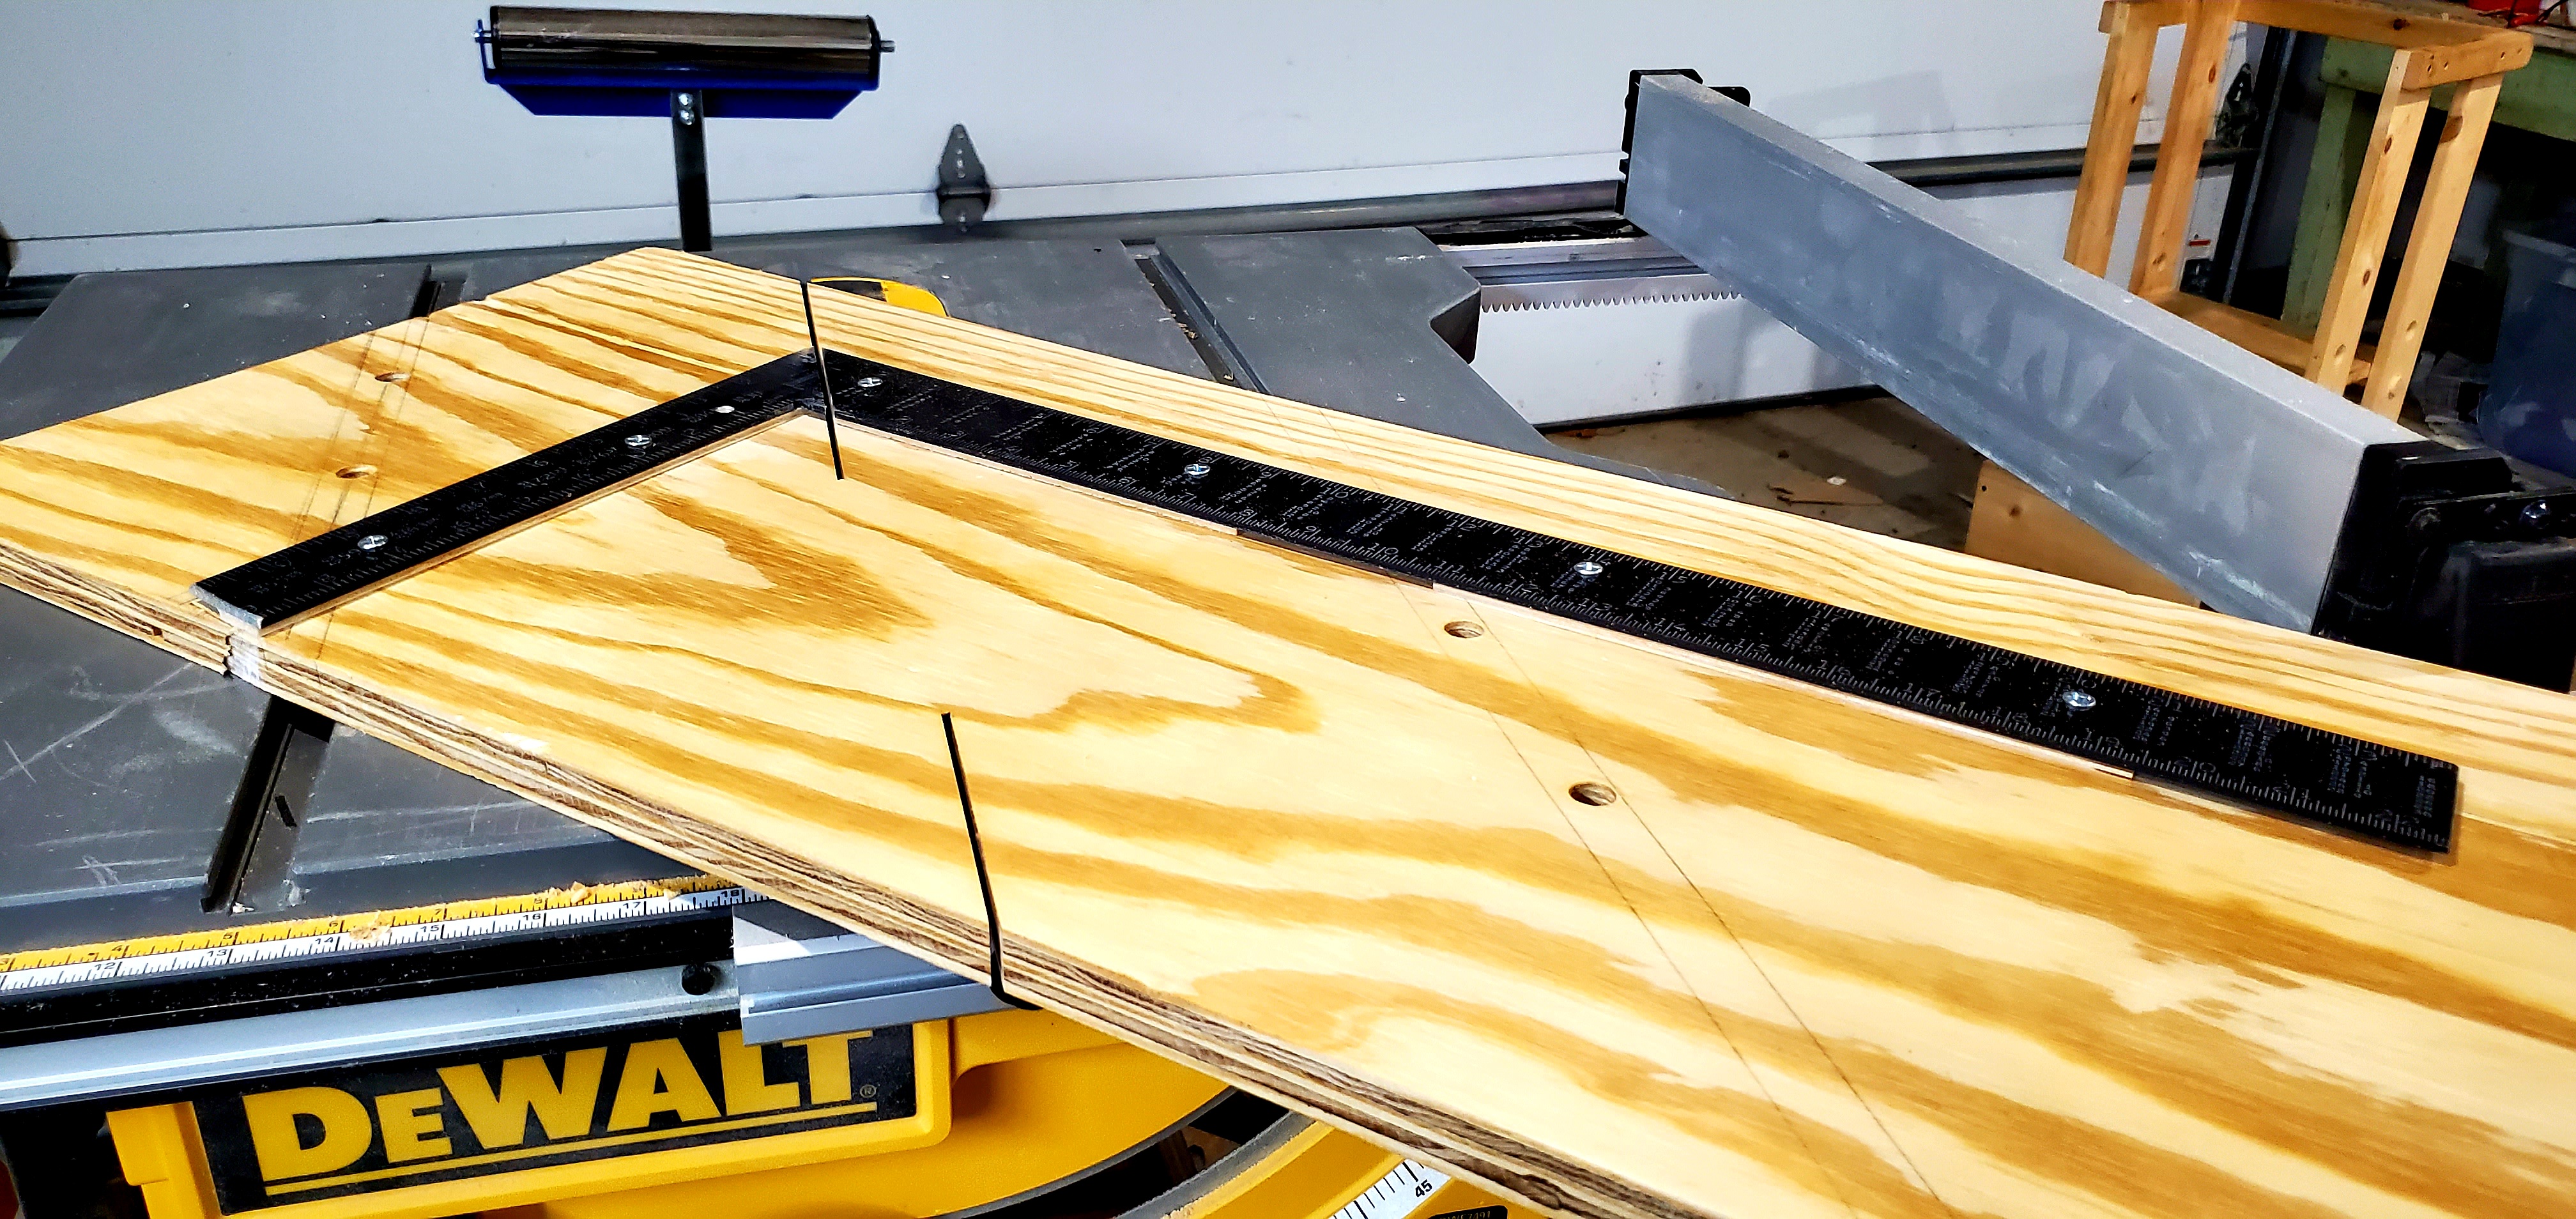
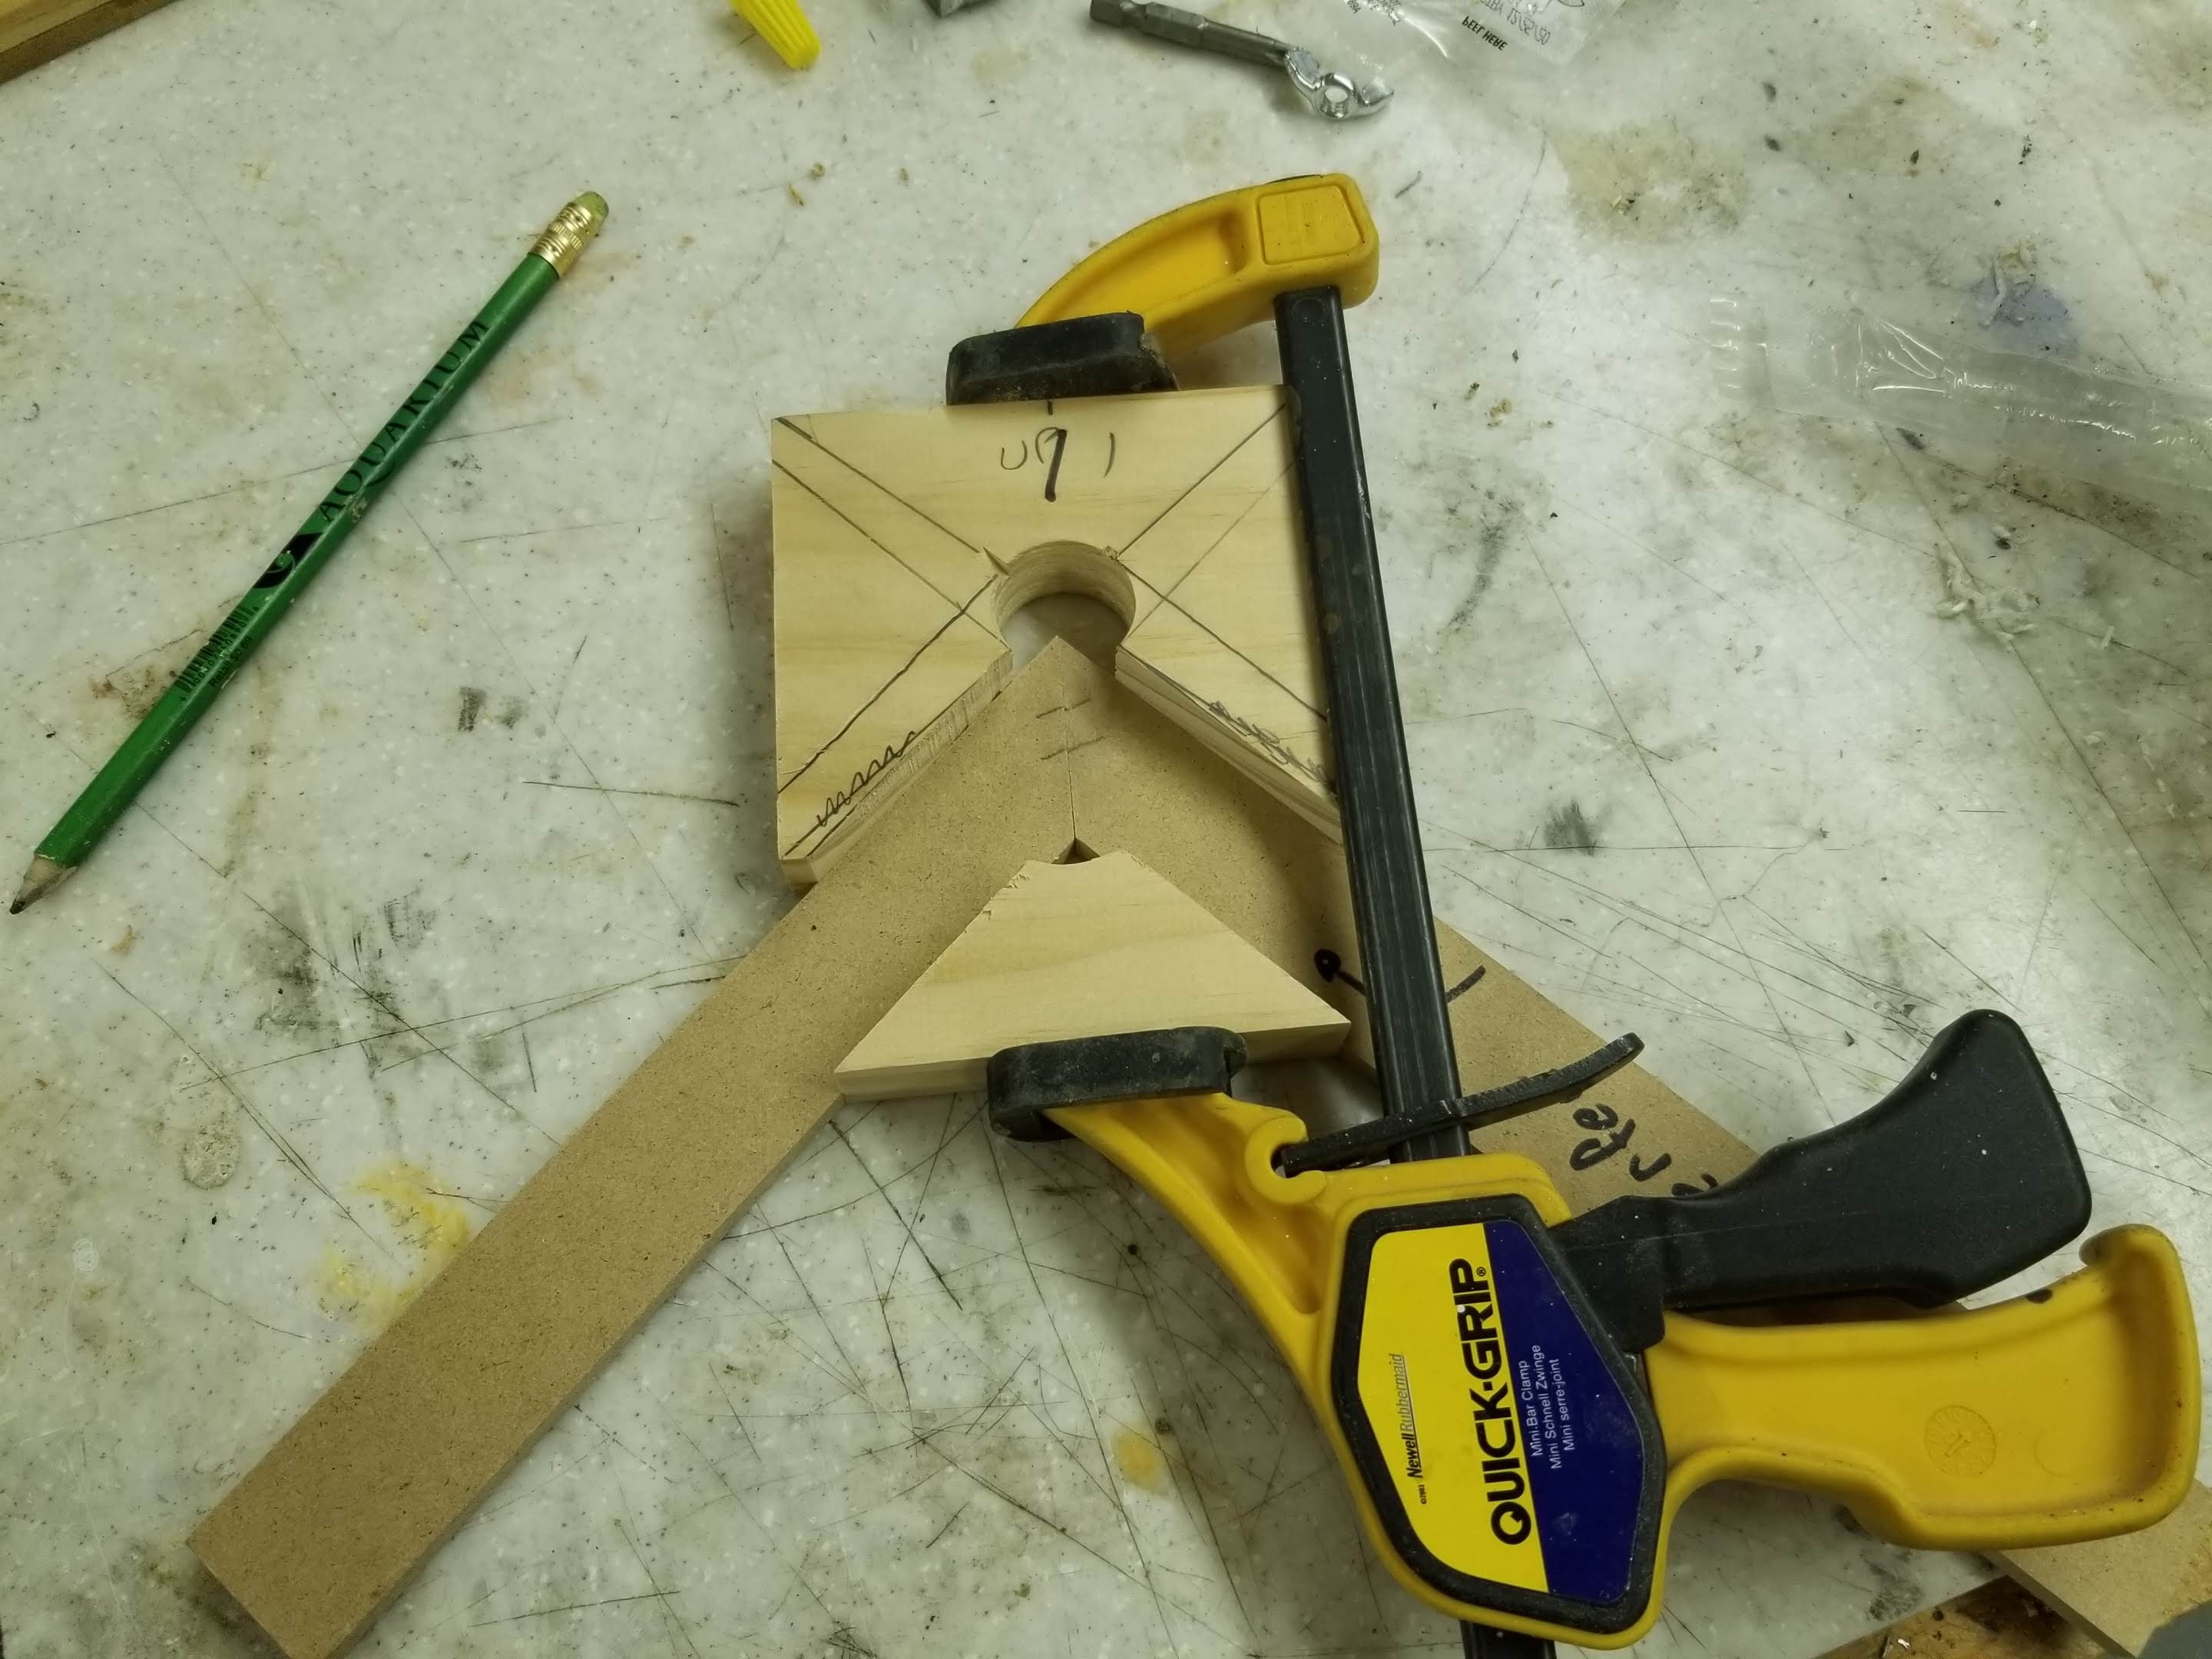
This is my framing jig. Since I took the photo, I have added a stop block with a 45° and a toggle clamp to the long axis. Cut on short axis, align stop block with measurement on long axis, engage toggle clamp, marry the 45°s and cut.
It looks like you found center of the square, drilled a 1/2 to 3/4 in hole, and then cut out a right triangle from the bottom after skewing down a couple of mm Is that right?
Don, these two I like. I have been making things since my Mech Eng Apprenticeship 55 years ago, but these two jigs are new to me. They’ll be on the shelf as soon as I can get round to making them. Thank you.
Wood glue is often considered the strongest part of the project but I have seen joints pull apart over time in the right conditions. So I like to put flat metal angles on the backs of the corners. But I’ve been exploring in my mind ways to recess the angle in to the back. I also love putting copper or other decorative metals in to my projects. So I’ve been thinking of ways to recess decorative metals in to the corners. Has anyone used those wavy metal strips you hammer in to the corners. Do they go in easy or hard?
The mistake most make is gluing endgrain and expecting it to hold, especially on edges of boxes and frames.
End grain sucks up the glue from the joint and weakens it. I have heard that if you soak the endgrain and then apply glue you can get a stronger joint. Another technique is to apply glue to the endgrain and let it dry then glue the joint. Never tried these, I add fasteners and splines.
I have tried the wavy strips and it always seems to split going in … perhaps if the wood was a soft species with a fine grain.
I would assume you could use metals like copper to glue in as splines instead of wood. I would use epoxy.