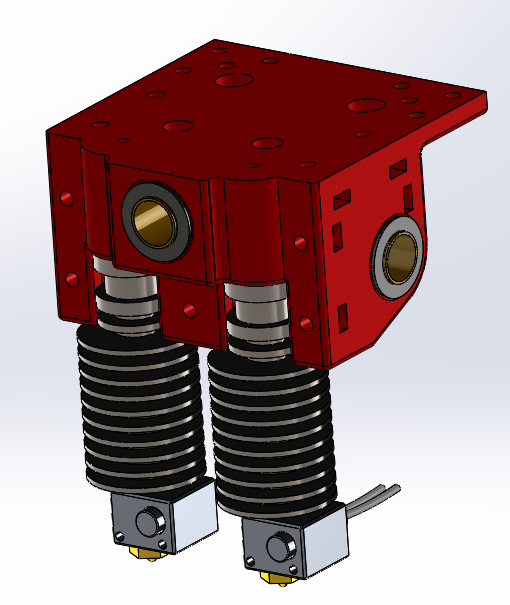
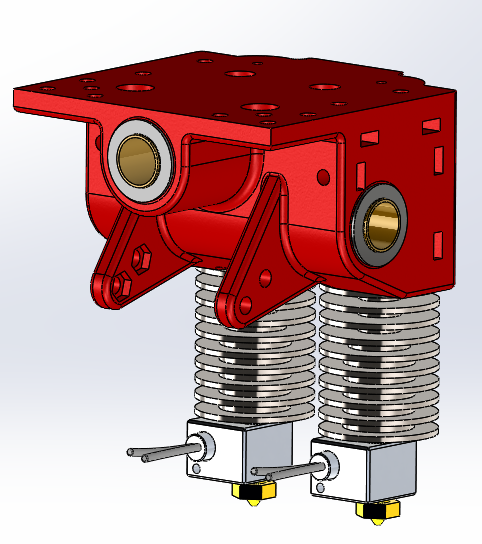
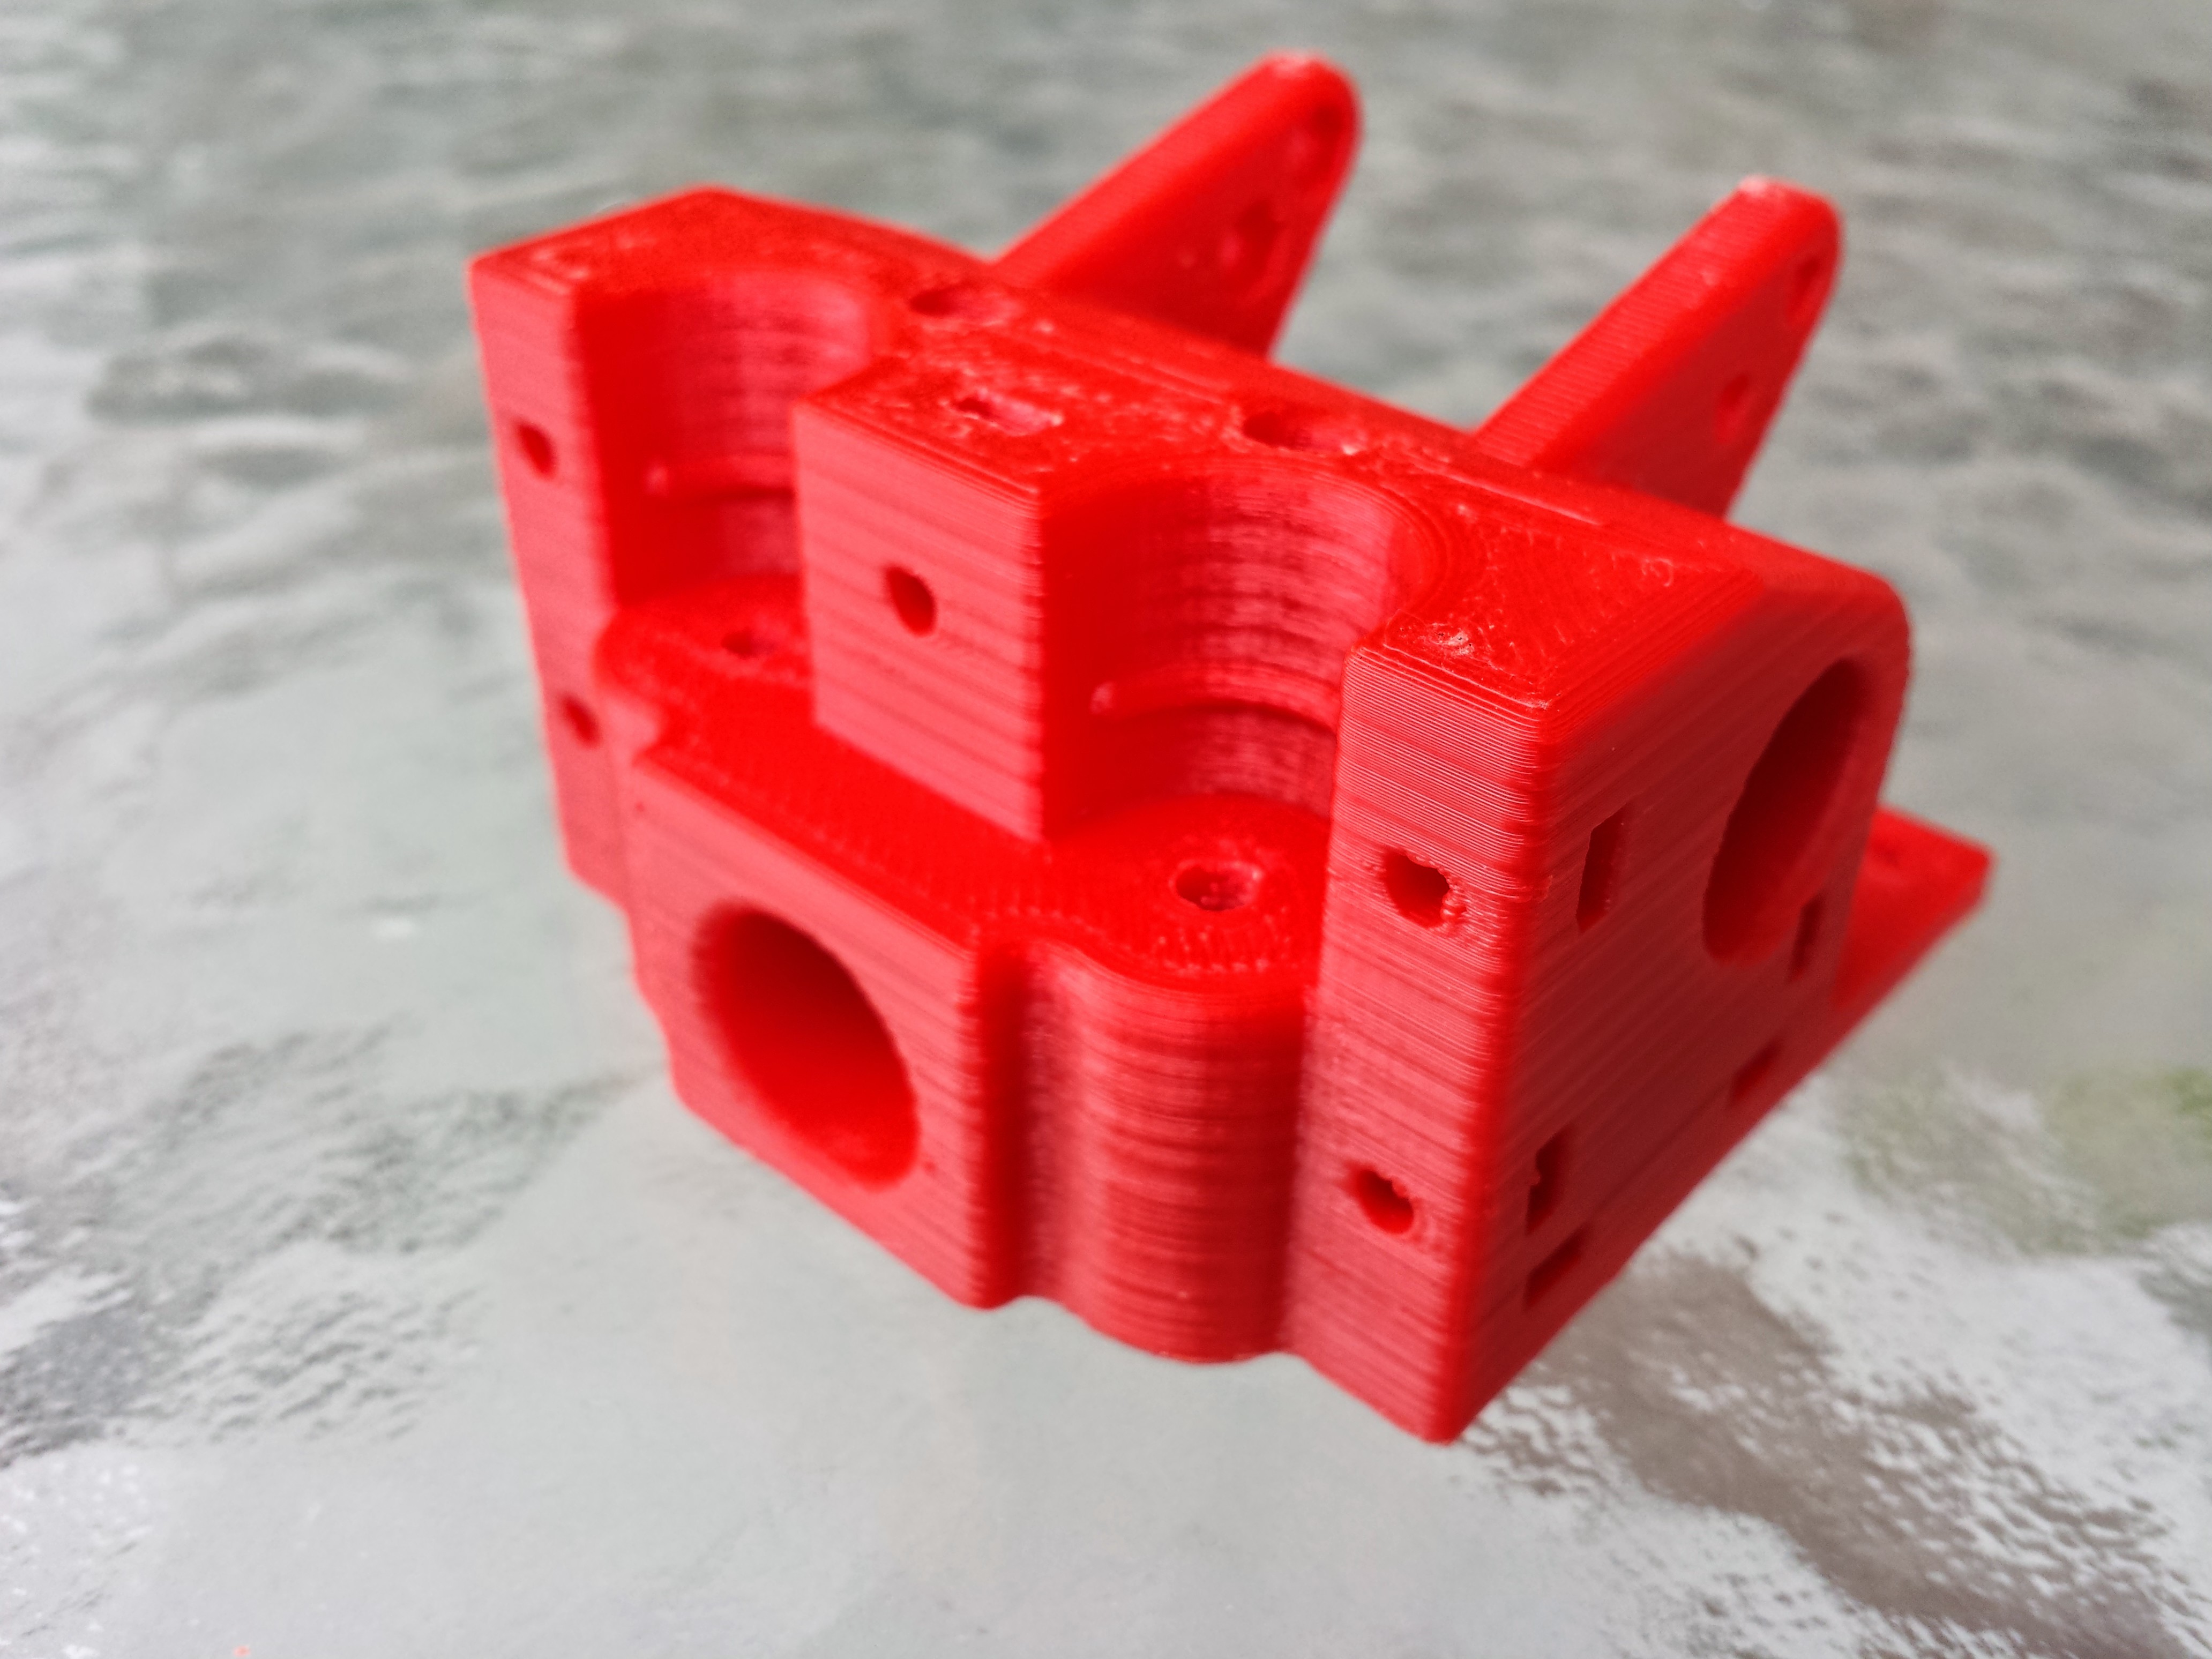
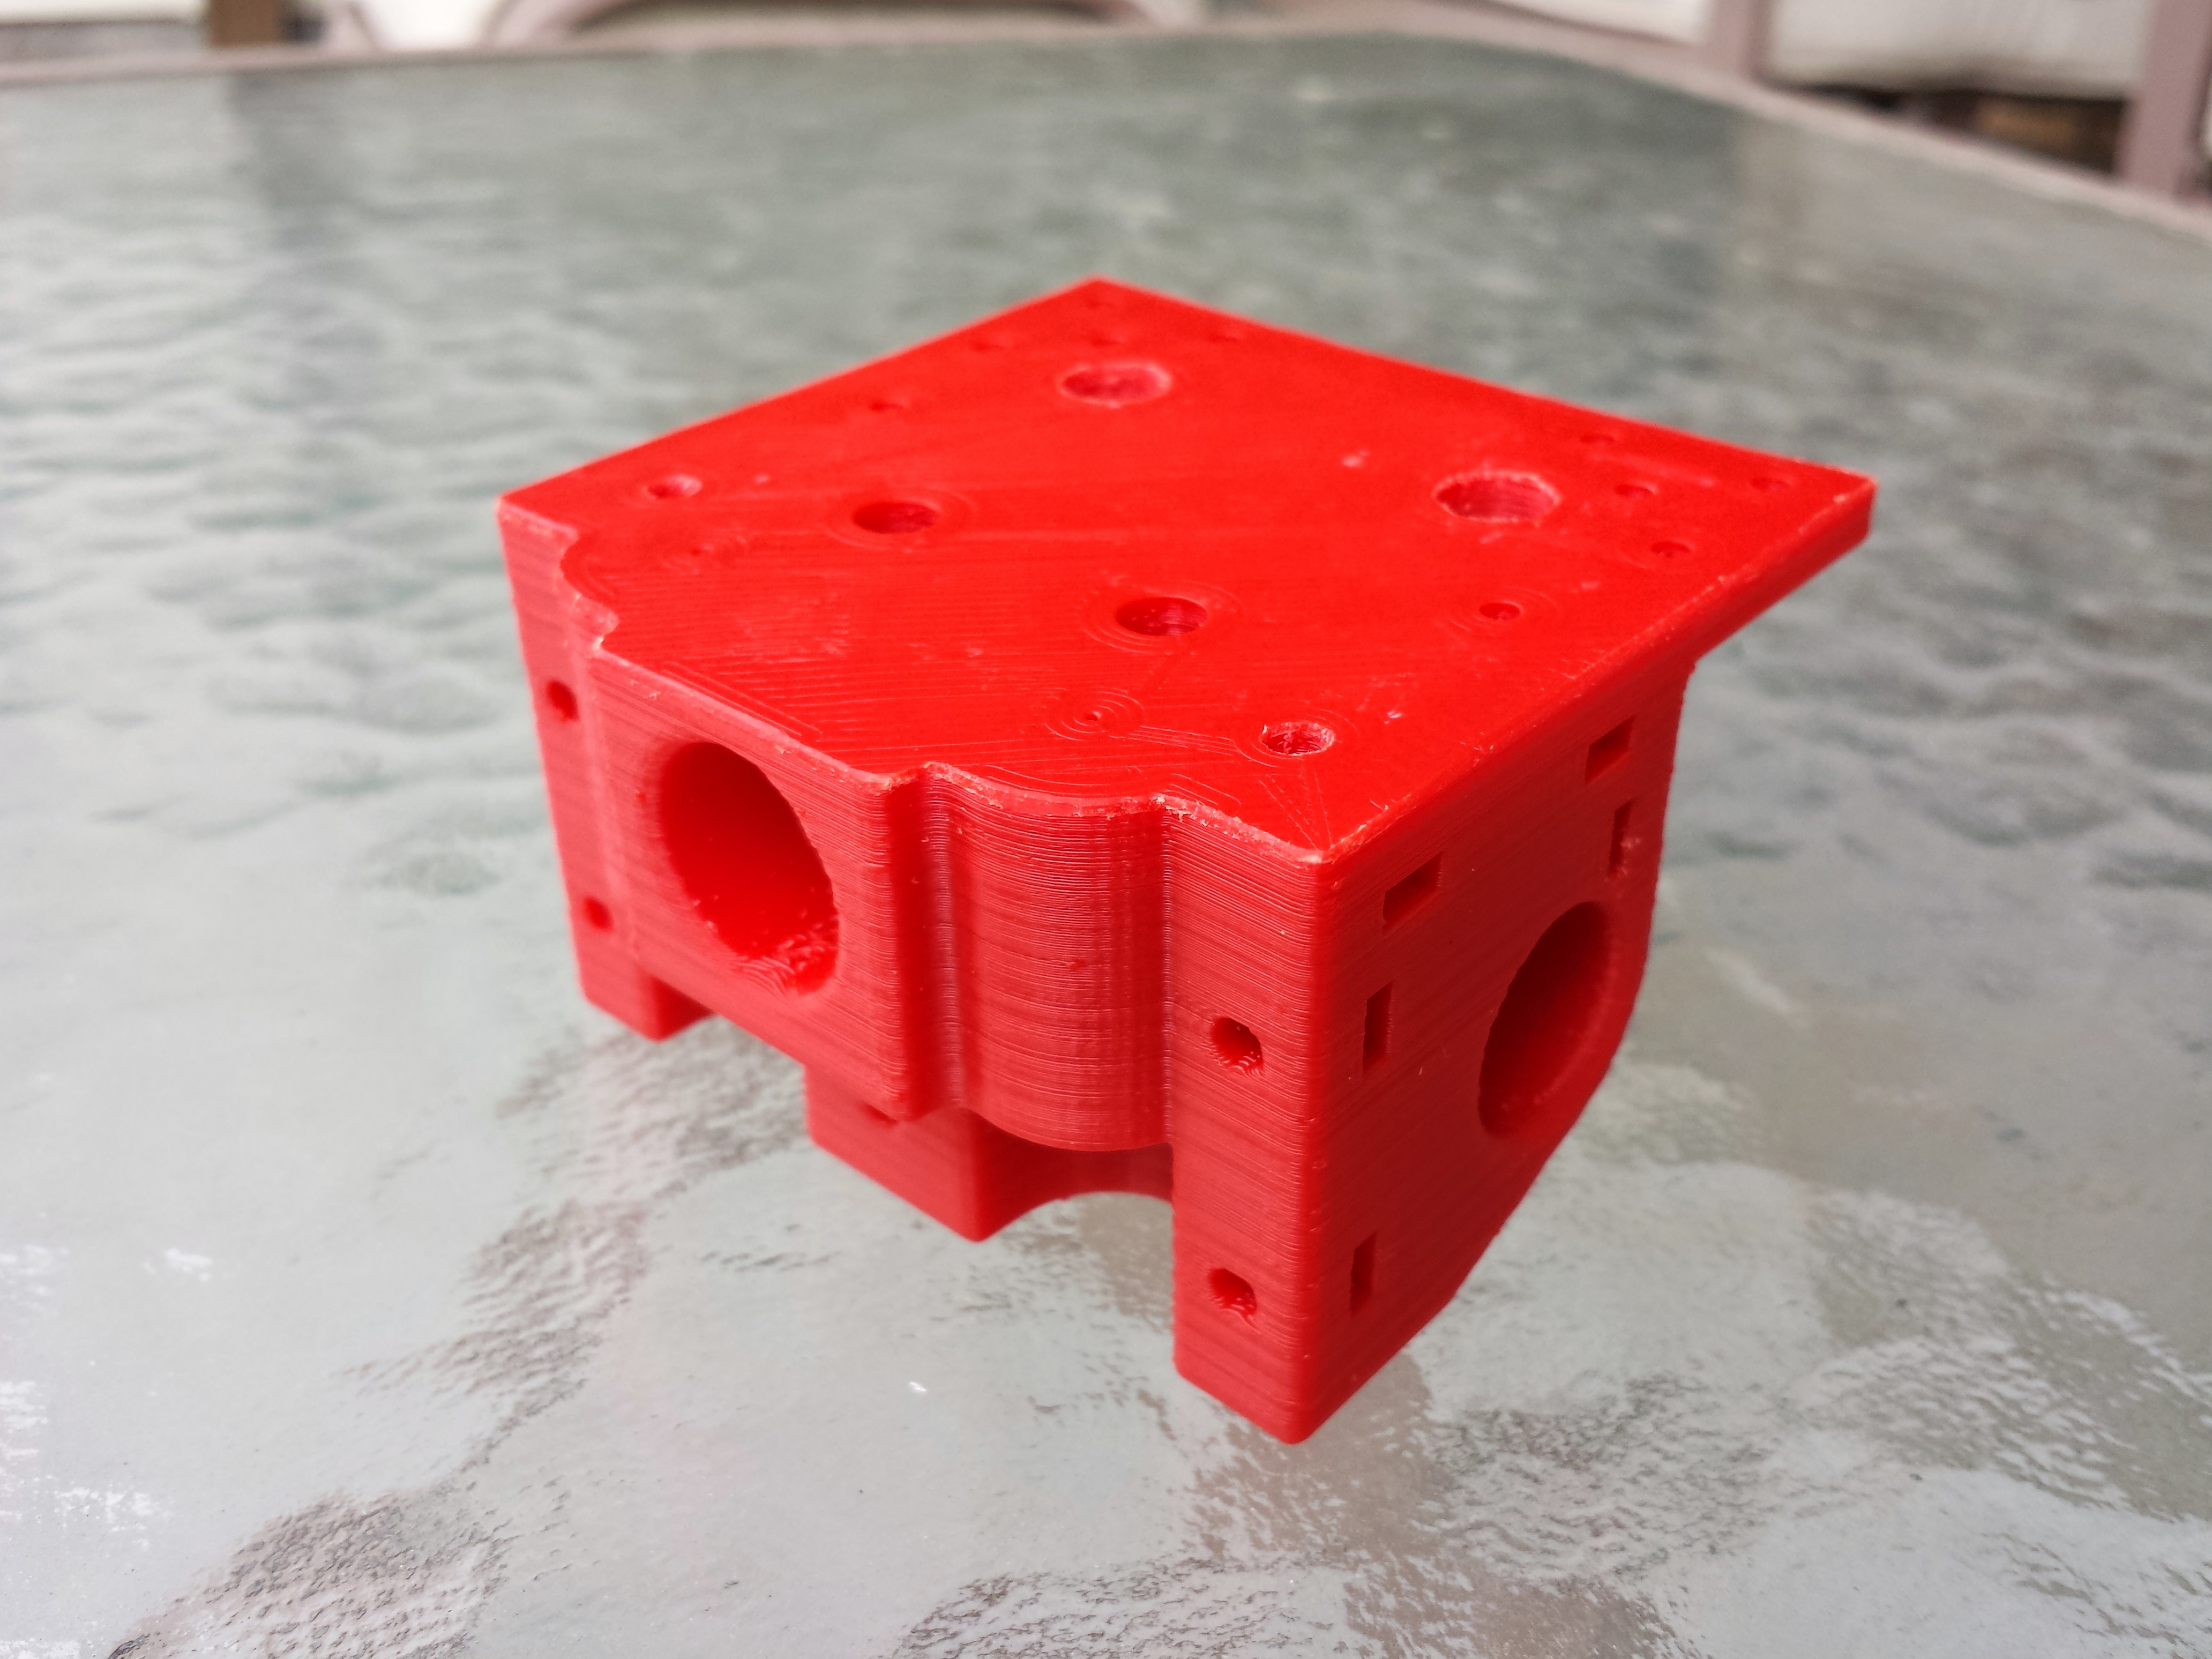
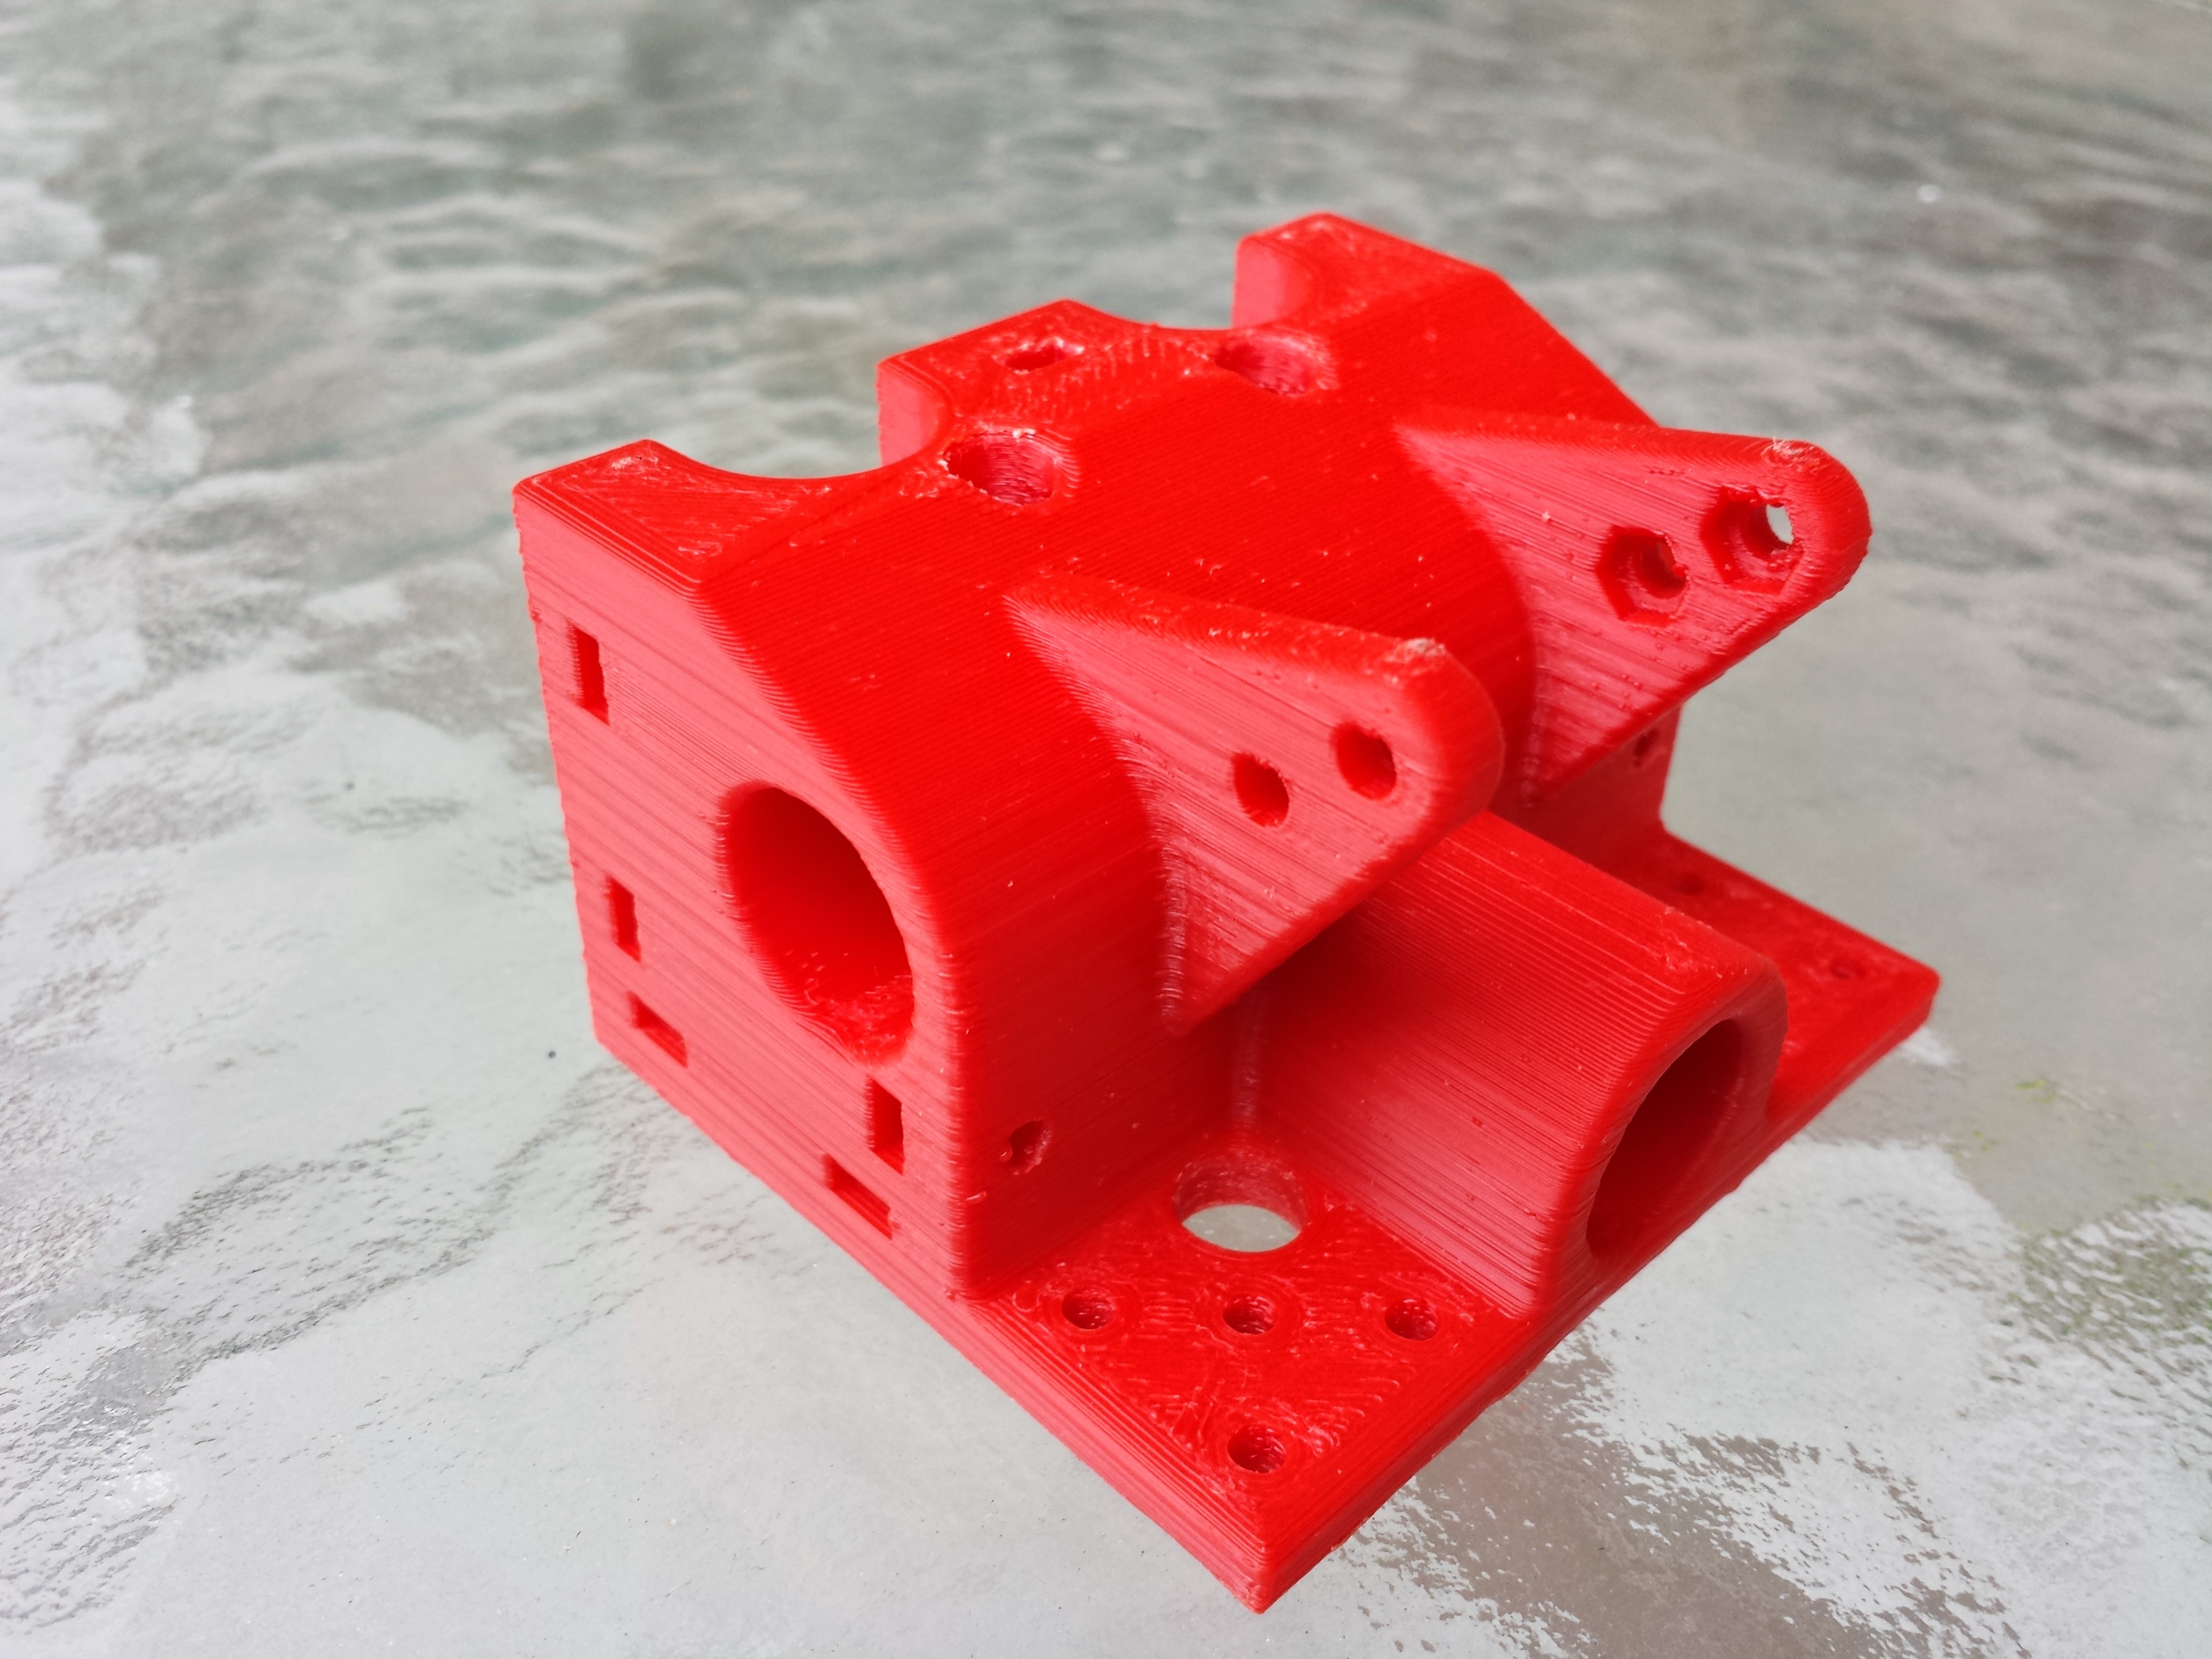
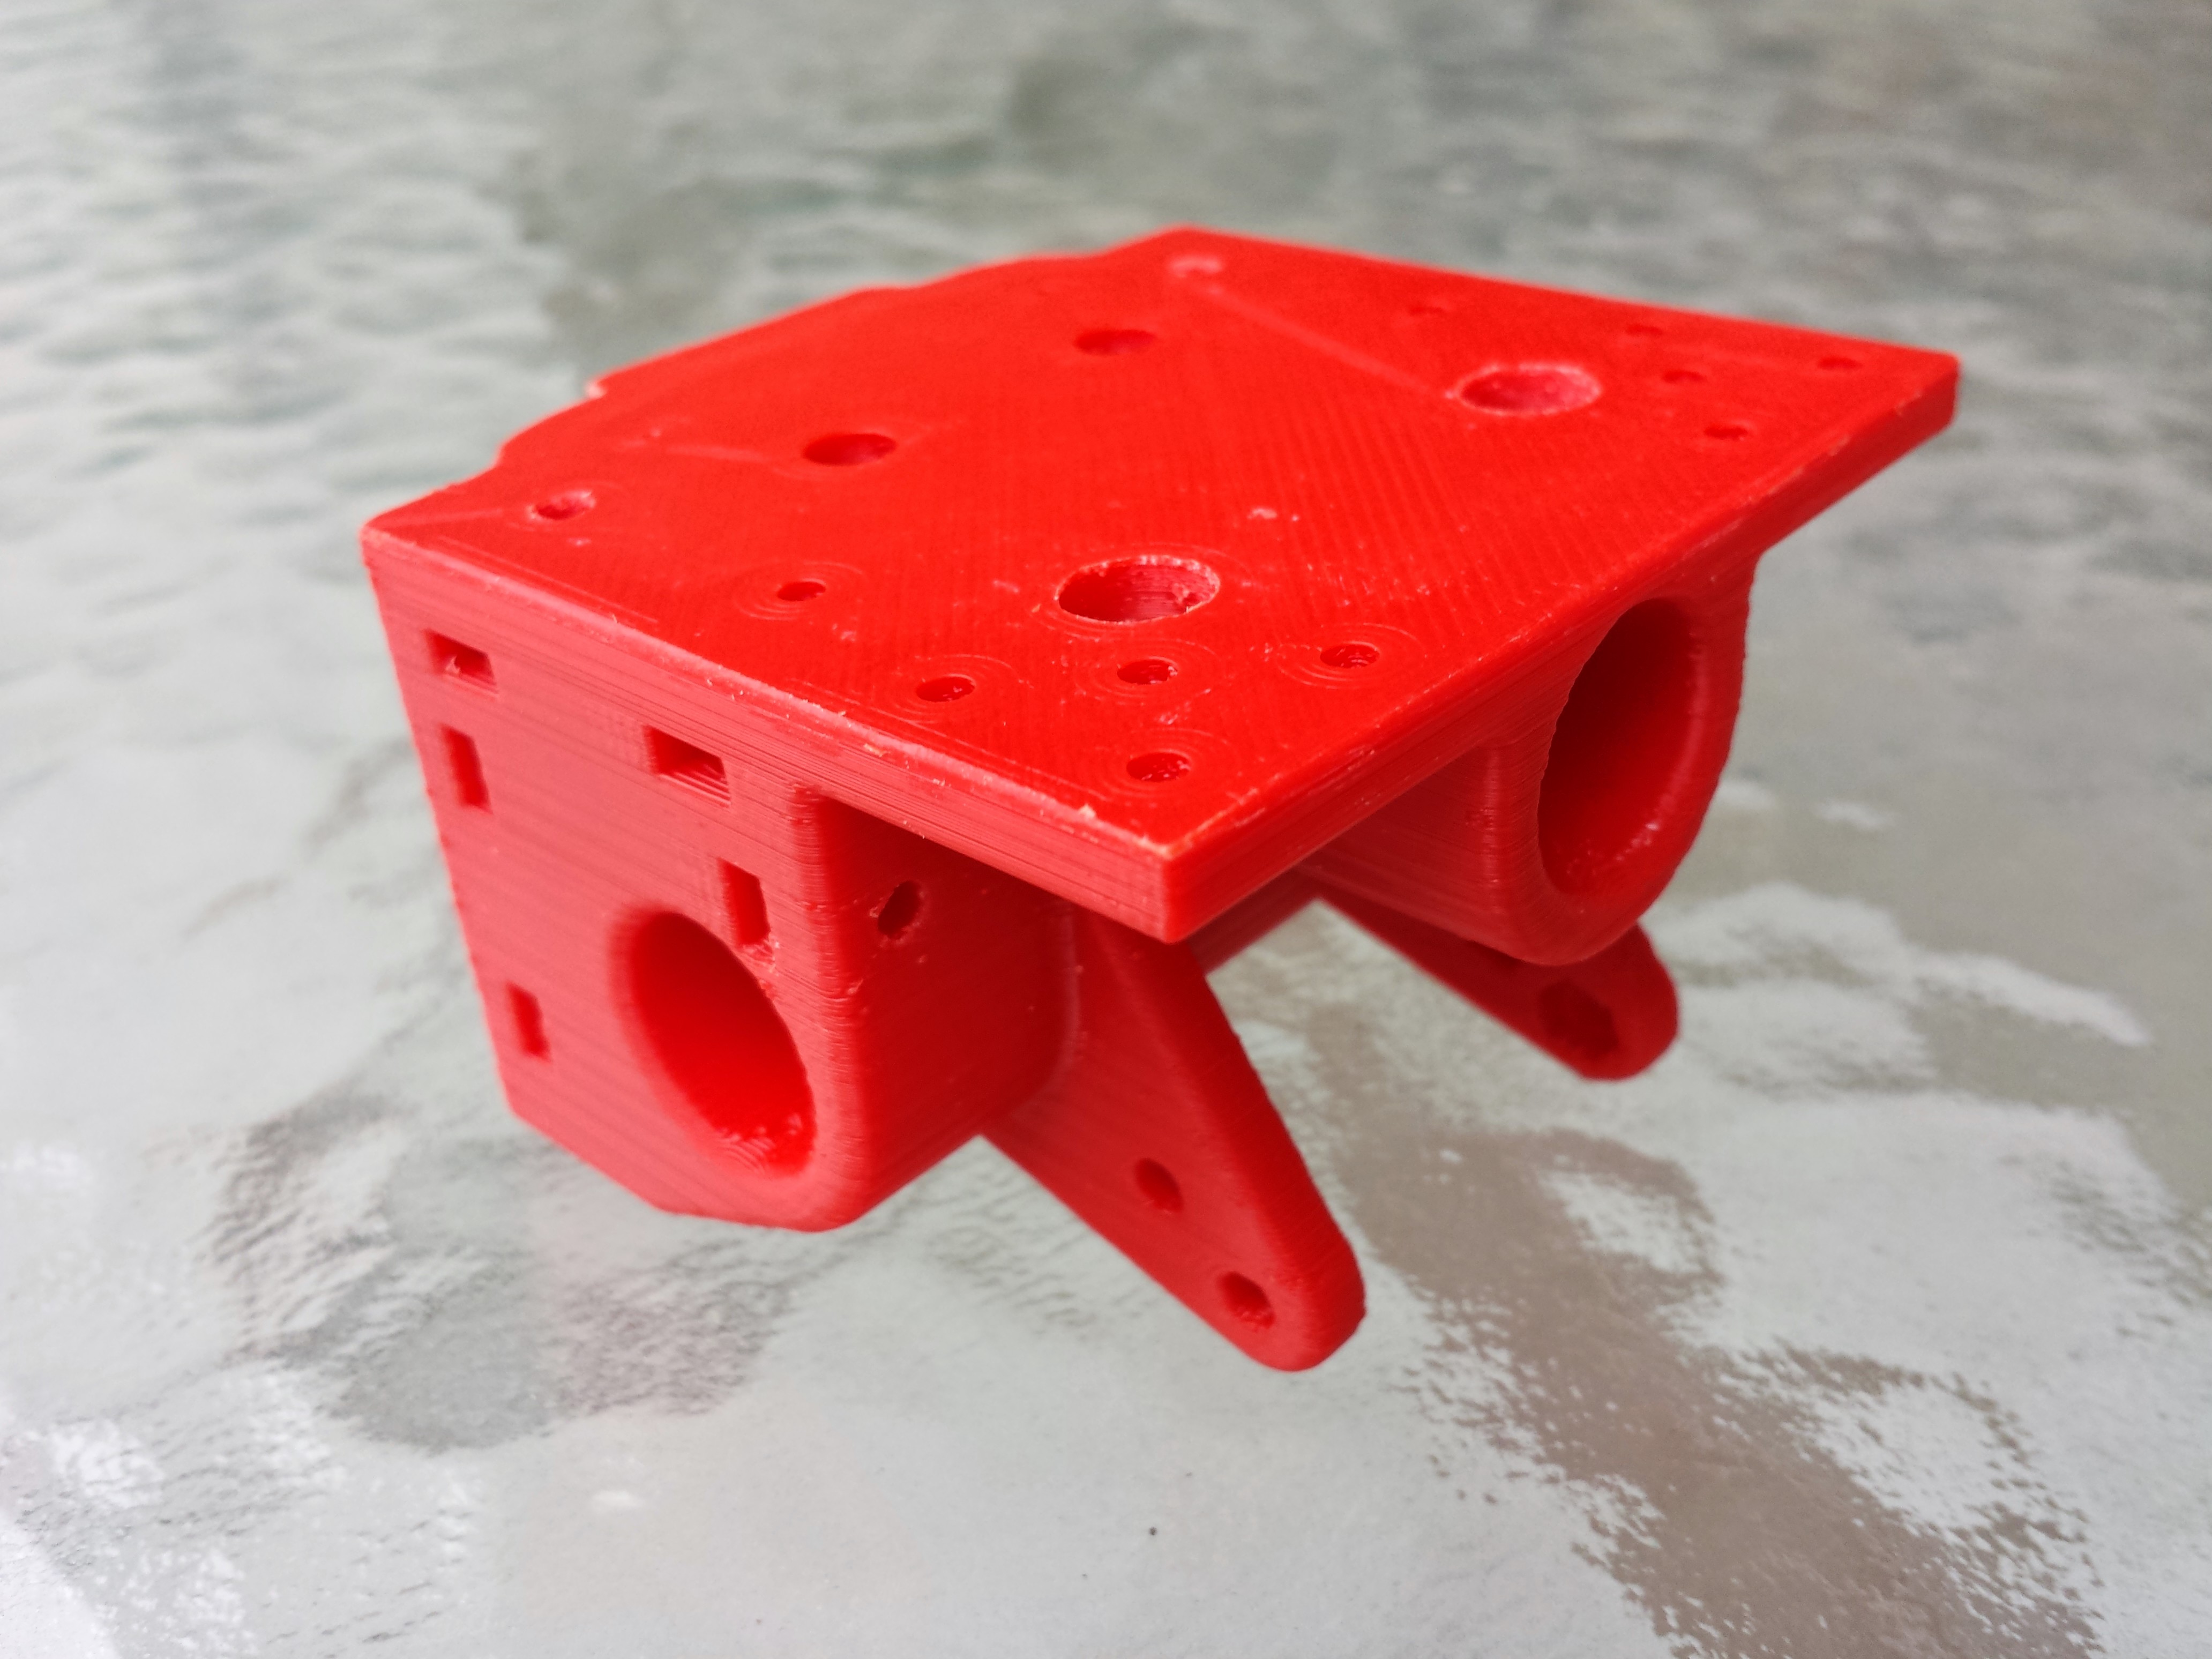
First attempt at the dual extrusion carriage design for my conversion from Corexy to Ingentis/Eustathios. The frame is 24" x24" x24" and it will be called the HercuLien thanks to a suggestion from @Shauki. The flat top and lots of mount holes are to allow for mounting a direct drive extruder on top in case I want to run flexible filaments. The mounting tabs on the back will allow for adjusting ducted cooling fans for PLA. Heat sink cooling will be done with 40mm fan(s) that mount to the hot end front clamp. I have not yet drawn up the clamp or fan ducts. I plan on learning more about surfacing and loft/sweep in solidworks to make these parts.
Let me know what you think. Any input is appreciated.
Looking good! Is there any way to adjust each hotend’s height?
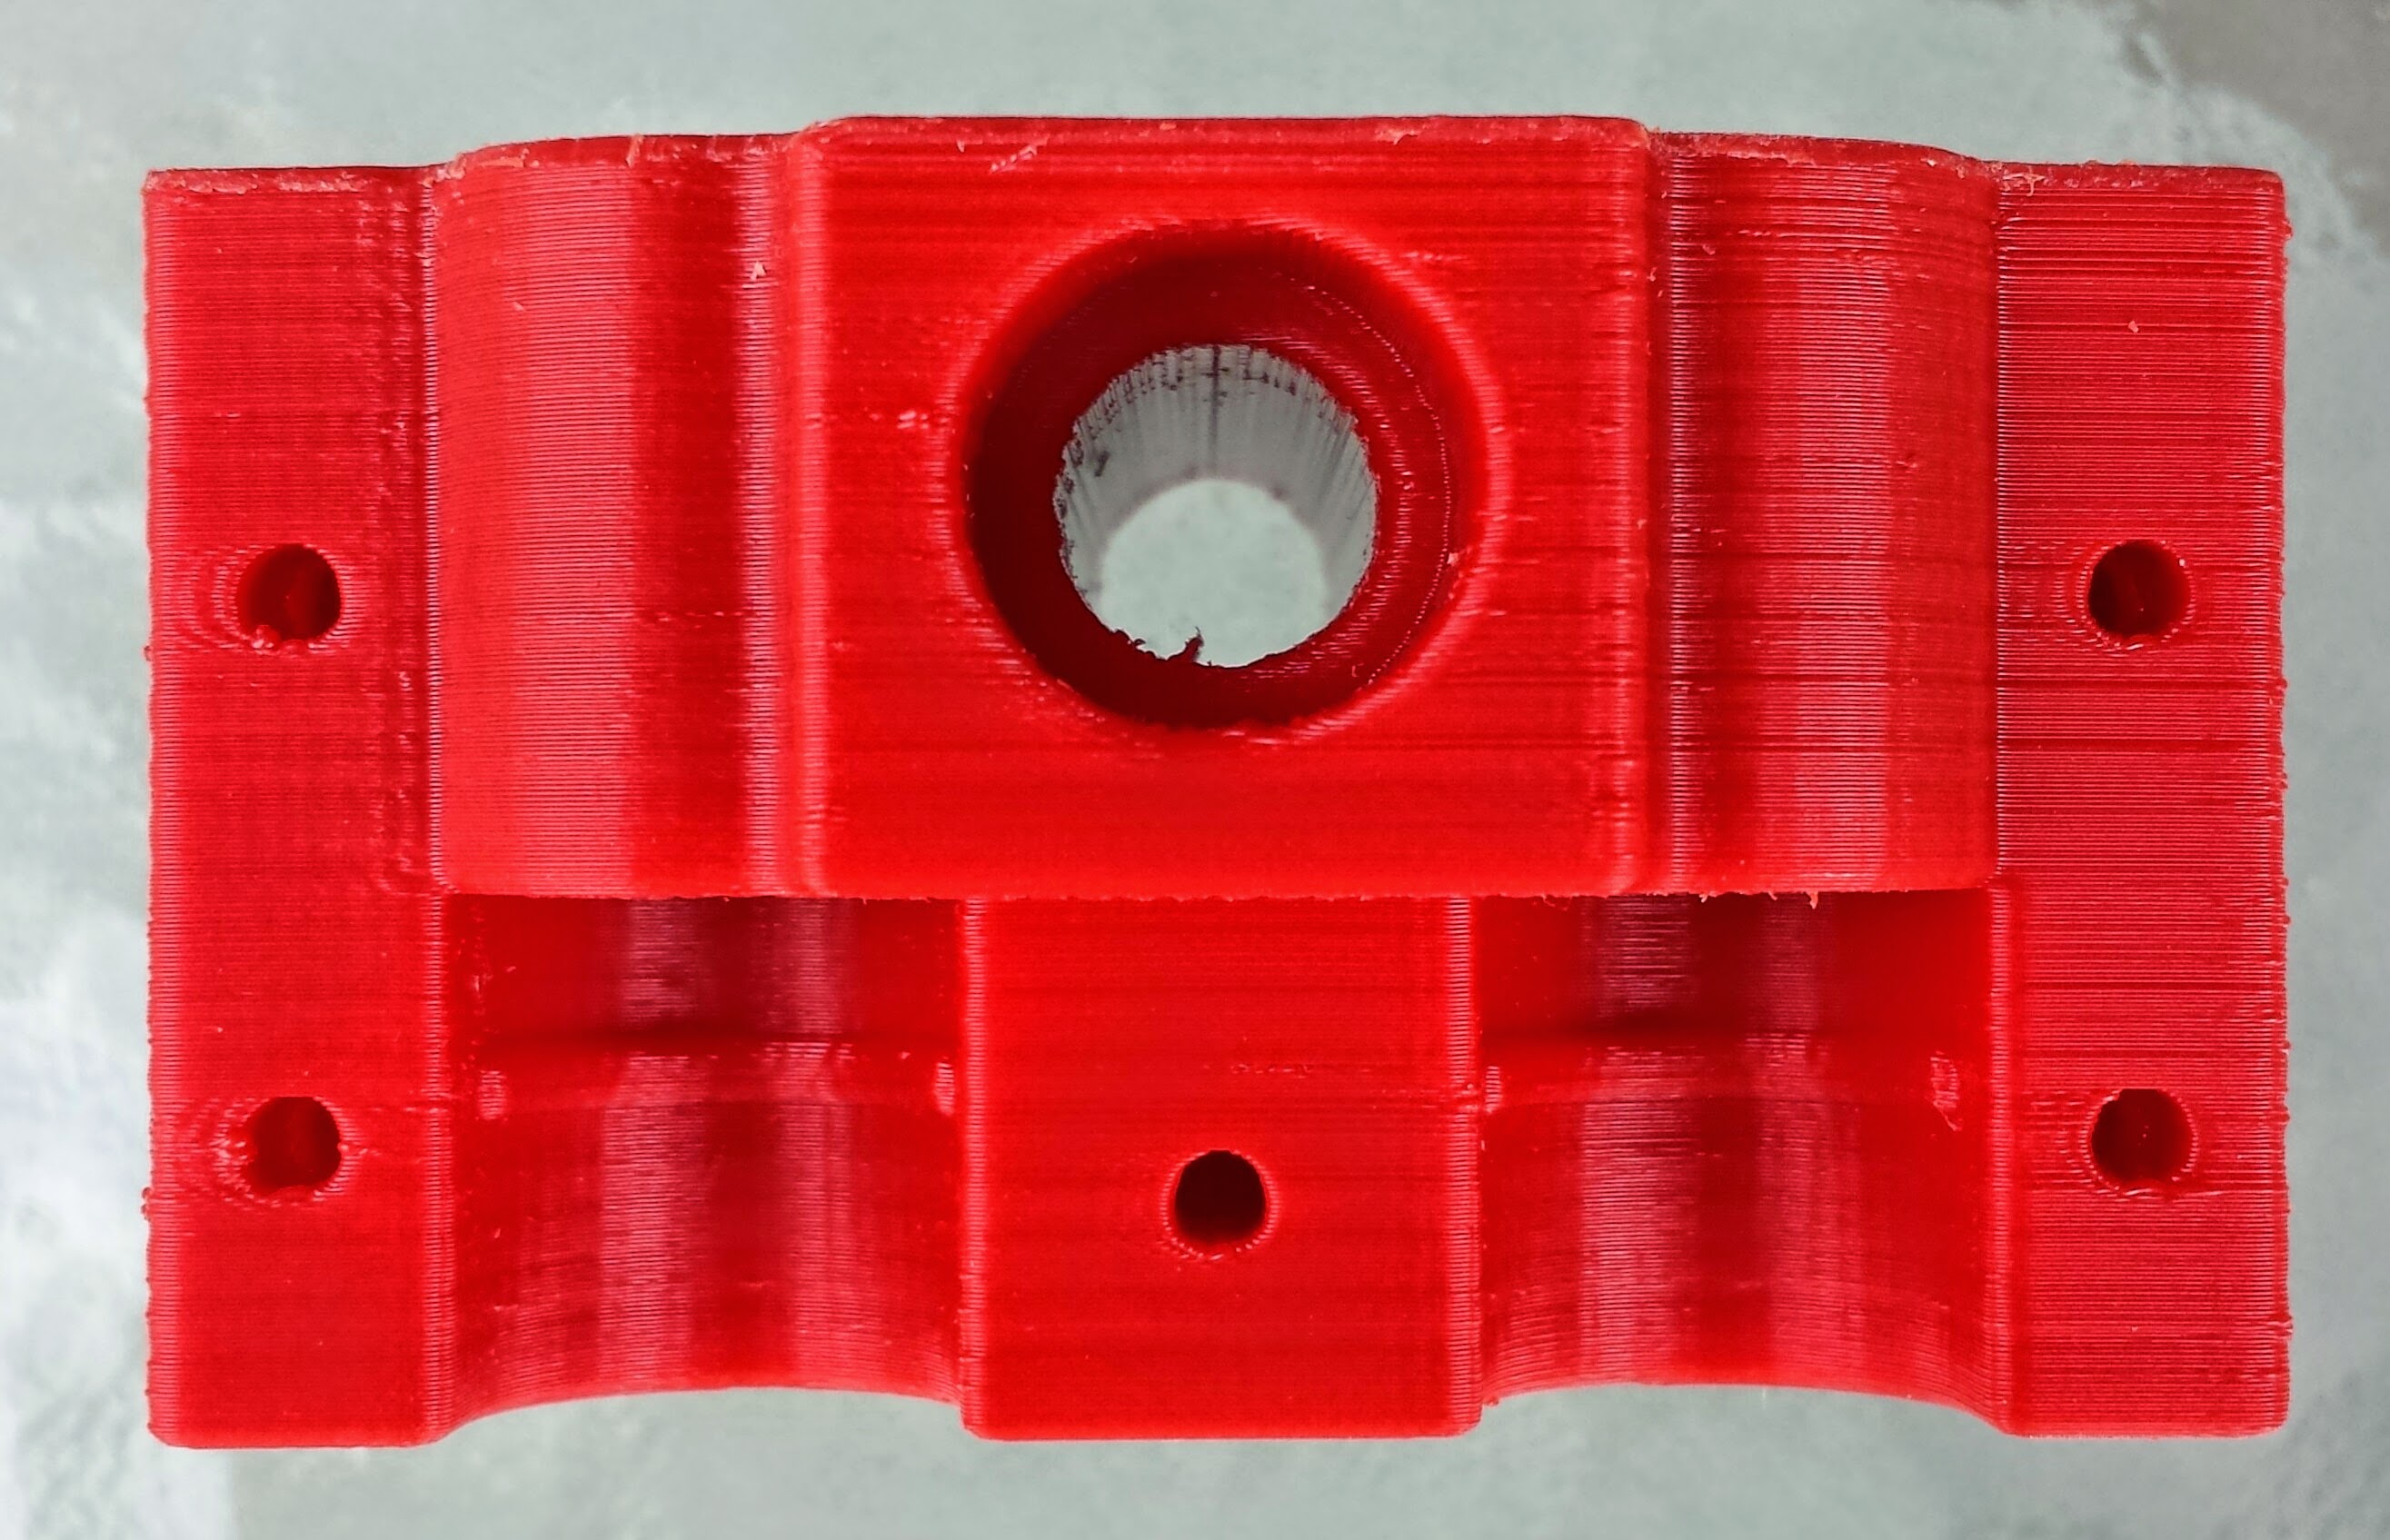
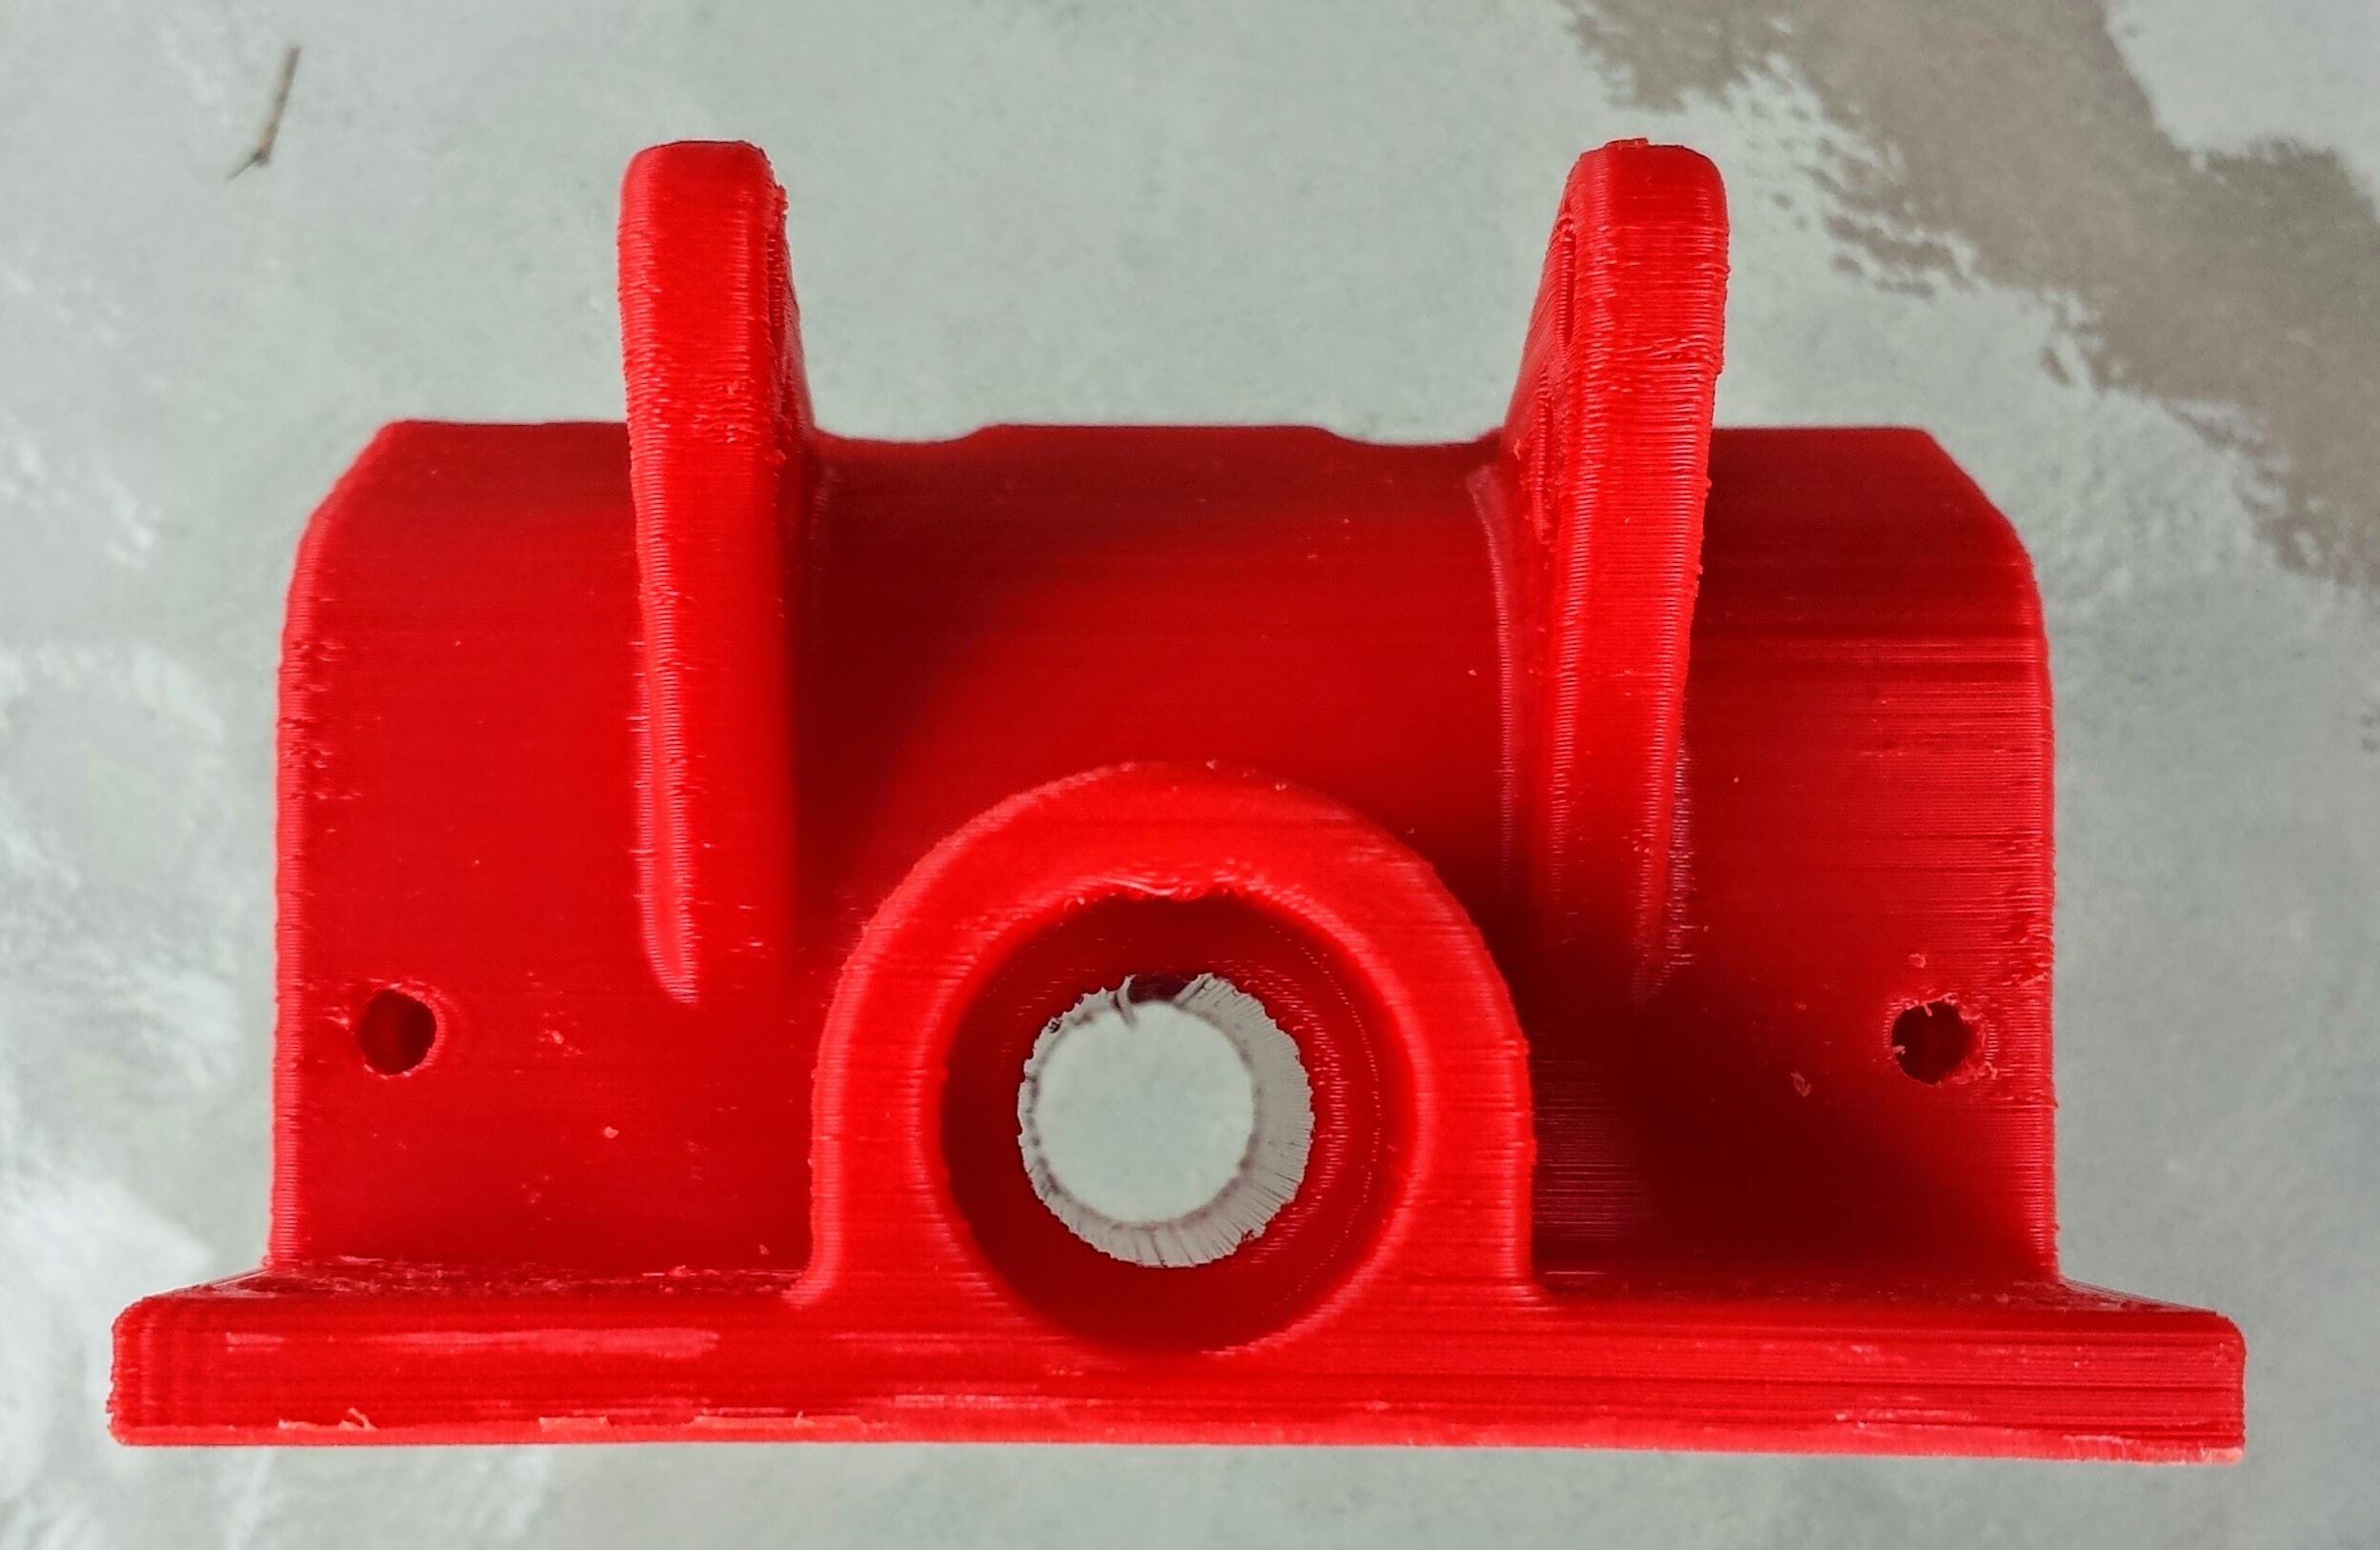
@Thomas_Sanladerer it is sandwiched between the clamp and the carriage. I made the rib you see in the carriage hotend cutout narrower than the step in the e3d mount. So I should be able to move them up and down enough to get them at the same height. I just hope the clamping force is enough that they stay put once adjusted. I may put a set screw in the clamp piece to help with this. When I test fit my e3d v5’s they seemed to be a good balance of fit and adjustability.
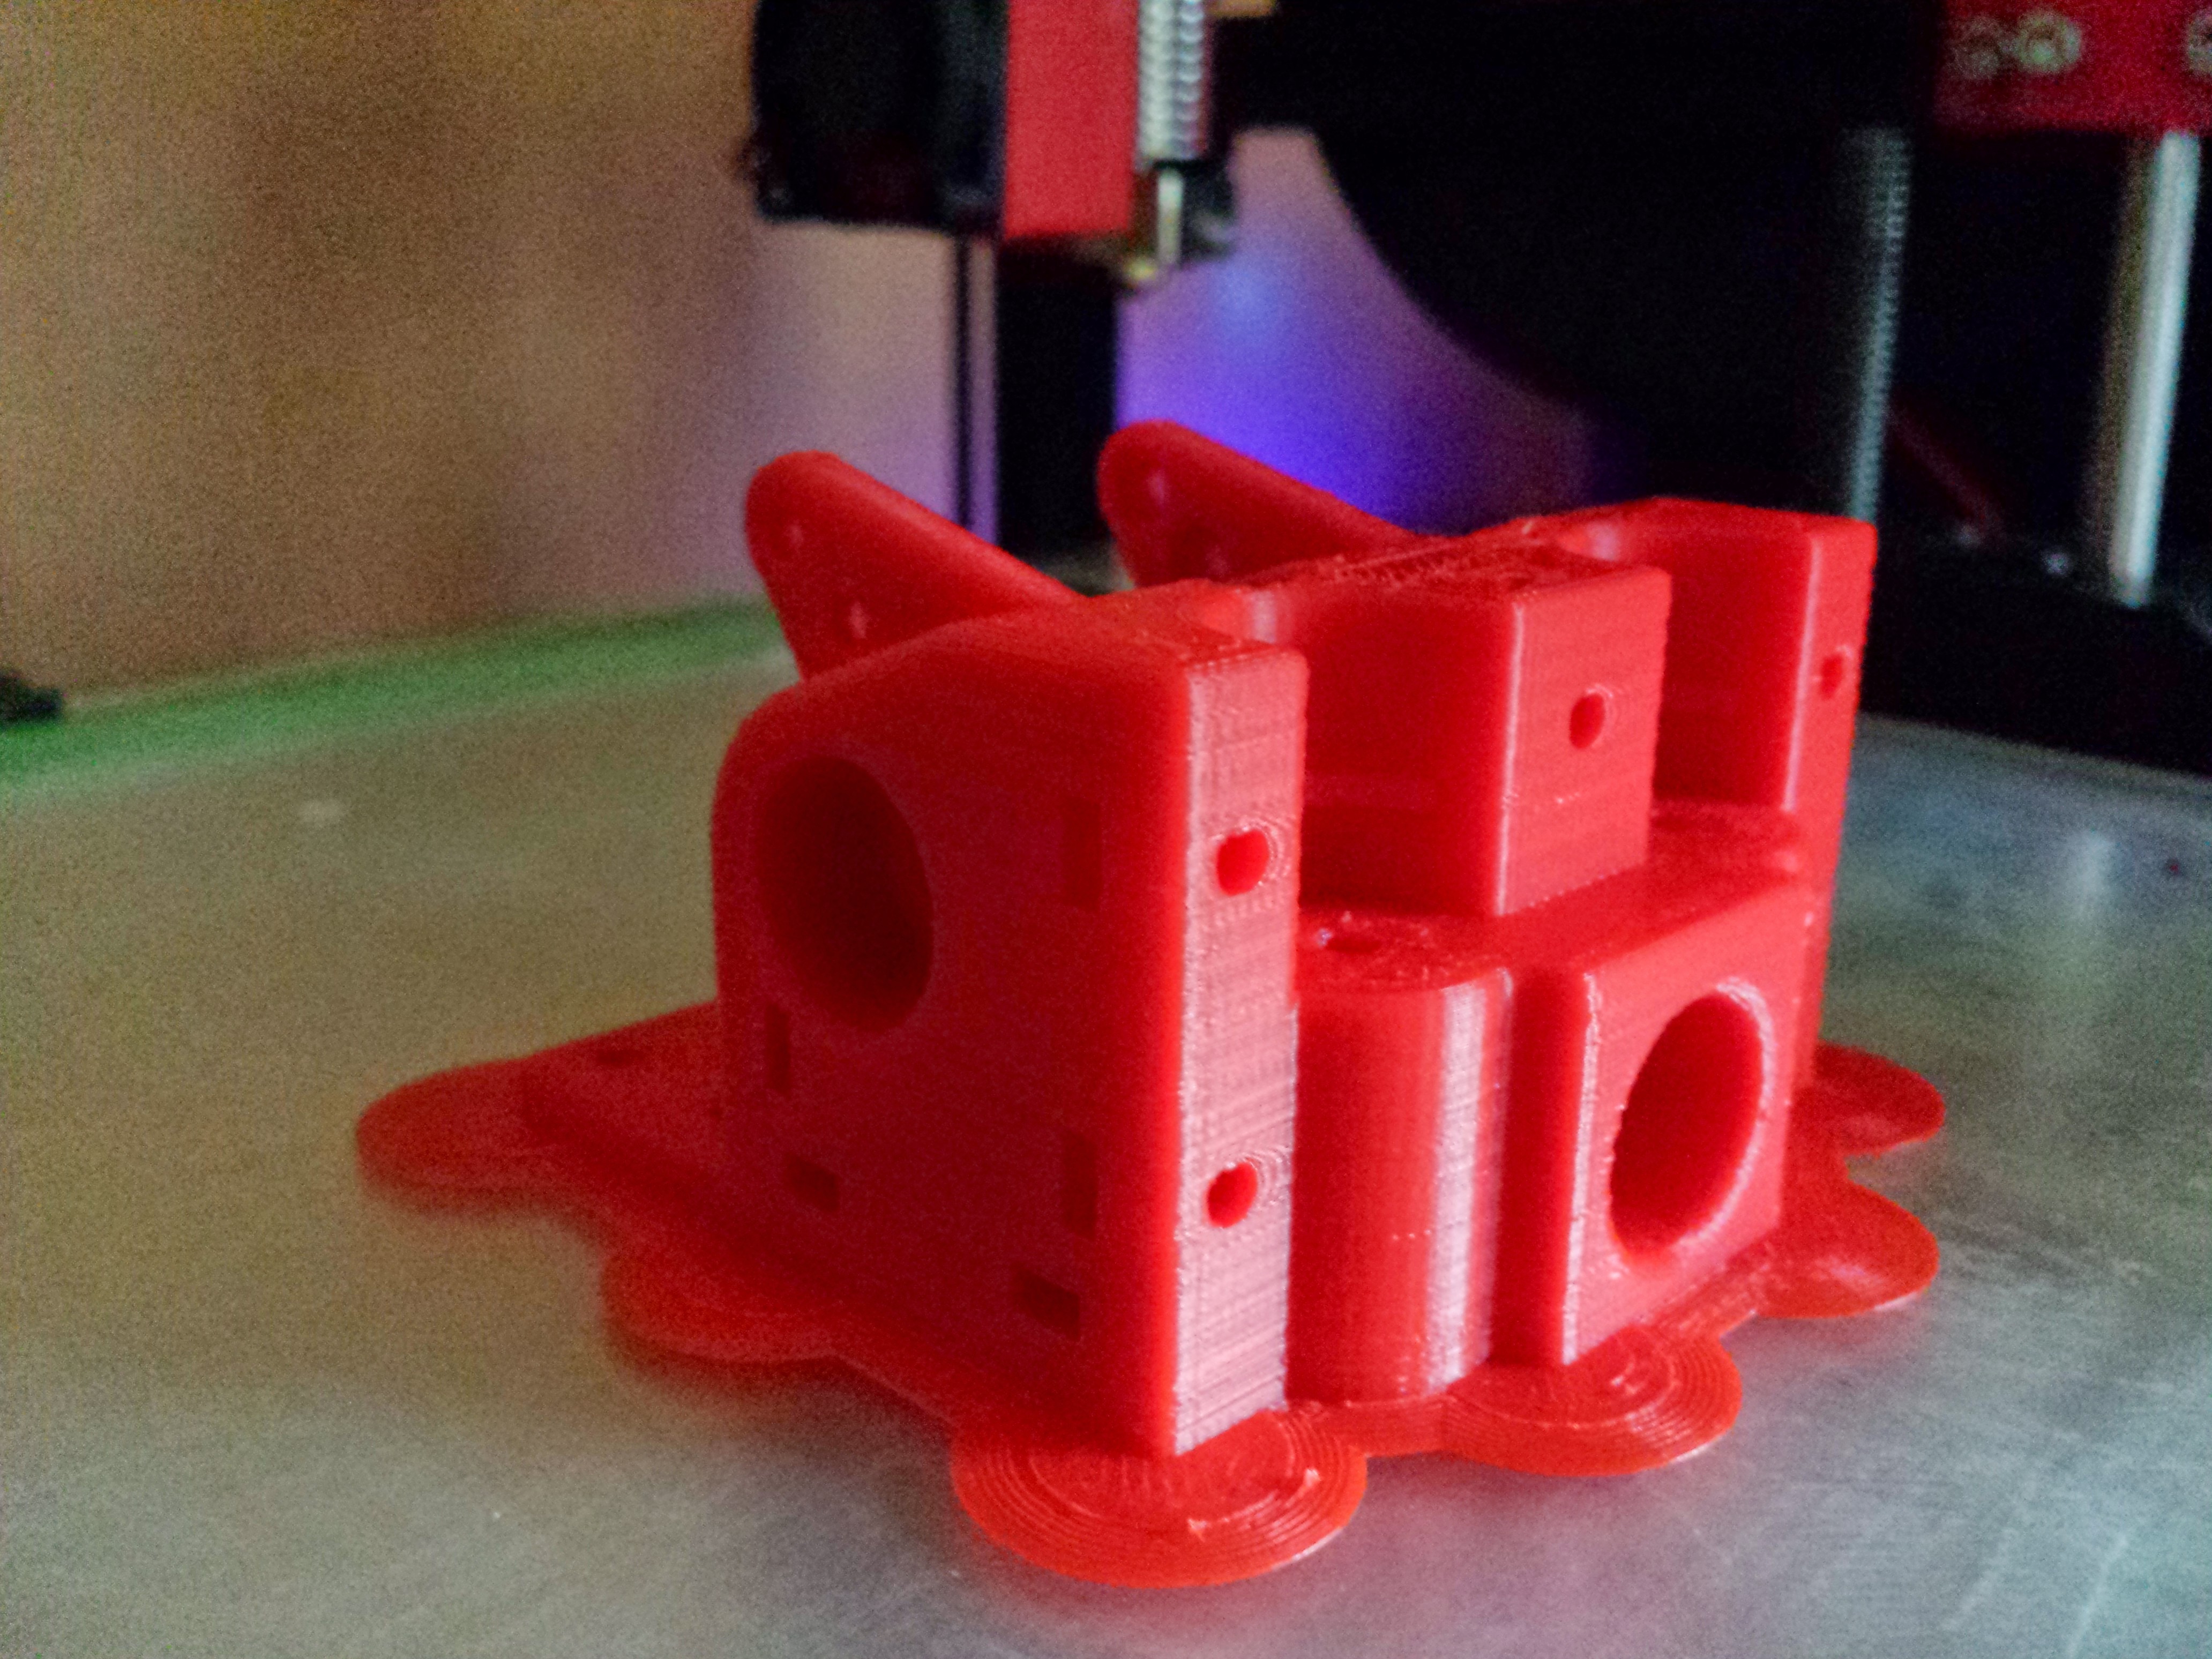
The only thing I cannot adjust is tilt along the z axis to get the hot end perfectly vertical. But there was no part warp so I should be OK. Once I switched to printing ABS on glass coated in 50/50 mix of water and Elmer’s craft bond glue I never really have warp any more. It lasts for weeks. I have the bed at 110c. And the prints pop off like magic when cool.
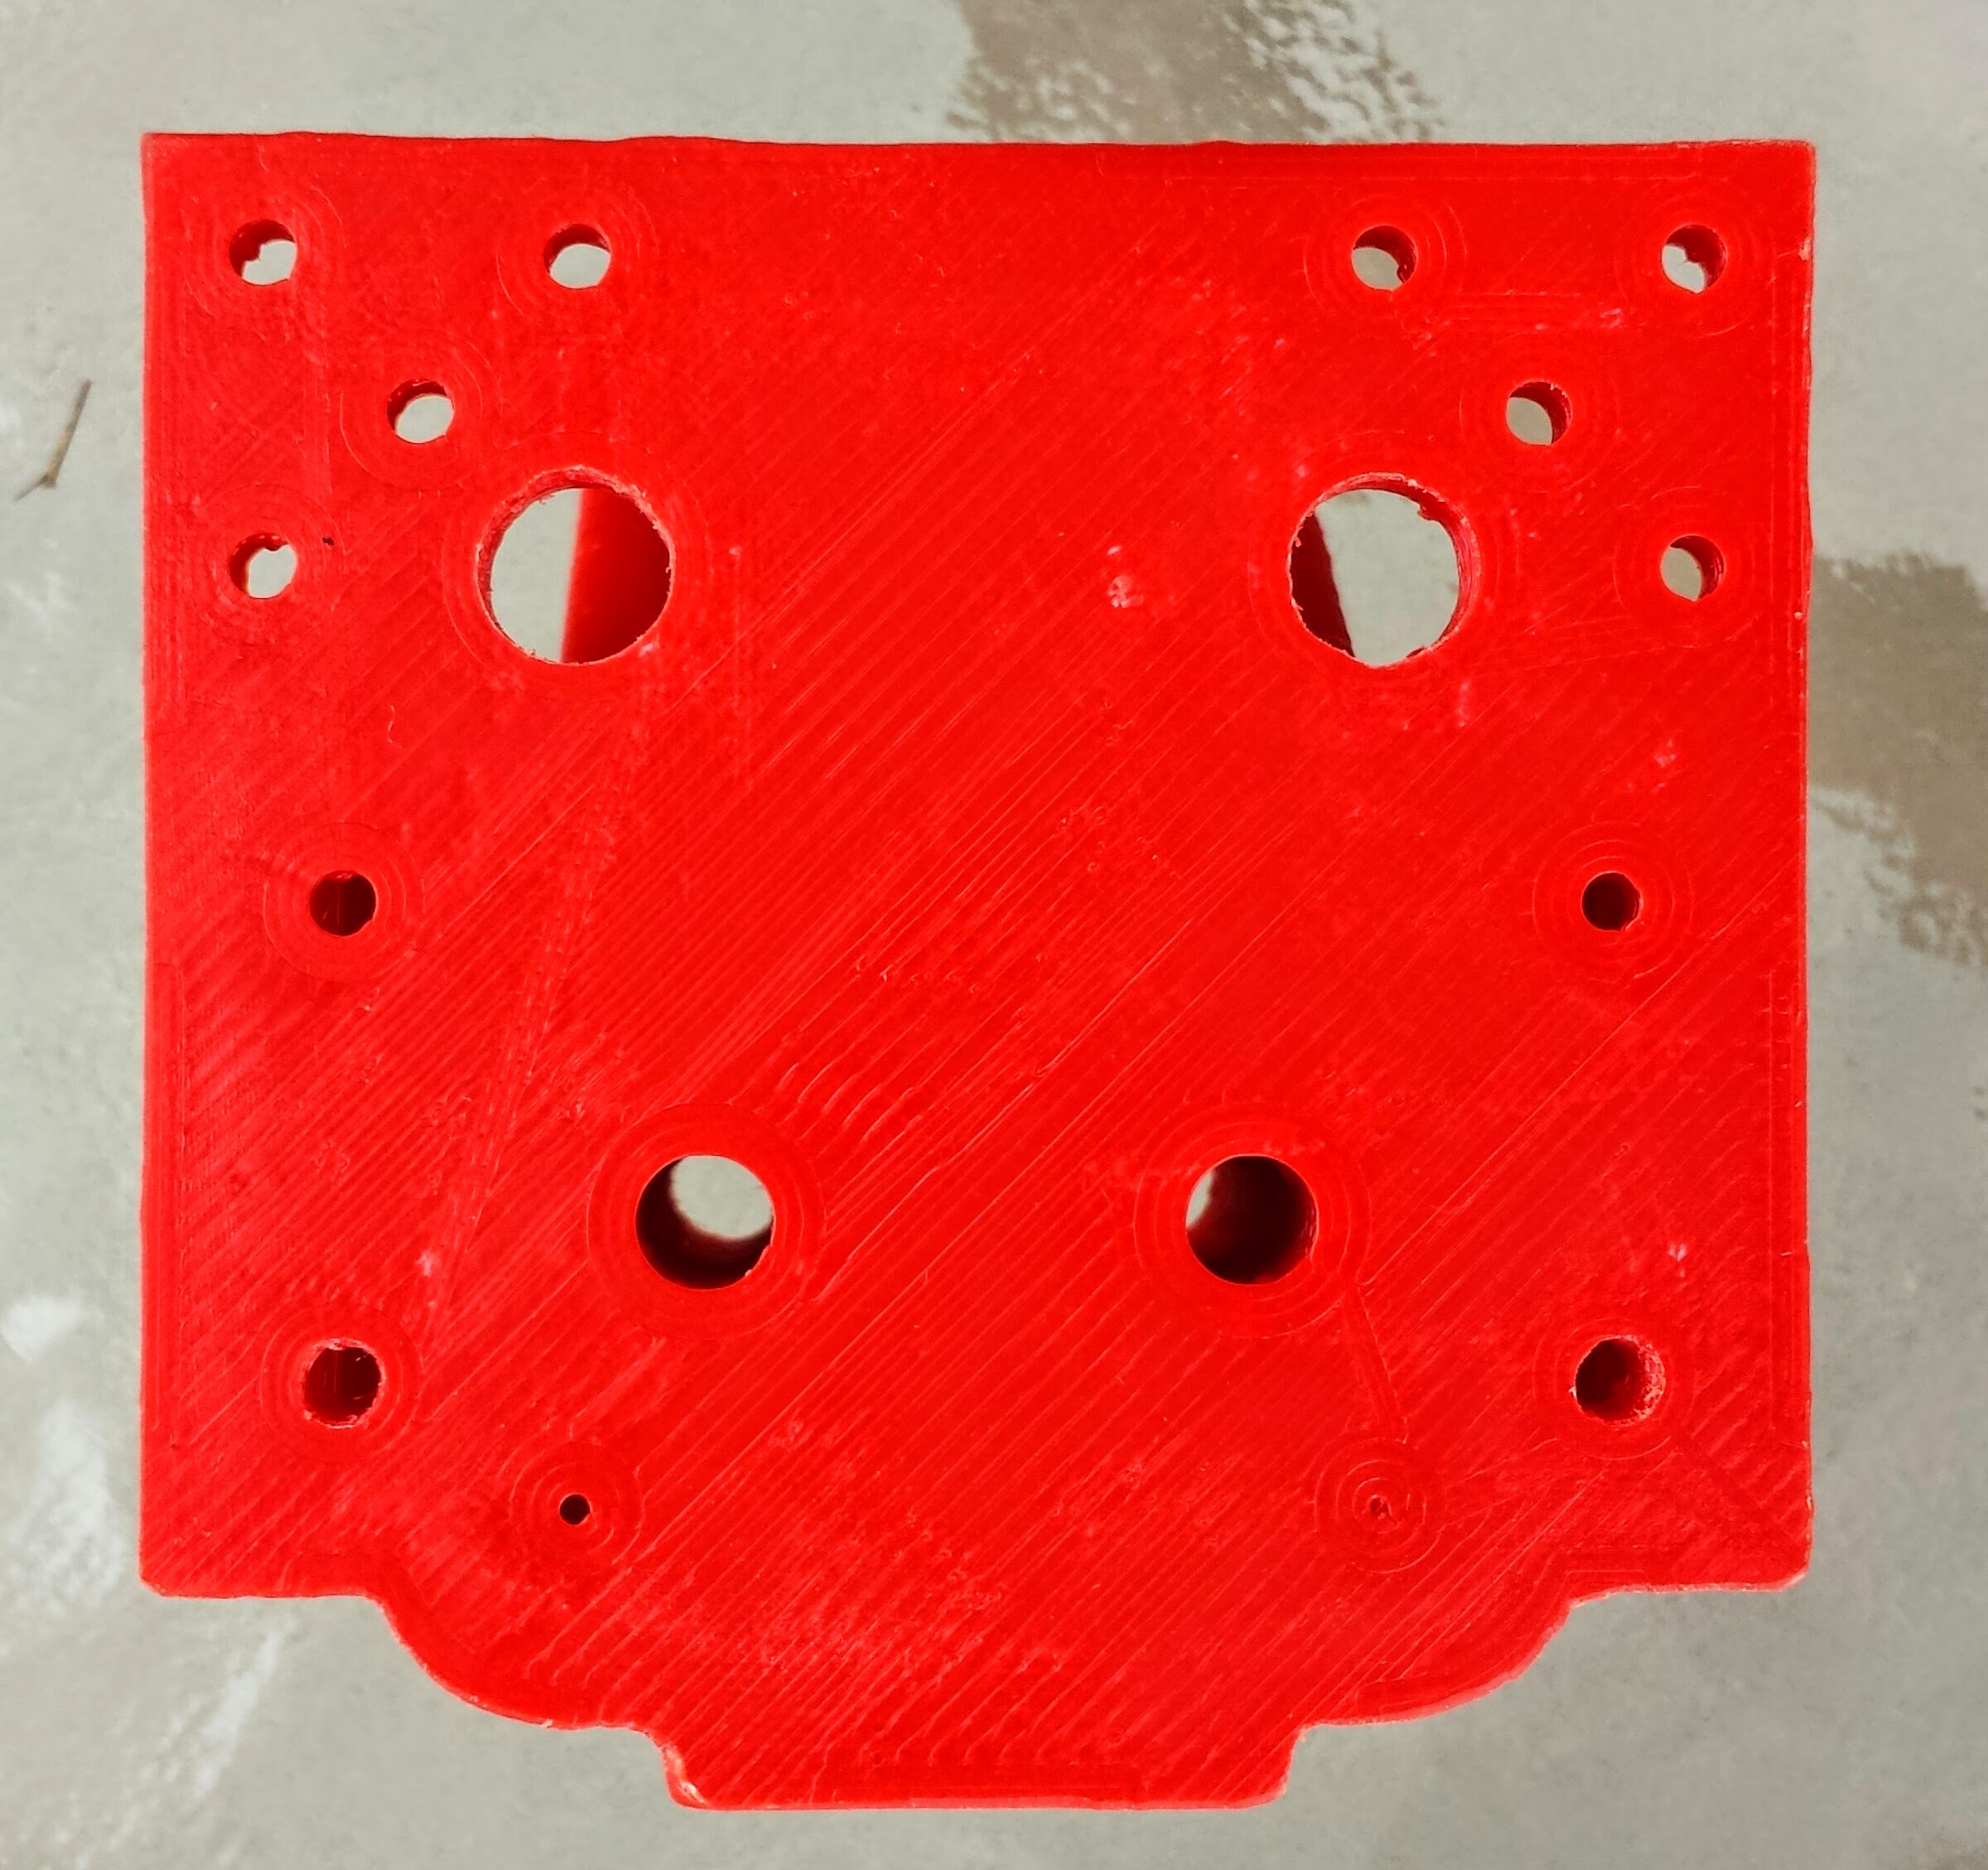
The circles nail down the edges and prevent curling.
@Shauki I manually add the circle pads in modeling to avoid corner lift. Only a few layers high. It avoids the surface area to contact area ratio that is the root cause of corner lift In my opinion. Then I do brim for good measure. I am kind of picky about abs warp.
I try and keep the nozzle as close as I can, but I don’t get too worked up about it. Look at the Ultimaker. The nozzle is way offset and that thing screams with no apparent issues.
Very cool ! well done ! I always wondered how to install a direct drive on X/Y drive like this… You’ve shown the way ! Will be looking into this in the near future…
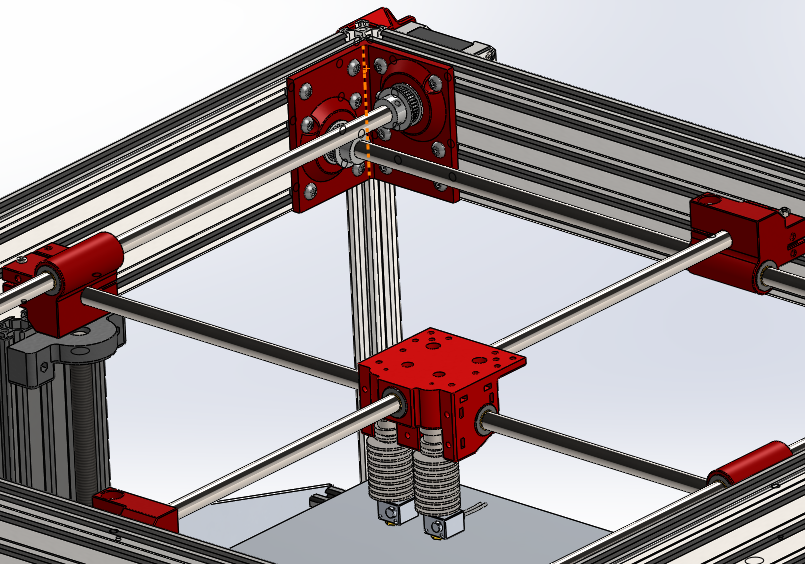
BTW, how is the machine running ? i’ve seen forums telling that you should have the X/Y cross member be smaller that the drives shafts… Yours are 10mm all around… ? Would like your feedback on this as i’m thinking of replacing my 6mm cross members with 8mm like the rest my drive system !
That looks really good! One thing I’ve been thinking of is having the heights be adjustable somehow to accommodate different hot ends. Maybe rotatable on 2 axes, too. Just ideas at this point.
@Jean-Francois_Coutur I think the only disadvantage of larger rods is the weight. But I hope the extra weight does not cause problems. I don’t have this printer running yet in the new configuration. It will probably be a few weeks. I am printing the parts and test fitting now. But I have not purchased the rods yet.
The Eustathios is running great which uses 8mm cross bars connected to the carriage. I was just worried about the larger span and occasional weight of a direct drive on my big printer so I upsized the rods. Time will tell if that was a wise choice.