Figure I should post something I have been testing for a few months now. My Eustathios has always printed great for me. But there was one problem… Every once and a while Z-ribbing would rear it’s head. Not bad by any means… but faintly there and it bugged me. Something to note is that my printer is a Eustathios 1.5V (not quite an original @Jason_Smith version, but not upgraded with the extra Z-height, 608 lead screw support bearings, and ball screws of the V2).
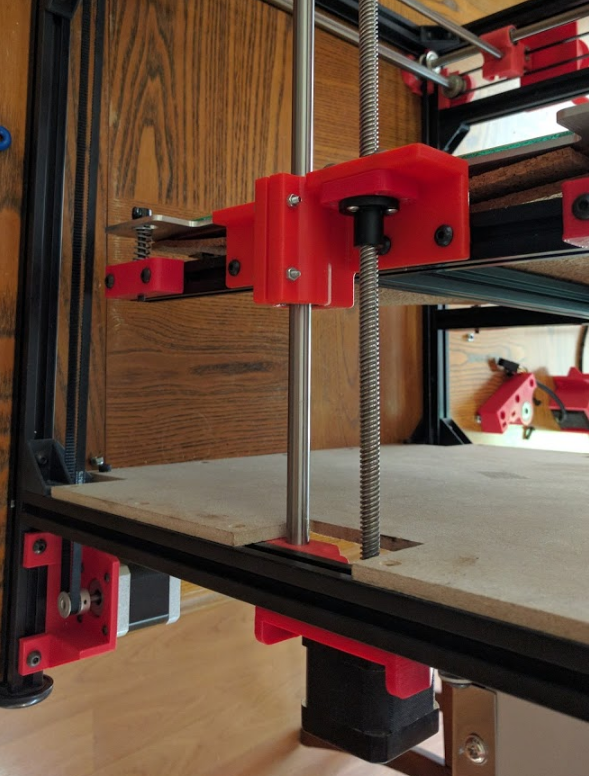
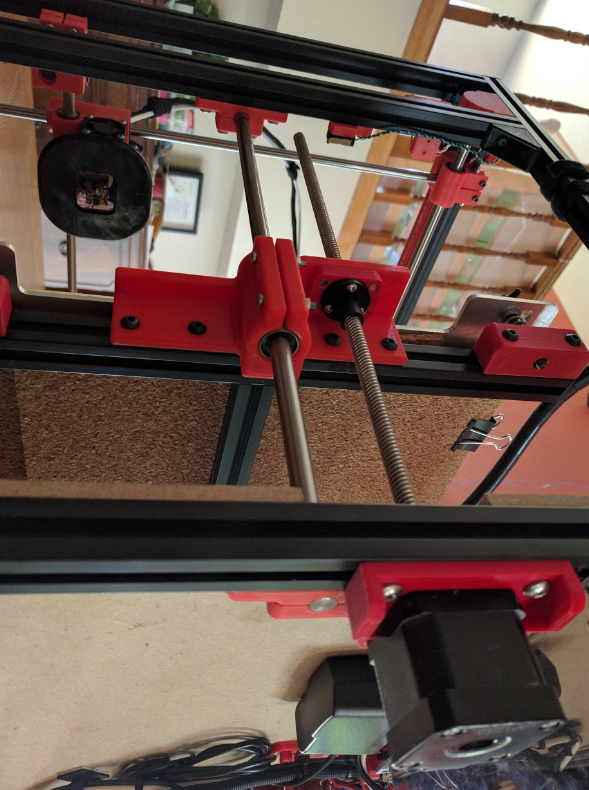
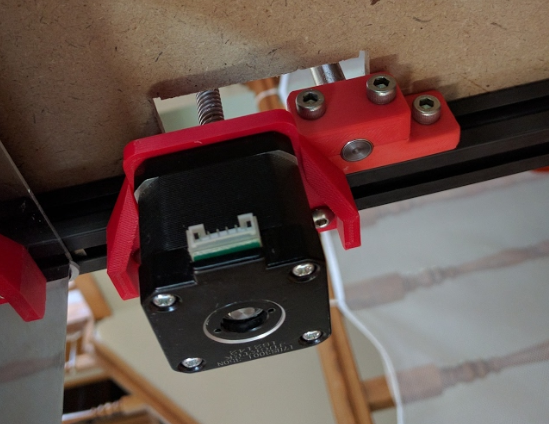
So I had these two Tr8x8 captive lead screw motors left over from working on the the Talos3D Spartan with @Alex_Lee . They were in a box and getting lonely, so I printed some quick brackets and threw them in. Figured it would be a fun test.
So here are my findings:
1.) These are fast. Much faster than I thought they would be. And so much faster than a 2mm pitch Misumi Lead Screws like I had. I have Z-hop enabled now on all my Eustathios prints and I love it. I haven’t had a nozzle catch since I installed them and that is a blessing. These style printers don’t like catching the nozzle because bushings used in the cross gantry will bind if side loaded too hard… which leads to the skipped steps.
2.) Z-ribbing is a thing of the past for me. No other changes to the system.
3.) They can be a pain. After the print completes my gcodes disables the motors. If I don’t re-enable the motor before removing a print it can cause the two motors to come out a sync, meaning I need to recalibrate.
4.) I have the two motors wired in parallel off one driver on my Azteeg X5 mini V1. The driver has no issue doing it, because to be honest the gear and screw reduction on Z means I don’t need to run the motors at high current to get the performance it needs.
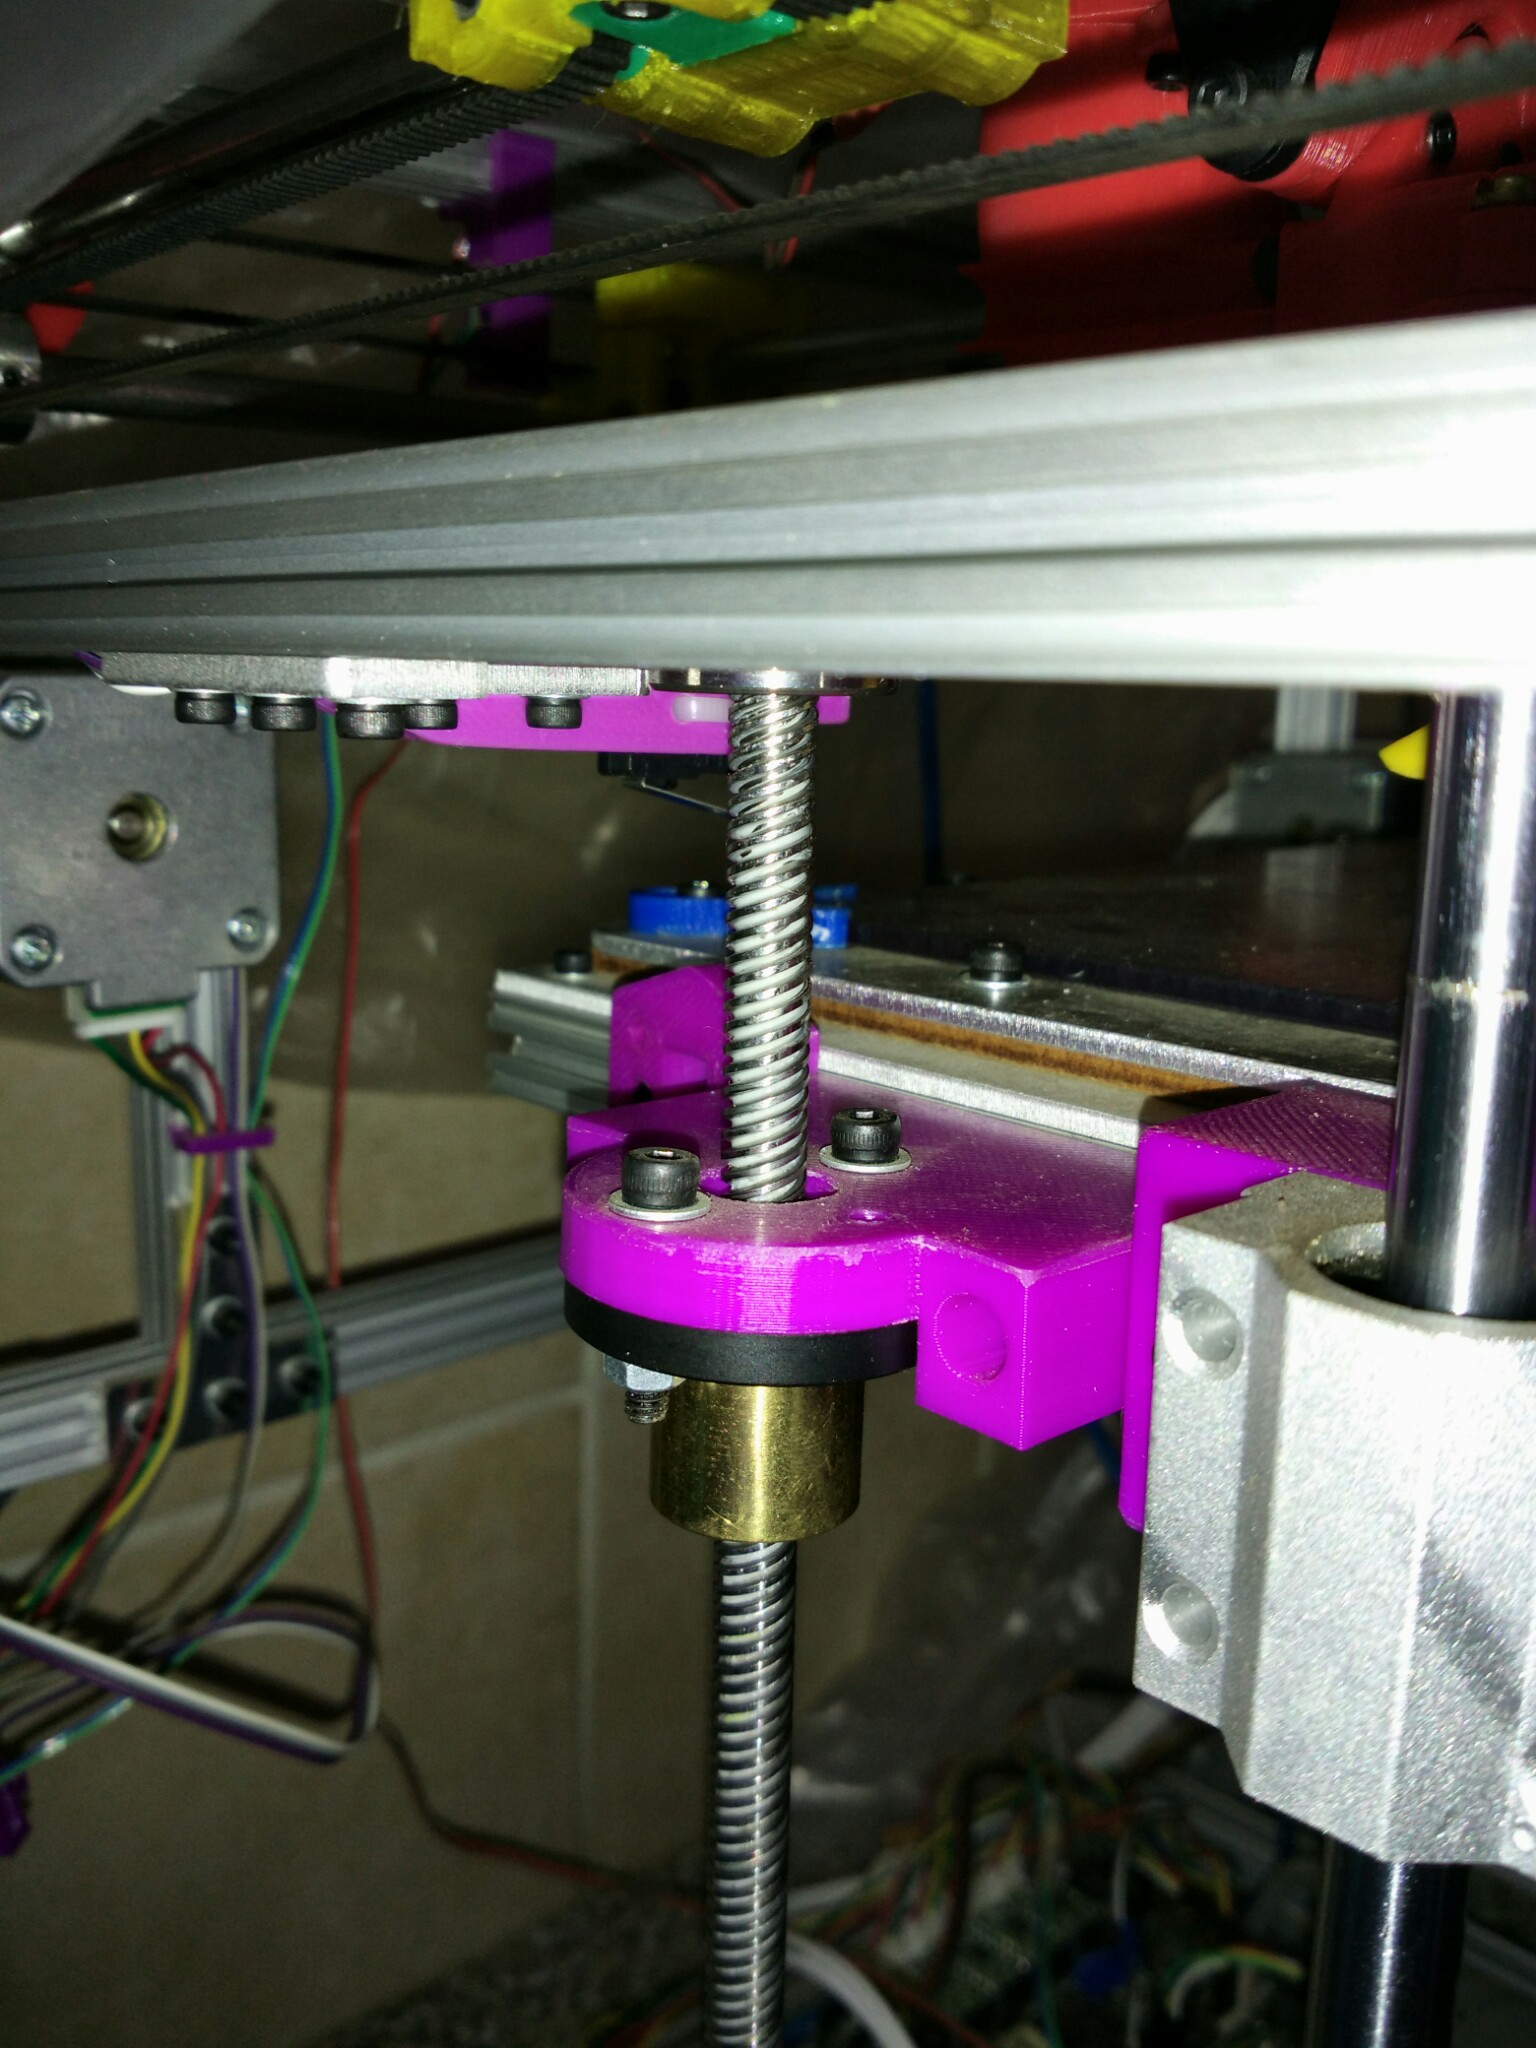
5.) It is nice to not have the belt through the center of the underbelly. But that is a double edged sword. Because it means as I said above the motors can get out of sync.
6.) I still think the belt synchronized method yields less leveling headache and better bed zero repetability. But the TR8x8 pitch yields faster Z and smoother Z-motion. Maybe a combo of the two. Keep the bed running on belt synchronized drive. But replace the lead screws or ball screws with a section of TR8x8 and some cheap acetal TR8x8 lead nuts.
Anyway thought I would share. Let me know what you guys think.
This is something like what I was going for on my original mod (before I knew anything). I like the idea of a synchronization belt, but I never figured out a good way to tighten it between the two motors.
FWIW, I don’t see much if any Z-ribbing with the v2 leadscrew design. My v1 does exhibit some Z ribbing, and it’s significant when compared to my v2. I use Z hop with my 2mm lead screws and never had an issue.
Hi Eric. I have the same setup on my printer. Yes, point number 3 can be a problem. I normally remove the build plate from the printer to prevent any issues.
@Erik_Scott Good to know the V2 fixes the problems. That was my design intent with the V2 changes. I bought some Ball Screws for the converstion to V2 (but shorter for the V1 frame locations). But there was a rough spot from the lathe chuck on the ball screw which caused a catch of the nut on the shaft. So I never installed them. I guess I should look at finally getting new ball screws and giving it a go.
@Eclsnowman again, I’m not using ball screws, just the standard misumi 2mm rods. I don’t have any intention to switch to ball screws. I’m more interested in switching out my XY 10mm bearings for graphite bearings from robotdigg. Oh, and fixing my melting PLA fan duct (and the whole carriage while I’m at it)
@Erik_Scott You have some great design skills. If you come up with an improved compact carriage, I will make it the default. Mine works well for me, but many do not like not being able to see the first layers. Myself I never even look at first layers anymore. I know it is dialed in. Just hit print and walk away. But many people are not there yet (or just like the watching).
@Eclsnowman I did make a modified version of your carriage with a clamp on the the top of the hotend rather than zip ties. Check out my onshape project. My big problem is that I printed the carriage and fin duct in PLA, and I think one of the bearings is a bit loose as well.
I’m tempted to make a more drastic modification and space the 2 8mm rods a bit further apart so that a can put 2 lm8luu bearings in the carriage and make it even more compact, like the ultimaker e3d carriage. But I have enough projects on my plate as it is, and the general design of your carriage works fine. I can still get under the fan duct with needle-nose pliers if I have to remove a few derpy pieces of plastic.
@Erik_Scott I want to get your carriage in the github under user modifications. Step or X_T and the STL’s would be all that would needed to be in the github. Along with maybe some pictures and a text document with any info and a link to the Onshape. I think having it in the Github would yield more traffic and usage of the parts.
Check your Google docs spreadsheet for the link. I’m at work right now so I can’t download the files myself at the moment. I’ll see what I can do this weekend.
Very interesting topic. I’ve recently redone mine (posted here) and have great results with the exception of uneven Z layers. The quality there isn’t what I would expect. I do have the ballscrews in the machine from the beginning (after @Walter_Hsiao s modifications but with machined 8mm ends). This basically works great and I can’t imagine having the Z difficulties from there. I still have to get my extrusion fixed (think I have some insufficient cooling issues in the E3Dv6) and if the problems don’t go away then I will have a closer look at the Z axis.
Either way: The lead-screw motors you are now using, @Eclsnowman ) are the ones built in to the Prusa i3 Mk2 that I do have for some months now and they deliver awesome performance. Definitely a good choice.
This is what I was planning on doing. I have dual TR8*8 in my square tubing corexy and I found that they could go out of sync requiring some tweaking but they haven’t given me many issues for a while. My main issue was giving the Z motors enough power from the stepper driver to stop one of the motors from skipping steps when micro stepping to Z=0. I ended up going to a DRV8825 driver instead of the A4988.