Drilling acrylic

I frequently fabricate acrylic in my shop. My hot wire bending tool is one of my most used shop-made tools.

I have never been satisfied with drilling acrylic and continued to read online articles and “try” different techniques. Recently I made a breakthrough (pun intended) in the drilling tools used for acrylic.


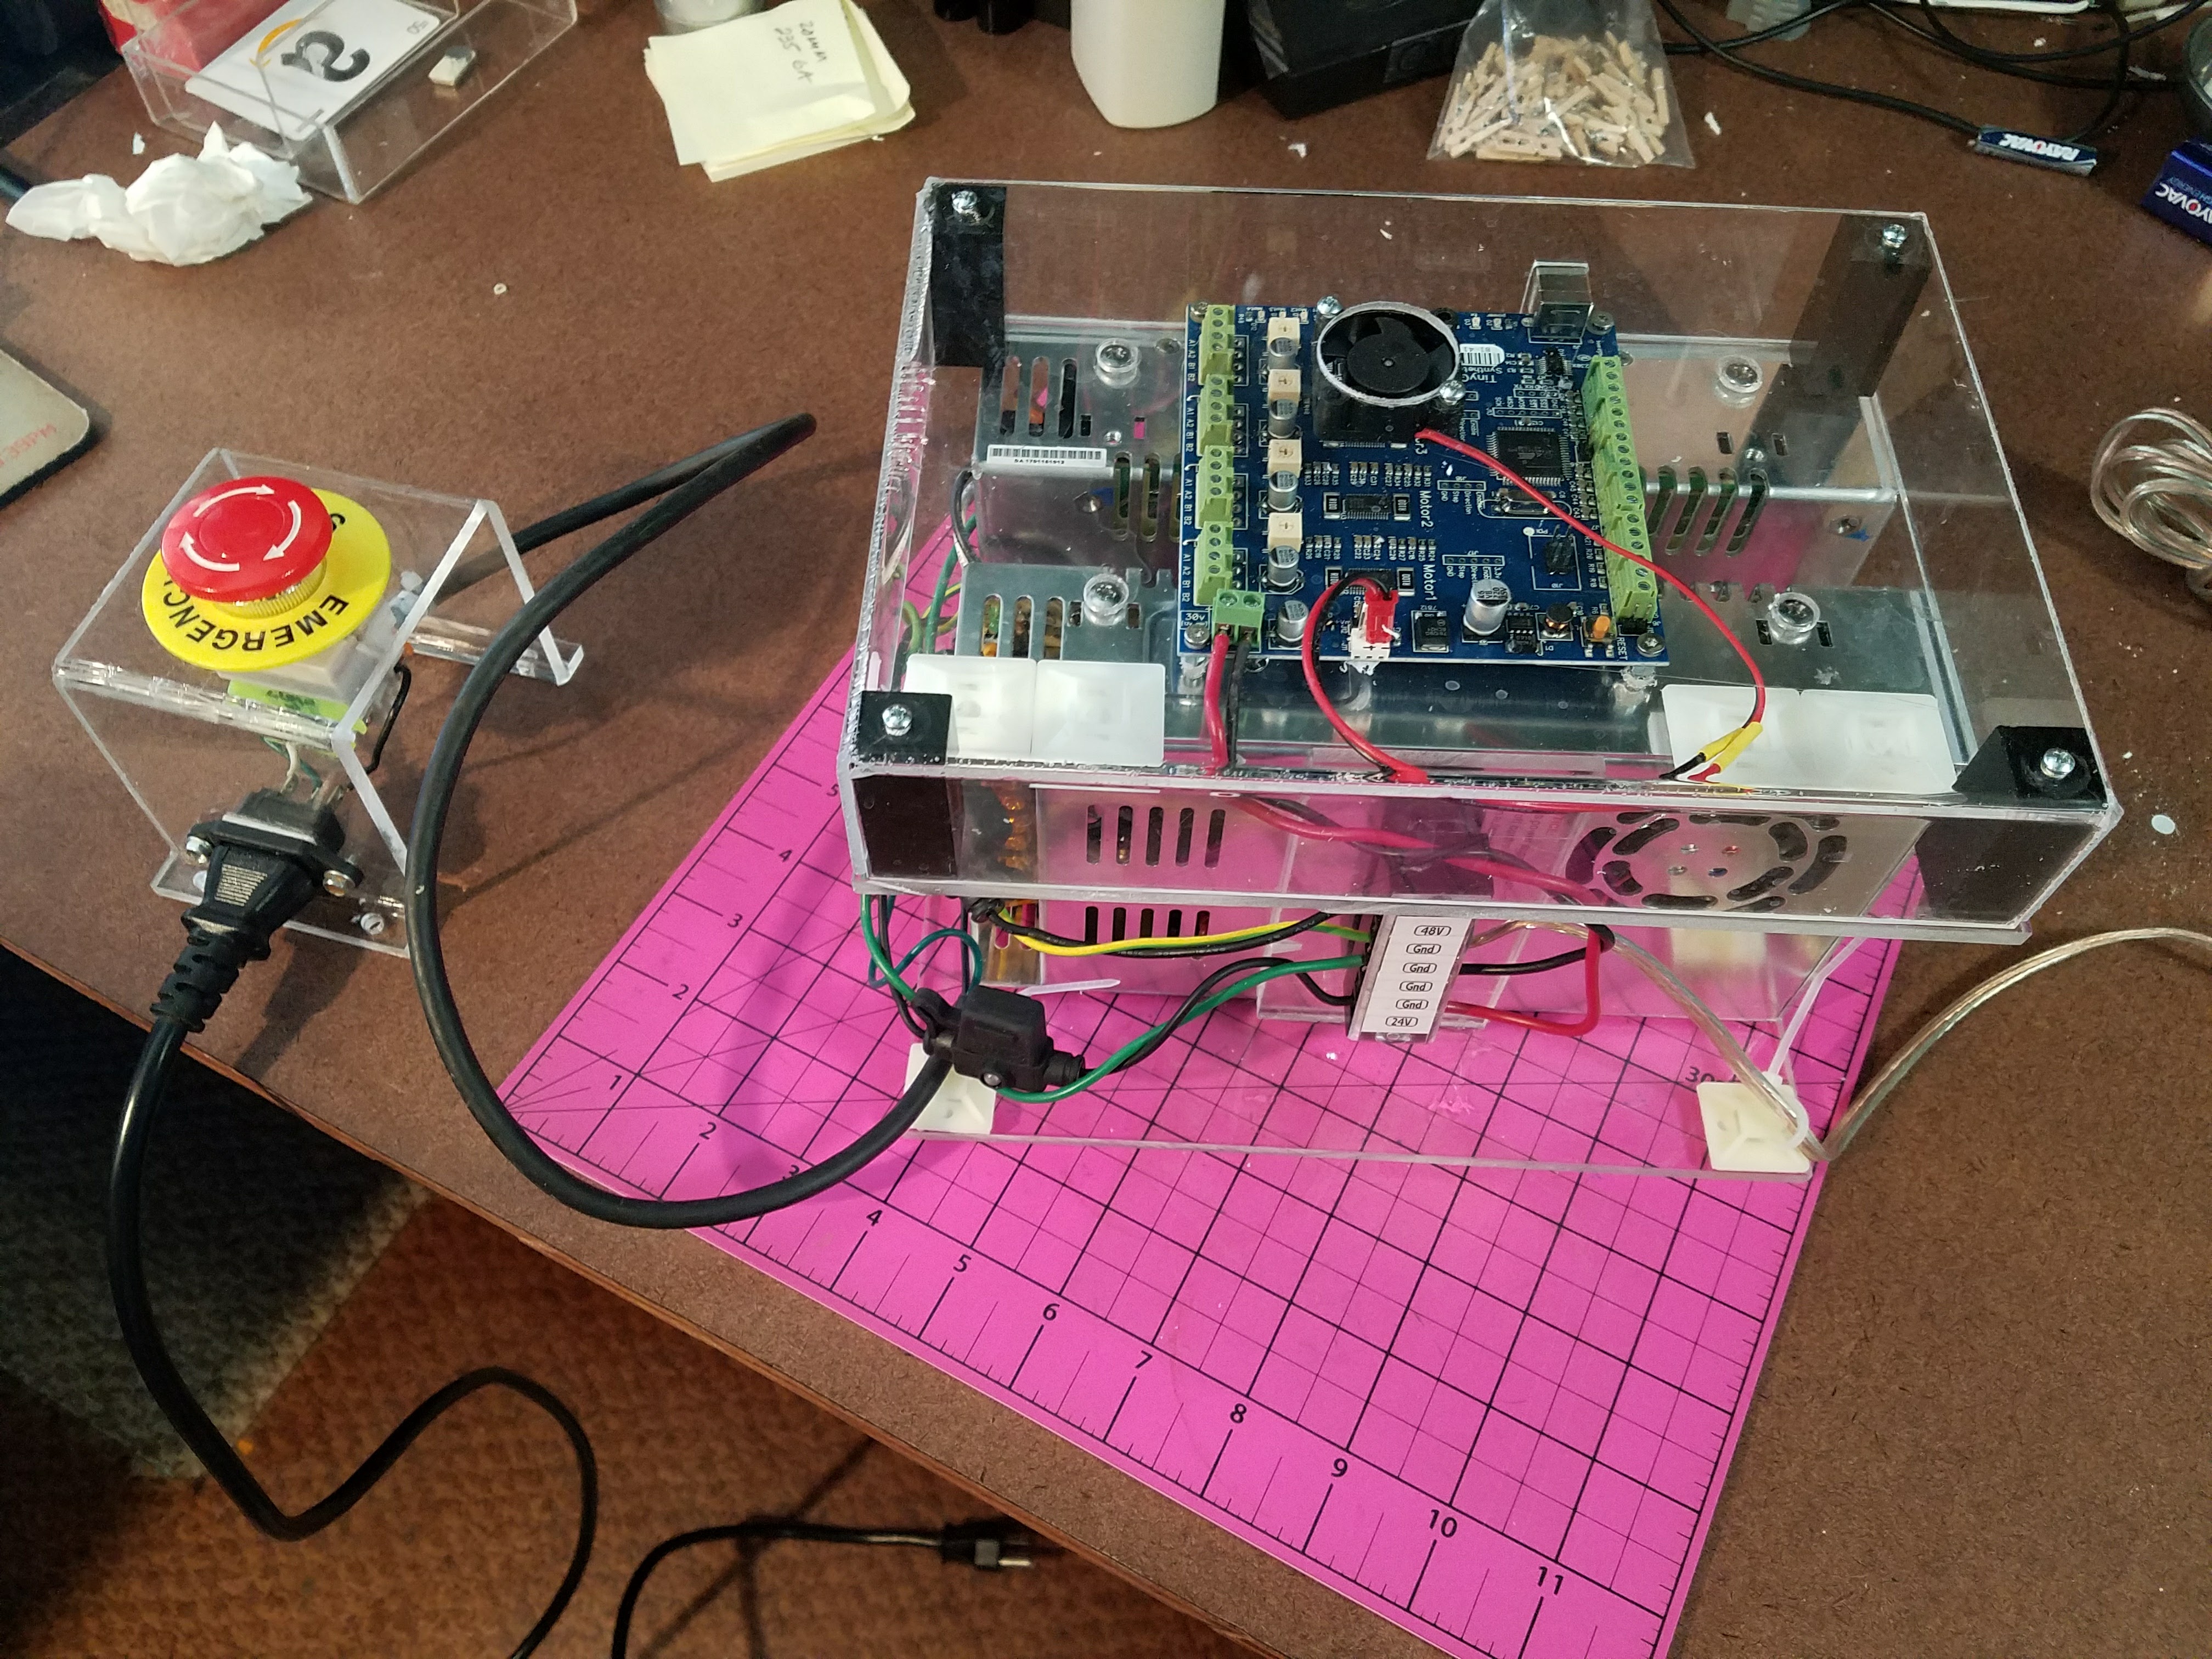
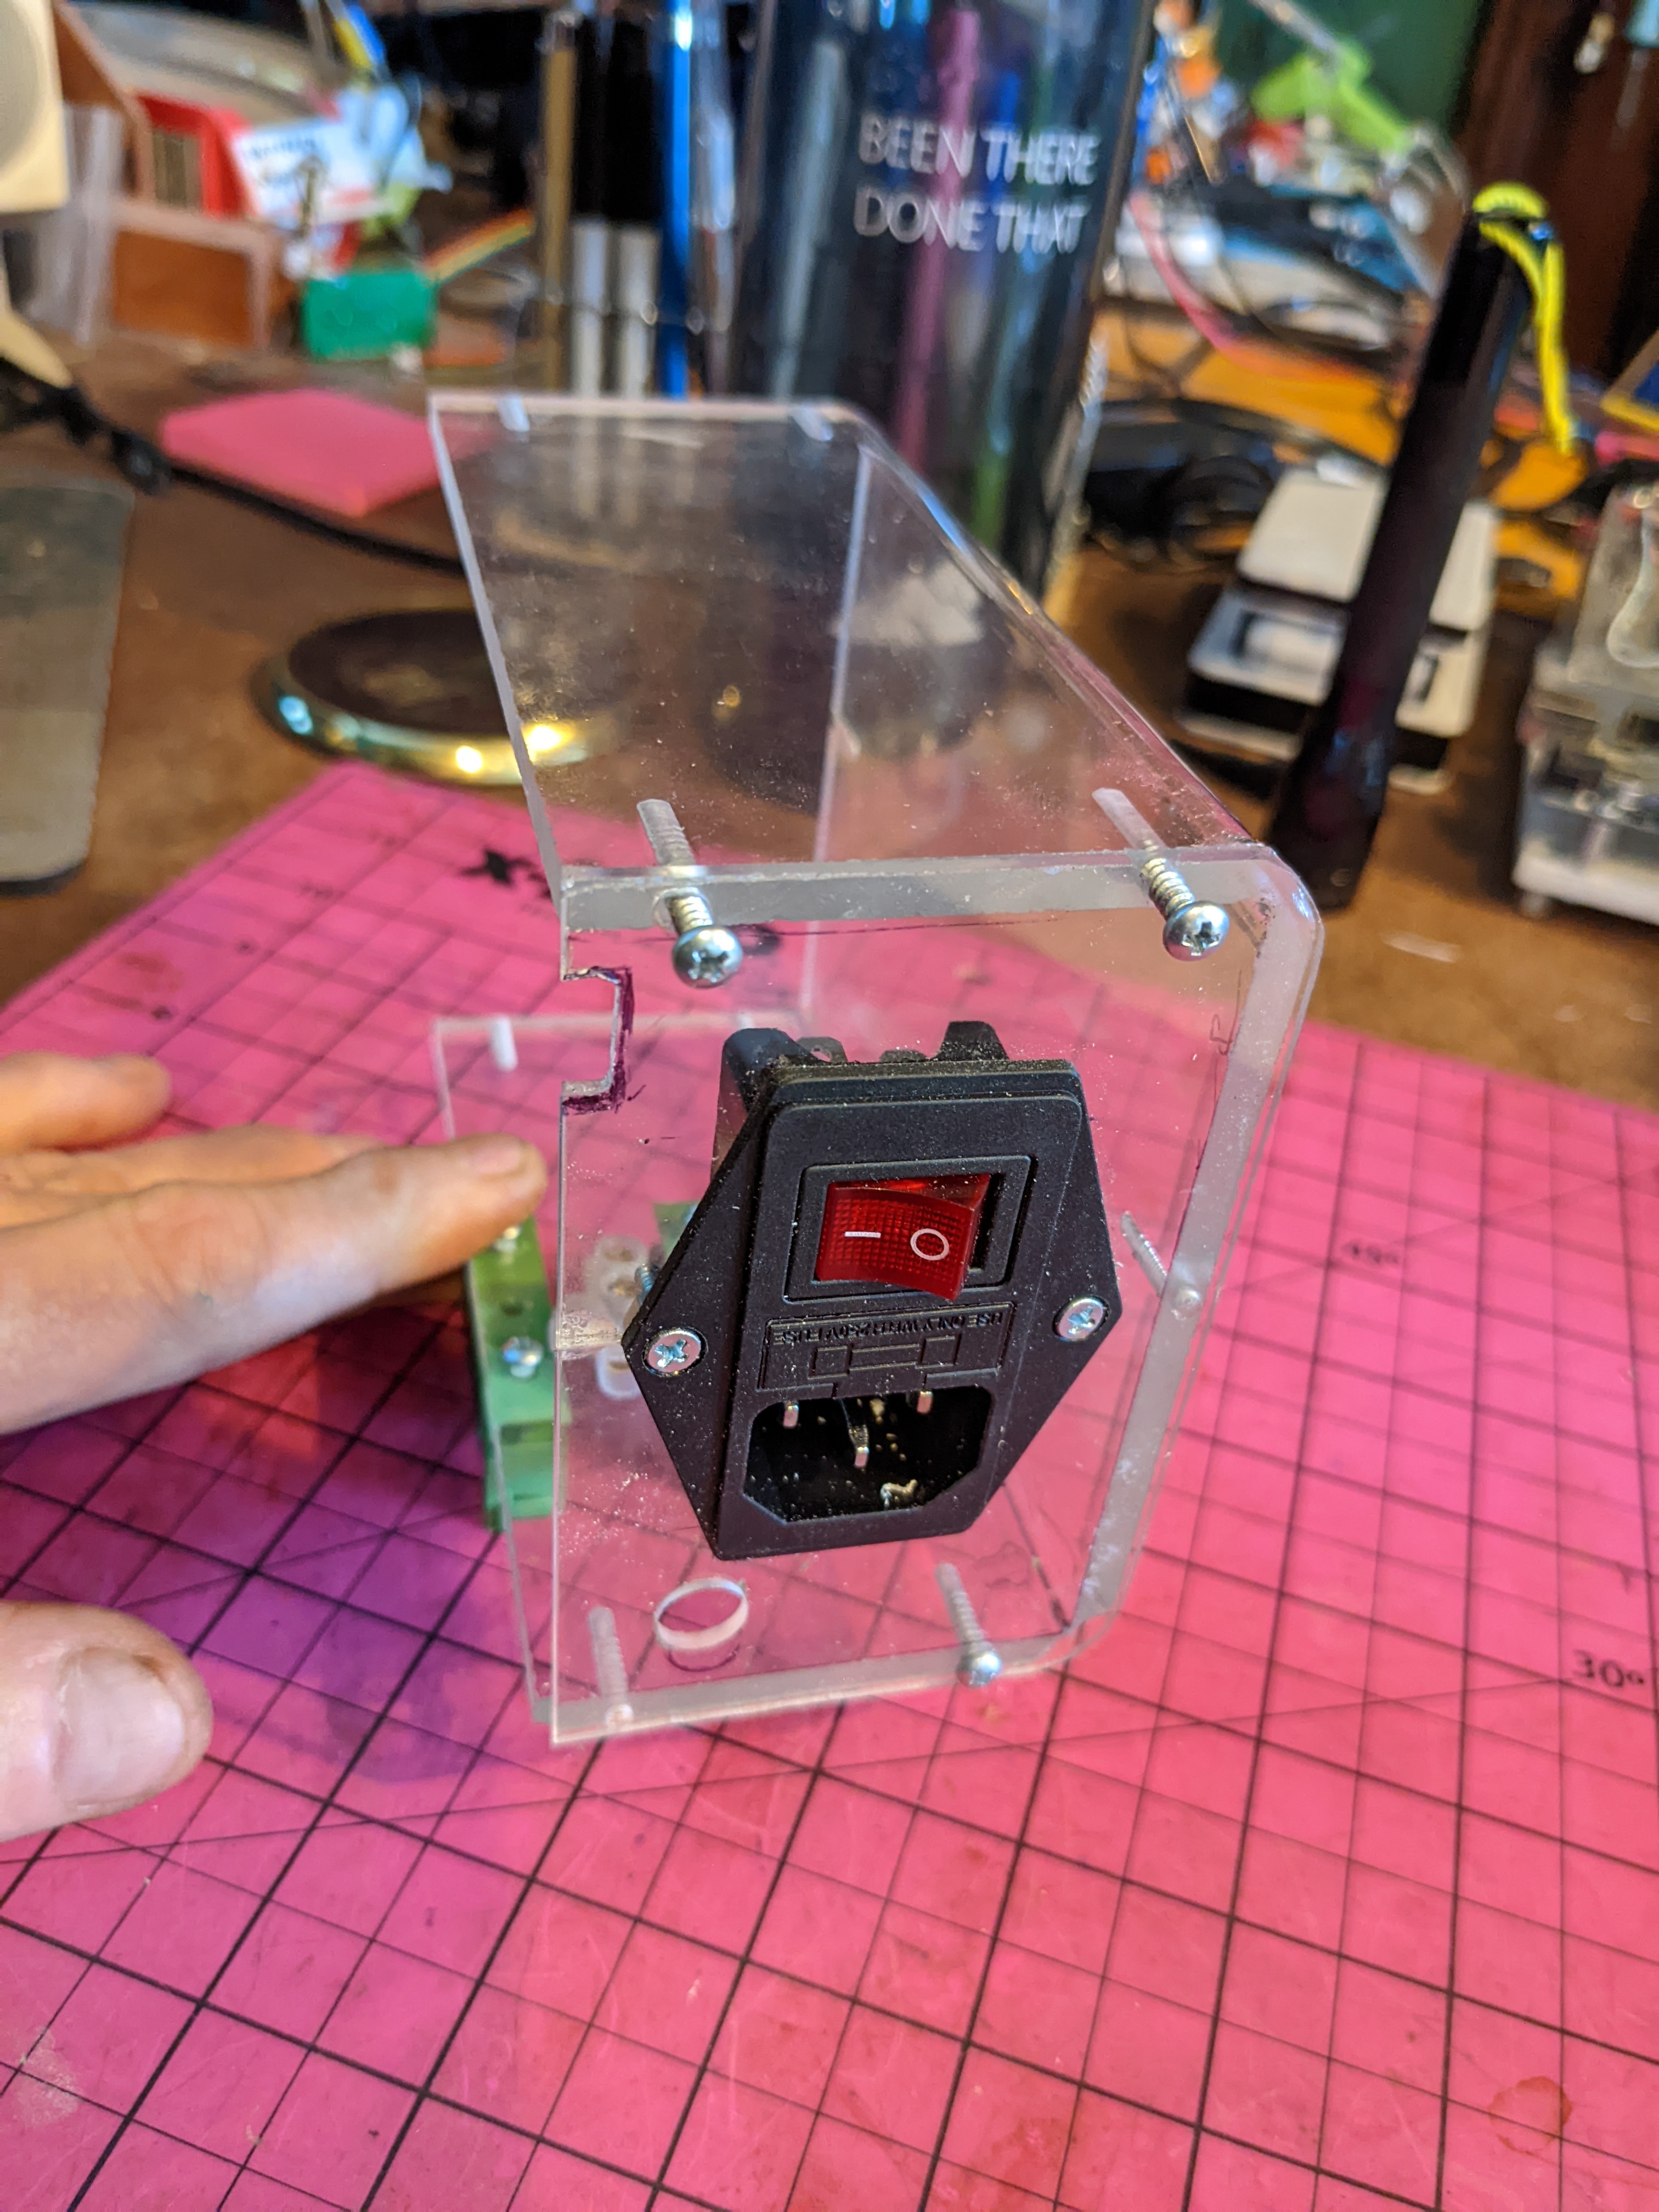
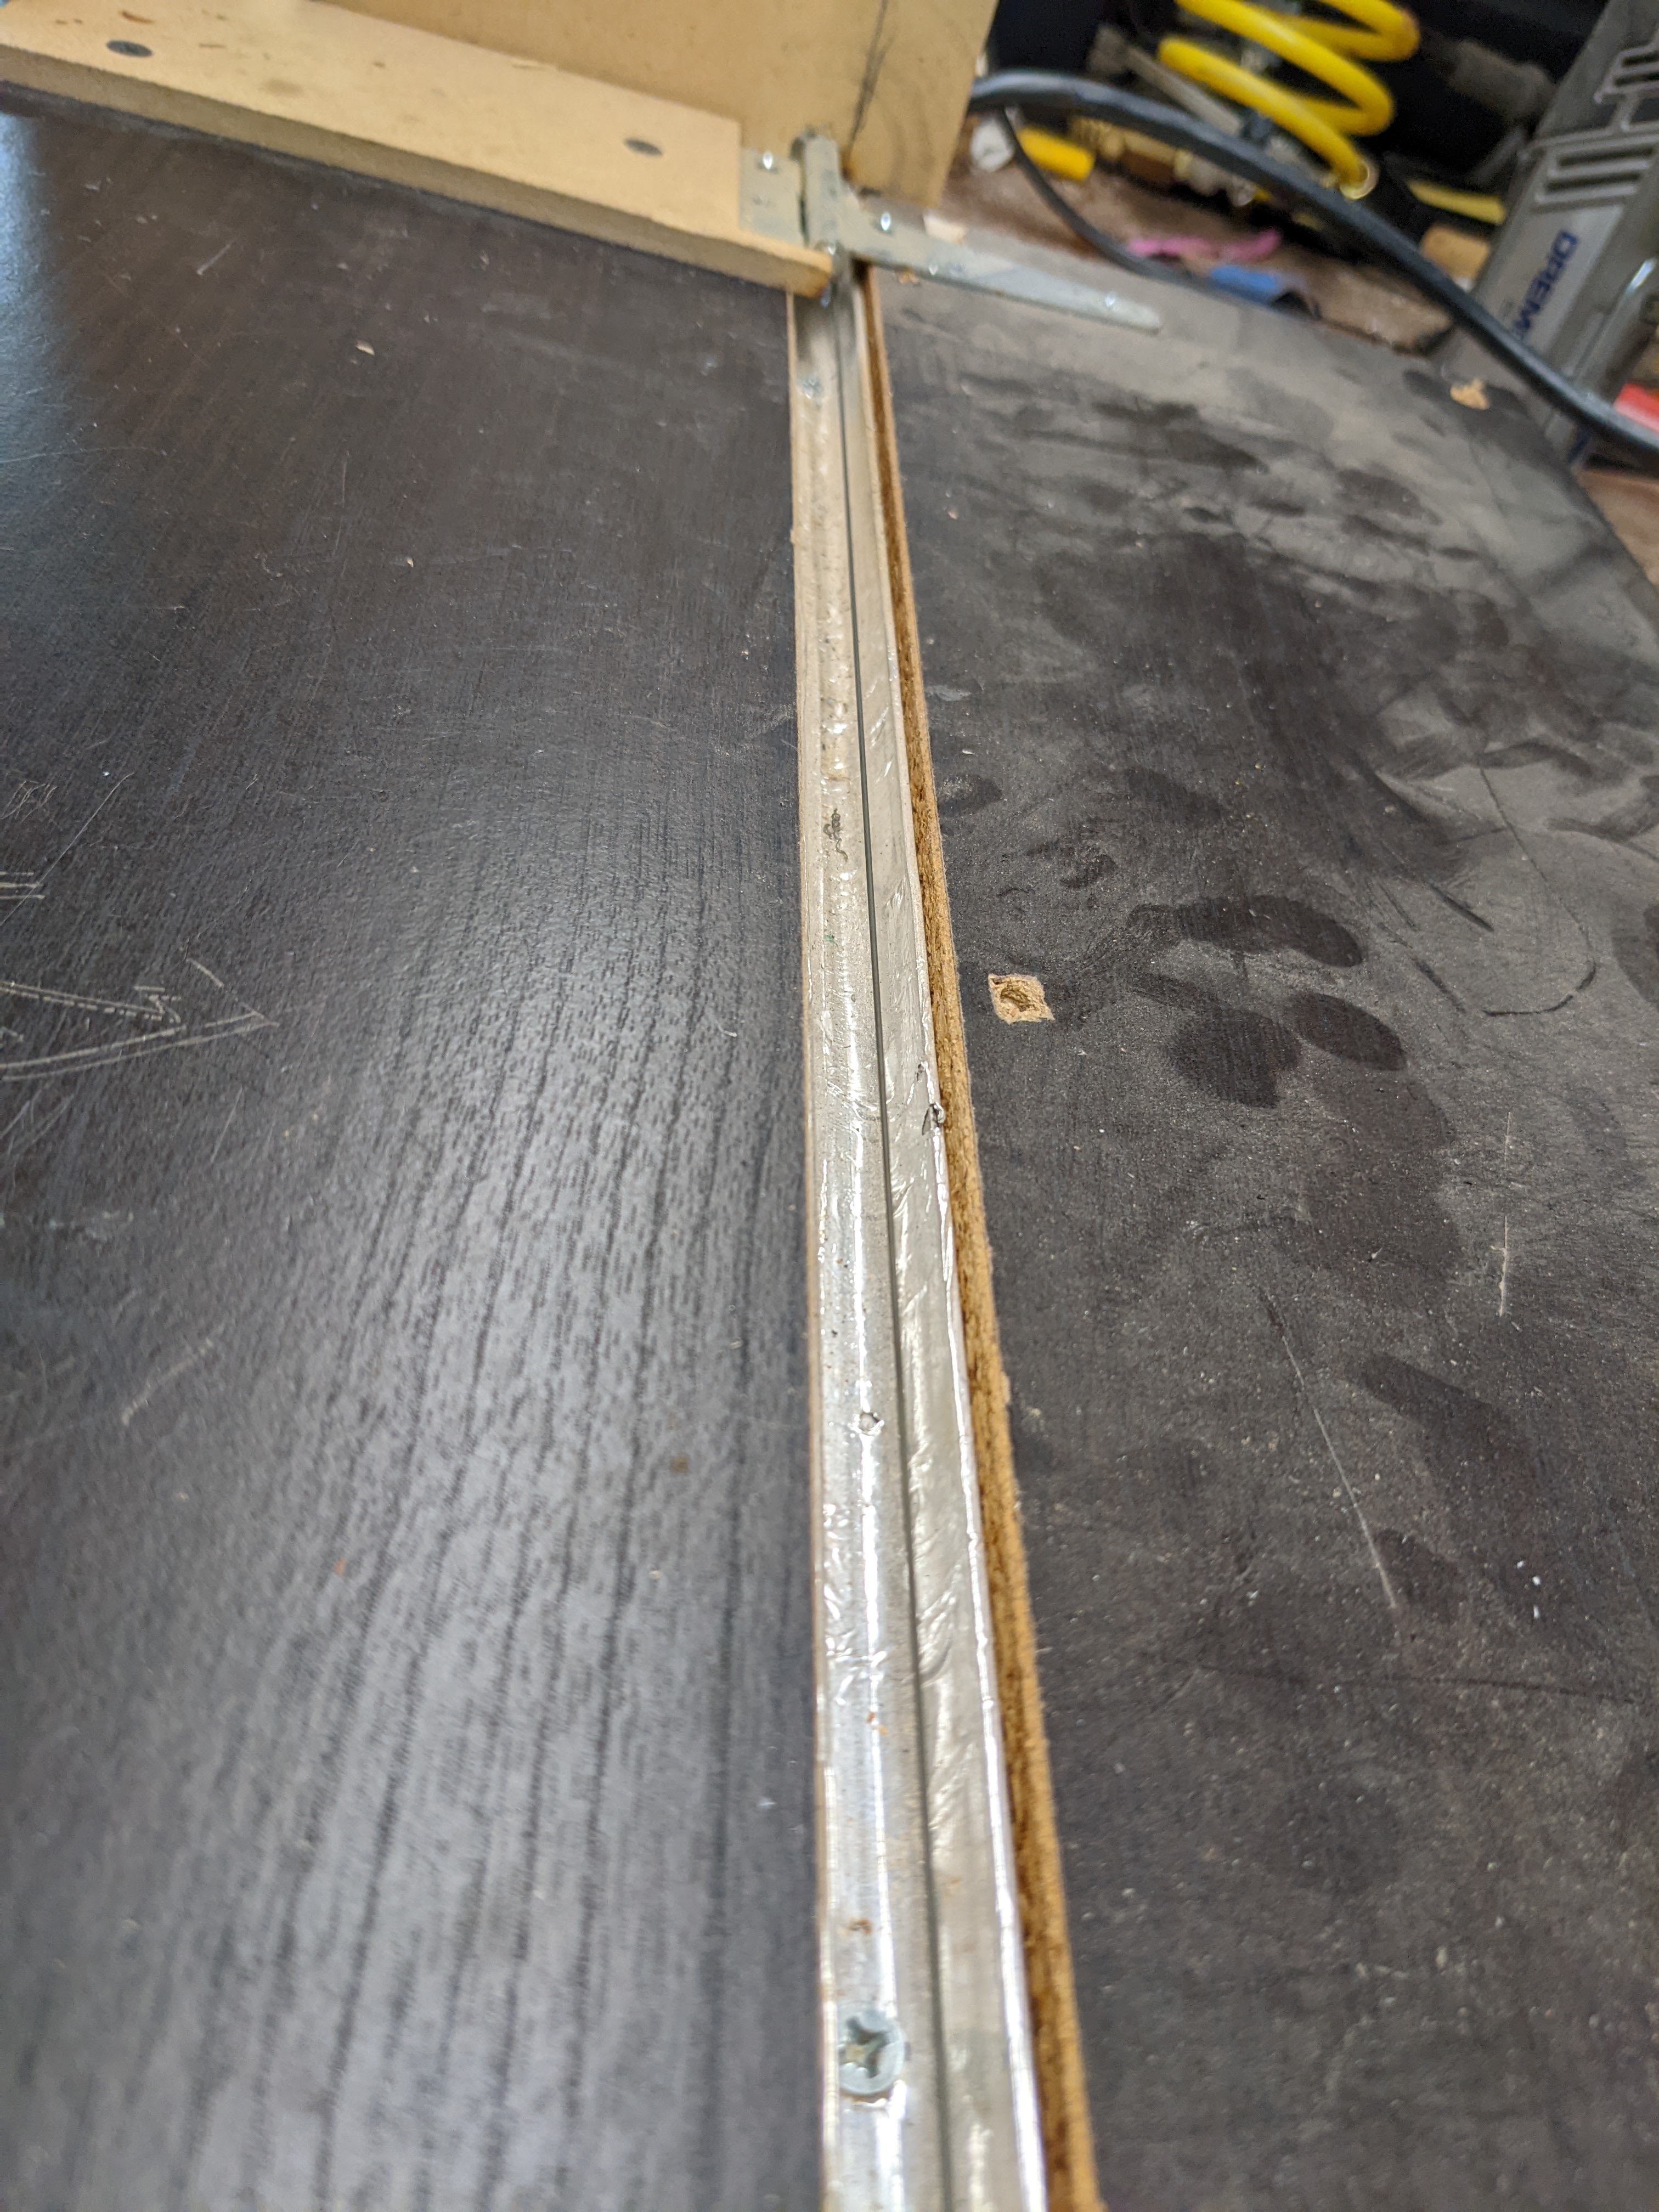
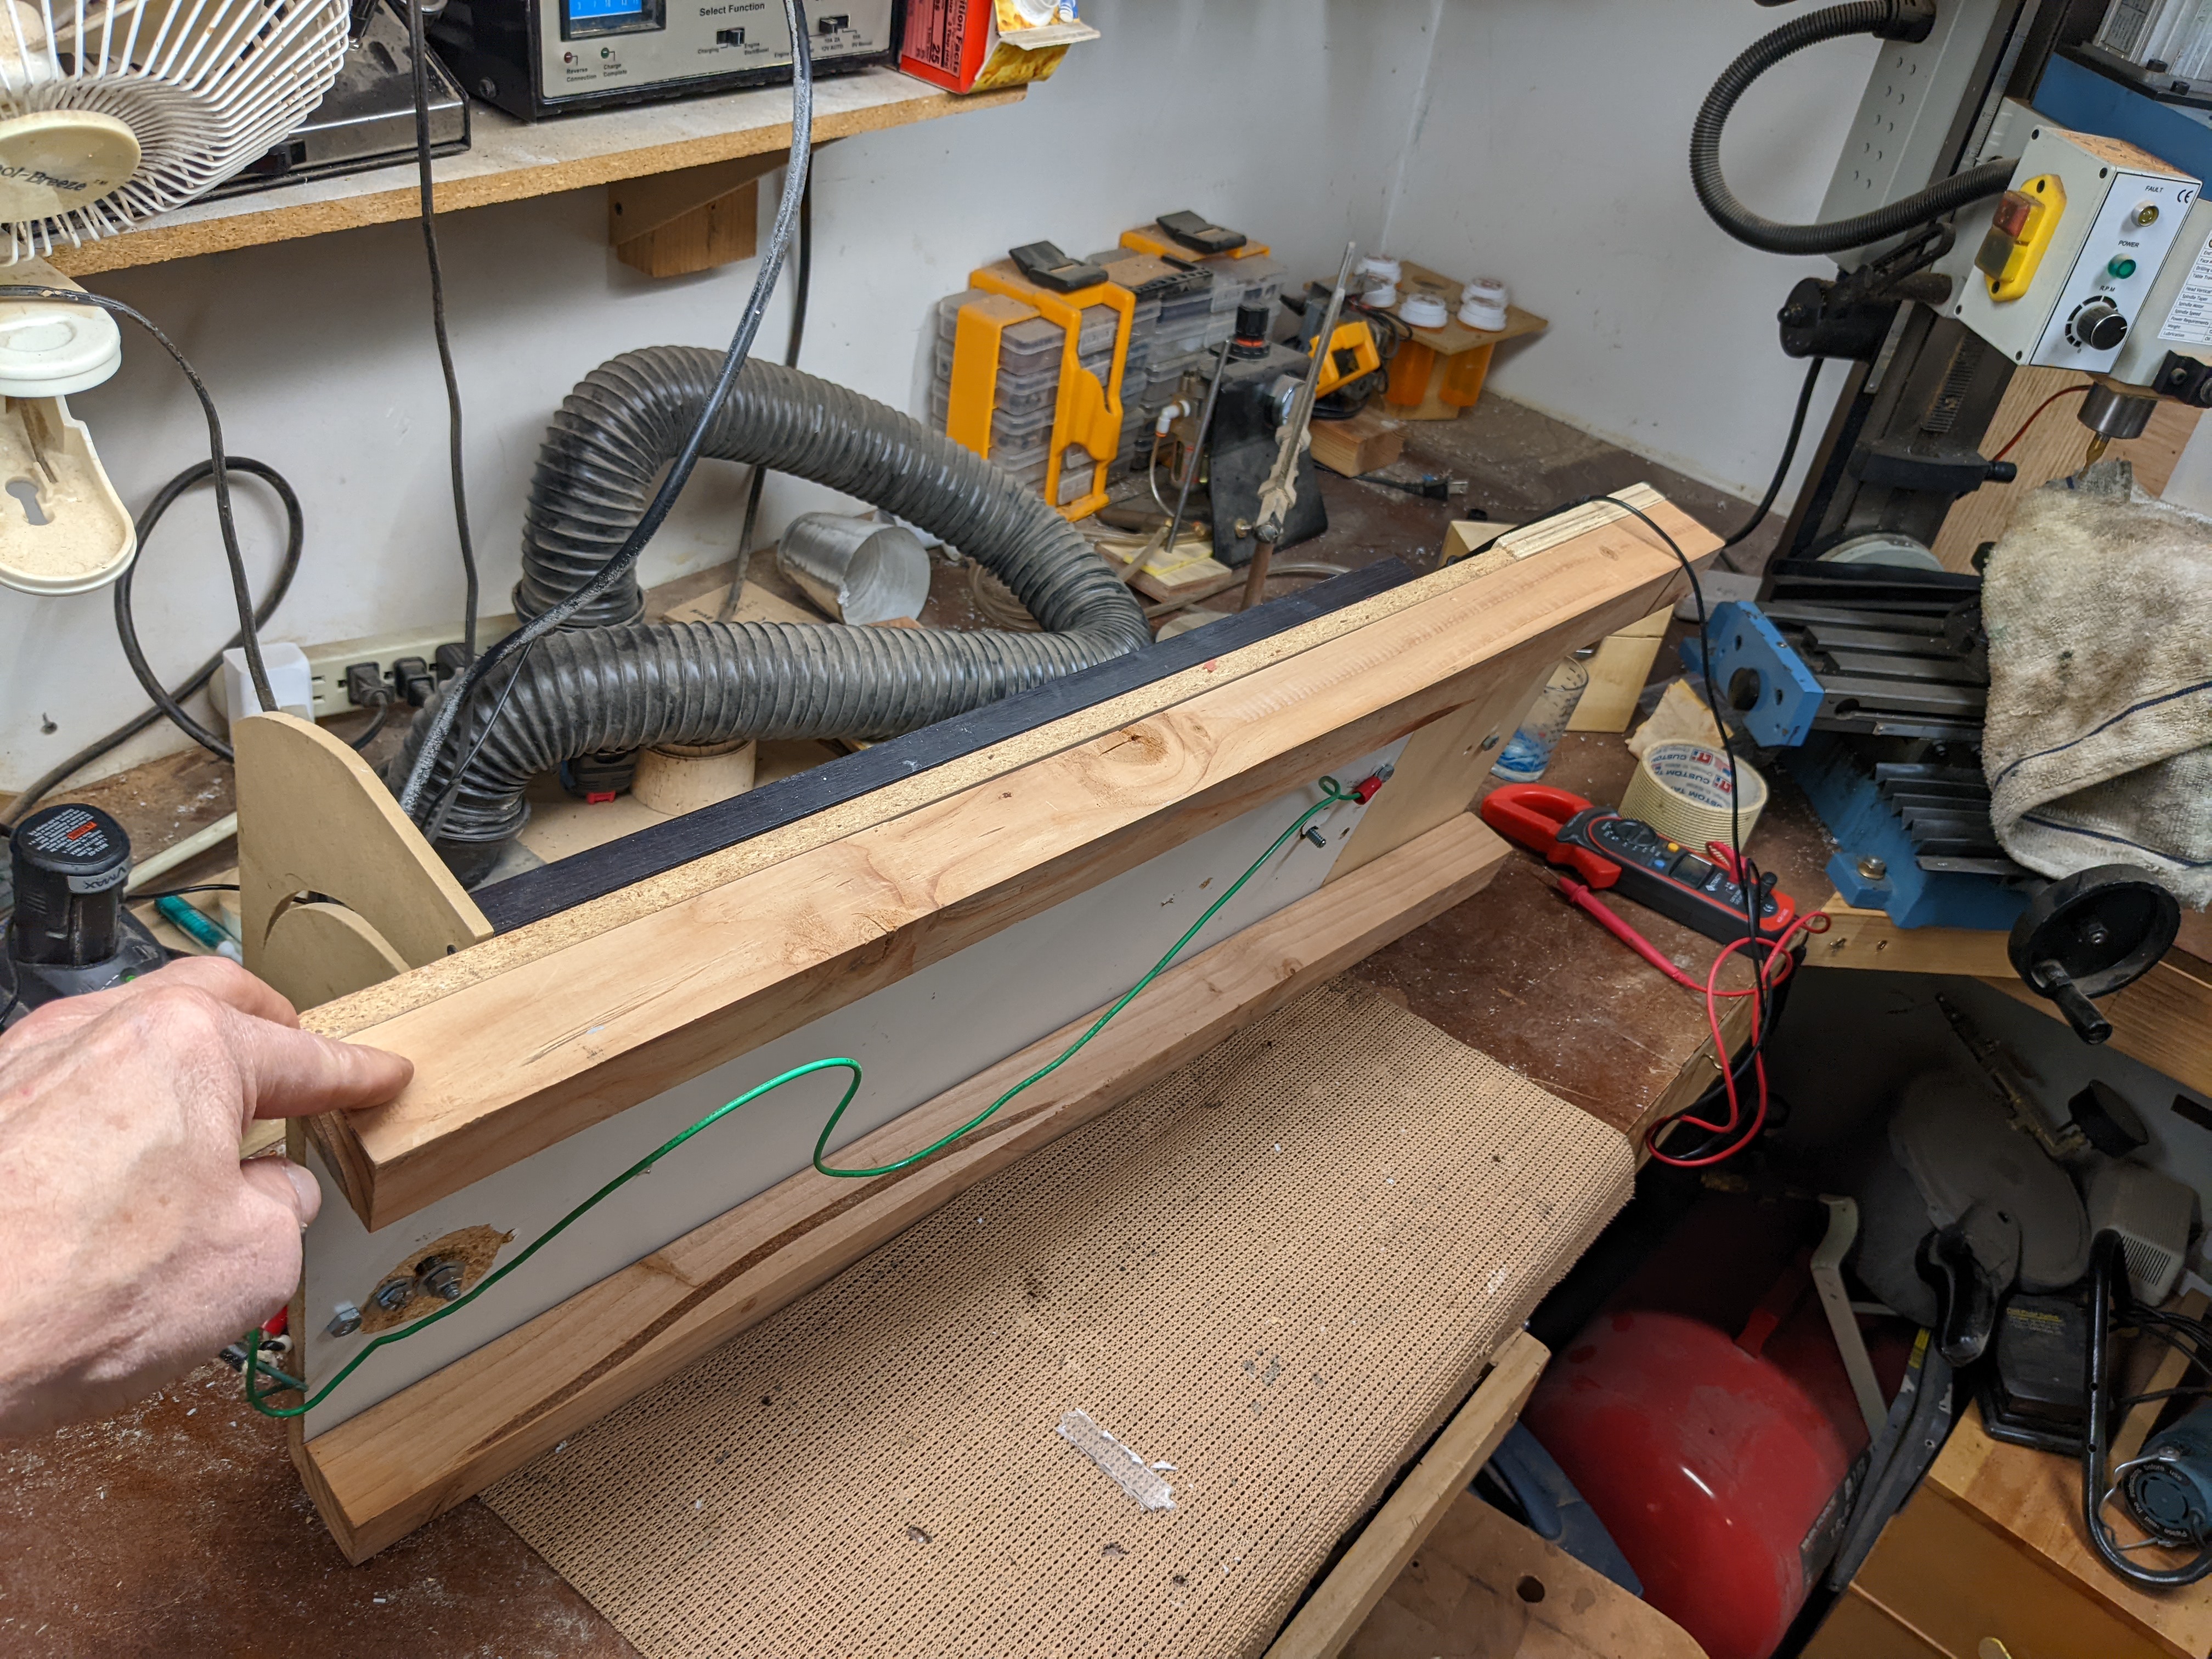
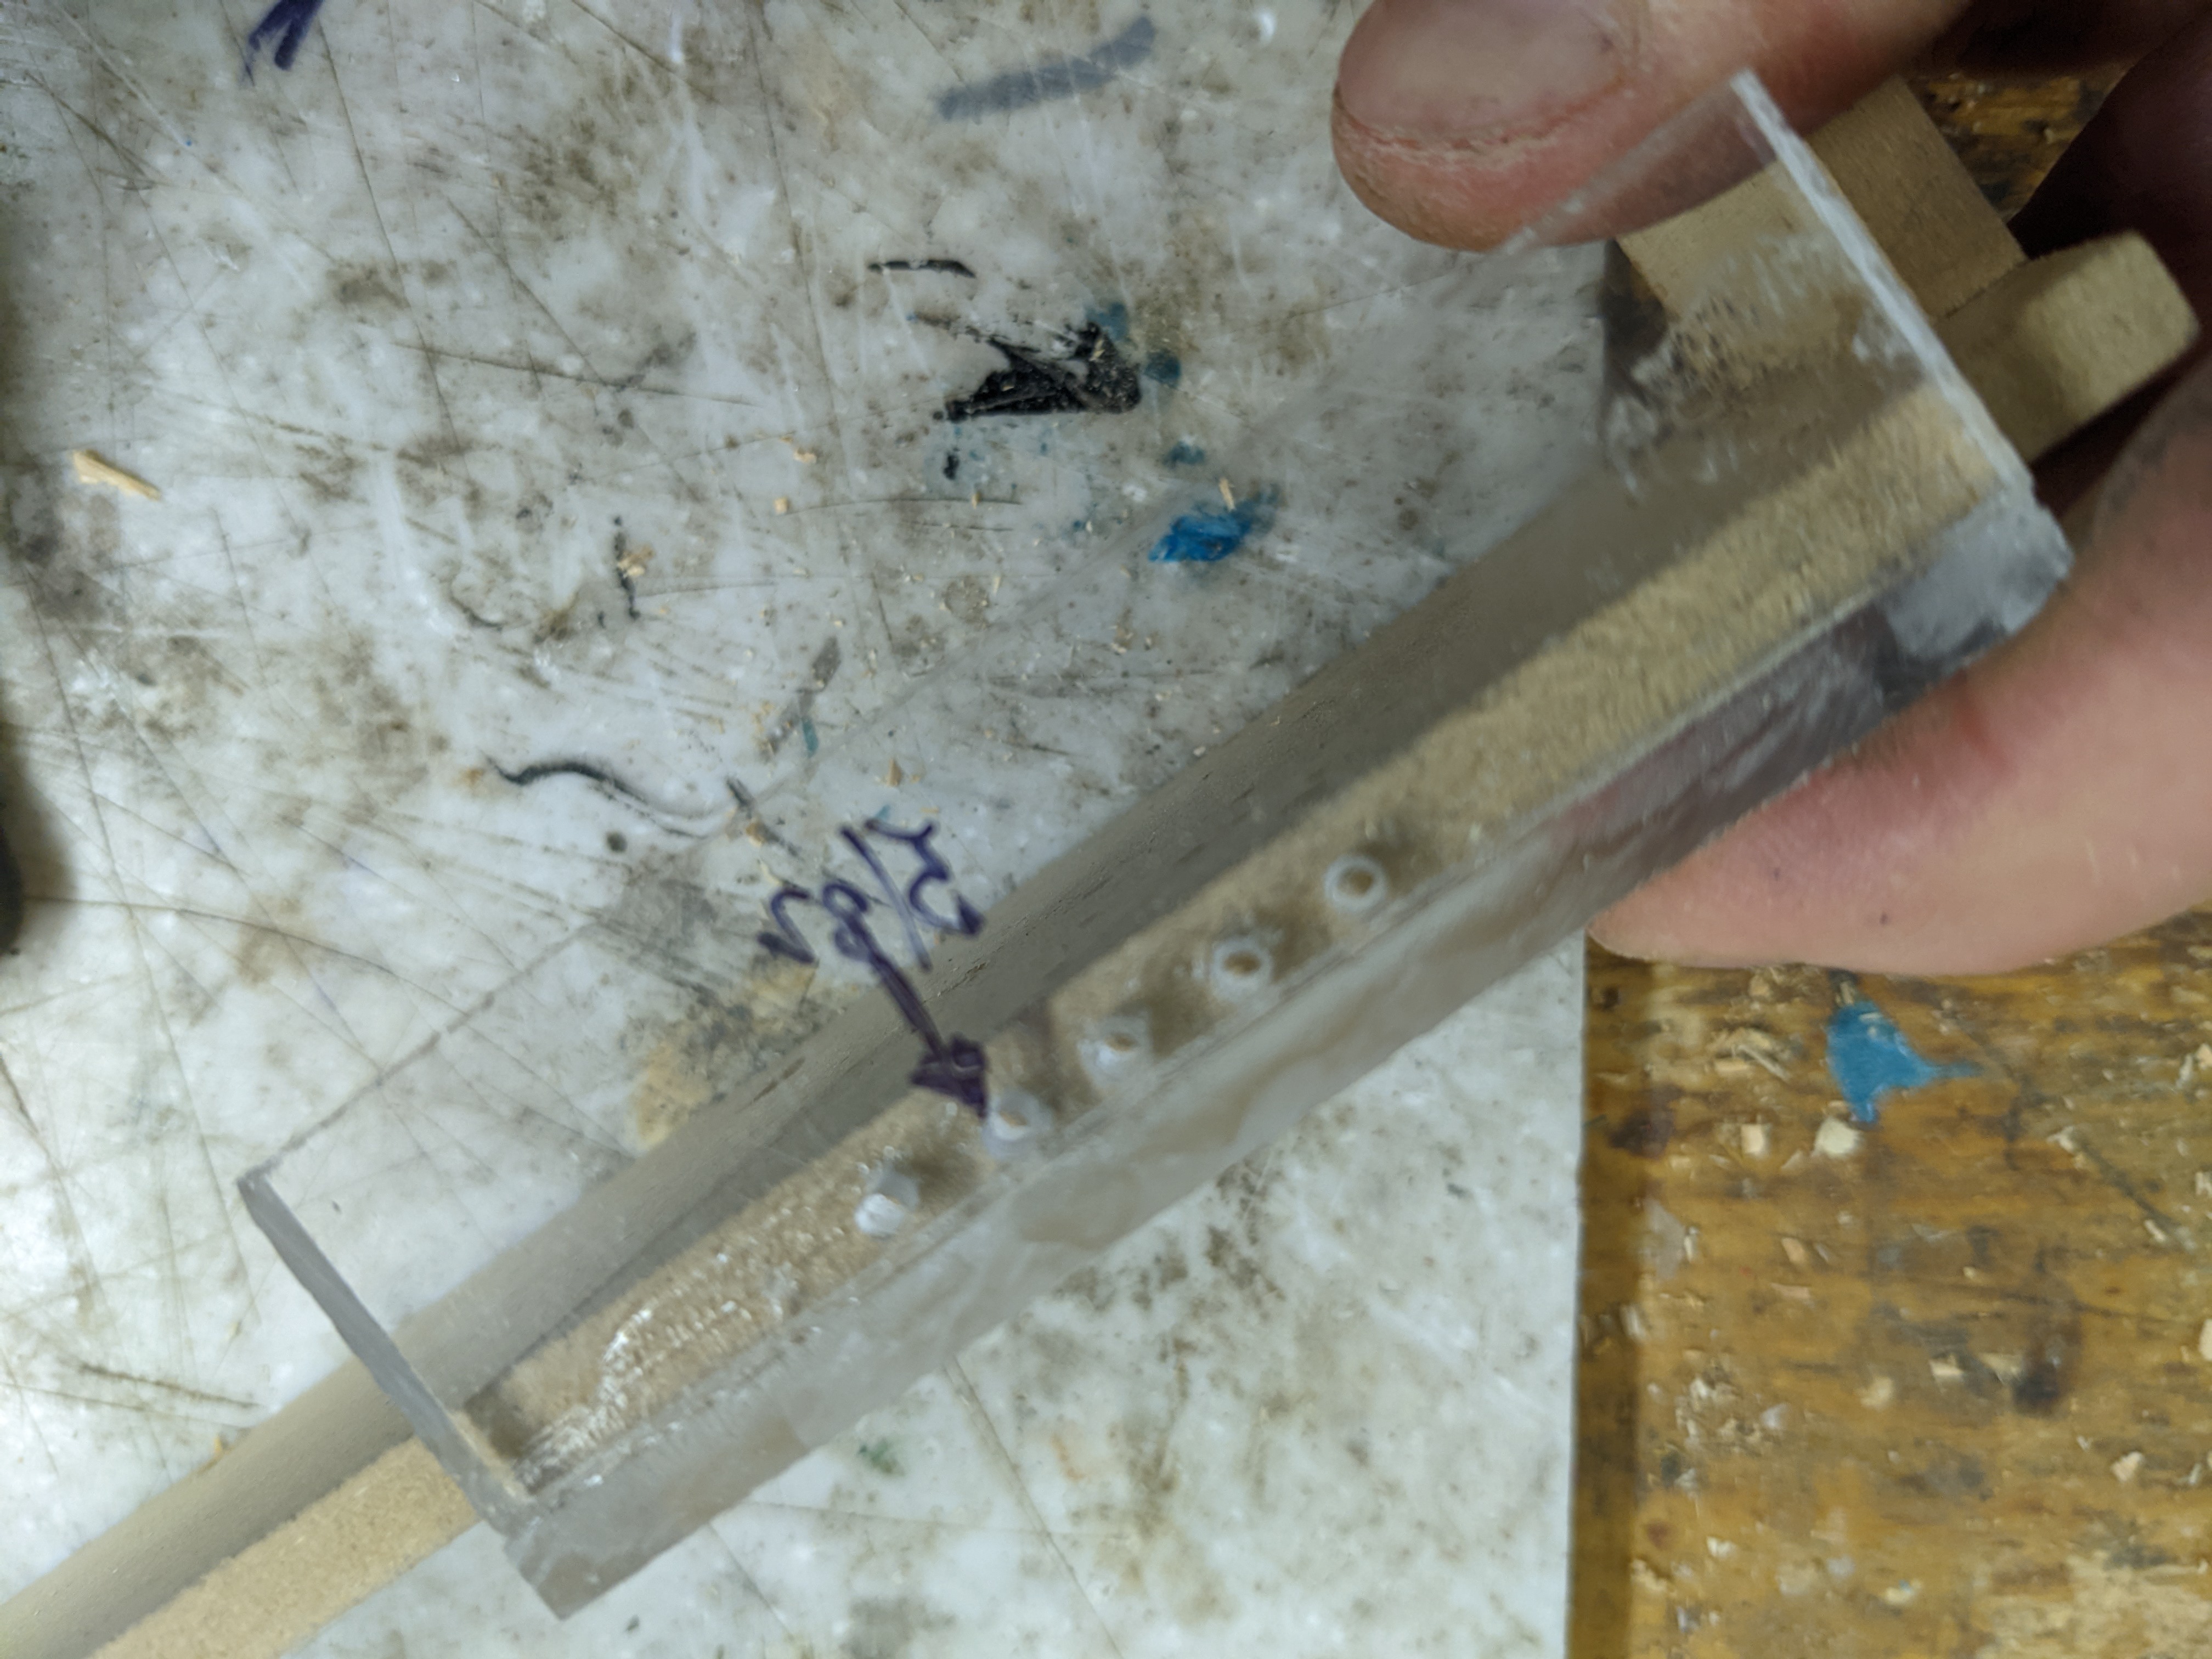
I often build electronic enclosures and their mounting surfaces out of acrylic. I find it fast and convenient to bend the sidewalls of the enclosure and then fasten the covers with edge-mounted screws. One such project is the controller I am building for my laser diode engraver.

There are two problems with edge-mounted fasteners in acrylic. One, getting the hole drilled in the center of a 1/4 edge and second drilling into the acrylic without melting and/or cracking it.

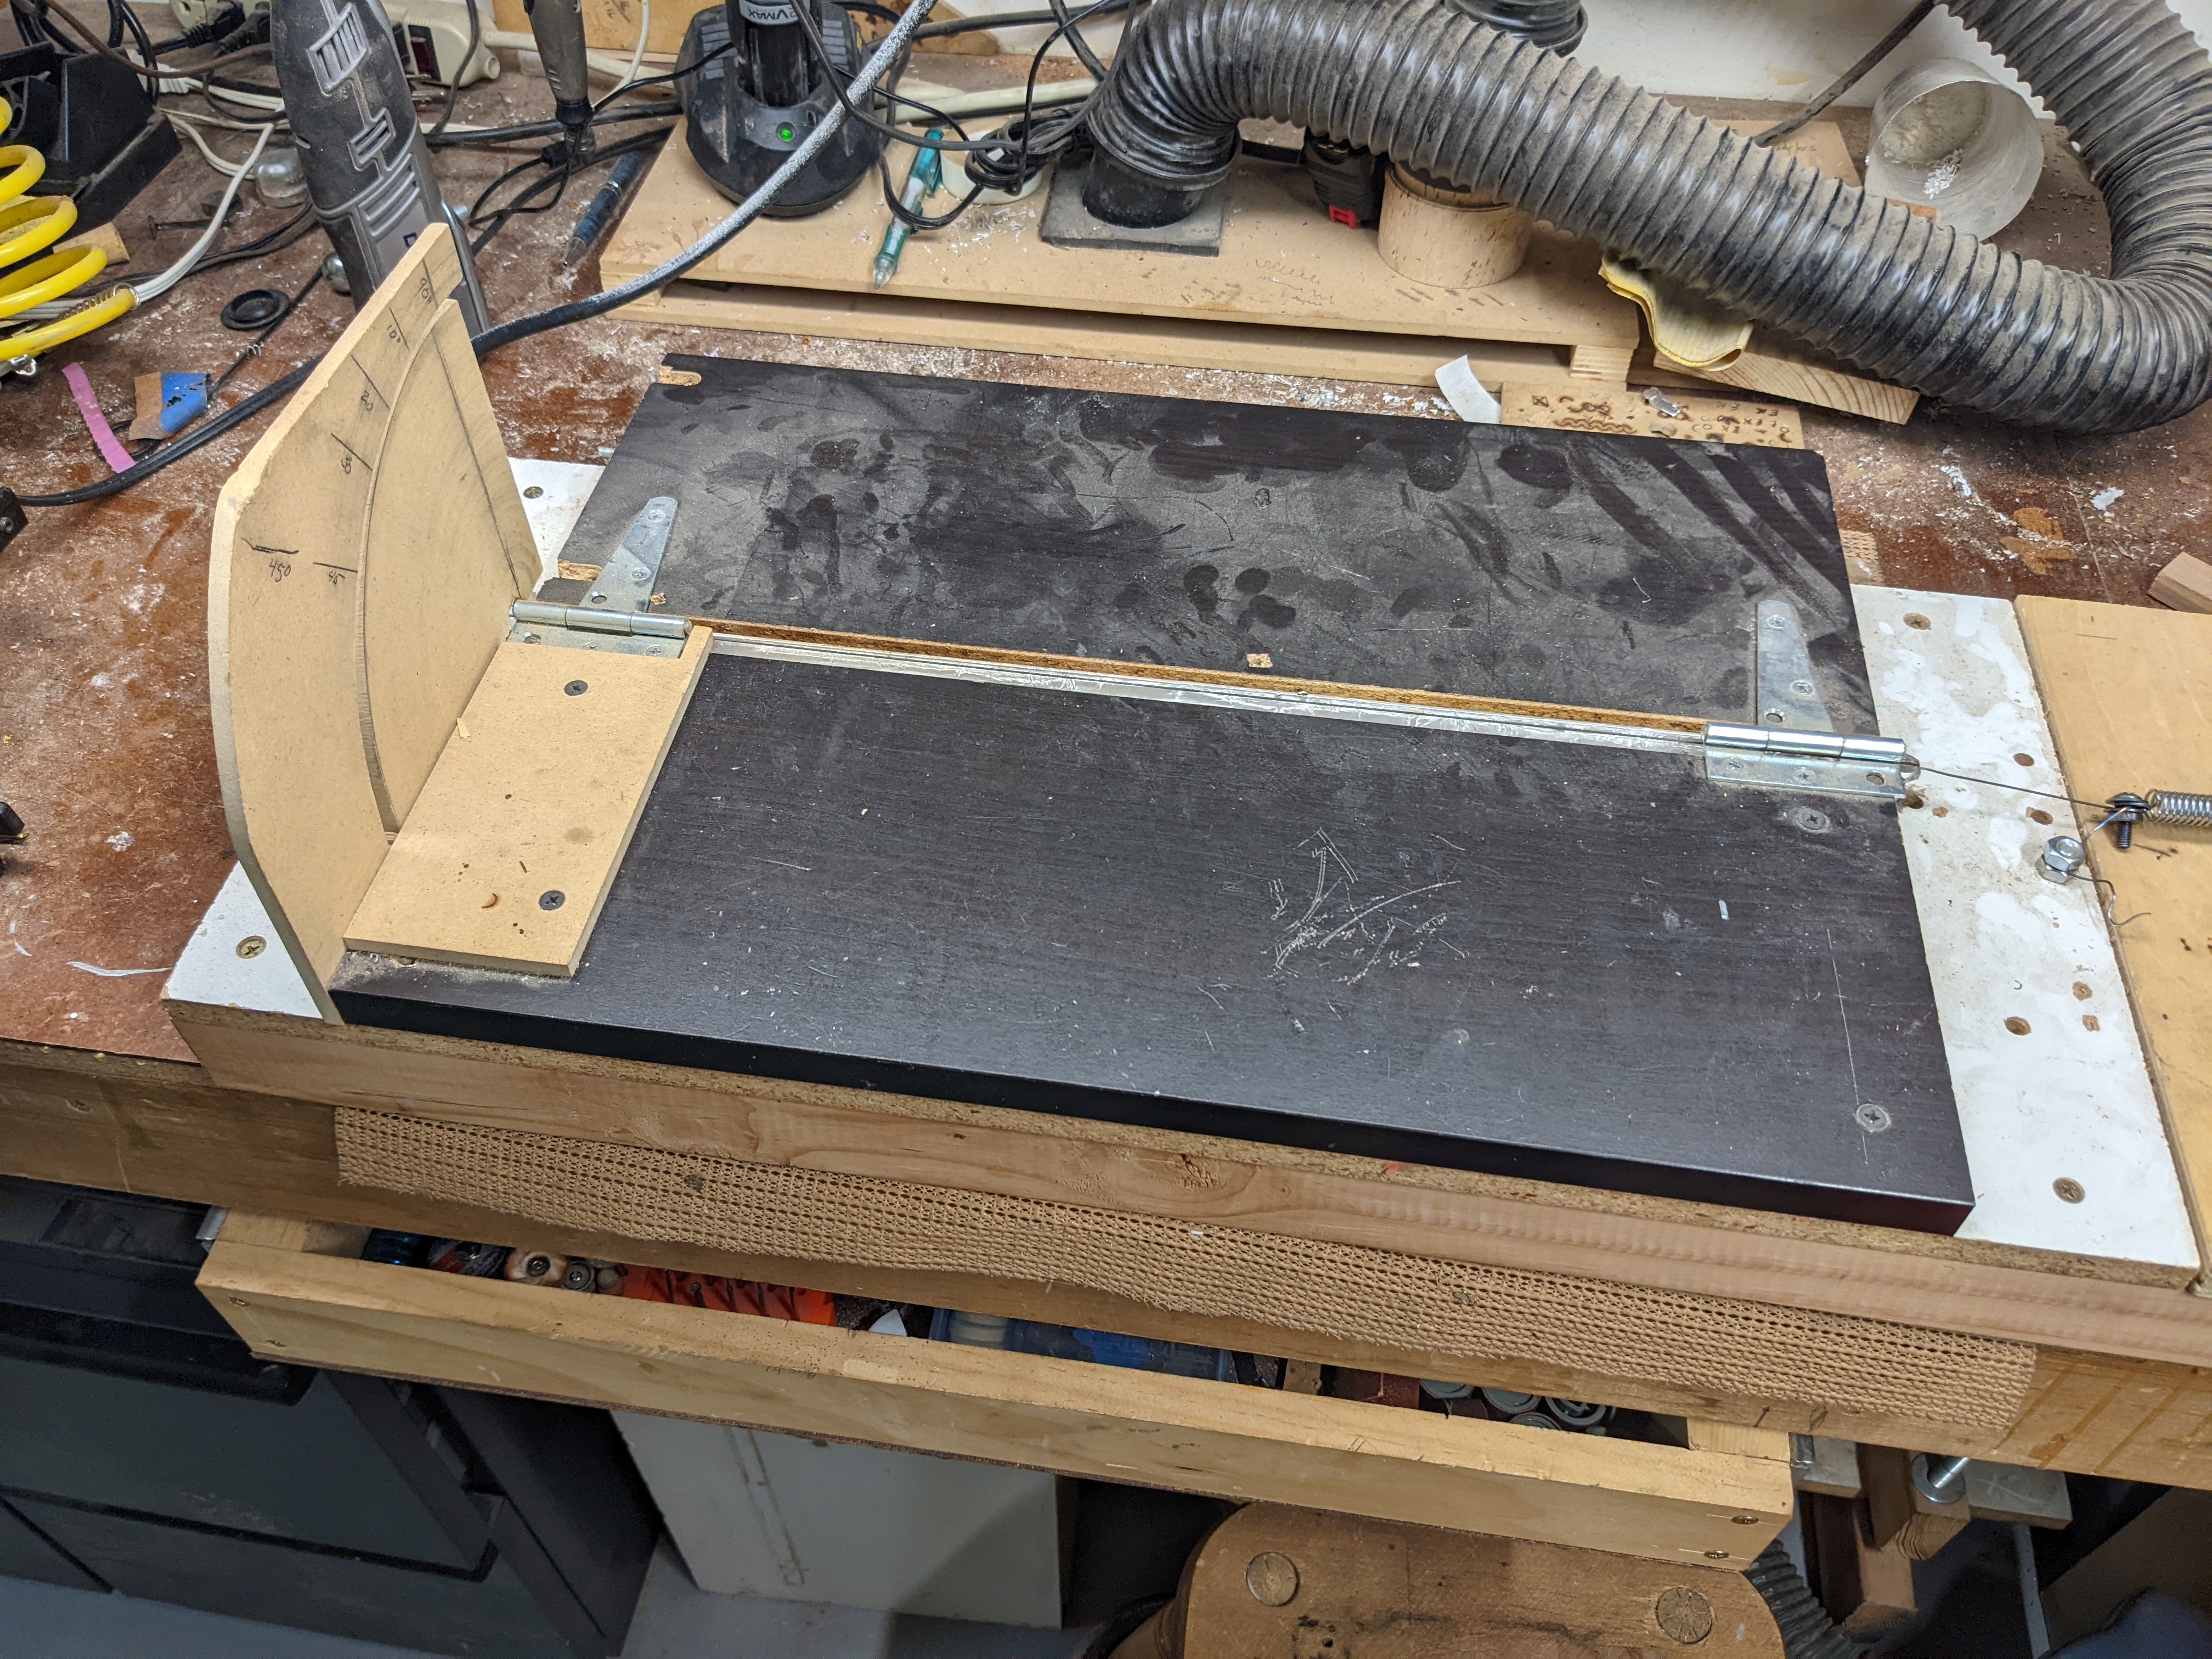
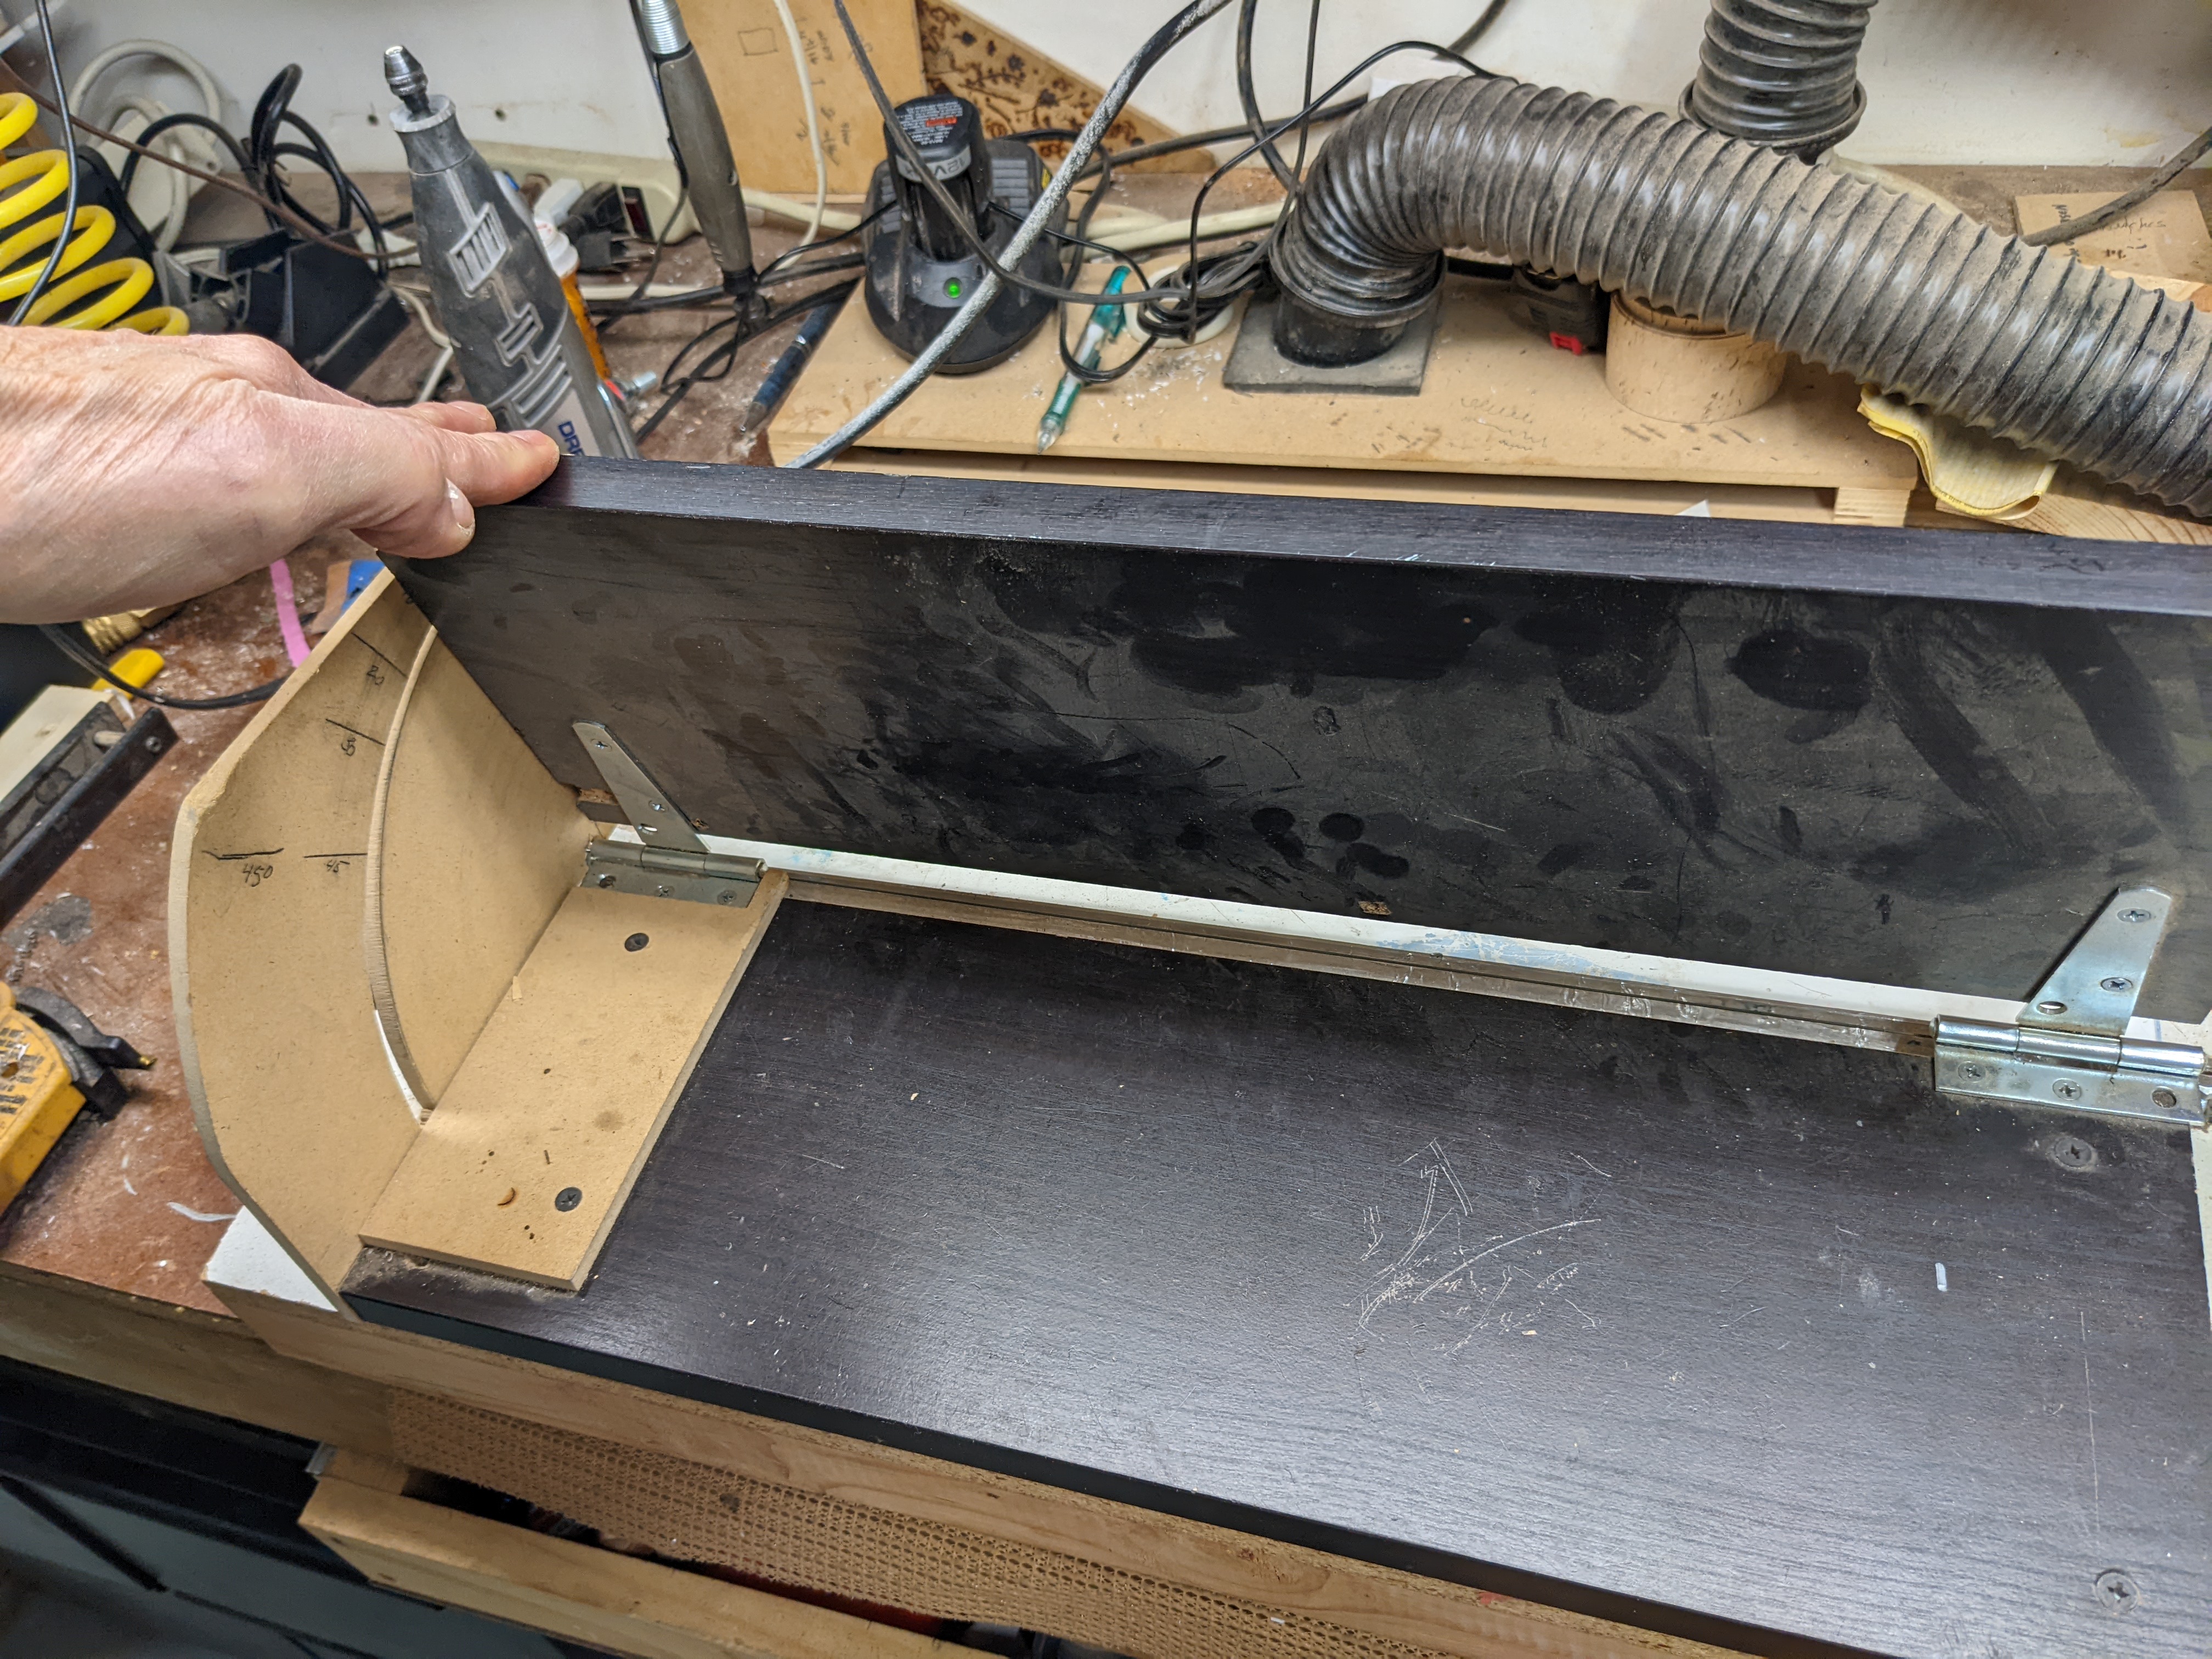
I solved the first using a jig that clamps at a right angle to the surface and accurately positions the hole in the edge. But until recently I struggled with the drilling step.

BTW I know there are other ways to fasten acrylic surfaces [especially CNC enabled] but this manual method is the fastest for me when building one-of-a-kind prototypes [no CNC programming required].

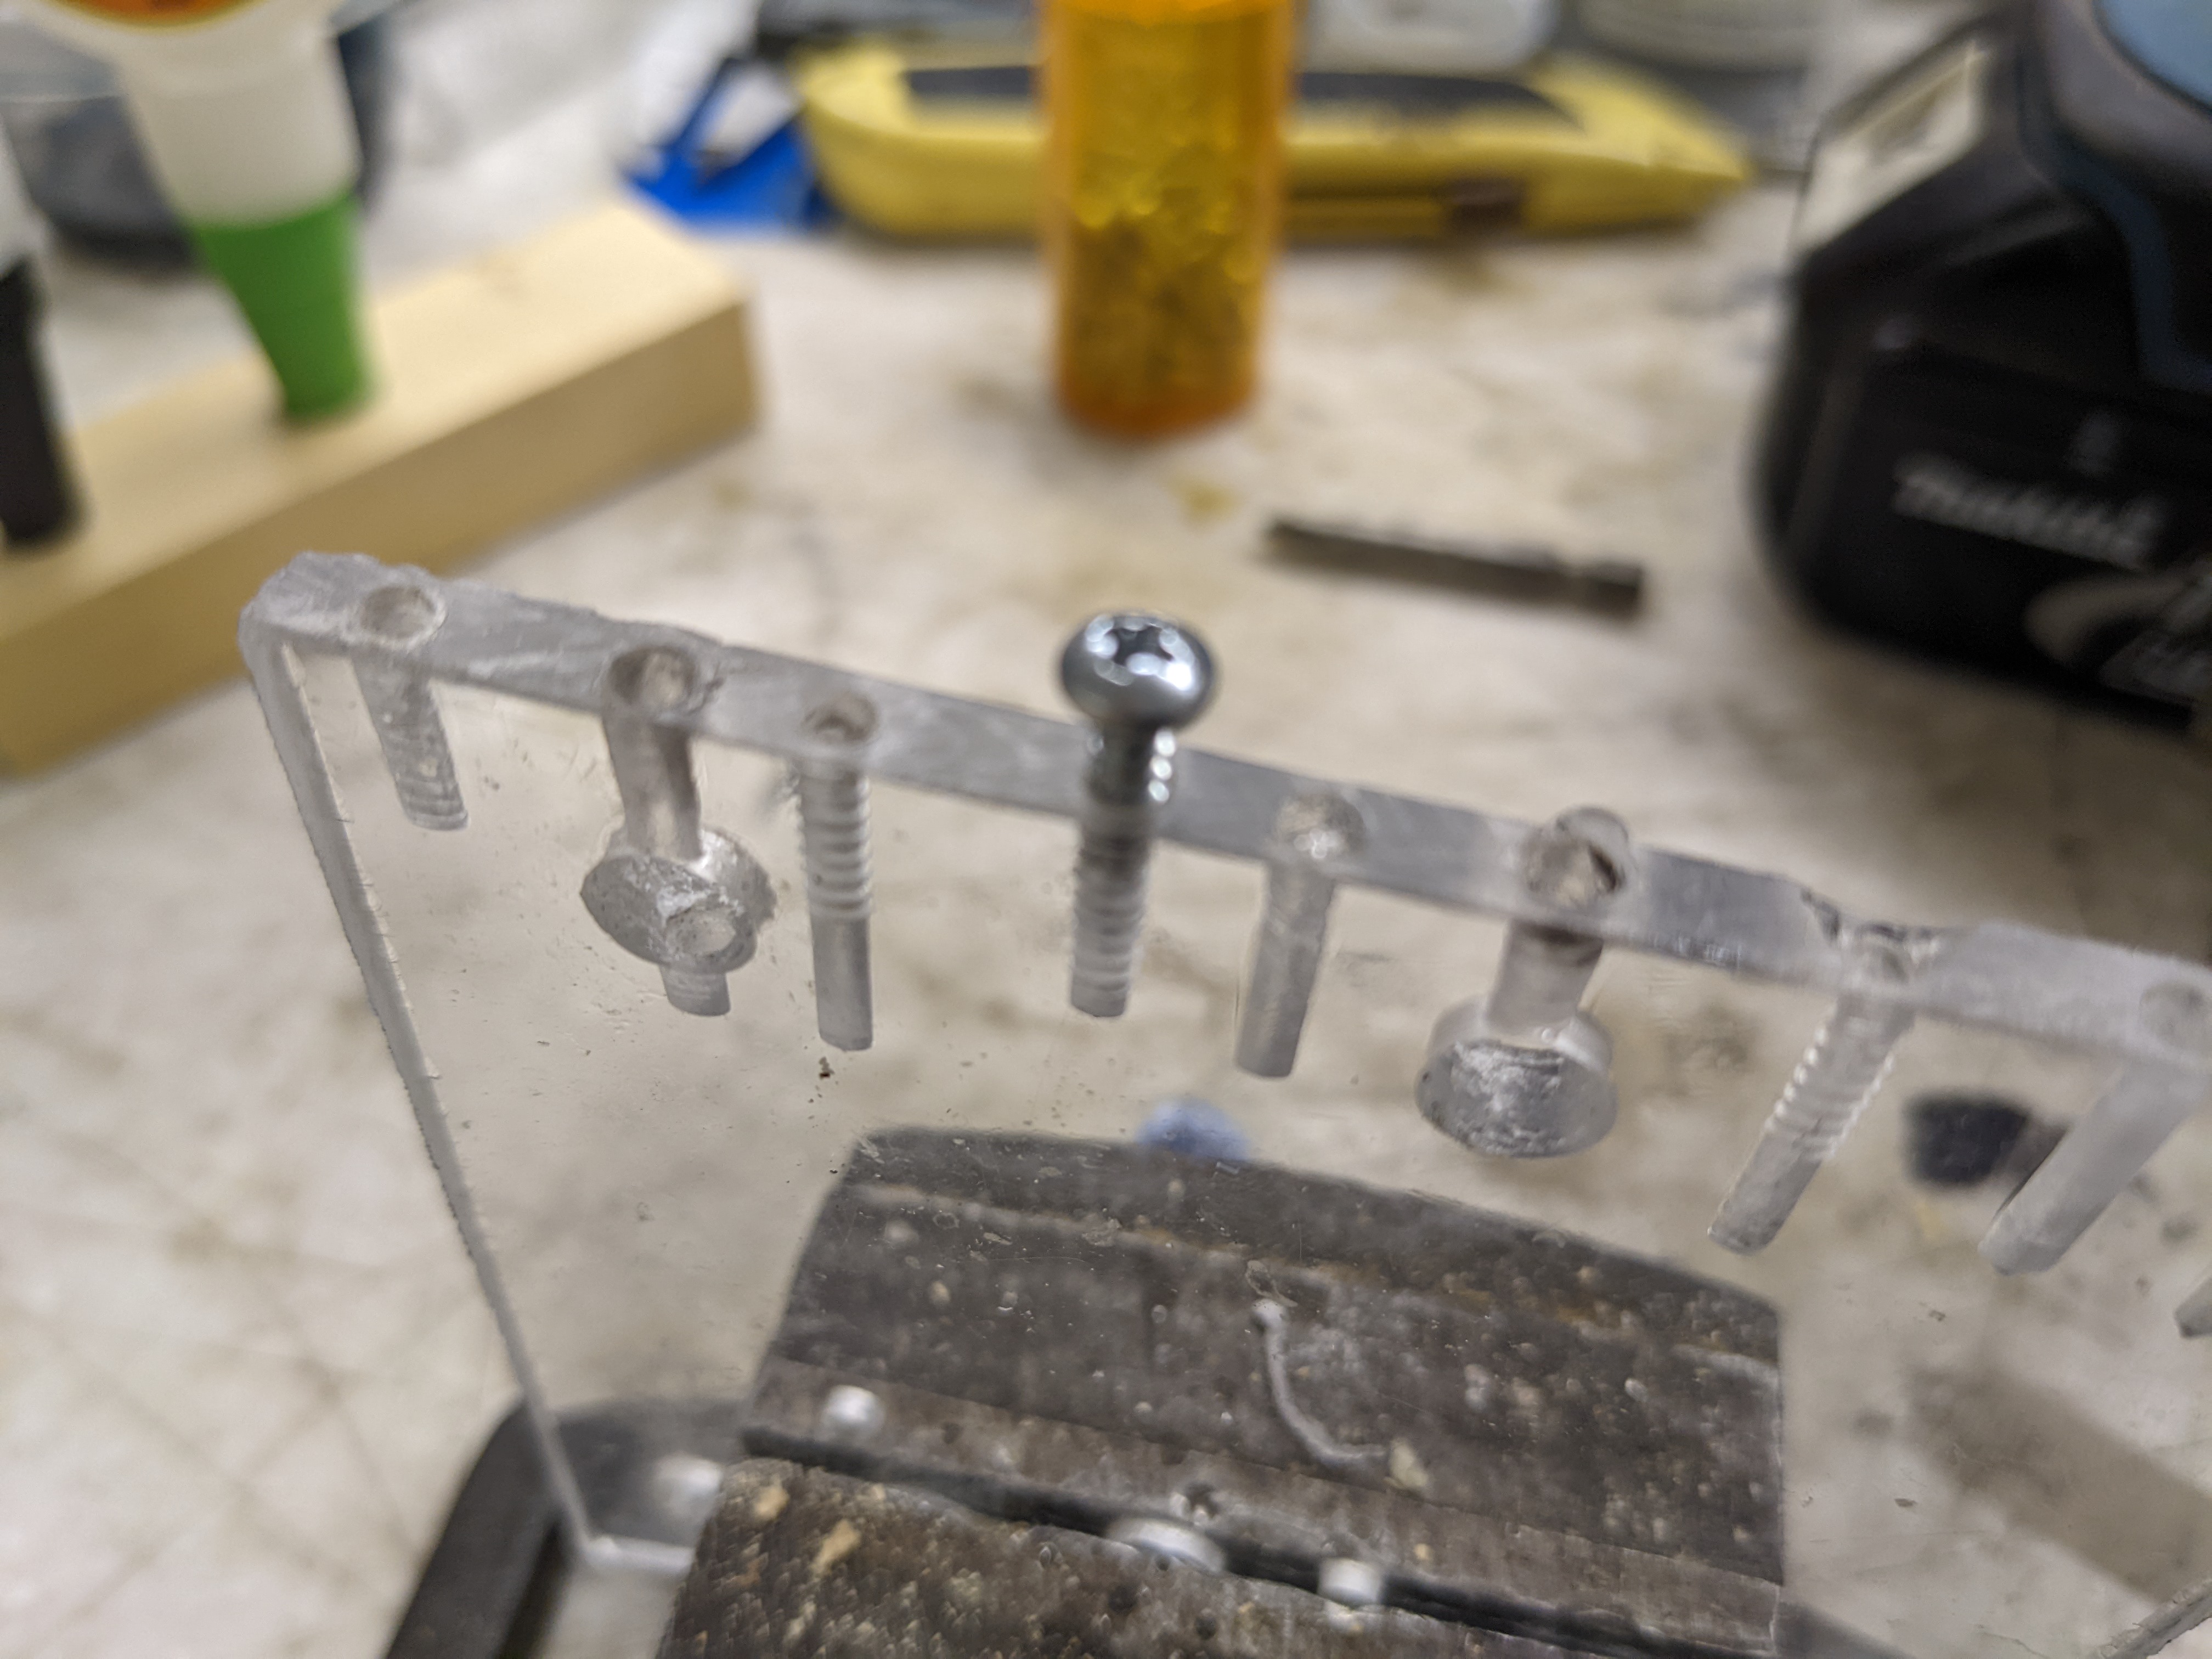
This fastening method involves drilling a pilot hole in the edge and then inserting a #4 sheet metal screw. If the hole is not drilled dead center it breaks out when the screw cuts threads.


Here is what I have learned about drilling acrylic:
Acrylic drills best with a sheer cutting type tool. Examples are forsner, step, concrete, and tile bits. These bits do not have a spiral cutting edge rather they “scrape”. Spiral tools have a tendency to grab unless you patiently peck the hole a little at a time especially as you break through the back. It helps to cool with water and slow the drill’s speed. I am often too lazy to reach up and change the belt on my drill press :(. Drilling into a piece of wood as a backer also helps minimize breakage.

The best bit for drilling acrylic is actually a step drill. It leaves a smooth hole, tapered entry, and doesn’t care much about cooling and speed. But step drills do not come in fractional sizes and diameters small enough to drill into the edge of 1/4" acrylic.

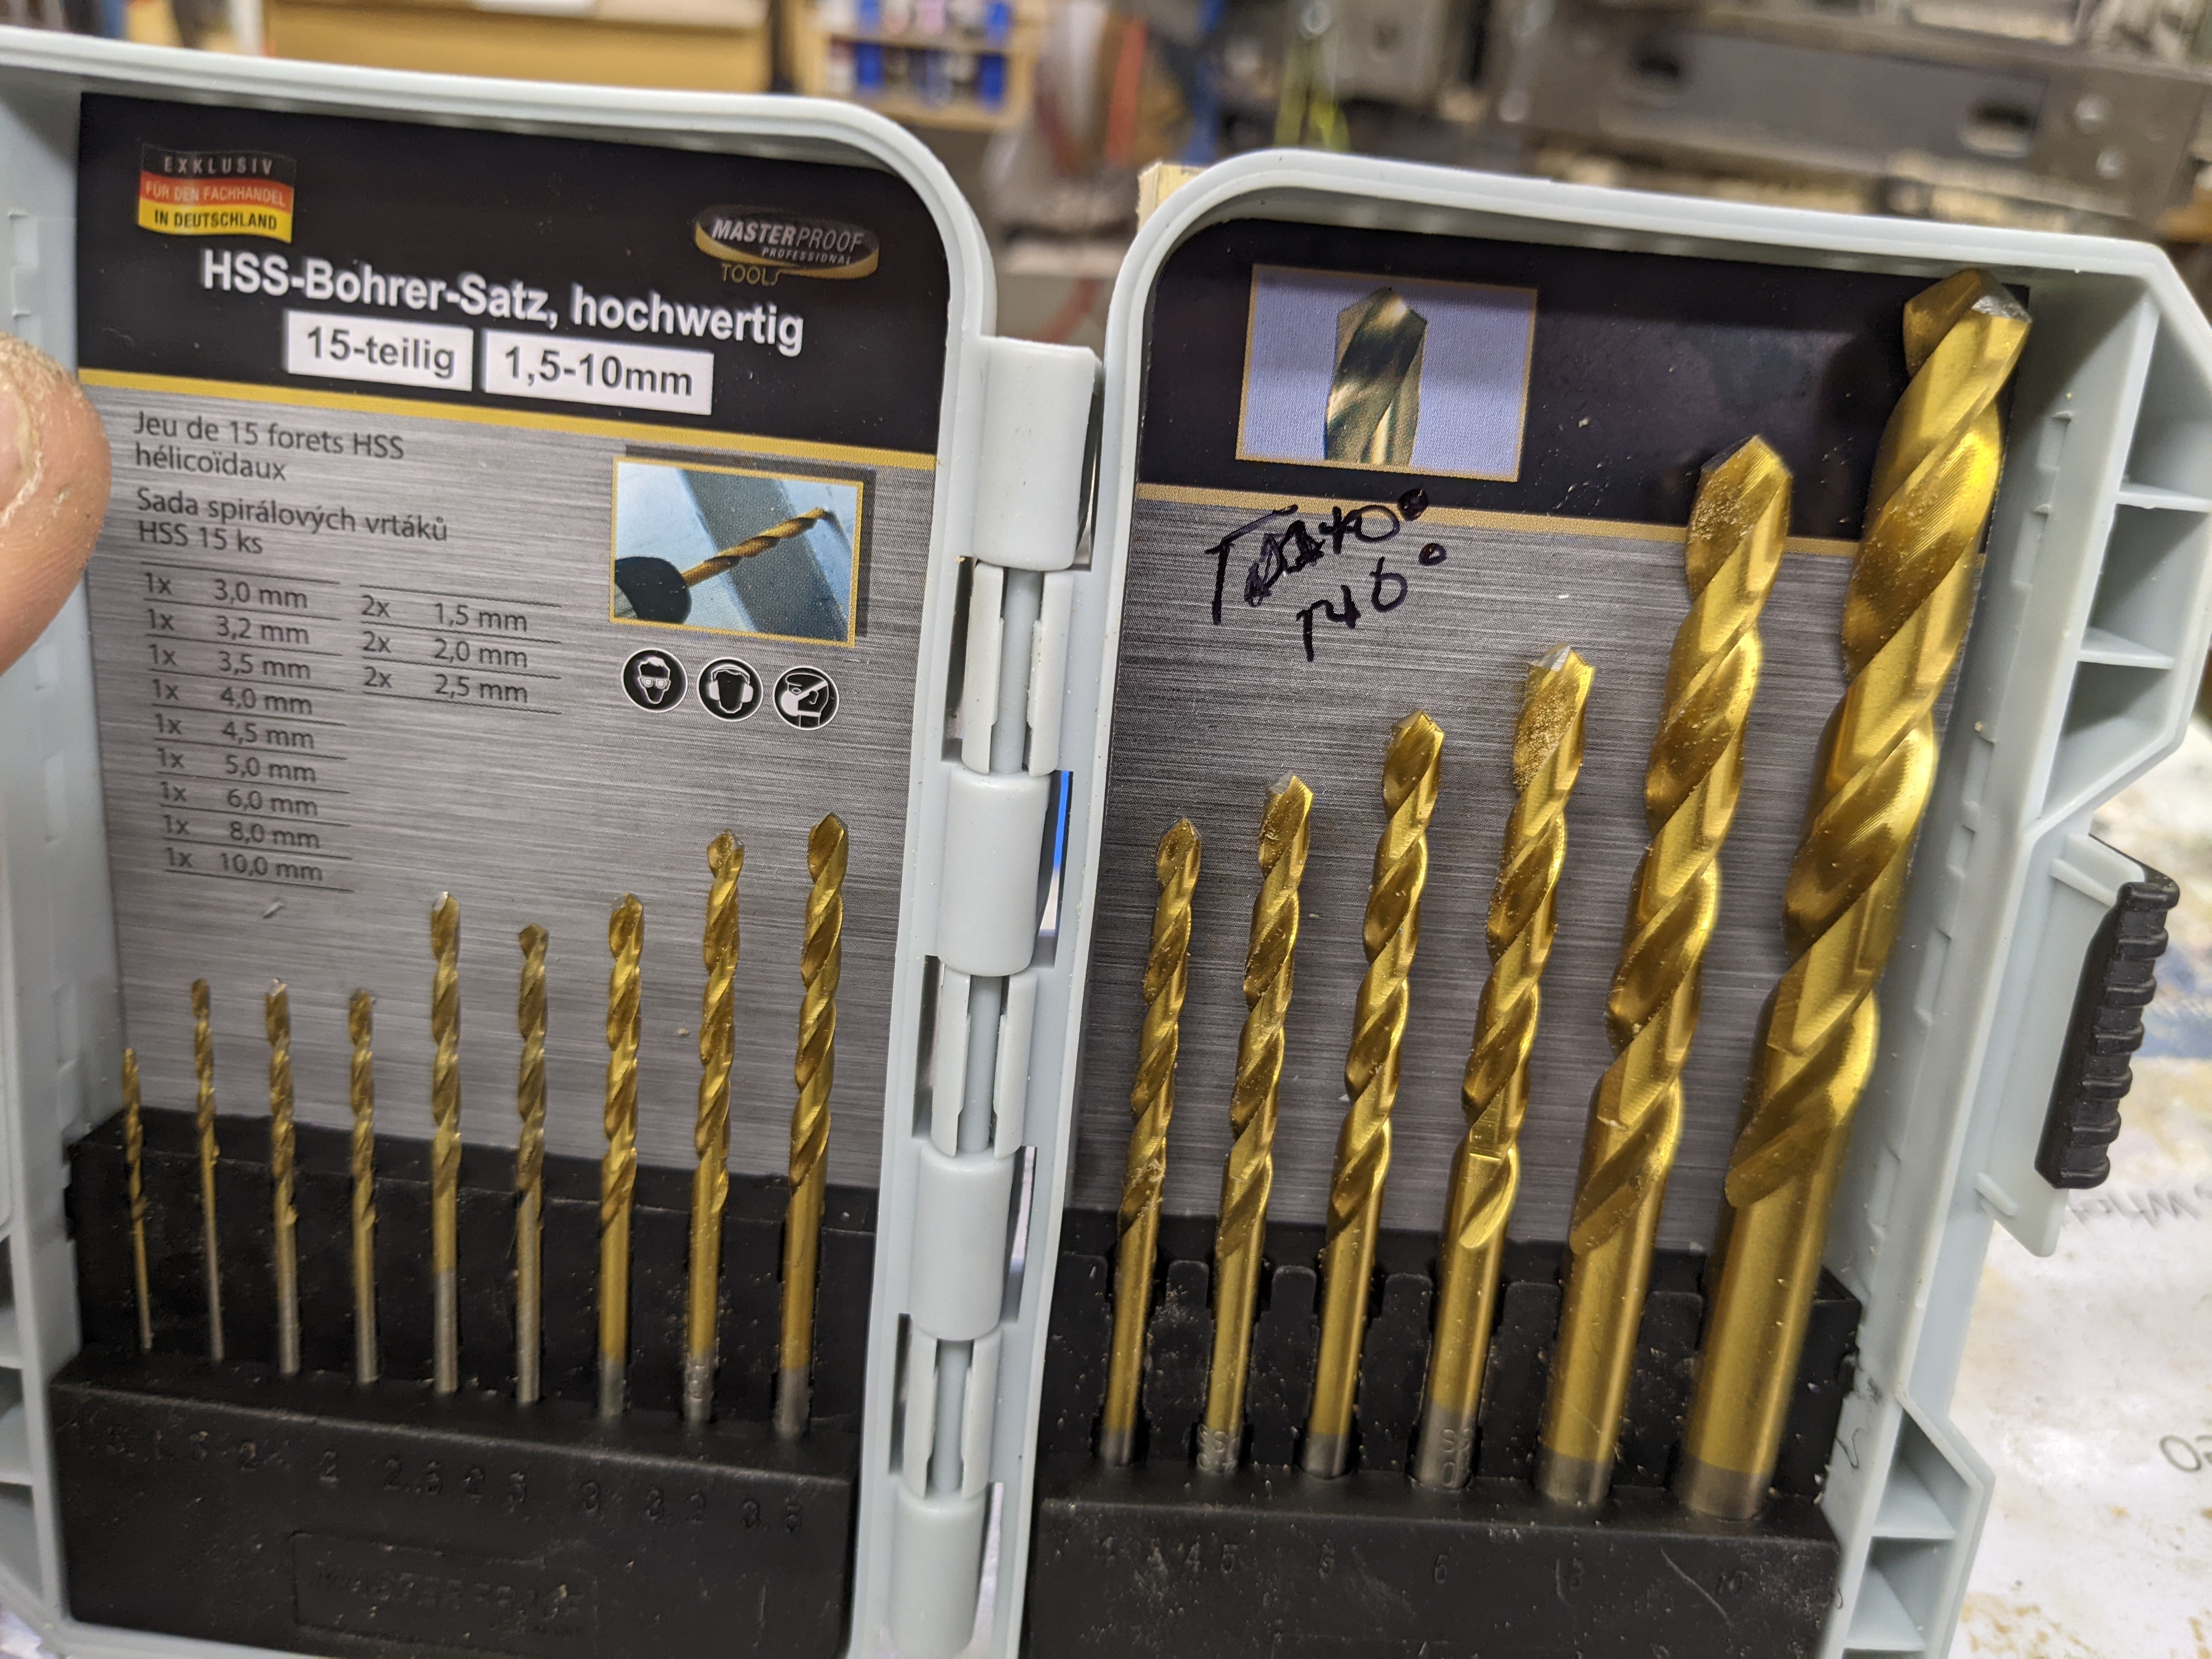
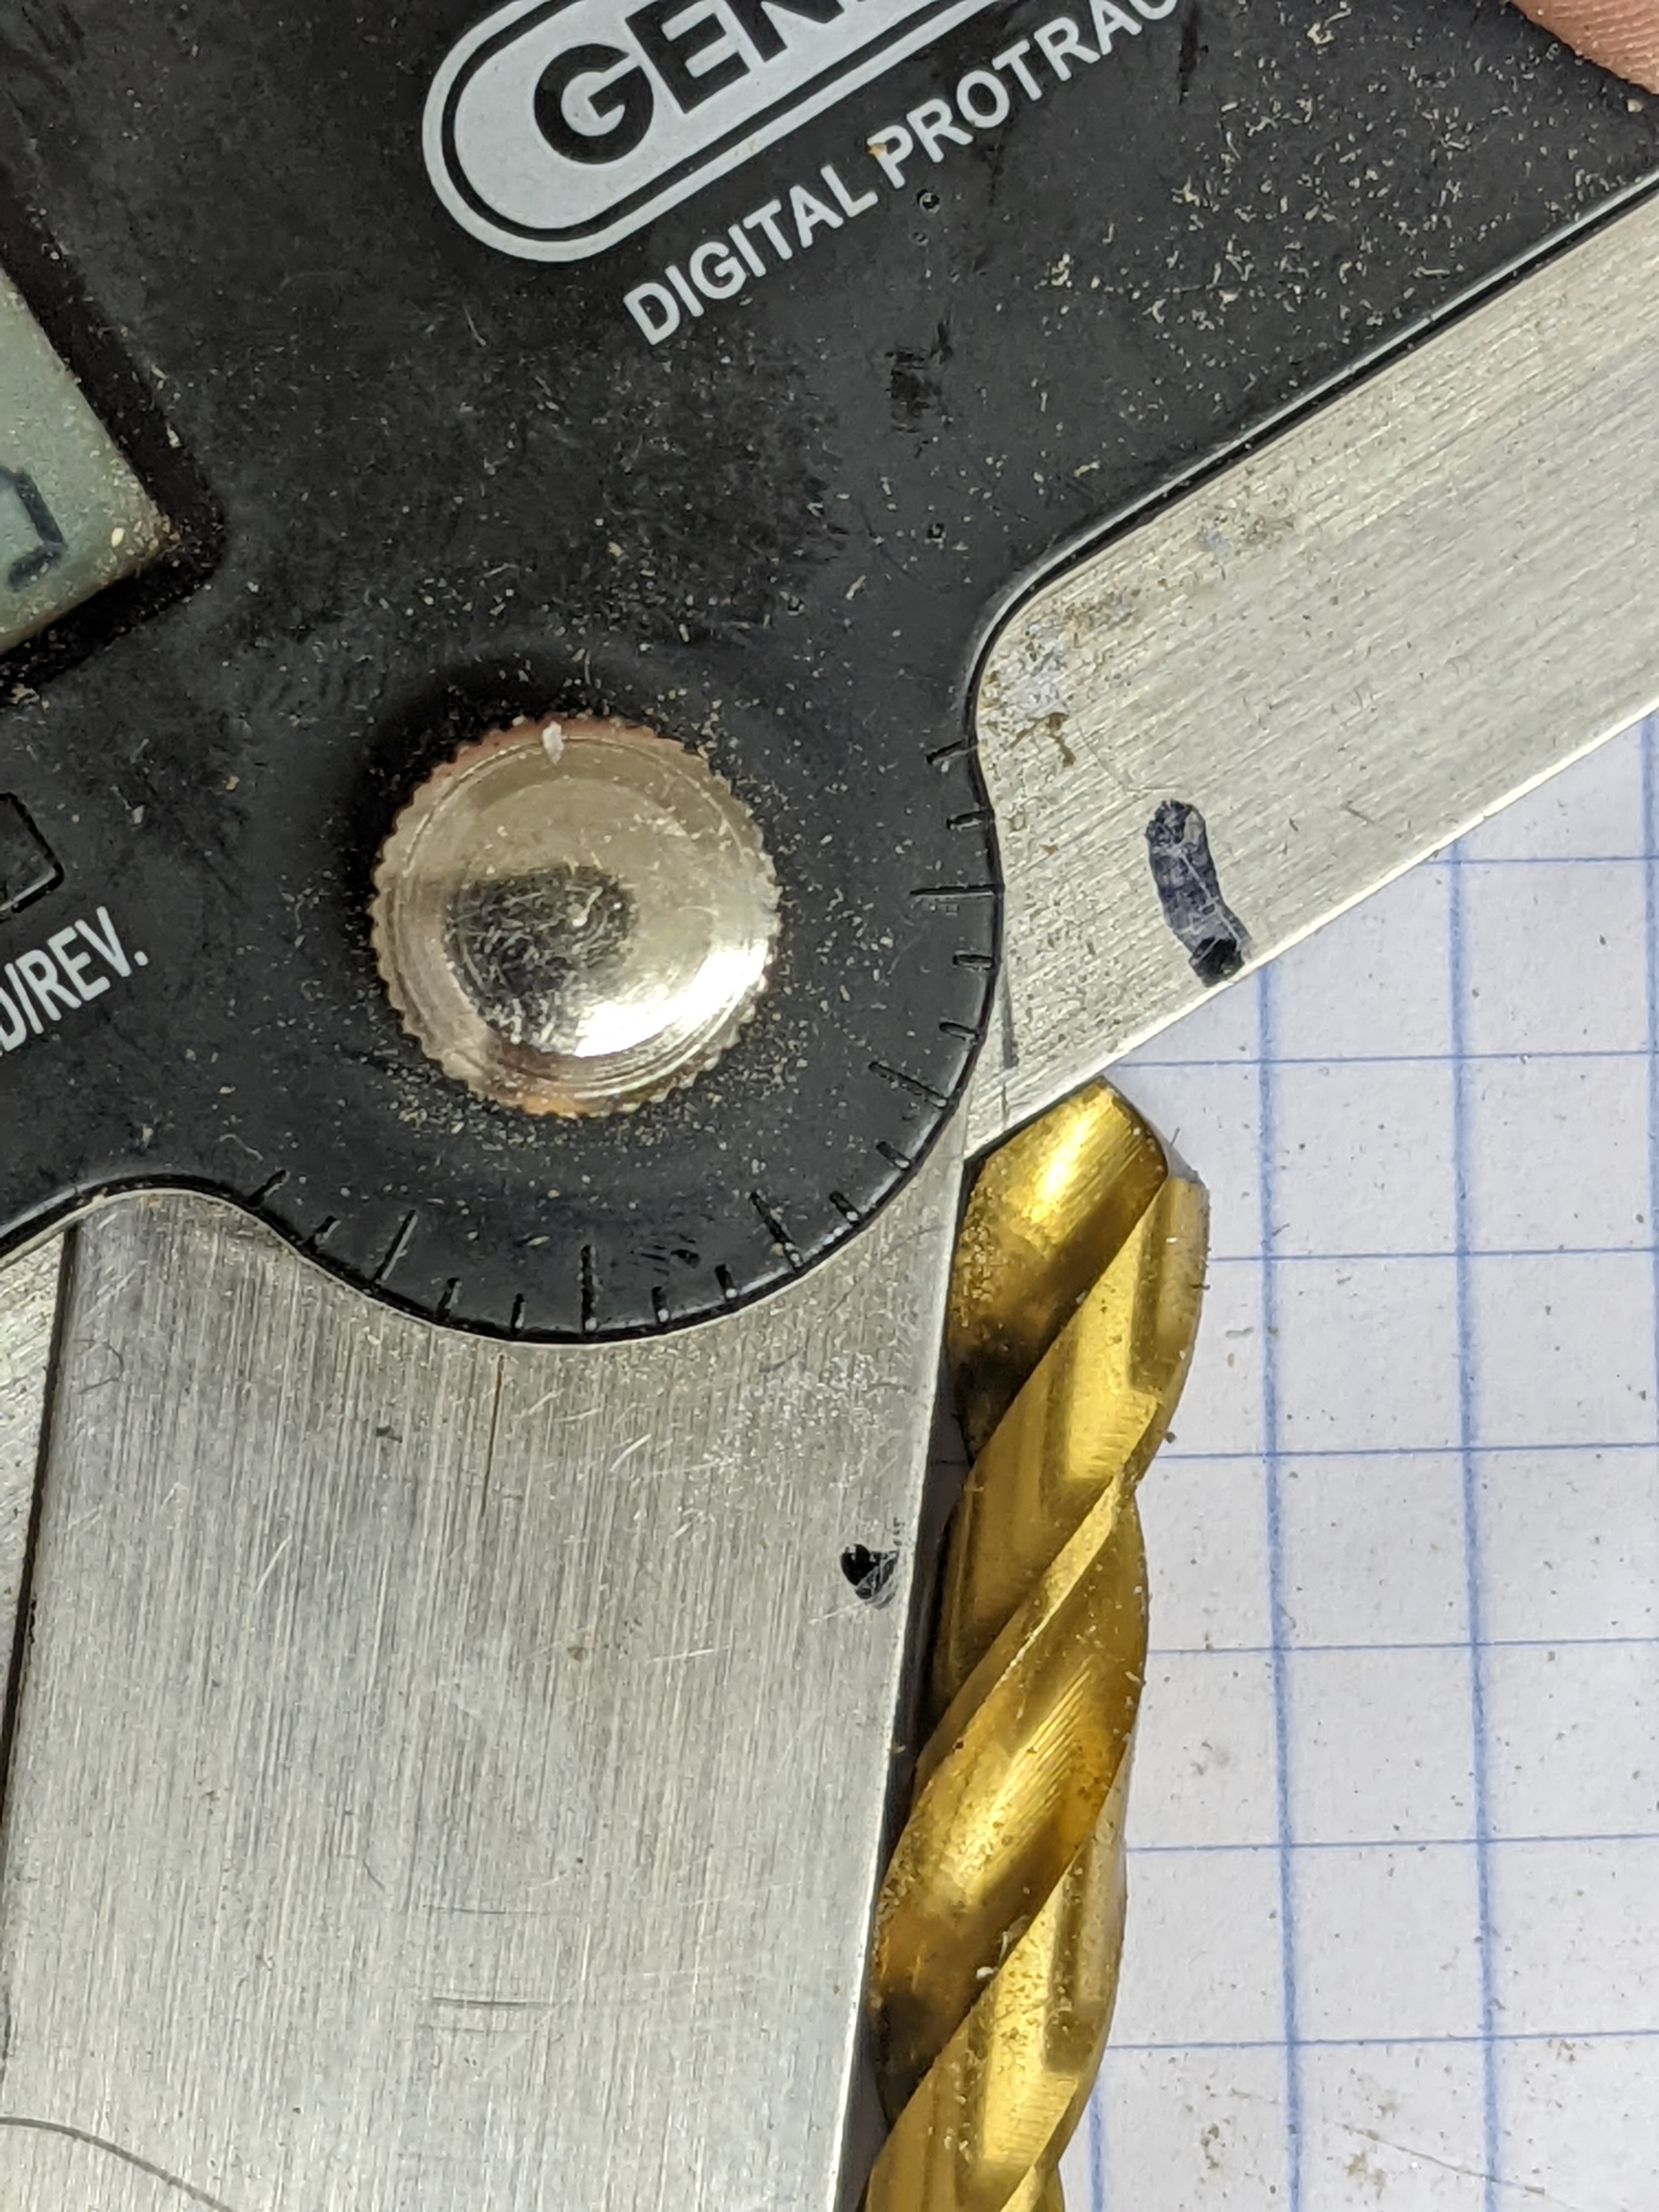
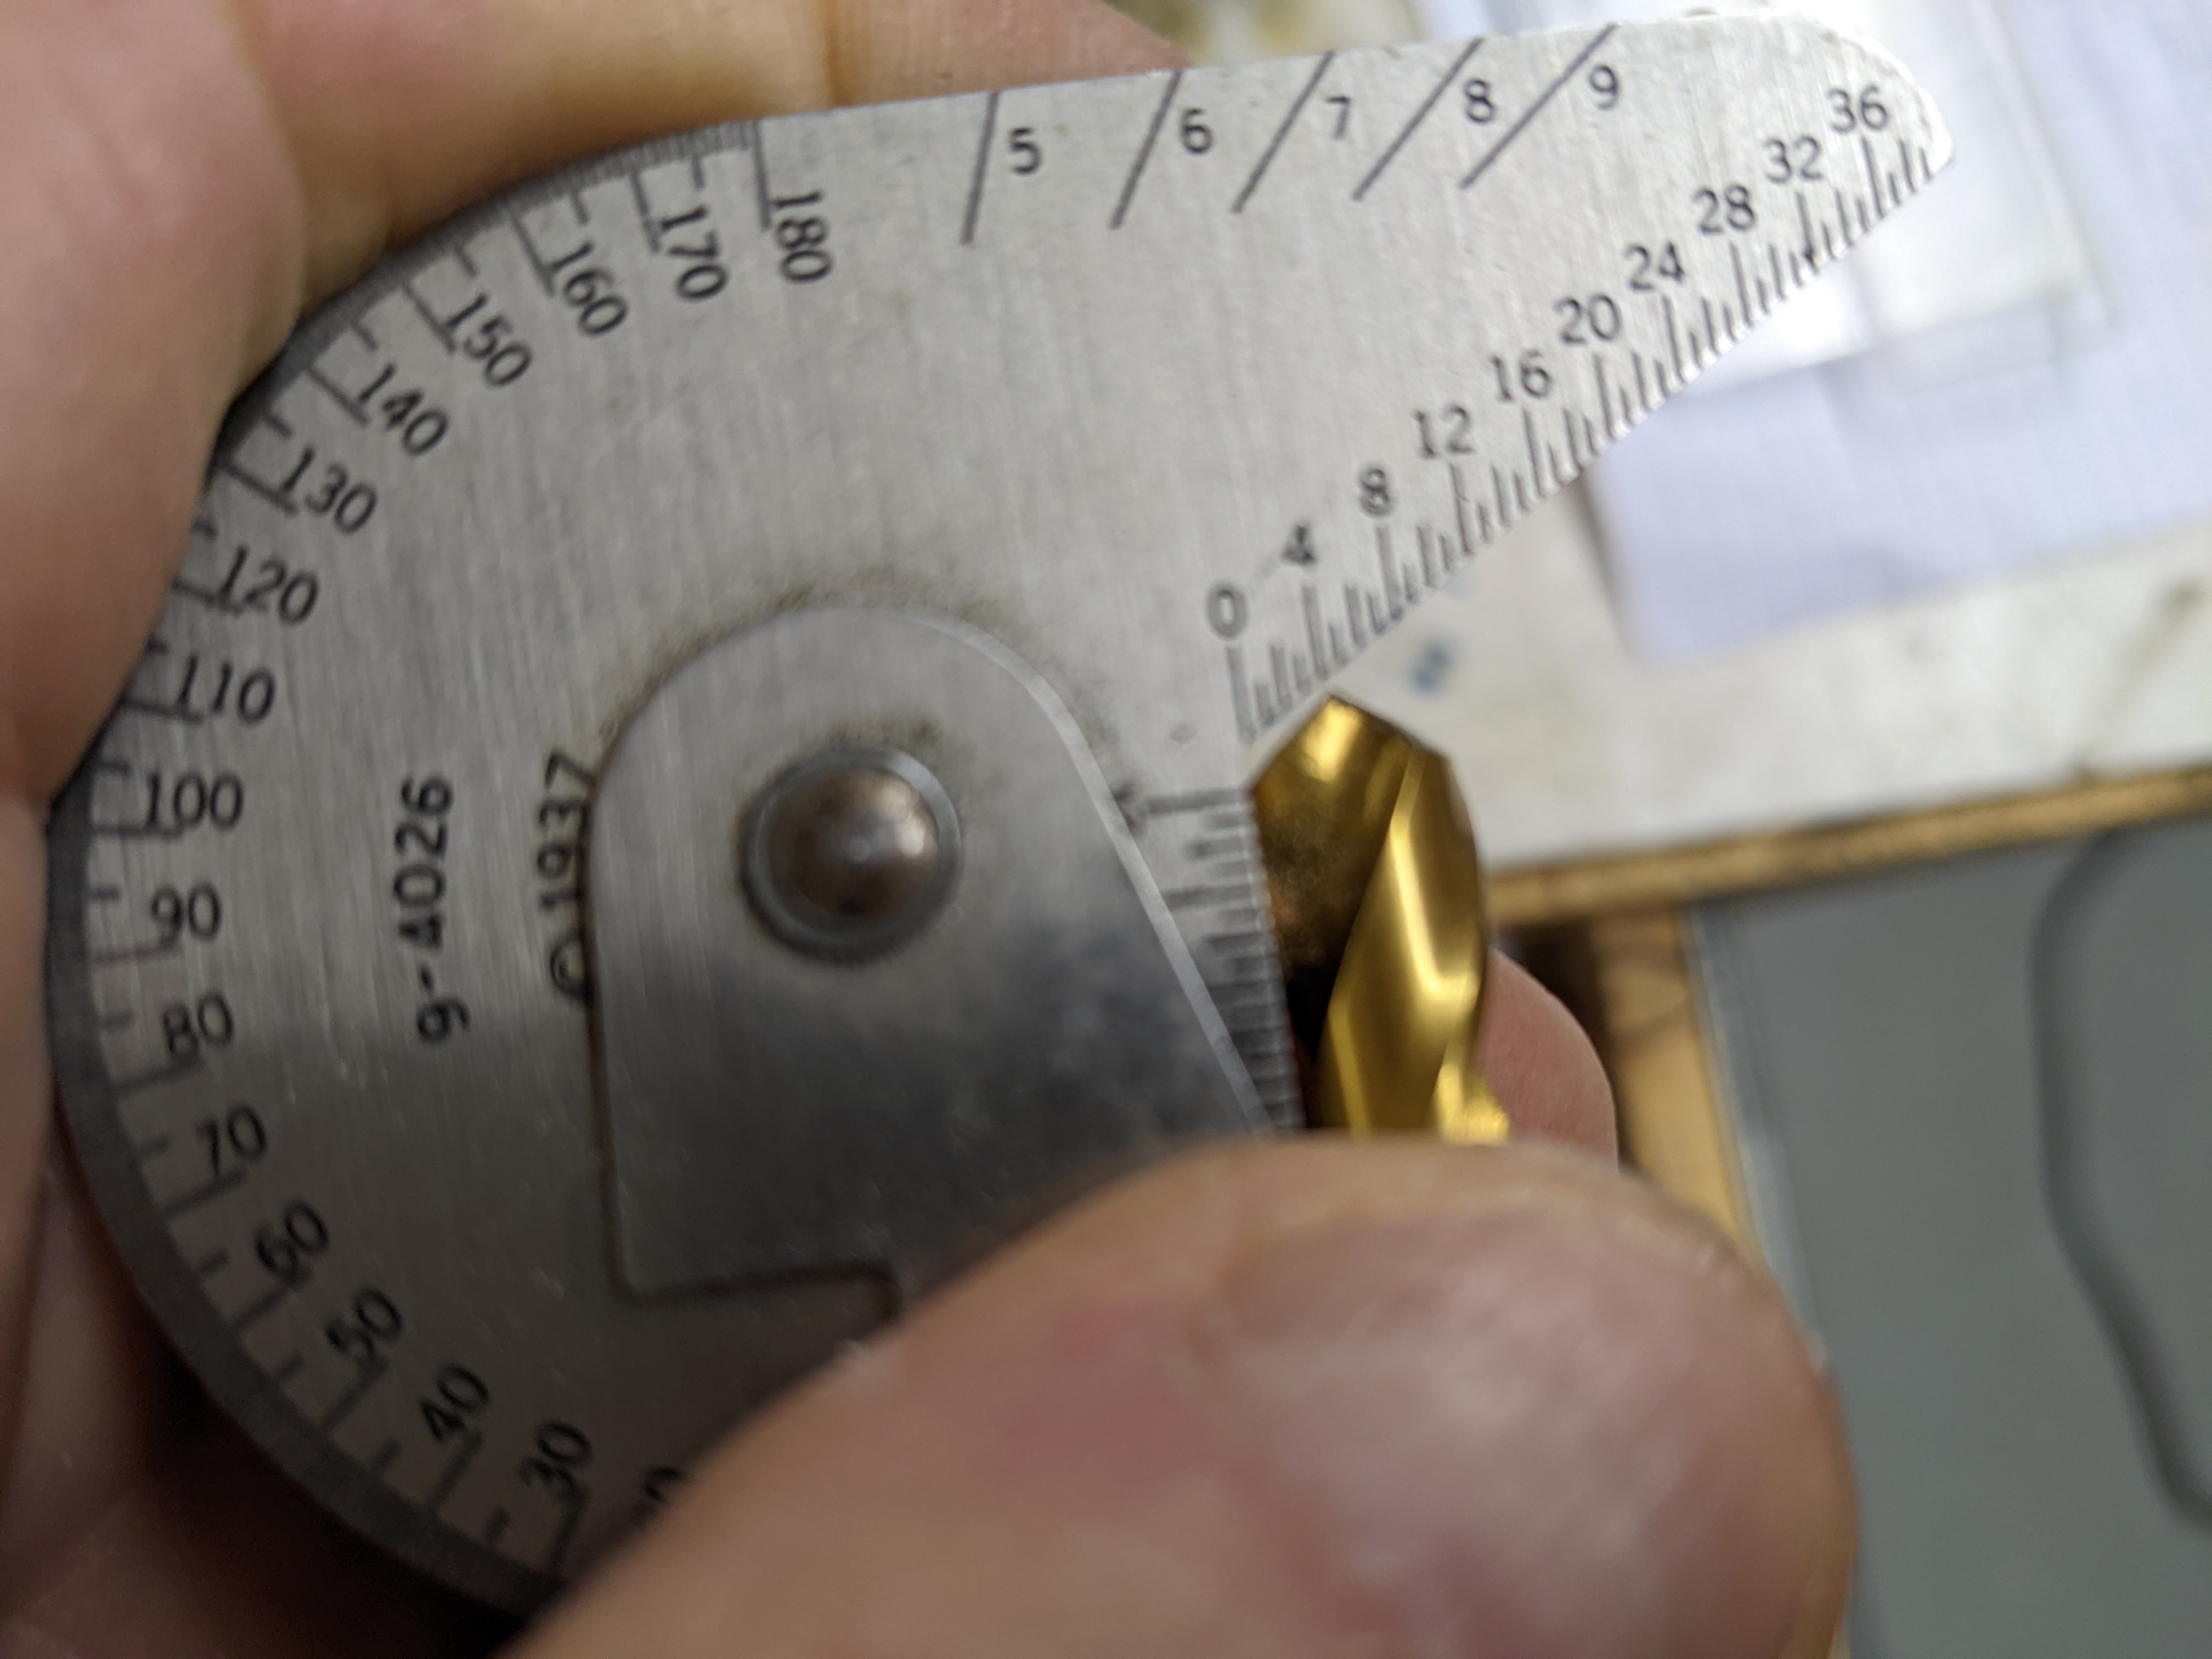
In fact, the only bit that comes small enough is a twist drill. So after noticing that amazon had bits intended to drill plastic https://amzn.to/3KZQvwF [I missed that in my research] I decided to regrind a small sample twist drill to a steeper angle and see how it cut.

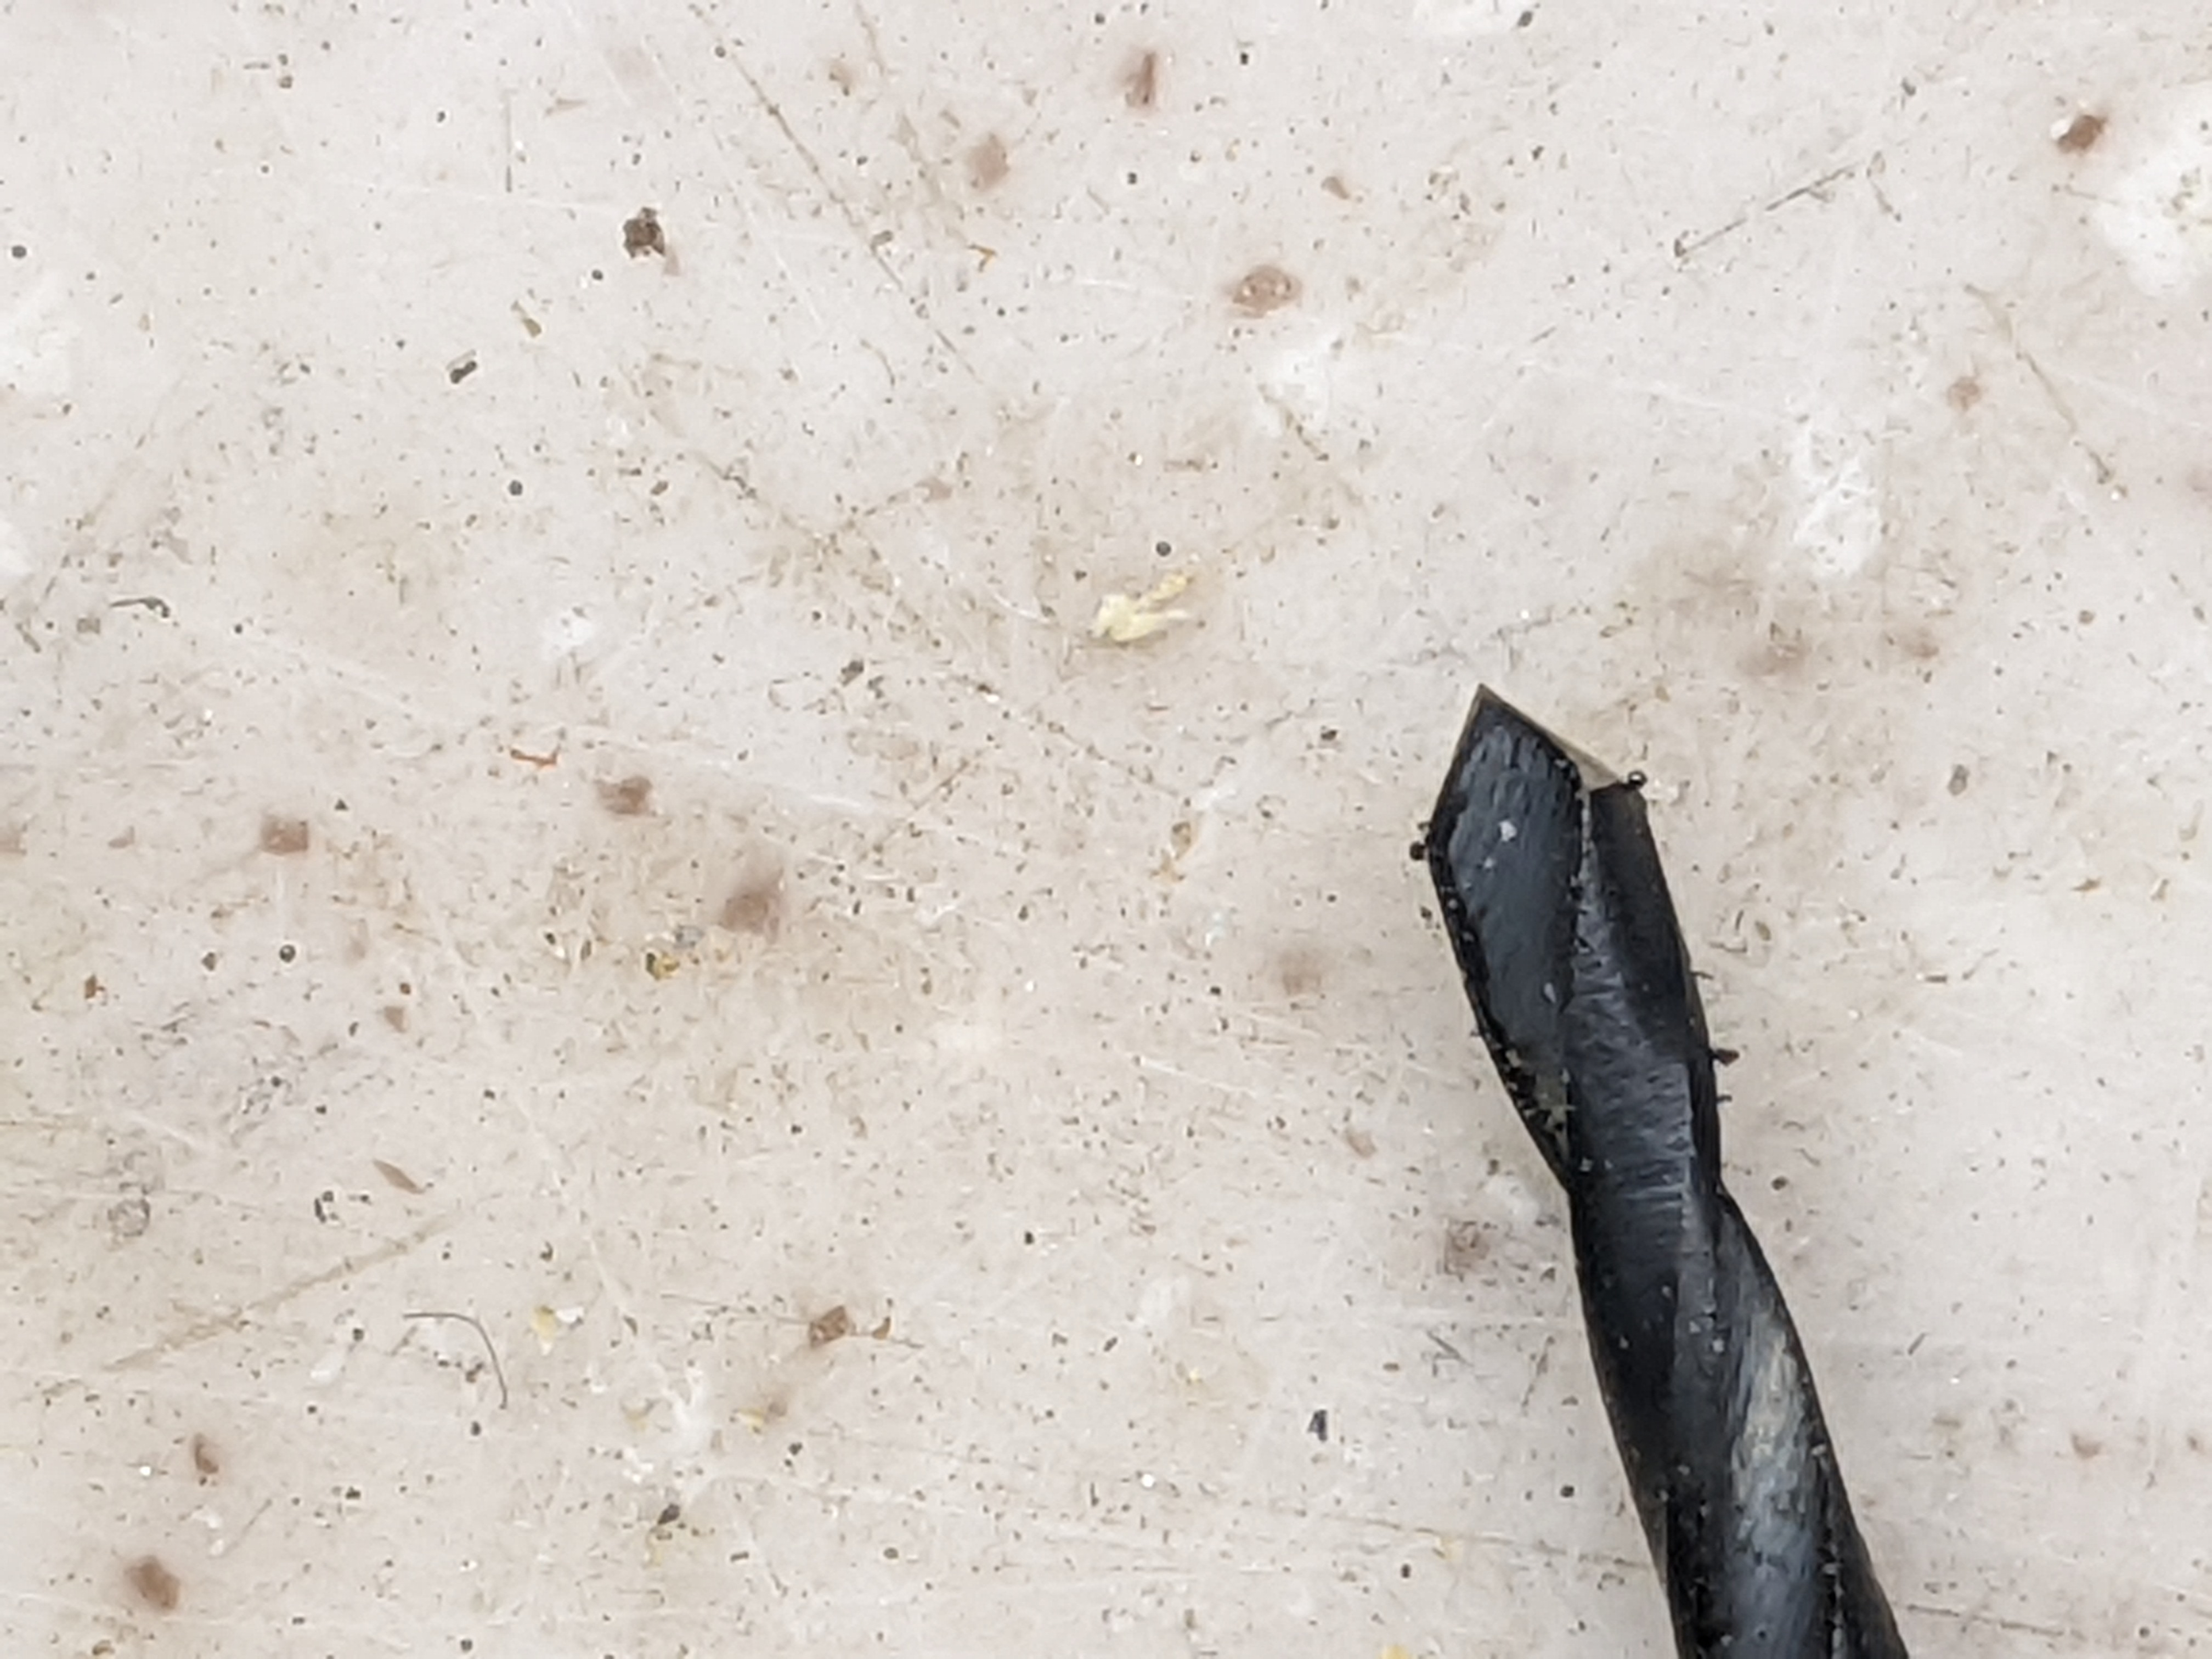
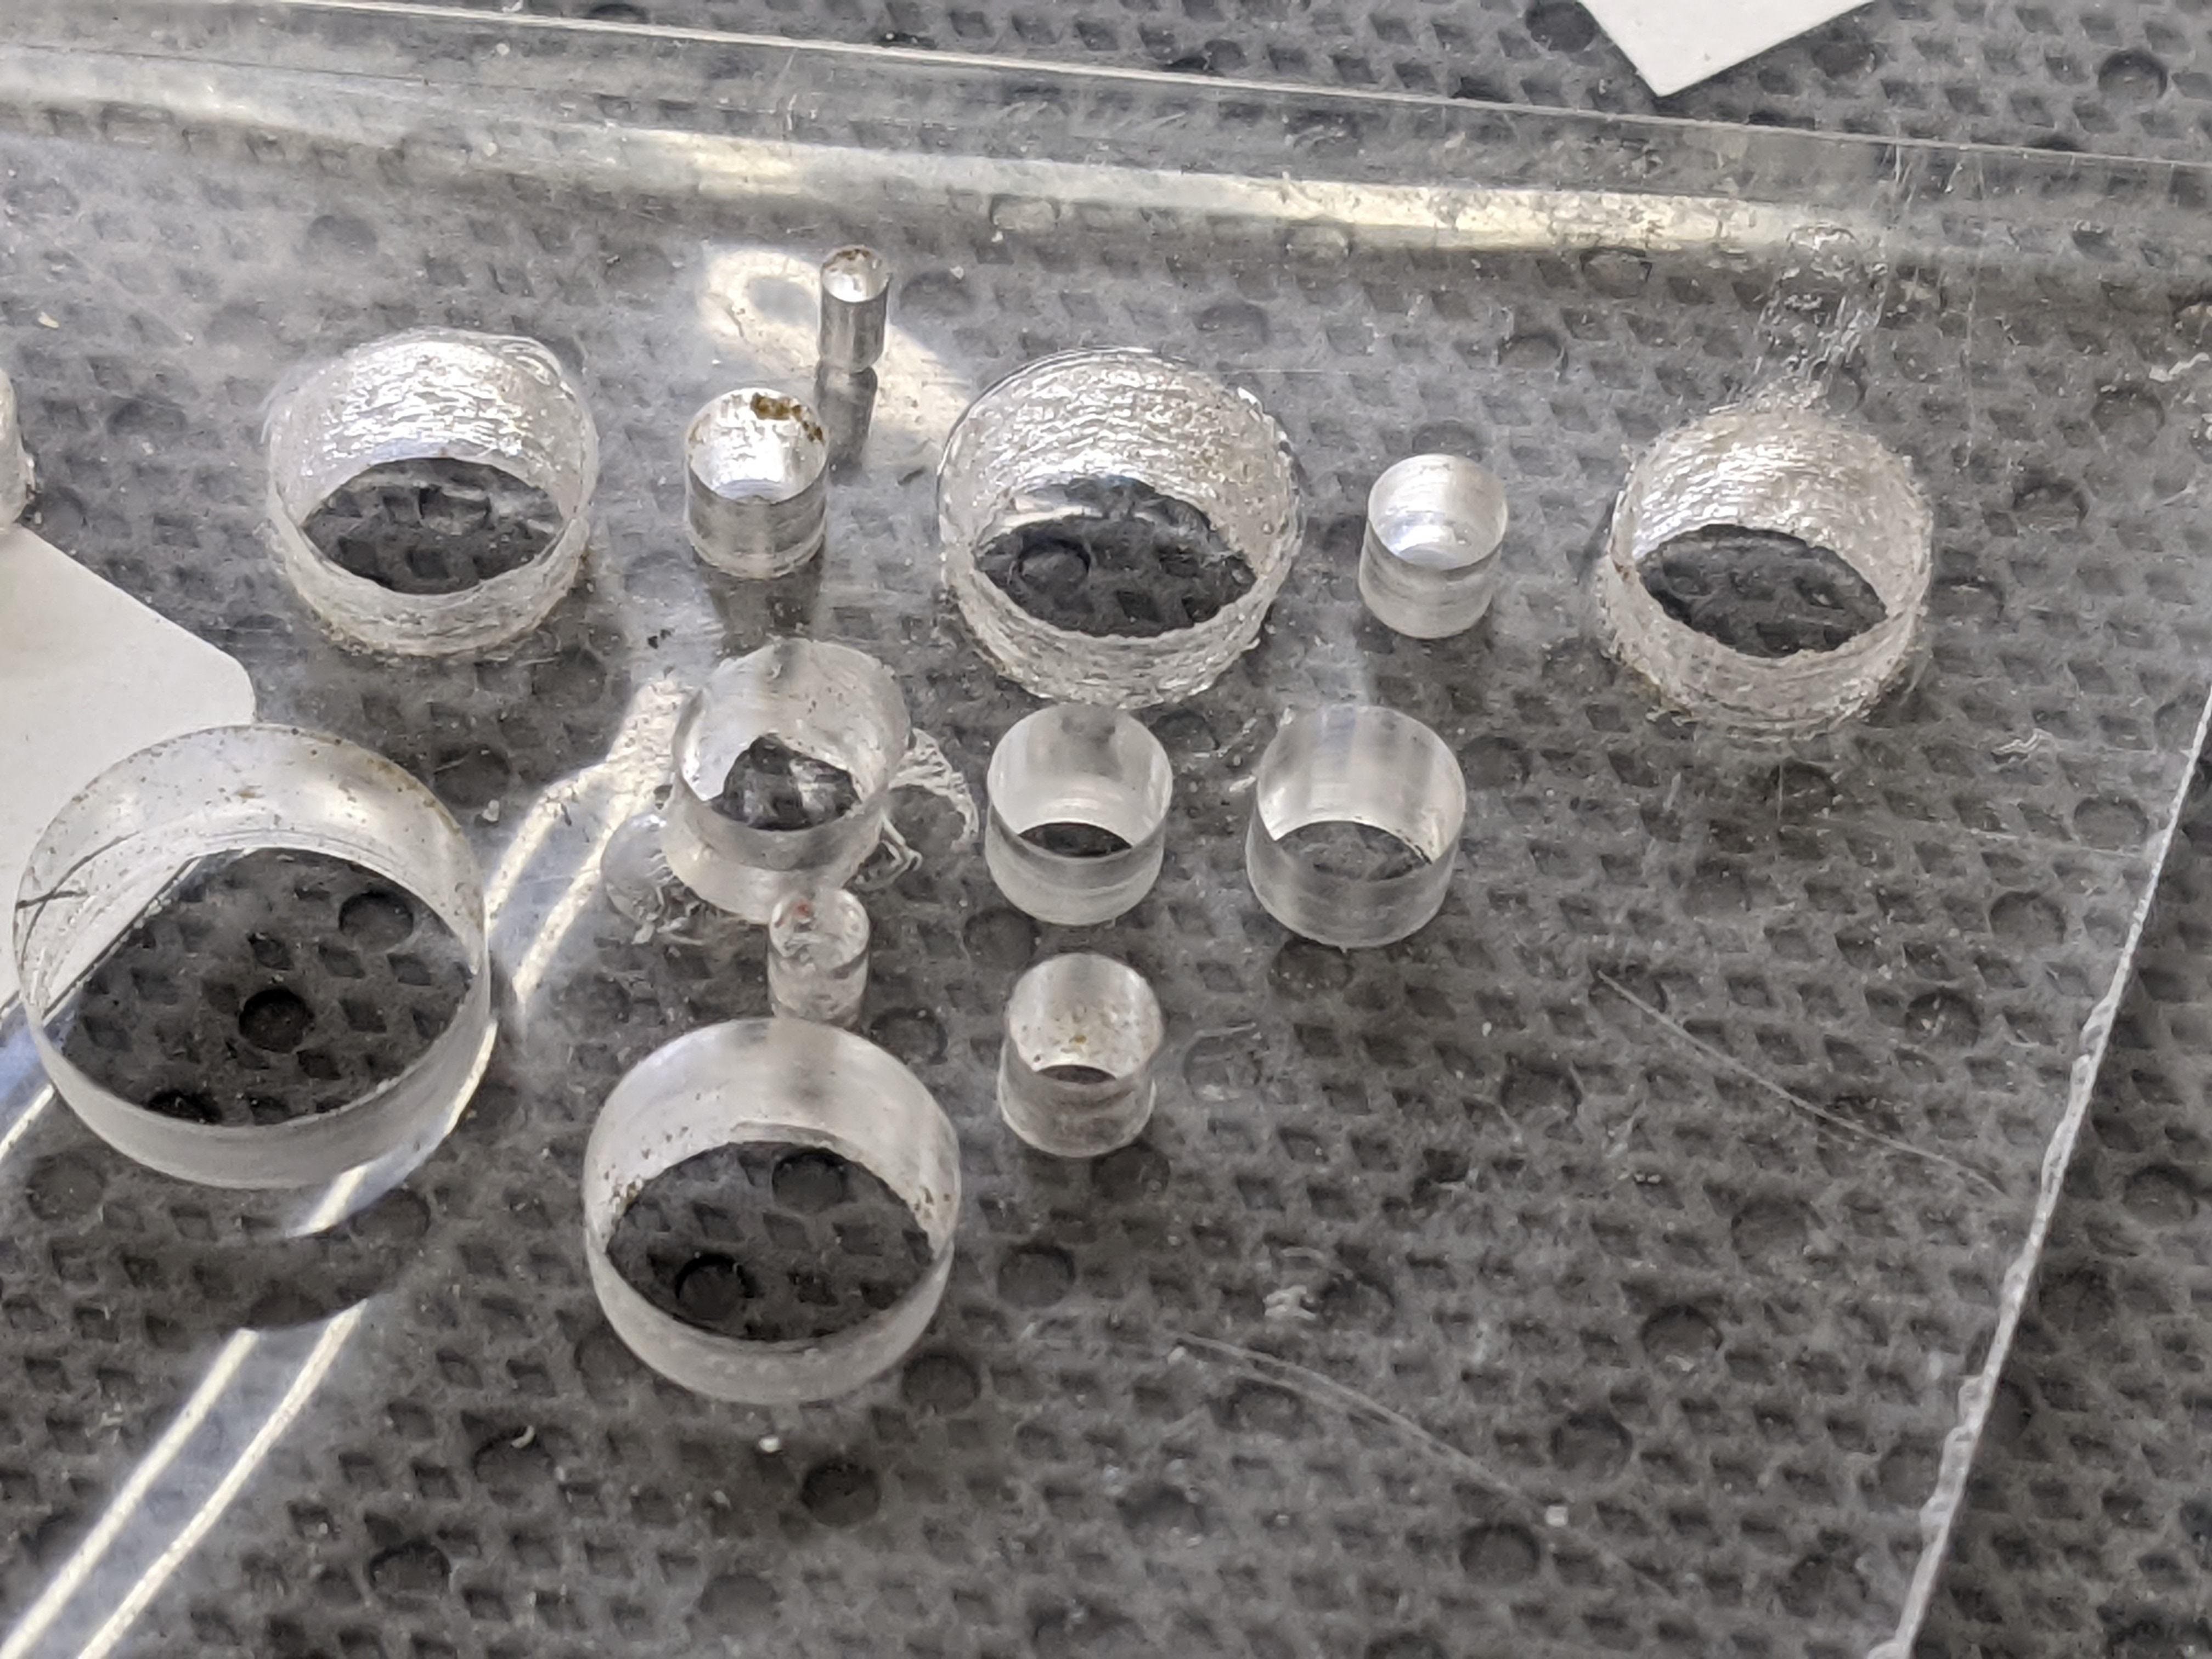
The results were better than expected. The bit cut without melting and really did not need coolant. You can see that the bit creates shavings rather than melting through the acrylic. A side benefit is the point of the drill acts more like a brad point bit and it does not skid on the surface when starting the hole. I can get the hole started in the center of the edge without a gauge!

I plan to buy a cheap drill index and regrind them all to this steeper angle.

7 Likes

Is your acrylic bending tool commercial or DIY?

DIY, the commercial ones are crazy expensive.

Wood, alum wire channel, nichrome wire, battery charger, spring.

6 Likes

OKAY, Now you gotta show us your hot bender. I enjoy working with acrylic,
I get 1/4 x 24 x 48 pieces occasionally from work as leftovers. It would be fun to build a heated bender.

3 Likes

Not to be confused with going on a bender!

Stay tuned I am going to do both!

2 Likes

Watch your fingers! At least it won’t really hurt until tomorrow.

Here is my DIY acrylic bender:

This is the power supply, a HF battery charger. You can use any DC source but you can often find battery chargers in the junk or thrift store. You need to ensure that the voltage and hot wire you use will give you the current and therefore the heat you need.

It has been modified with a 1/4 phone plug for power and a dimmer switch. If I was to do this again I would use solar charge connectors https://amzn.to/3BoFjoL.

The knob to the right is a dimmer switch that is connected to the primary of the transformer and adjusts the current as well as turns the unit on/off.

I always set this to the max so this control is probably only necessary if you have currents above 10-12 amps?

Mine is a bit underpowered mostly noticed when I bend 1/4 acrylic. It takes about 5 min to heat up the bending line.

10-15 amps would be a good current for quicker bending.

The side frame is used for bending angles. I seldom use anything but 90 and when I want accurate angles and size I bend over a wood mandrel sized for the part.

You can quickly make a one-piece 4 sided box using a mandrel. From a sheet cut out the corners and then bend down the sides over a mandrel, done!

For a C frame cut the material the size of the parts perimeter, heat, and bend over a mandrel.

Generally, I leave a bend tolerance equal to the thickness of the material.

Making the power connections at each end of the nichrome wire. The wire is supported by 1/4-20 bolts that have a slot sawed in them. The bolt is fastened to the base with inserts so the height of the bolt can be adjusted. The wire is put under tension by a strong spring at one end. Don’t run current through the spring, like I first did. Makes a great heater until the temper is removed :(.

A piece of a 3/4 aluminum channel is covered with aluminum duct tape and serves as the reflector.


Nothing special underneath just feet to create space for the wiring.


This unit maxes at about 8-10 amps. Most of the time it runs 8 amps but occasionally it runs close to 10 and I don’t know what causes the difference … :thinking:

I used 20 gauge nichrome wire about 23 inches long. https://amzn.to/3BfeX8K
I think the resistance is about .8 ohms/ft.

I noticed that you can get this https://amzn.to/34ulDUF which has a resistance of .6 ohms/ft and it might be a better choice.

Another choice at .26 ohms/ft https://amzn.to/3uJVUlD, quite a bit more current. I might try this in mine :).

Build hints:

  • To get as much current (and therefore heat) make the unit as narrow as possible but still meet your width needs. I have never used the full width of my bender.
  • 20 gauge nichrome wire @12V and 23" long is in the ballpark for acrylic temp range. The next avail size down is 16 ga and that may provide too much power unless you have a current control.
  • You have to choose voltage, and wire gauge to suit the dimensions of your bender. The wire resistance will change somewhat with heat so these are ballpark values.
  • Size the total wire resistance and voltage to the current you want. I suggest the low end for heating acrylic is about 10 amps.
  • Make sure the wire and connectors can handle the current. I used an AC power cable and solid copper house wire.
  • A better reflector will make the unit more efficient.
  • Adjust the height of the wire so you get max heat but it does not scorch the surface of the plastic before it melts the bending line.
  • Put your unit on a timer so that if you accidentally leave it on you will not burn the house down. I have mine connected to a switched plug that goes off with the light.

BTW: I cut my acrylic on my table saw.

  • Set the carbide blade height so it just penetrates the material about one tooth depth.
  • Use a method to hold the material’s entire surface down tight on the table. Especially thin pieces.
  • Use a zero clearance throat.
  • Go slow, wear eye protection chips can fly.
  • A plywood blade give a better finish but I am too lazy to change blades
  • I have heard but not tried that using a plywood blade inserted backward creates a better cut. Seems to me like it would melt the plastic.
  • Cutting acrylic on a chop saw is not safe said based upon bad experiences.

If you need any more details let me know.

2 Likes

Thanks for the information. :+1:

Thanks for the fabrication lesson… :grin:

When I worked with acrylic a bit, I ran the speeds and feeds on the bits I had and I had to slow both down very low. Don’t remember the rpm, but it was around 140 rpm, something very slow.

I can see the acrylic peel off like aluminum… Use the same software for speeds and feeds on the little CNC machine…

Please post the ‘follow up’ you are planning…

Take care

:smiley_cat:

An update on plastic (acrylic) drilling.

I bought a cheap drill index to resharpen for plastic drilling.

Note: I did not pay attention to the description, I wanted SAE bits and saw those dimensions in the description, these are metric bits which are SAE equivalents …NOT!

So I now have metric size plastic bits. I will order a SAE set … and pay attention this time.


Cutting angle:

I found that 40 degrees (as I measured below) was ideal but I suspect steeper cutting angles would work just as well.

Doesn’t look like much of a change when compared to the standard bit gauge.

The angle does not need to be exact. I sharpened all these by hand on the grinder.

Conclusions:

  1. The steeper cutting angle made a dramatic difference.
    The top 3 large holes were done with conventional bits using a slow pecking motion. Notice the melting of the side walls
    The smooth-sided holes were done with the modified bits. The hole with breakout did not have a backing board.
    You could tell that they cut better as curly plastic shavings exited the hole vs blobs of melted plastic sticking to the bit. I also did not notice the bit grabbing with the largest holes.
  2. You can still get breakout at the bottom of the hole if you put a lot of force on the bit or do not use a backing board. The smaller the bit the less trouble it had drilling without breakout. You only need enough force to let the bit cut and breakout is a thing of the past.
  3. I found that a dab of PTFE lubricant helped the process.
  4. These holes were drilled at 550 RPM into a backing board. With these steeper bit angles, I think you could go faster without a problem.
  5. Step drills work equally as well, especially for larger holes. I find that these twist drills are more convenient for smaller holes (<= 3/8) as you don’t have to set the stop on the drill press to control depth as needed when using a step drill.

This ends this experiment for me and I expect a long-standing fabrication annoyance has been eliminated… :slight_smile:

4 Likes

Marvelous.
That looks like 3/16" .
Is the Nichchrome wire the same as common 110Vac heater wire?
Can I use heater wire?

Heater wire is usually Nichrome or Kanthol as far as I know.

You could use heater wire but you would have to bend it out straight and the resistance/ft. matters.
This wire is very brittle and may break when bent much.

NIchrome and Kanthol wire [thanks to vapping] is pretty cheap so you might find it less expensive in the long run to buy some vs unwind a heater coil and tinker with the length to get the right power.

1 Like