I’m new to working with Baltic Birch. I don’t have a table saw setup the way a real woodworker would. I’m just rough-cutting pieces to CNC later, so a great cut doesn’t matter much; the cut is in waste anyway. I have a 7 ¼" circular saw with a Accu-rip long-reach fence/guide.
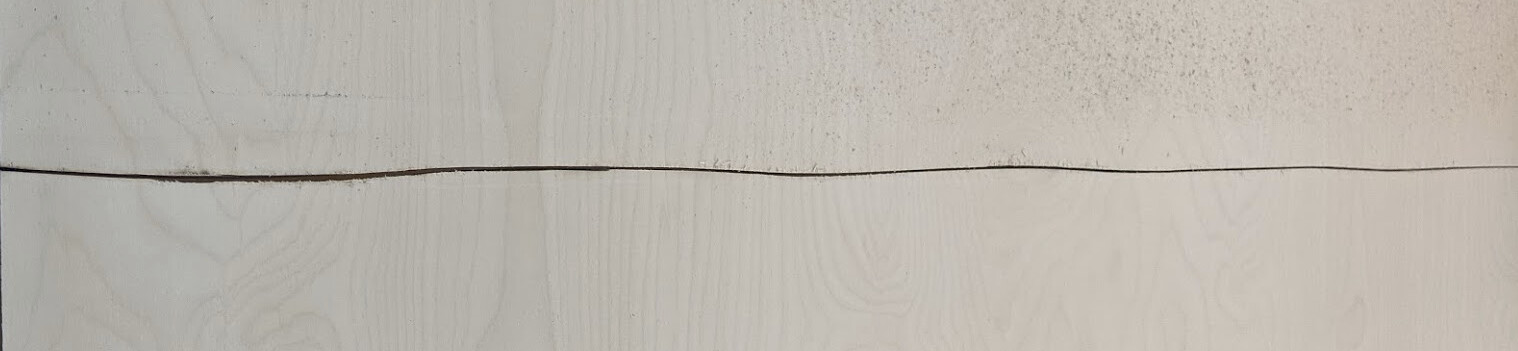
I have been using a plywood blade but I think it has seen better days. It’s a hollow-ground thin kerf blade, and the long-reach fence which makes it easy for the saw to get behind or ahead, rack, and not cut straight. (See also this thread; I’m not alone.). I think that the thin blade with no significant relief is also very susceptible to flexing. It rubs and heats and burns and I’m sure once that starts, it accelerates the dulling process. So time to throw it away. Here’s the evidence:
It looks like the Kreg Rip-Cut could resist racking a lot better, but a lot of customer reviews complain that it’s a plastic piece of junk.:
Has anyone here had good experience with this guide/fence? I guess maybe I could make an aluminum guide extension to reduce racking on my existing Accu-rip guide…
I’m also looking for advice on plywood blades.
I saw a review saying that this Diablo worked well in Baltic Birch, so I ordered one…
I see thin kerf, carbide teeth, and expansion slots that should help it run true. Any experience and other suggestions?
Yeah, but that HF fence only works to 24" and I’m cutting 5’ sections. So it would come up about a yard short…
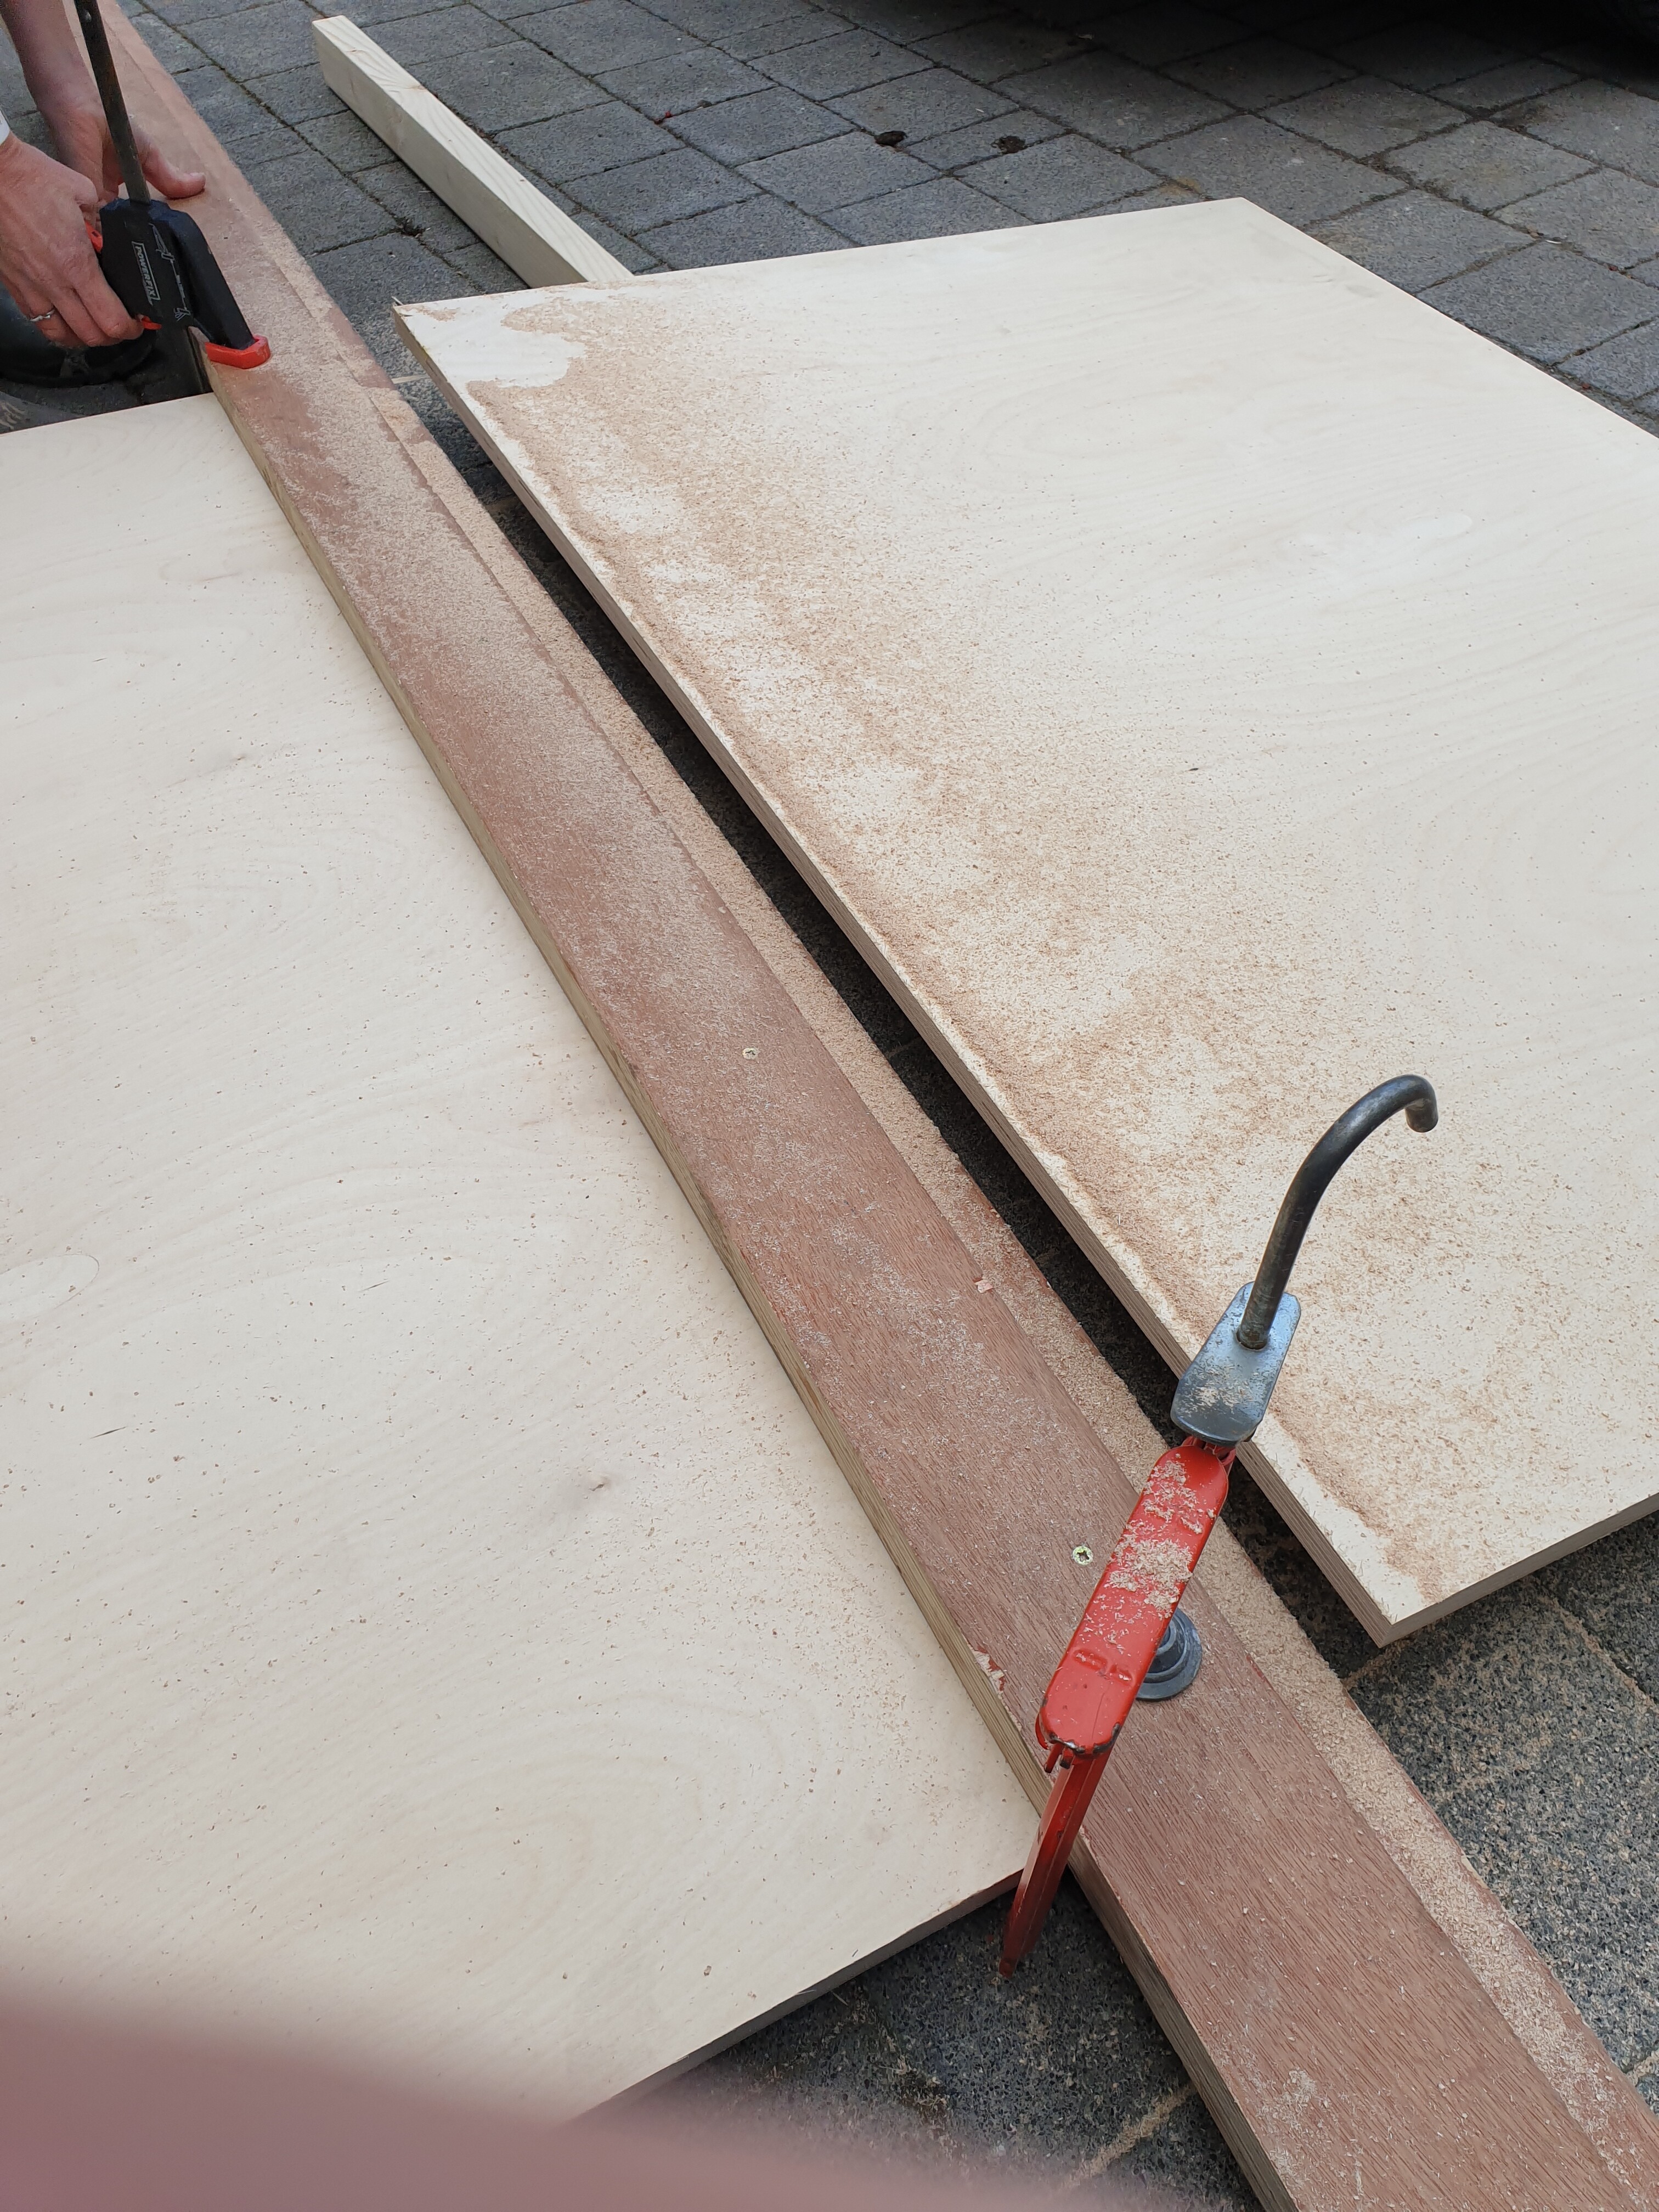
In any case I was quite stupid. I could have just clamped 1.5M aluminum extrusion that I already have in the workshop to the wood as a fence and made a perfectly straight cut. Sigh
The blade is gummed up so I’m not doing any cutting until I get the new one anyway, though. And I started on a project to add some length to the Accu-Rip edge guide to reduce racking. I got a piece of aluminum squared up and blued. But I might put that new project on ice and just rip to an extruded fence instead.
I have one like that to. Purchased it like 20yrs ago from Lowes I think. I use it for cutting down big pieces of ply that I don’t want to try wrestling on the table saw. I also have the bigger version of that clamp from HF.
I also have the HF fences and find them more than adequate.
For longer cuts, I use a thin extrusion. The problem usually is that extrusions are too thick to fit under the circular saws motor. Turning the saw so the short side of the sled is against the fence is less accurate.
My son uses and swears by the kreg saw guide but I have never used it.
That diablo blade is nice but not really designed for plywood.
This one is: https://amzn.to/2QHYYwx
I usually run a strip of blue painter’s tape on the cut line to get a better cut.
Also, you want to flip the wood so the blade cuts into the side you want a clean edge.
Then again if it’s just to cut pieces for CNC then it really doesn’t matter.
You can clean up your existing blade with this: https://amzn.to/3fnZ6M7
You can also get the existing blade sharpened.
Is this because the handle is lined up more closely with the edge of the fence under the motor, so the racking forces are smaller?
I’m glad you said that — I hadn’t thought about that aspect at all! TIL…
I have about 40mm depending on blade configuration, and a piece of 2060 extrusion 1.5 meters long, so I might be good there, except for the height of the clamp. If I need to clamp from the top, I would run it on the short side and it would still have lower racking forces than the guide; I could also design and 3d print pivoting clamps that engage with the T-slots, I suppose, if I want.
The blade I was using is a 140 tooth blade like the one you linked to. I thought the point of the hollow ground blades was minimizing kerf, and that the extra width from the carbide teeth brazed onto the blade would give a wider kerf but could end up cutting cleaner due to side relief, and also be more forgiving of slight racking which seems like it would be a win for these imprecise cuts.
I would have expected it to cost more to sharpen a blade through a service than purchasing a new one, at least at the quality level I own. I see that range is about $.25-$.50 per tooth, and that’s $35-70 to re-sharpen a $20 (IIRC) 140 tooth blade, not counting any necessary shipping.
I see HF has a sharpener for $55 — but 140 teeth and making sure they are ground equally so that I’m not introducing runout seems hard given the steep end relief necessitated by the fine pitch? I’m not even sure it would work for these fine-pitch blades? I could see this for touching up my coarser pitch blades though!
The Diablo arrived today. Its kerf is 0.05mm thinner across the set (1.66mm) than the hollow-ground plywood blade (1.71mm), which has very little (if any?) set to the teeth. I have another (older) 140-tooth plywood blade (not hollow ground) with a fairly aggressive-looking set (kerf not measured). The Diablo is substantially thinner across the blade body than even the thin part of the hollow-ground blade, so if the saw racks the blade will flex a lot. On the other hand, the brazed carbide teeth are substantially wider than the blade, so in a straight cut it should run true.
I tried the Diablo. (Fast shipping!) I had to put the fence against the short (outside) side of the sled because I don’t have low-profile clamps; the extrusion itself fits under the motor but not the clamps. Both of my remaining cuts were oriented to rip with the veneer, so more likely to tear out than the earlier cross cuts.
My first cut had one hair of tear-out (inconsequential) and some light scorching in a few places. I pushed the second cut faster and had no perceptible tear-out and minimal scorching; minor darkening of a few plys.
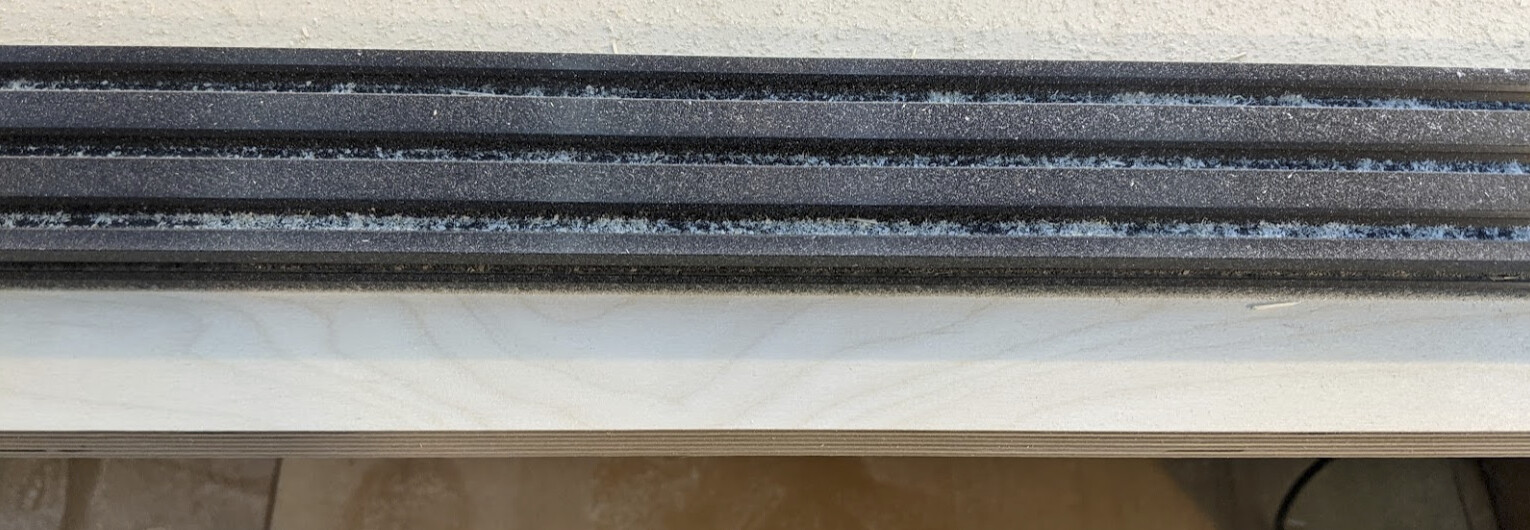
I think with a little more experience with feed rates I would not expect consequential scorching at all. Cut was true and smooth to the touch. Here’s a representative section with the fence still in place:
But now I’m looking at my other carbide blades and wondering if I should use diamond cards on them to home them a bit. It might take more patience than I typically possess, though!
In the meantime, my curiosity about sharpening led me to Blackburn Tools - saw tooth geometry and I found it useful. And I learned a new word, Fleam, so today was a good day.
This is what I use. again I generally only use it to cut plywood up for the CNC but get a fairly straight cut.
Plus it’s cheap and quick to make.
Keep meaning to put a block of plywood under the unsupported side of the saw to get more support.
Also really high tooth count saw blades should only be used for cross cuts and not long rip cuts. You’re more likely to burn the cut with higher tooth counts.