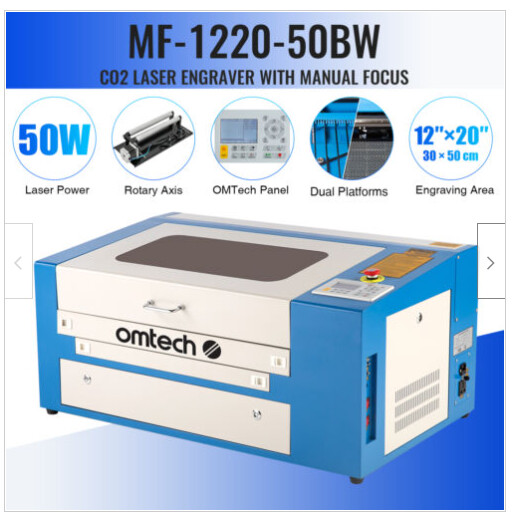
Well, I’ve gotten to the point where I need another laser and preferably something just a bit bigger. Settled on a 50W machine. I didn’t want to wait on something coming from China and dealing with port-to-port shipping so I purchased one from Ebay that was in country. I live in a port city so I could have actually driven to the port to pick it up if I had gone that route. ( Maybe for my 3rd laser )
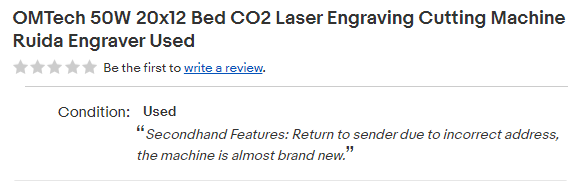
Got a good deal from a reputable Ebay seller since they said it was “Used” since it had been shipped and returned for a wrong address. Should be here in a week so we’ll see.
Now trying to configure my work area for two lasers
Congratulations!
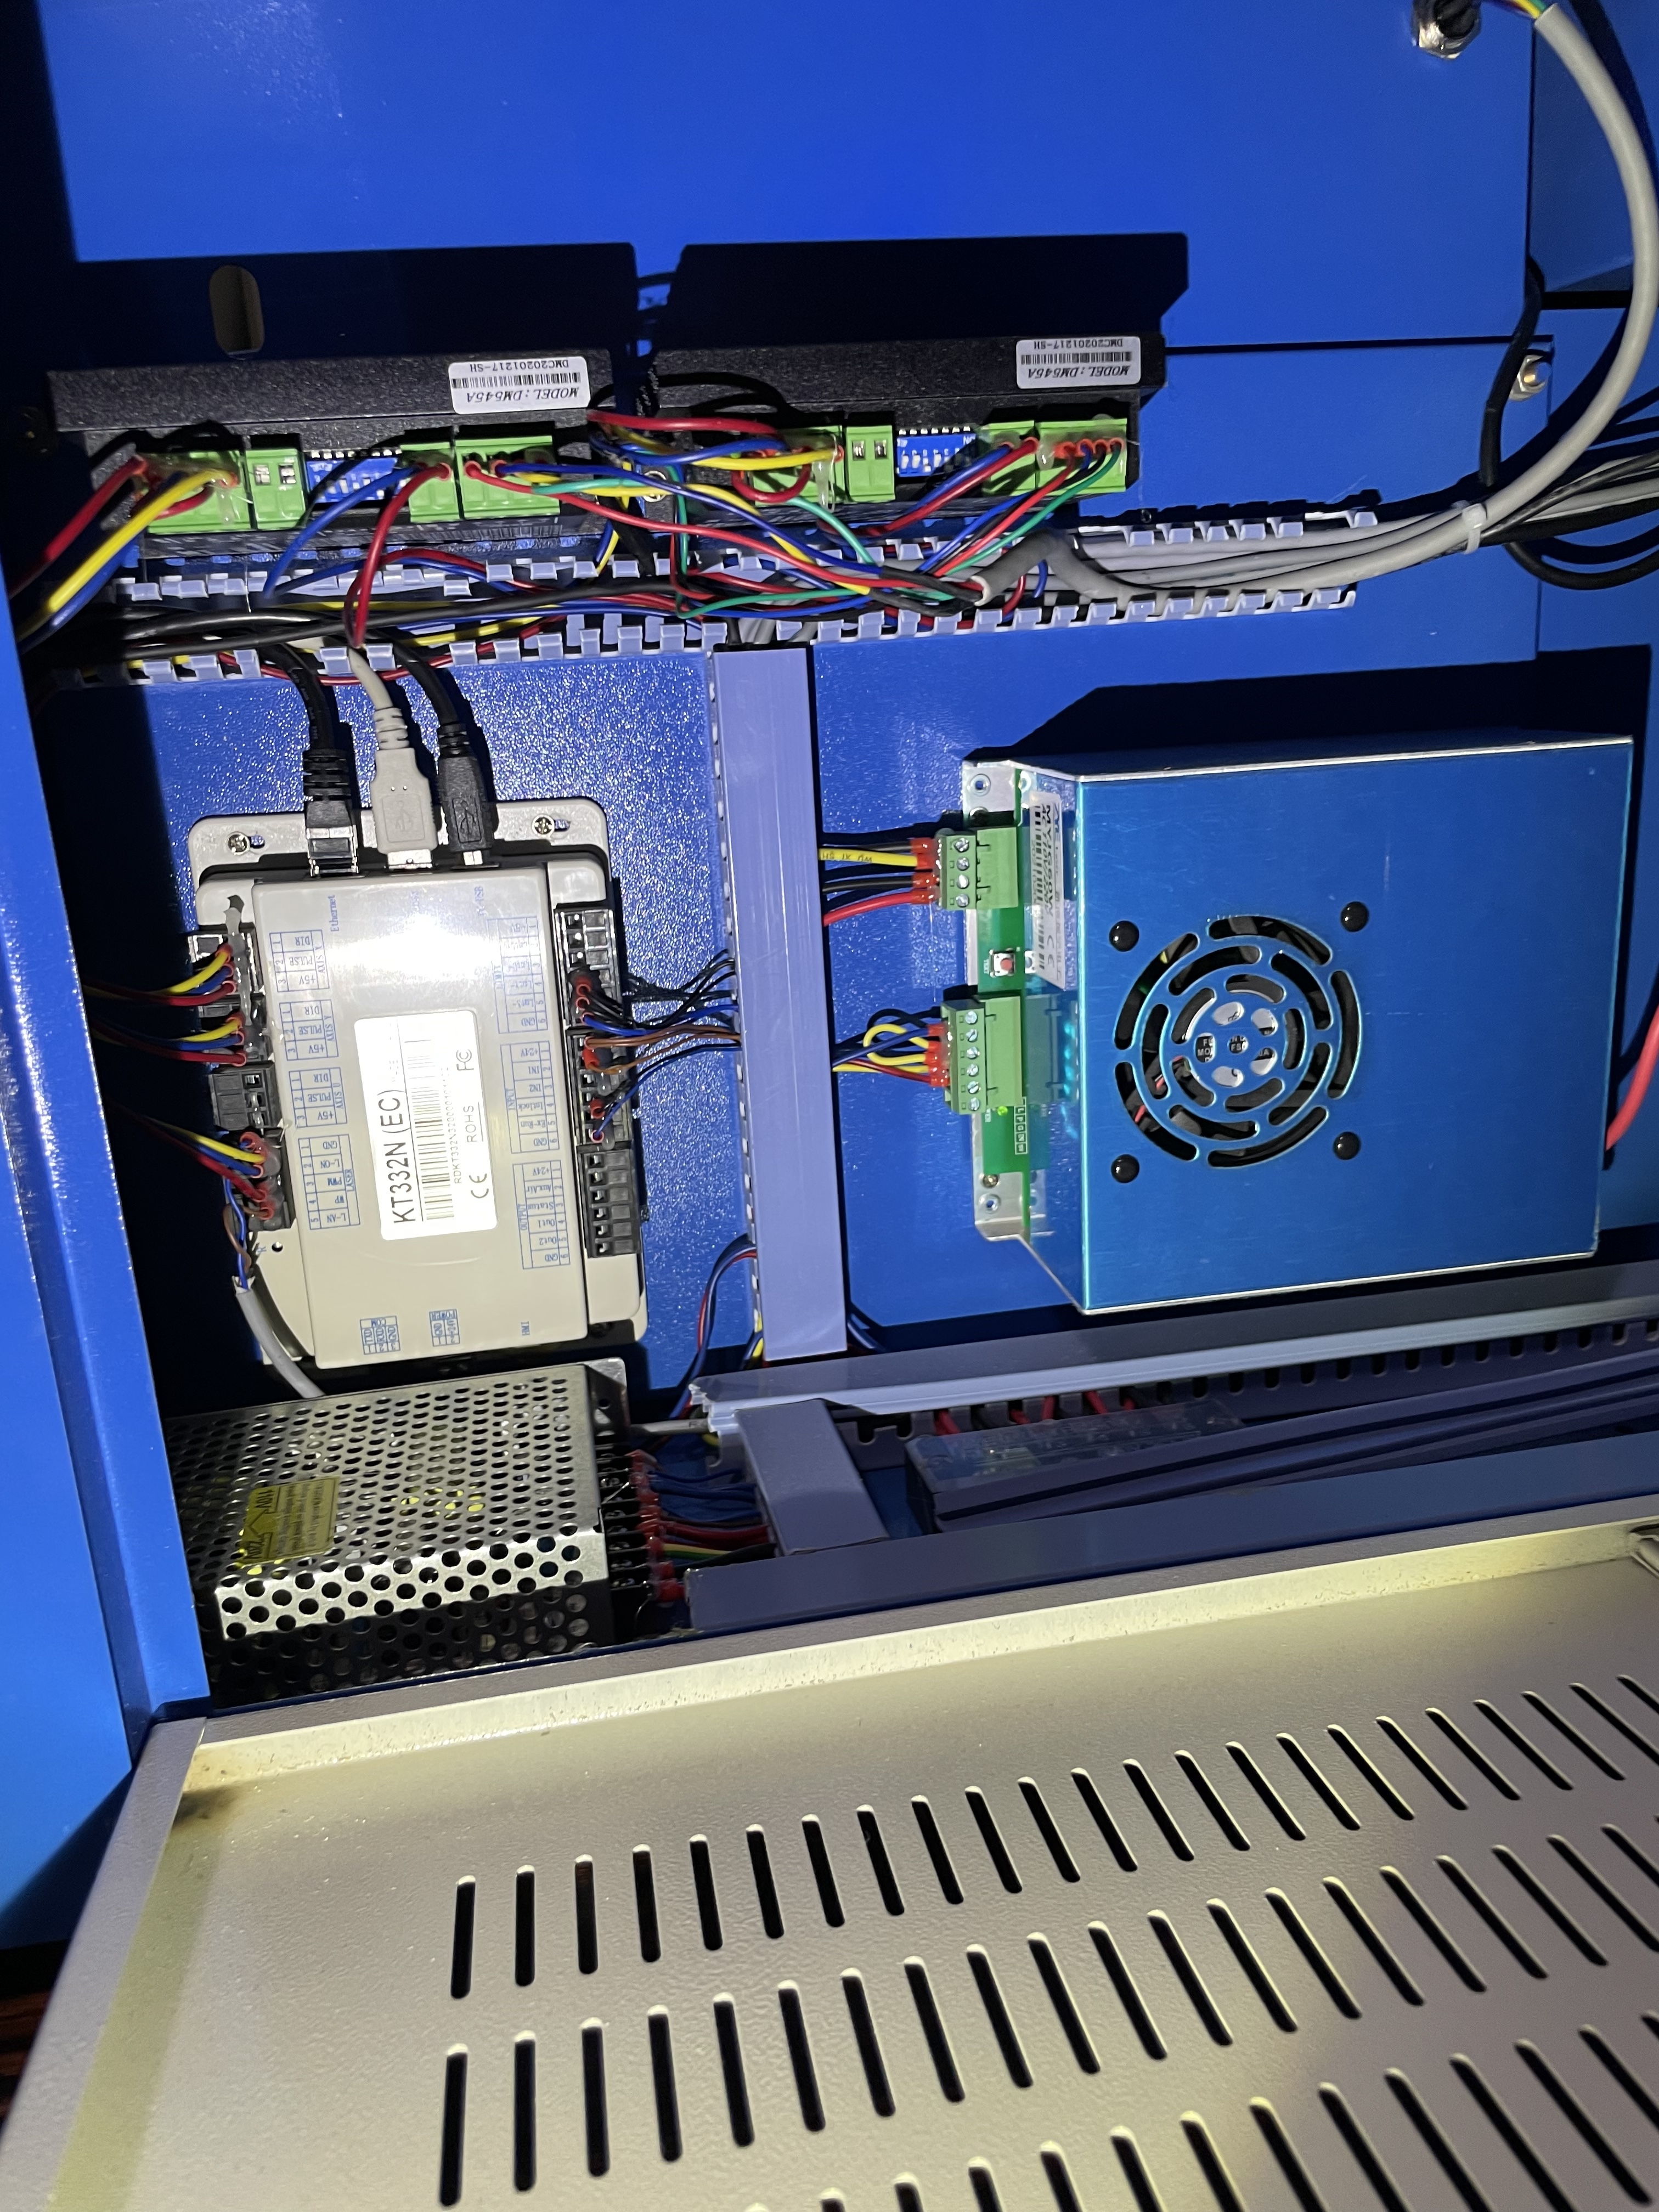
I also just bought an OMT for a quarter of a year but 60Watt. I am extremely happy with my machine. Besides the fact that my machine is a bit bigger, it has a KT332N controller, which is not labeled with Ruida but is a Ruida.
I hope your machine arrives intact and that you will be as happy with the machine as I am for mine.
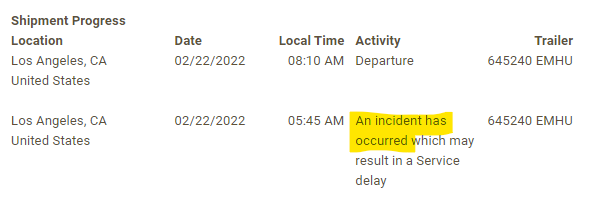
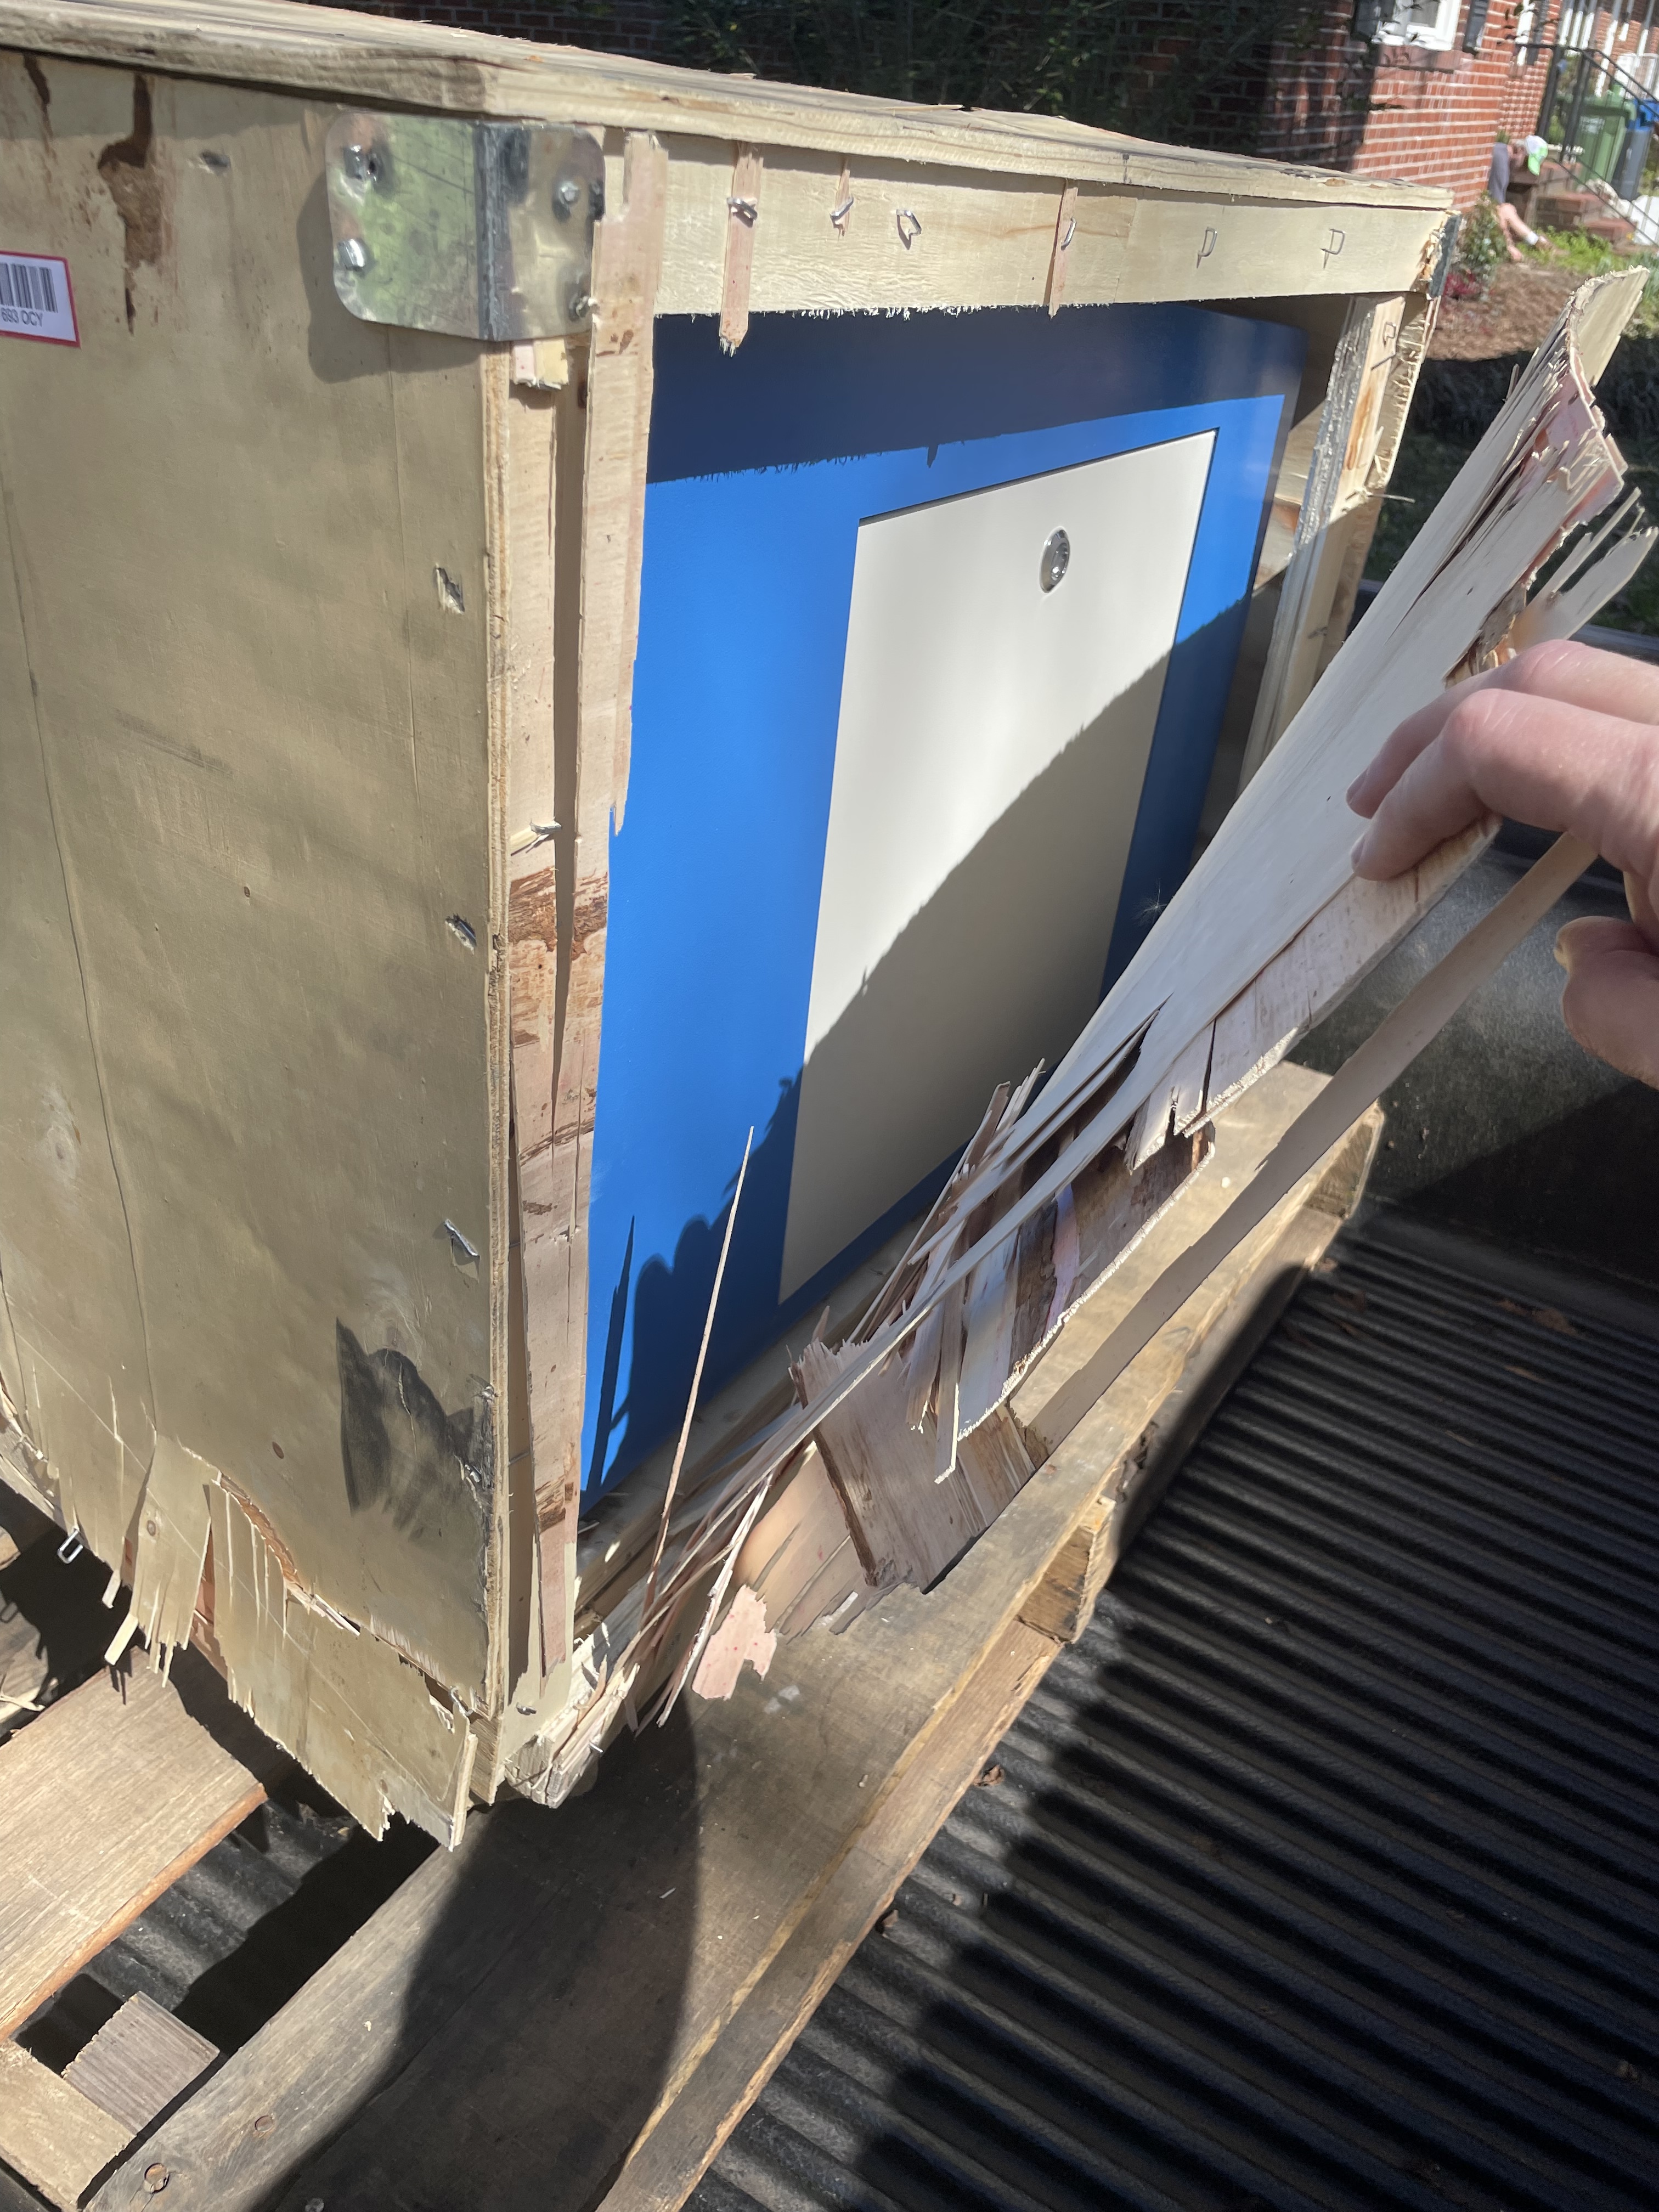
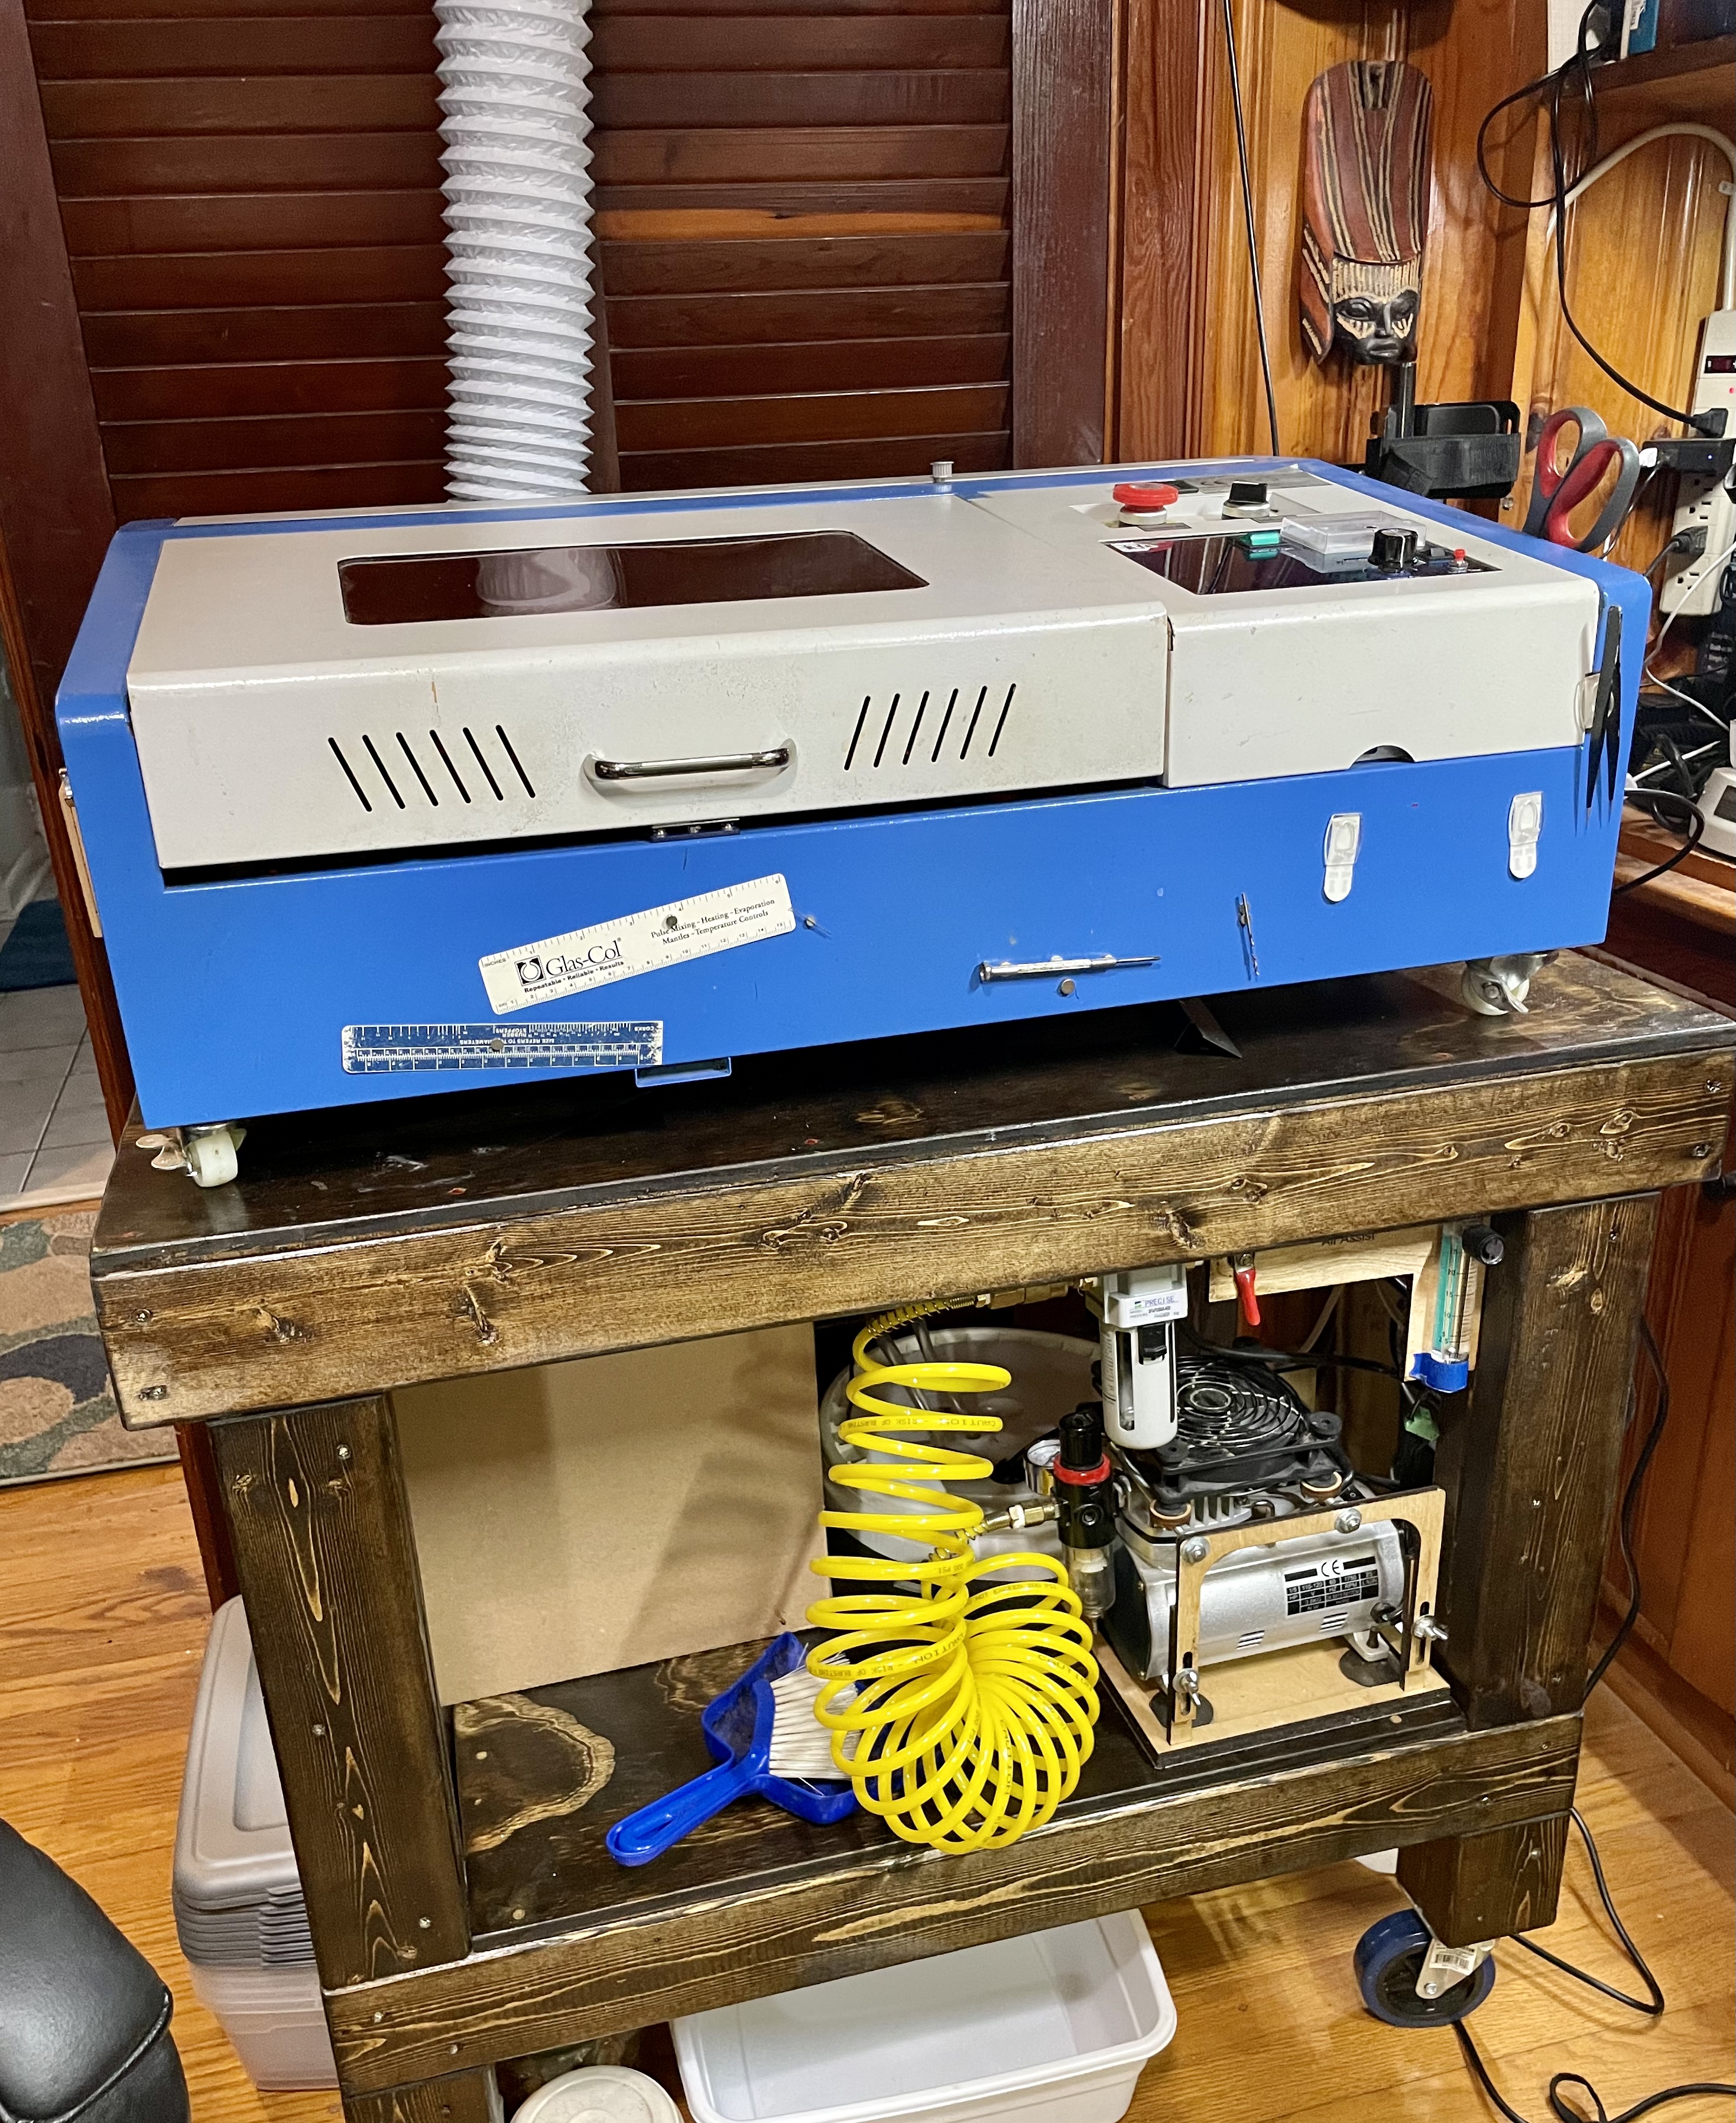
So the new machine arrived a couple of weeks ago with one end of the crate cracked open. Visual inspection didn’t show any damage to the machine fortunately.
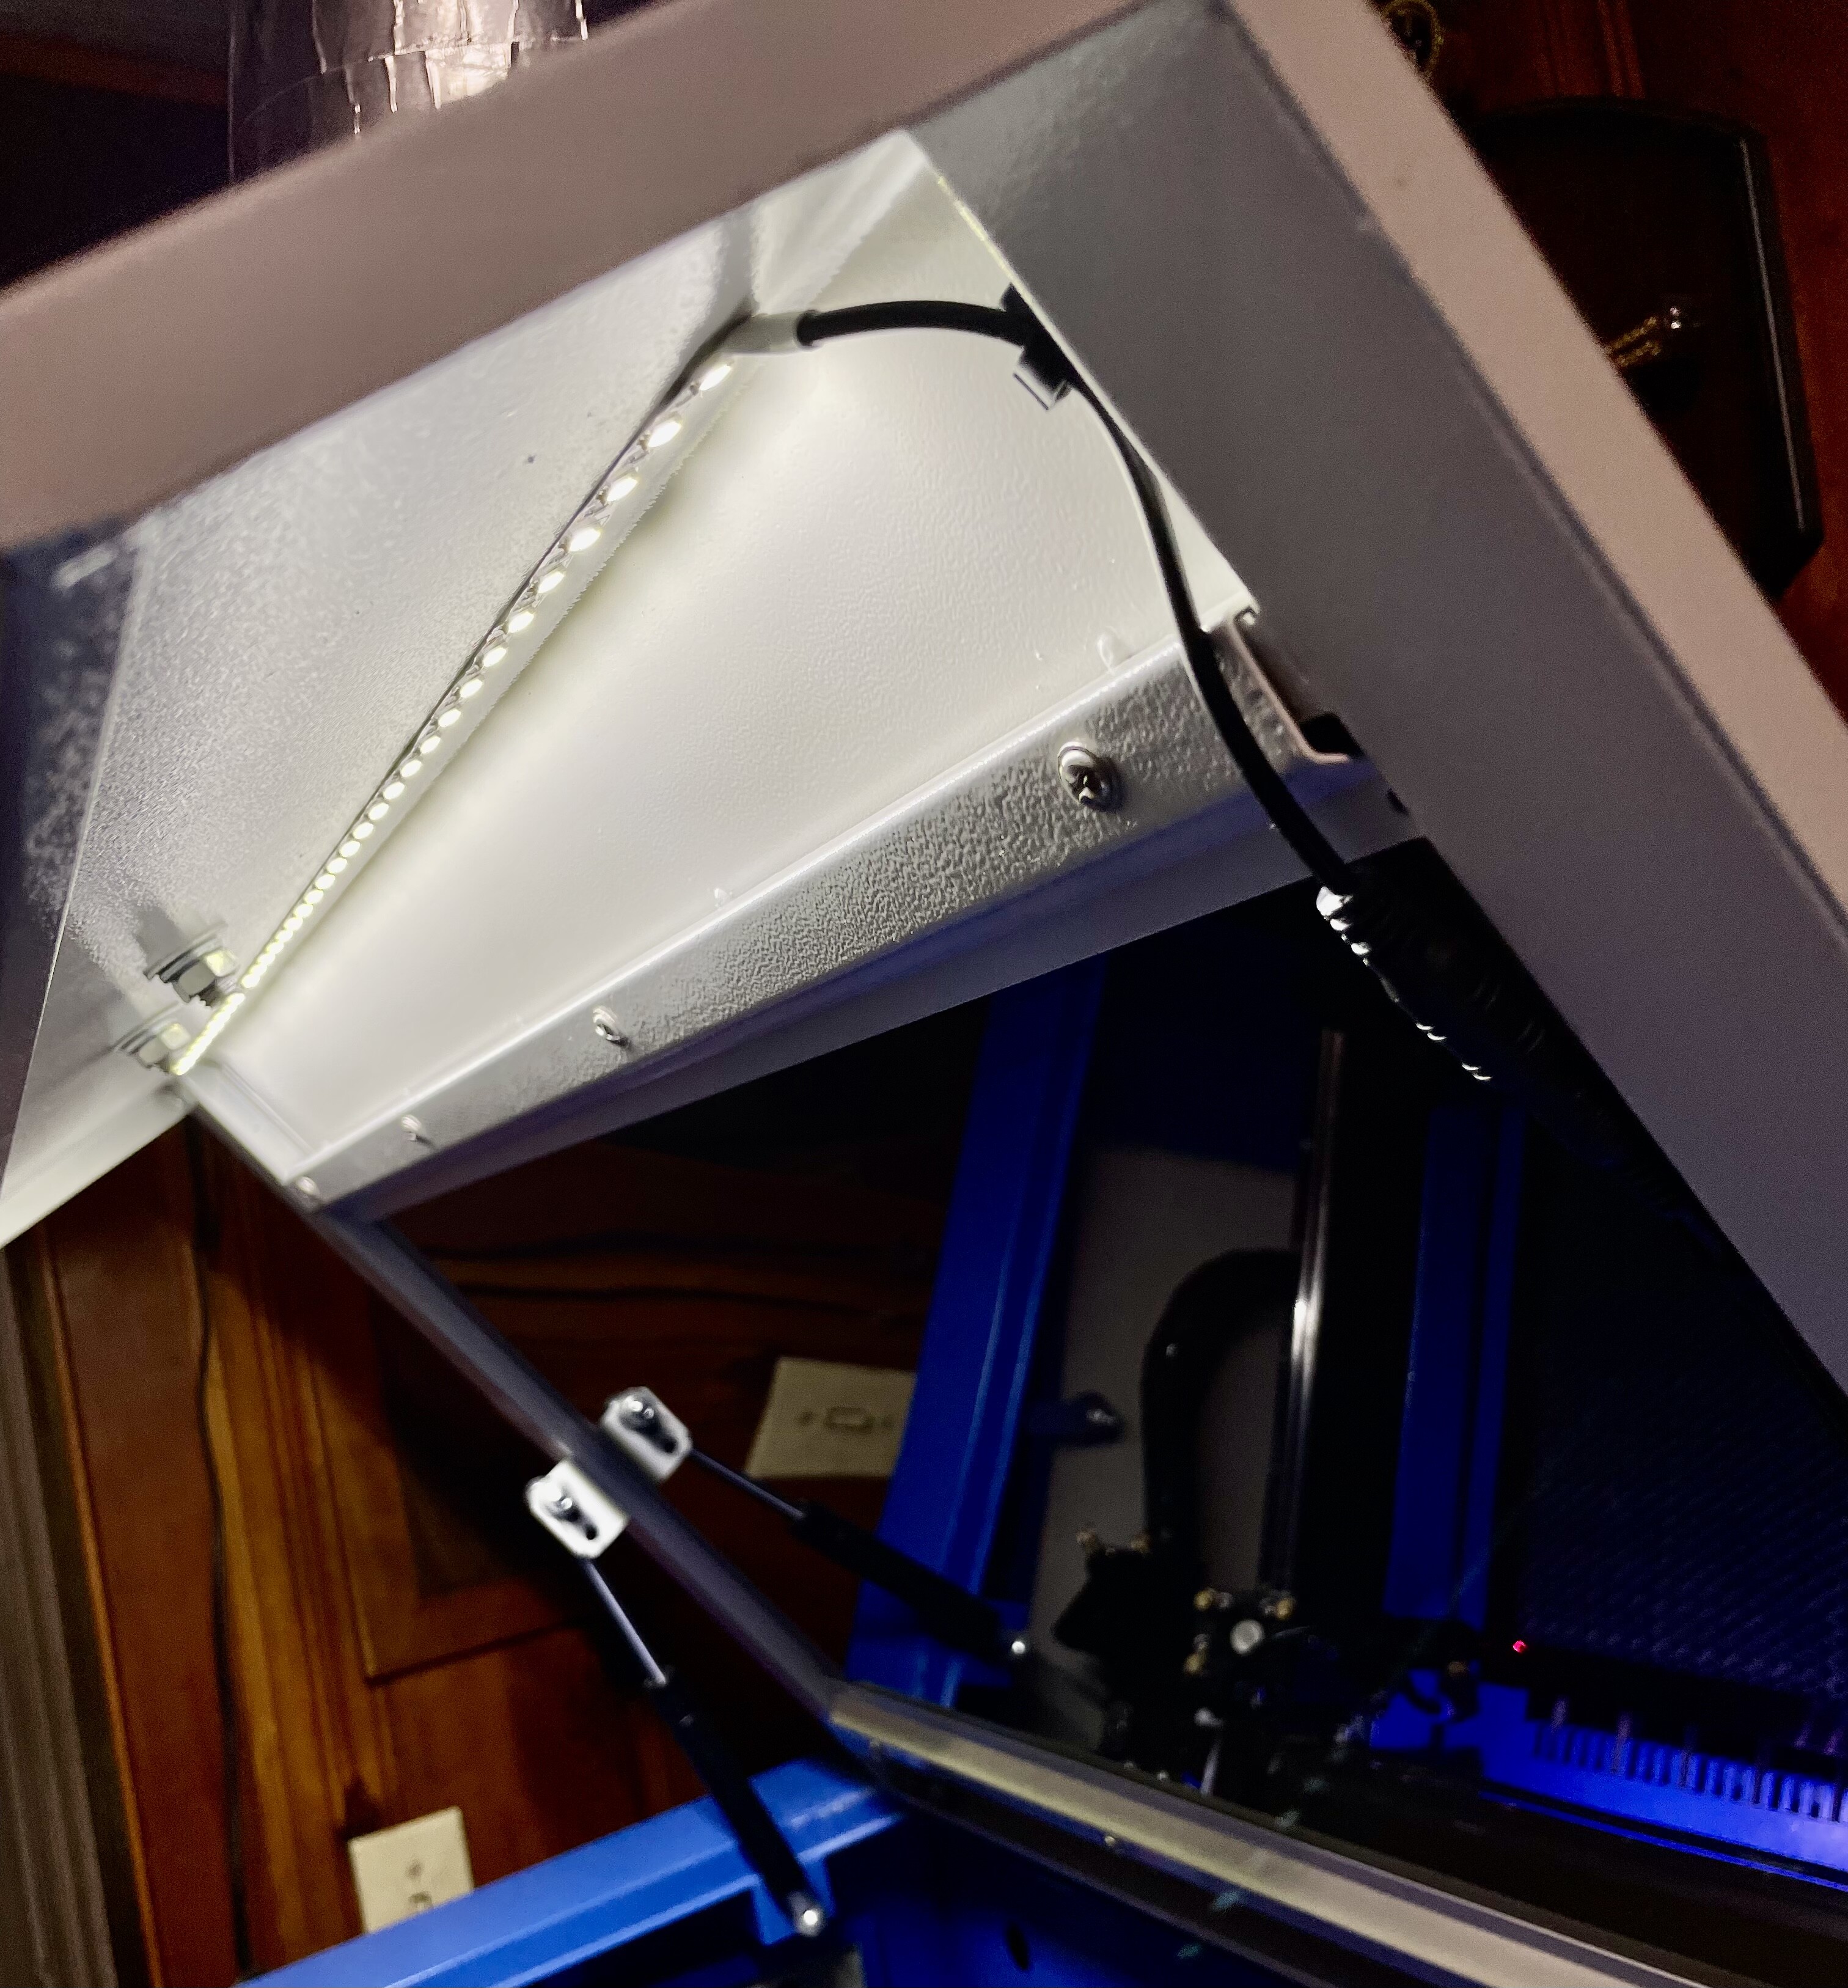
Installation was delayed until I could build a new laser bench for my K40 and make room for everything. (Good excuse to force myself to do some spring cleaning ) The k40 is now located on the opposite side of the room so I now have 4" ducting suspended across the ceiling to reach the old vent in the ceiling.
The only thing I was concerned about was the fact that the k40 is still using the M2Nano board and I need a 25ft USB cable to reach my computer now, with how it need to be routed. Concern was whether the distance was too much for a passive USB cable since the M2Nano doesn’t buffer. I bought what I hoped was a good quality cable and initial tests show no lagging on engravings at moderate speeds. So far so good. Otherwise I would need to get an active USB cable to boost the signal or possibly active USB to Cat5.
Man the new laser is a beast compared to my little k40. Fortunately I built the original table for my k40 oversized so it was a perfect fit for the new laser. (Especially with the way wood prices are now )
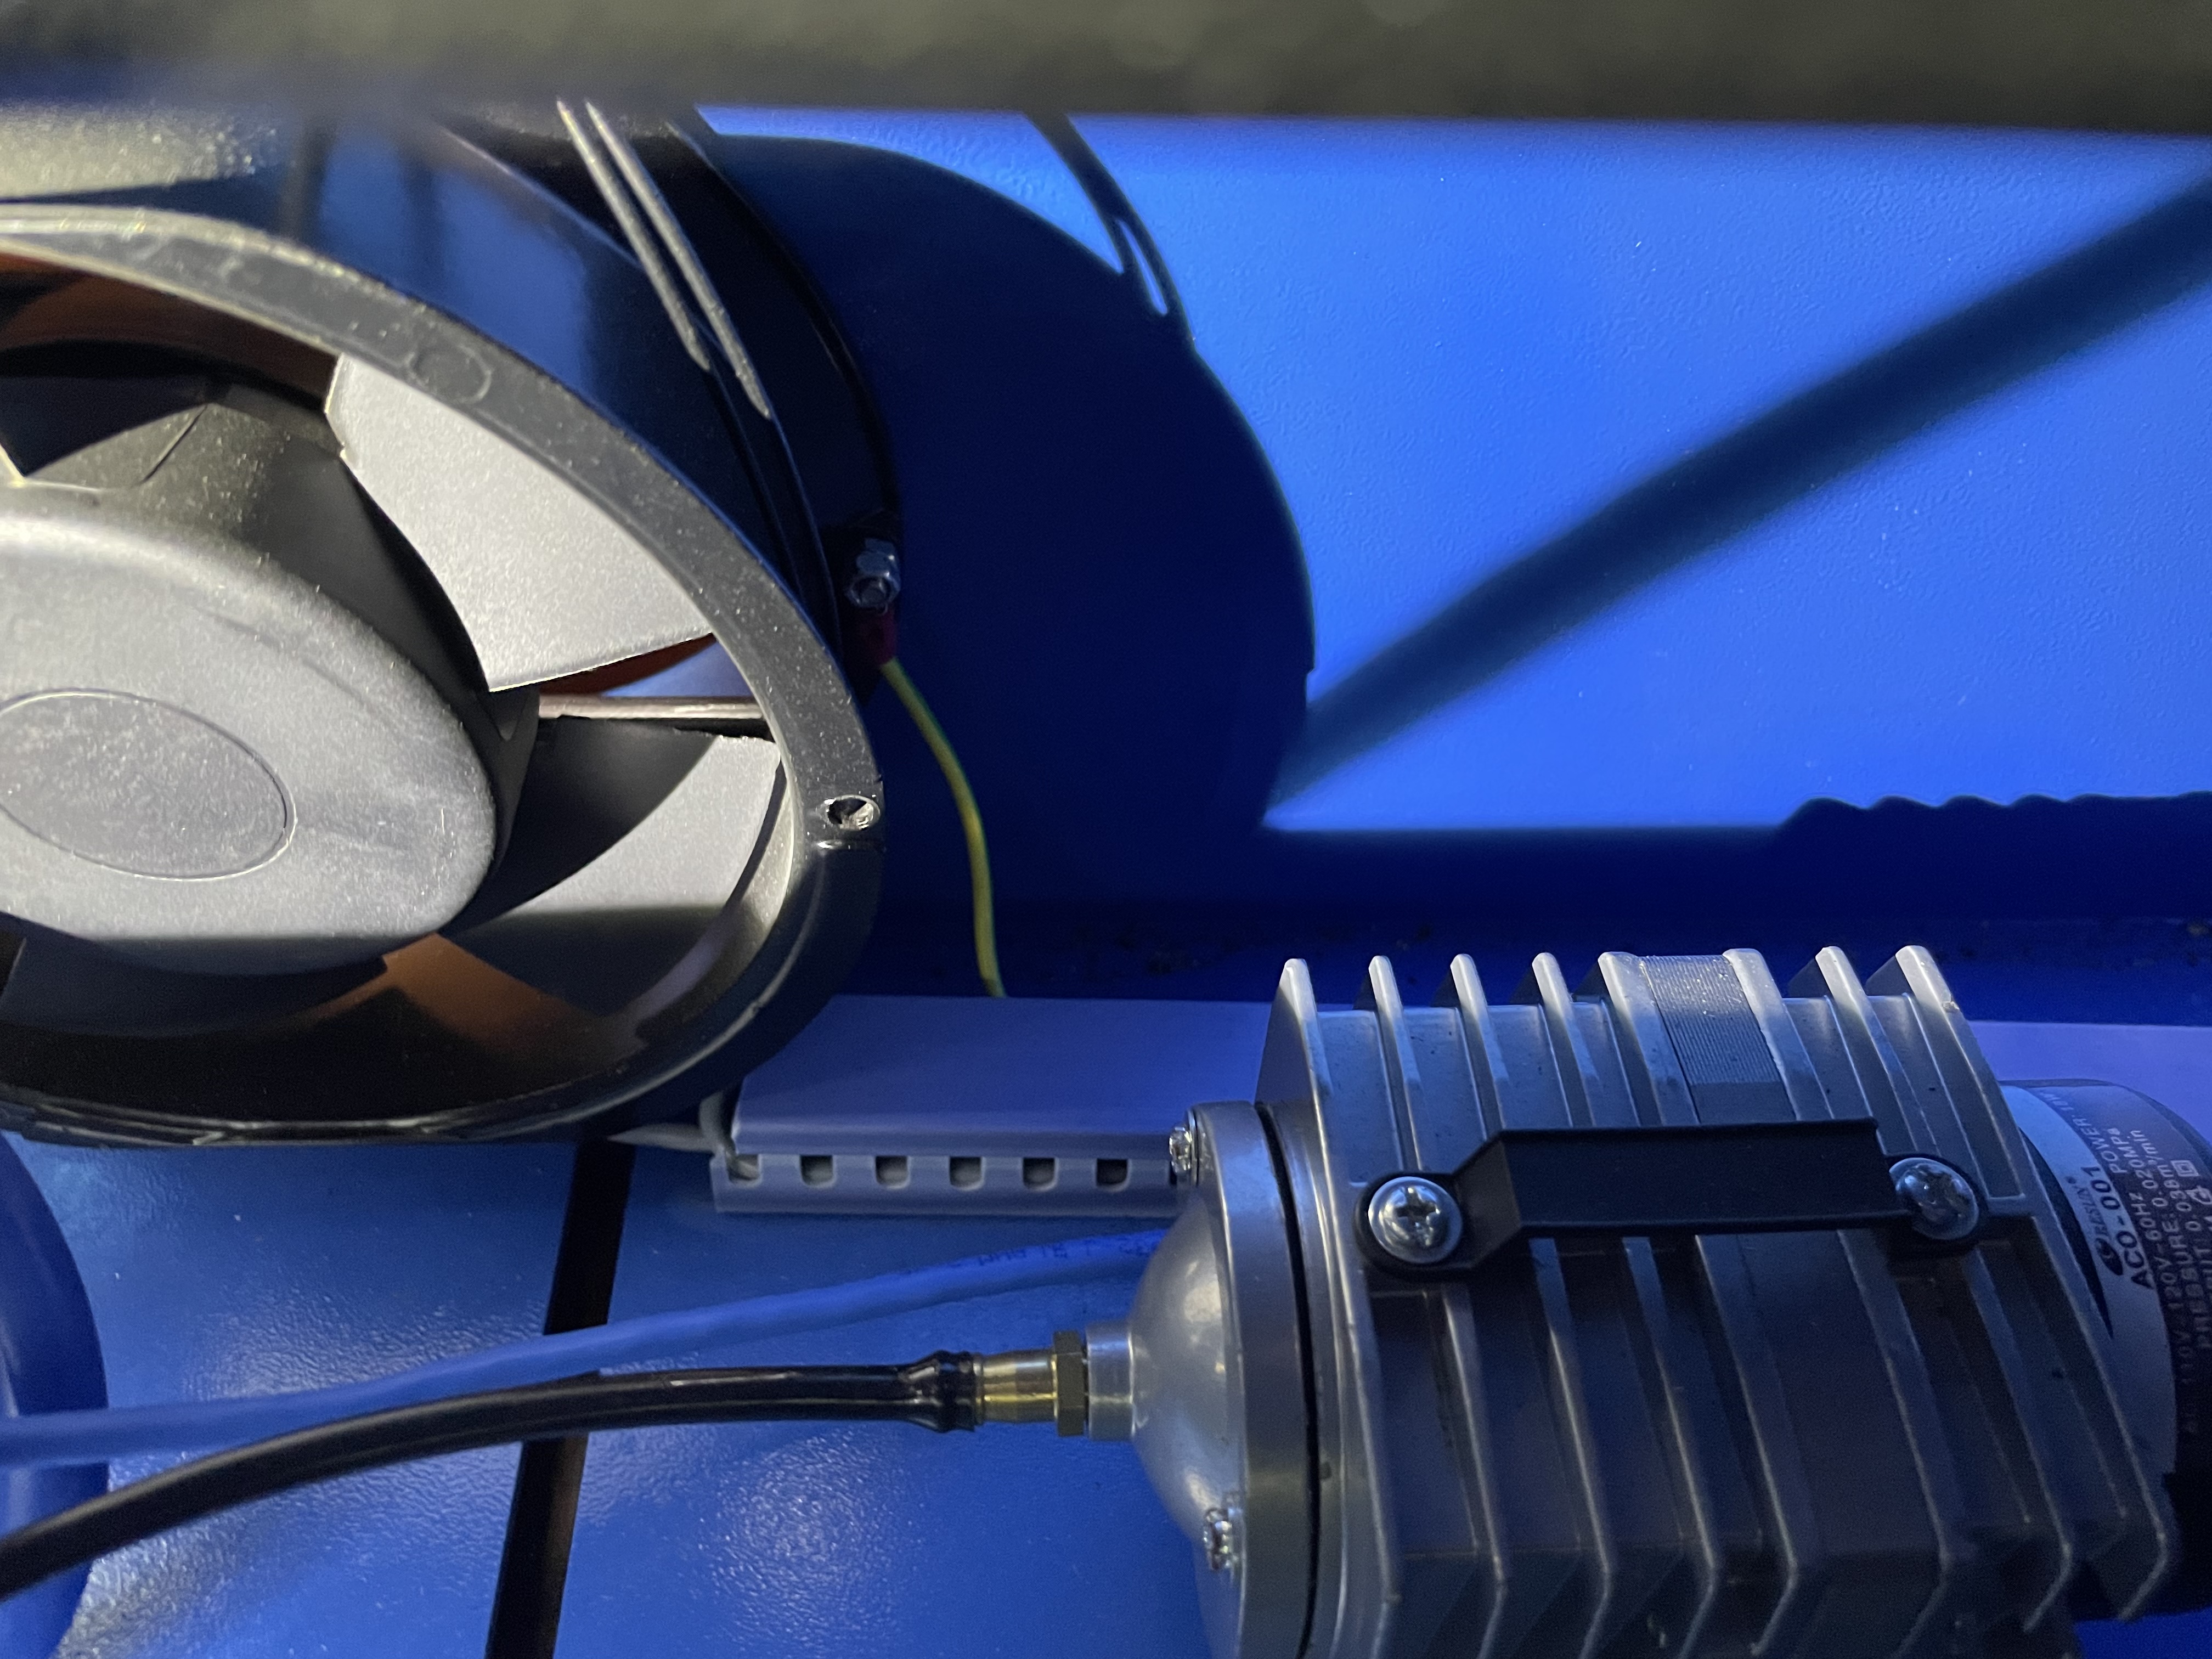
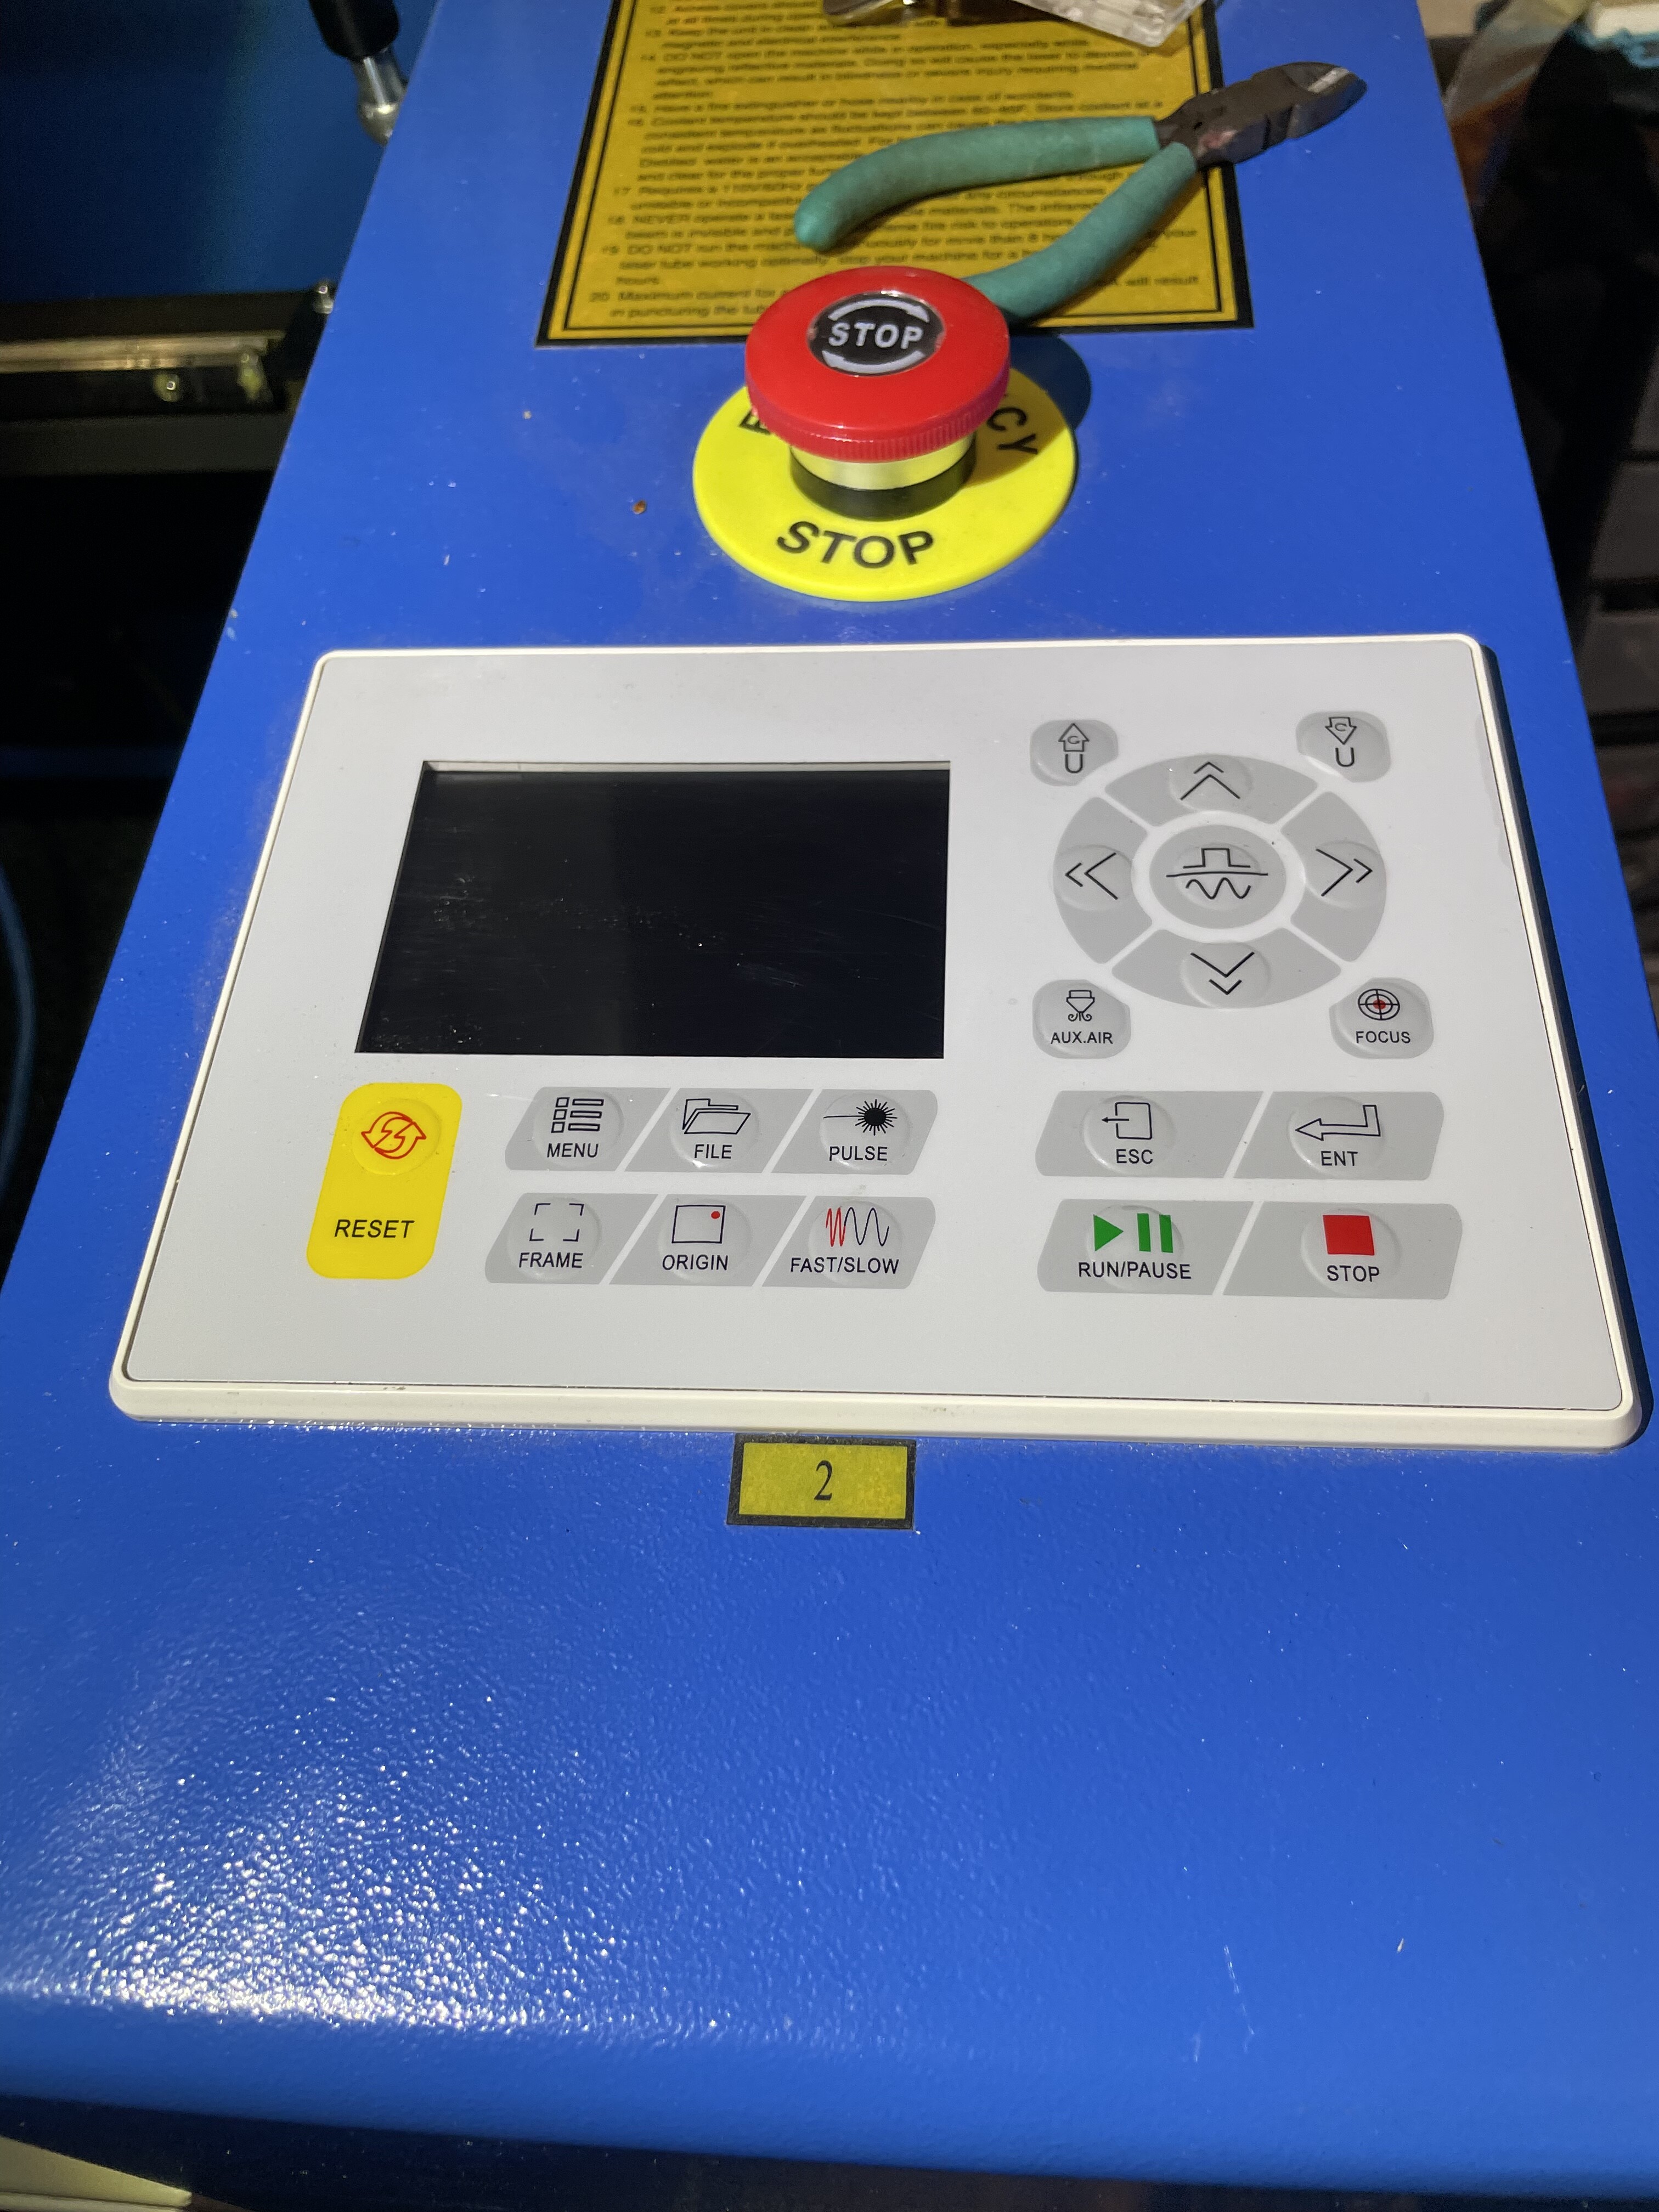
One thing I don’t like is that the built in air assist pump and exhaust fan are always “on” when you turn on the machine. No way to turn them off without turning the machine off.
The controller panel does have an Aux. Air button that does nothing.
Easy enough to fix I suppose. Ordered a 24V relay and hooked up the leads for the air pump and exhaust fan to the NC side of the relay. Connected to the Aux Air and +24V pin outs on the controller to trigger the relay.
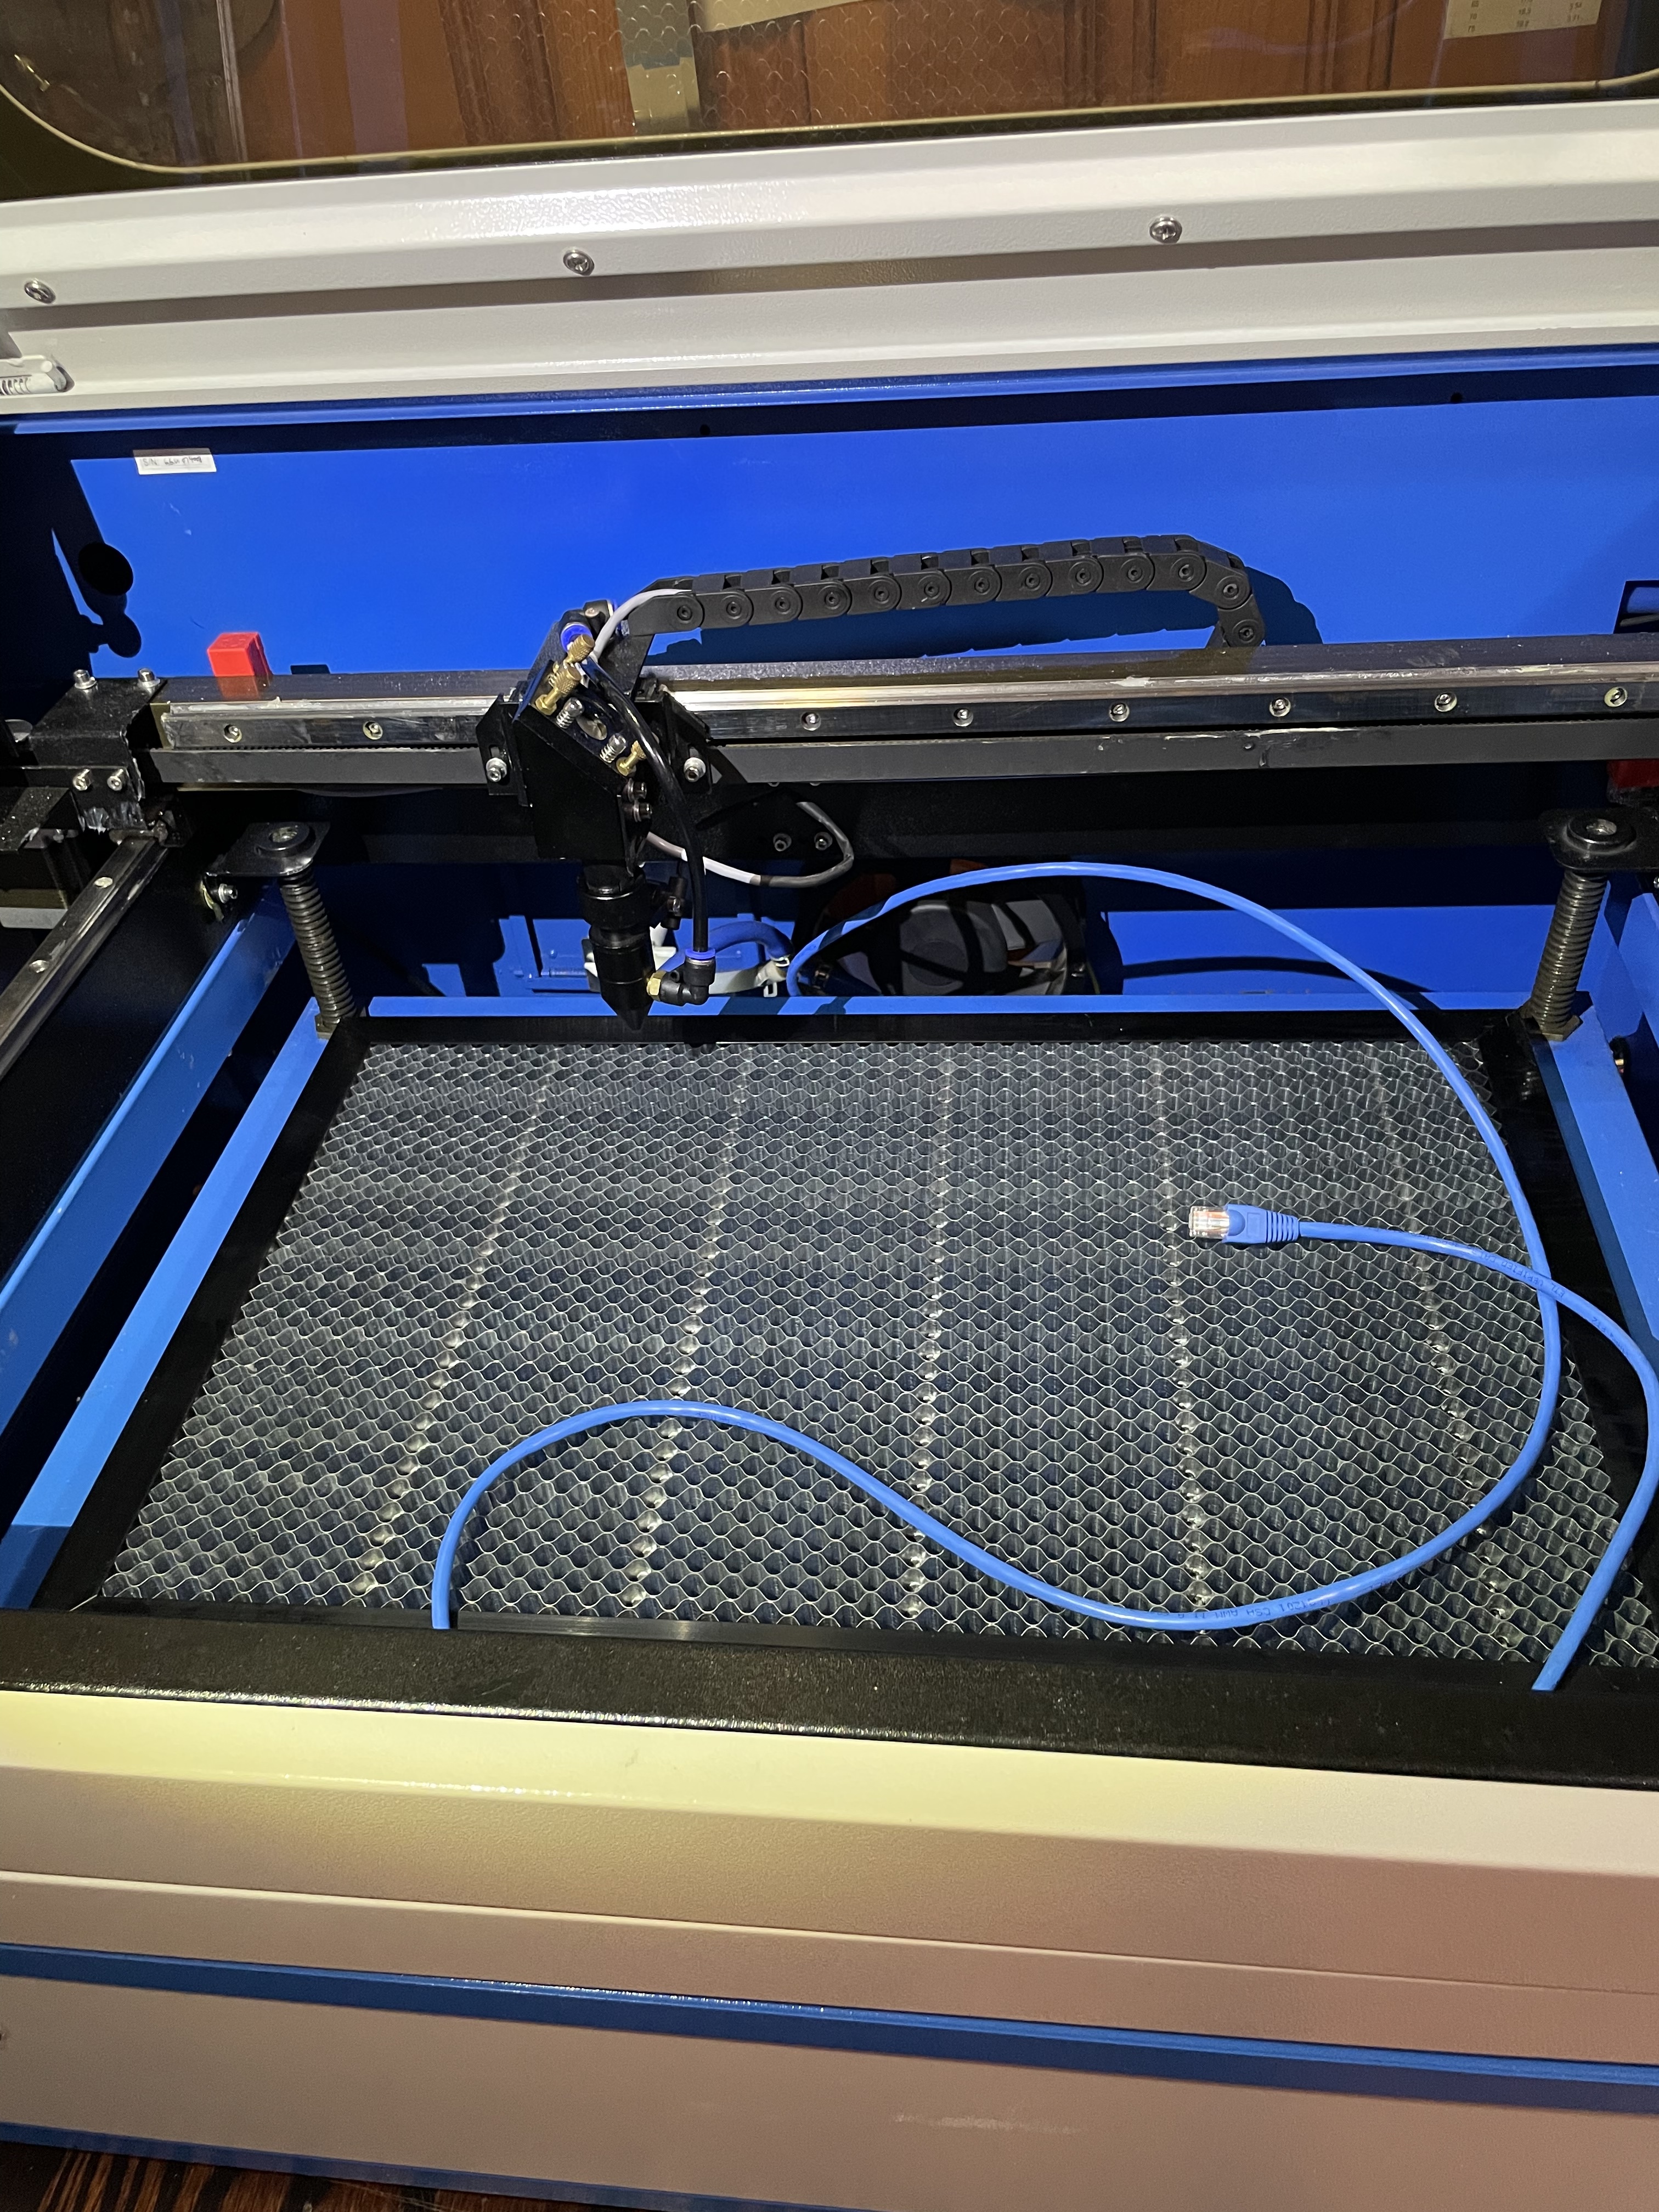
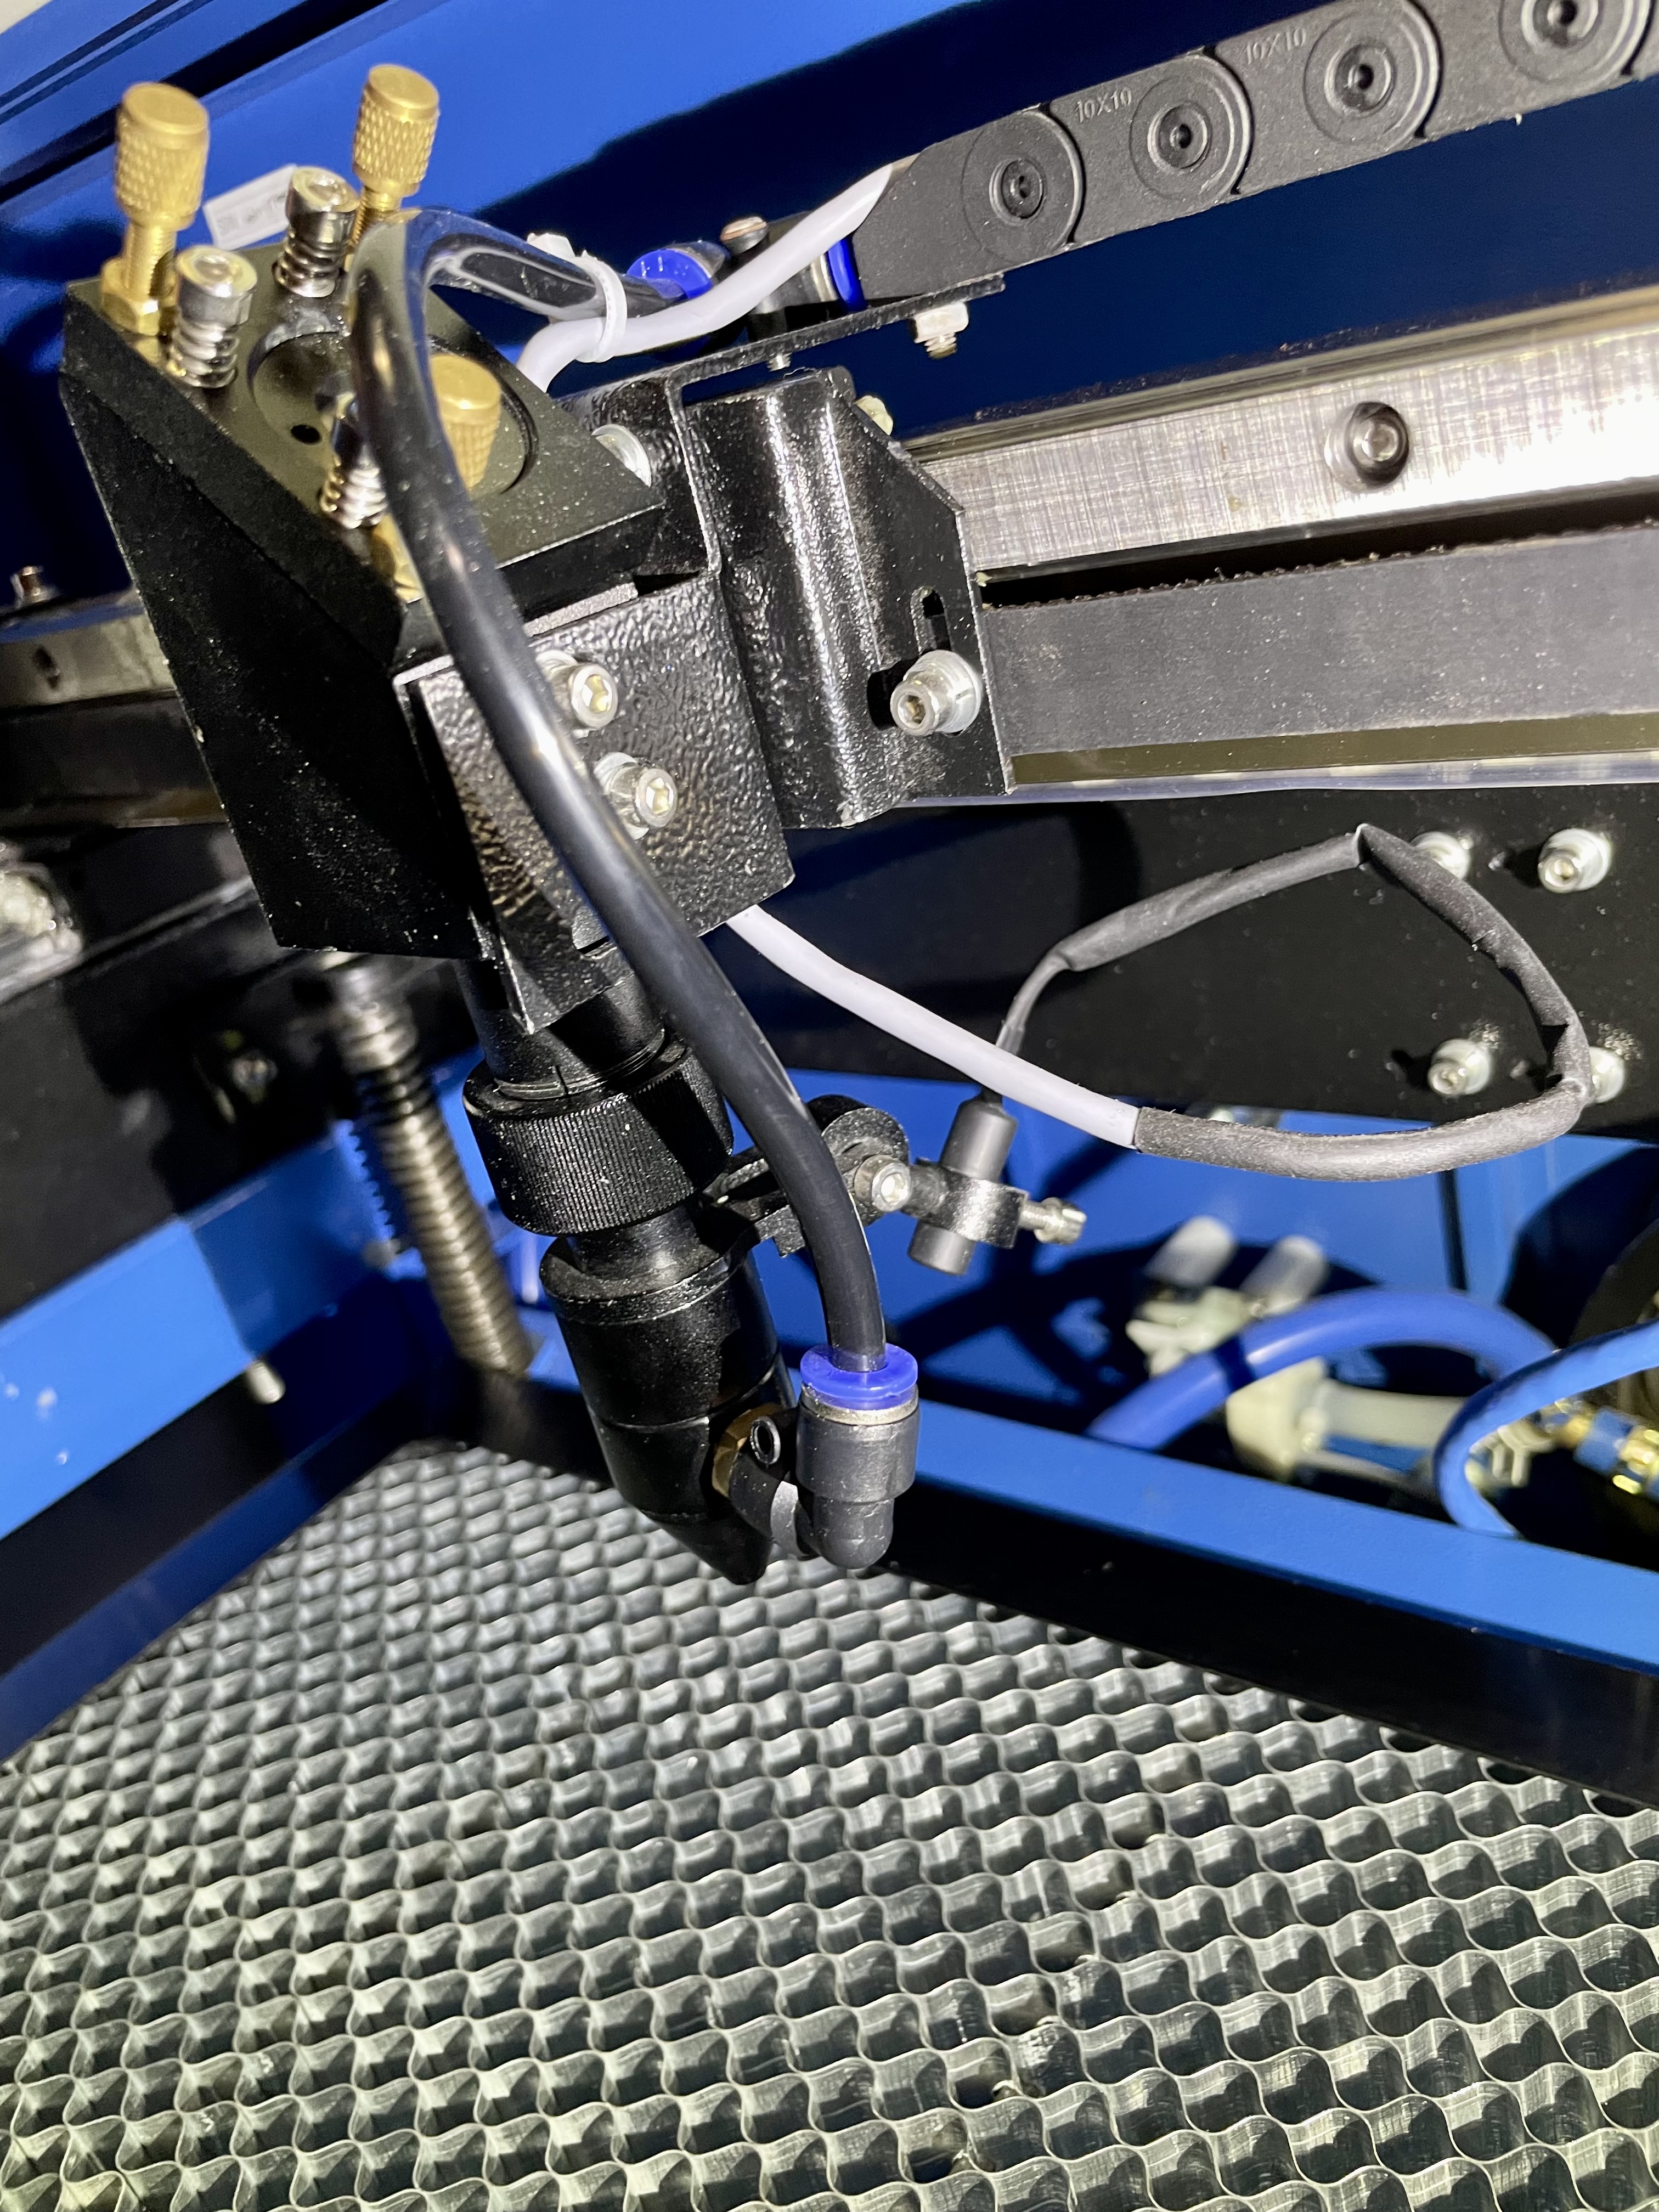
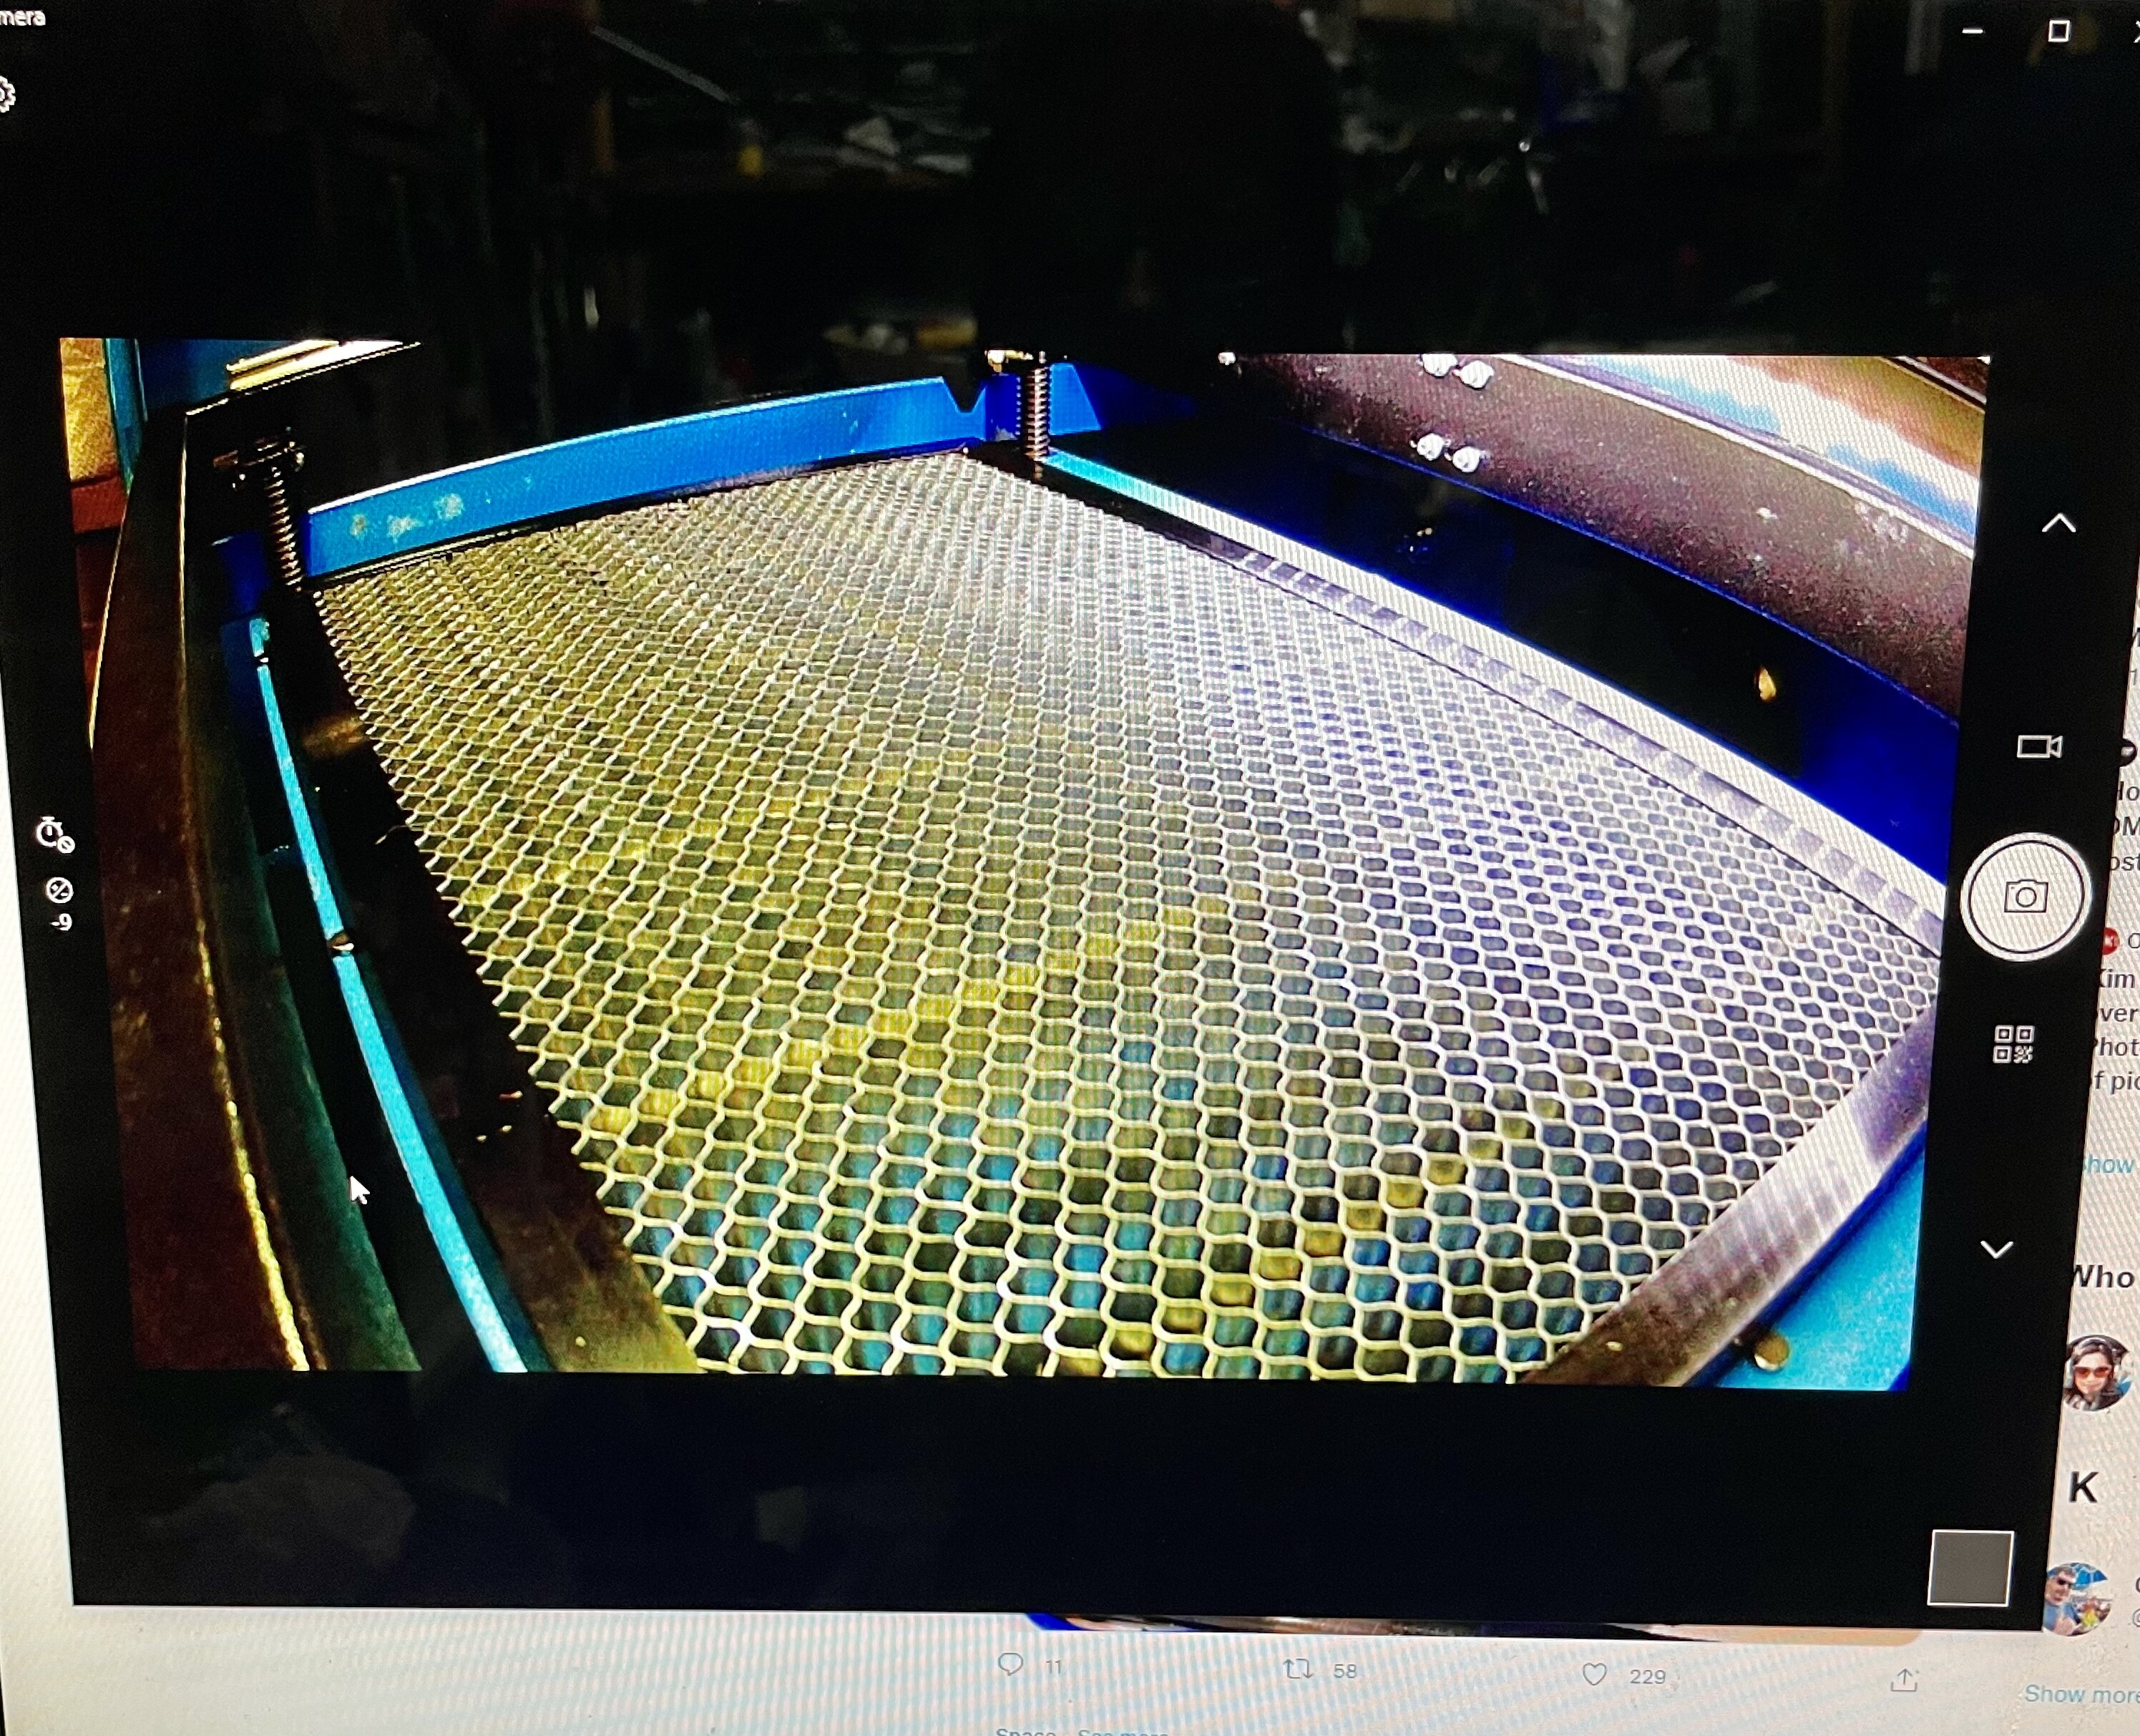
I’m use to, with my k40, of having an origin jig to know where to place my work piece. With this machine the honeycomb bed is just freely floating on top of the knife bed. I guess I could make some brackets to fix things in place or should I just get a camera and use it with lightburn?
I have a camera but I have not hooked it up yet. I have not really found a reason to but I’m sure I would use it when I do. Picking current position you can just move the laser head to where you want to start and it will start from there in LightBurn.
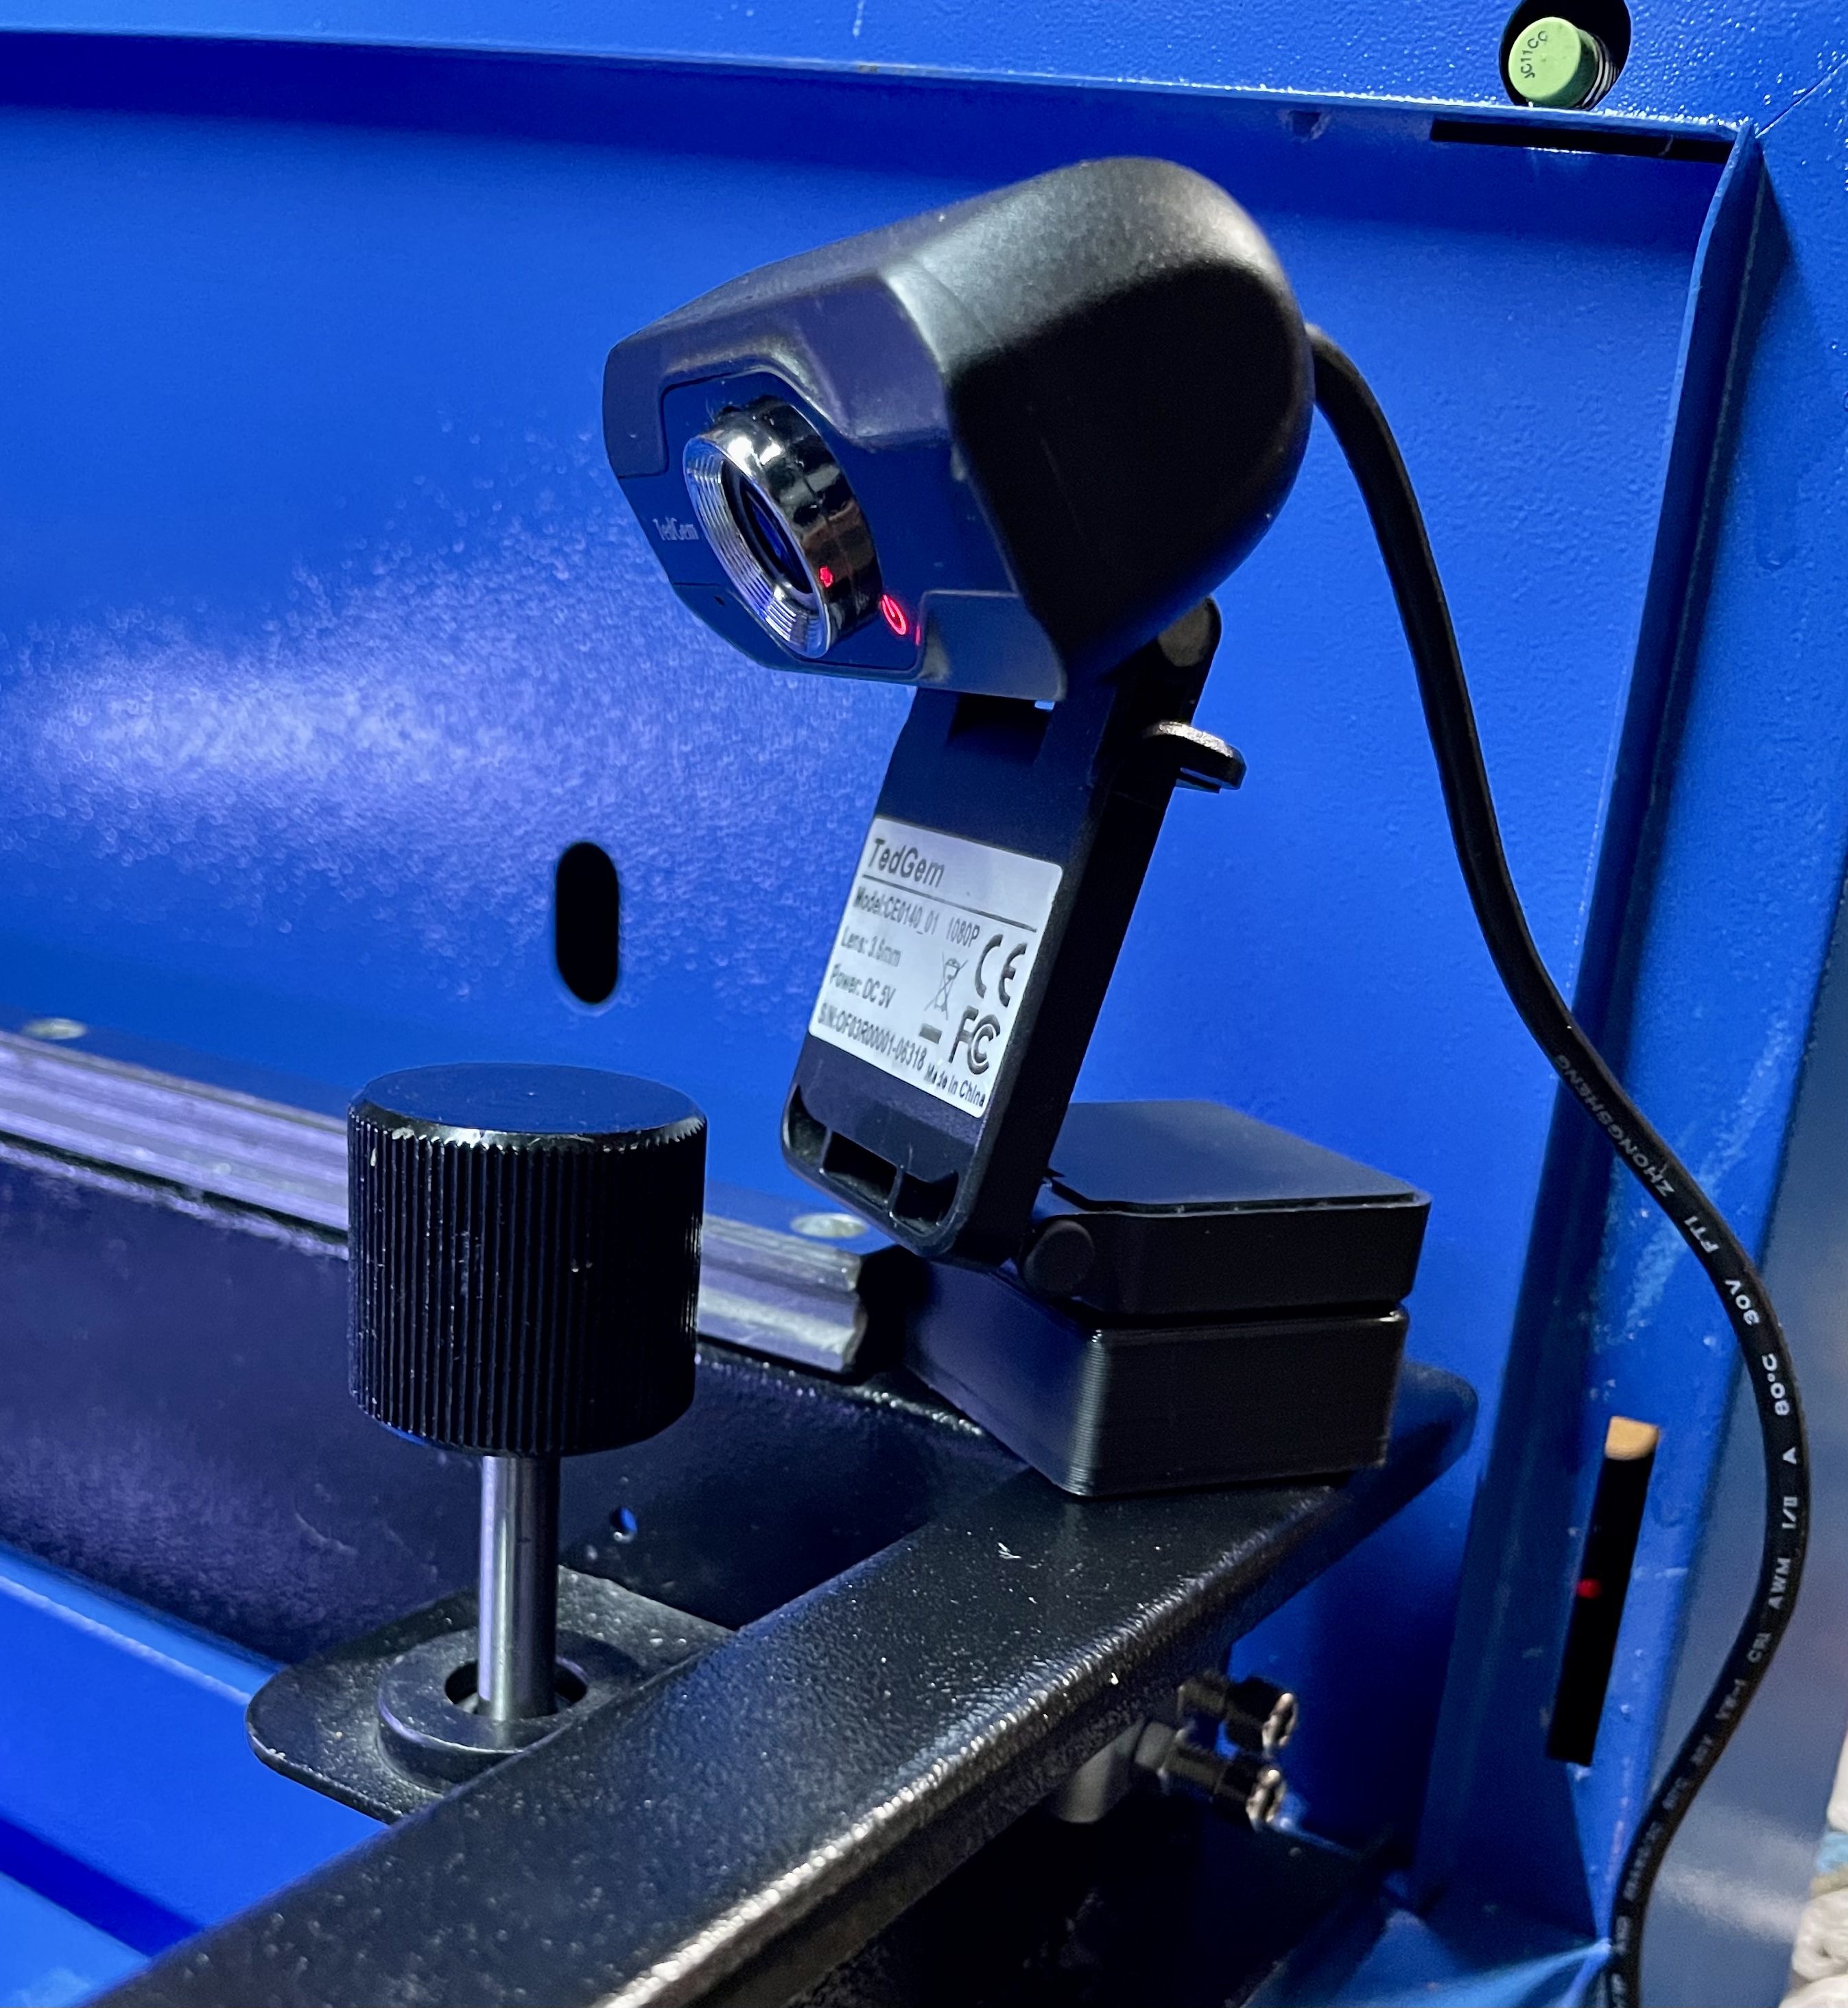
Because the 50W sits up so much higher than the K40 I wanted to add a webcam so I can easily monitor the bed from my computer.
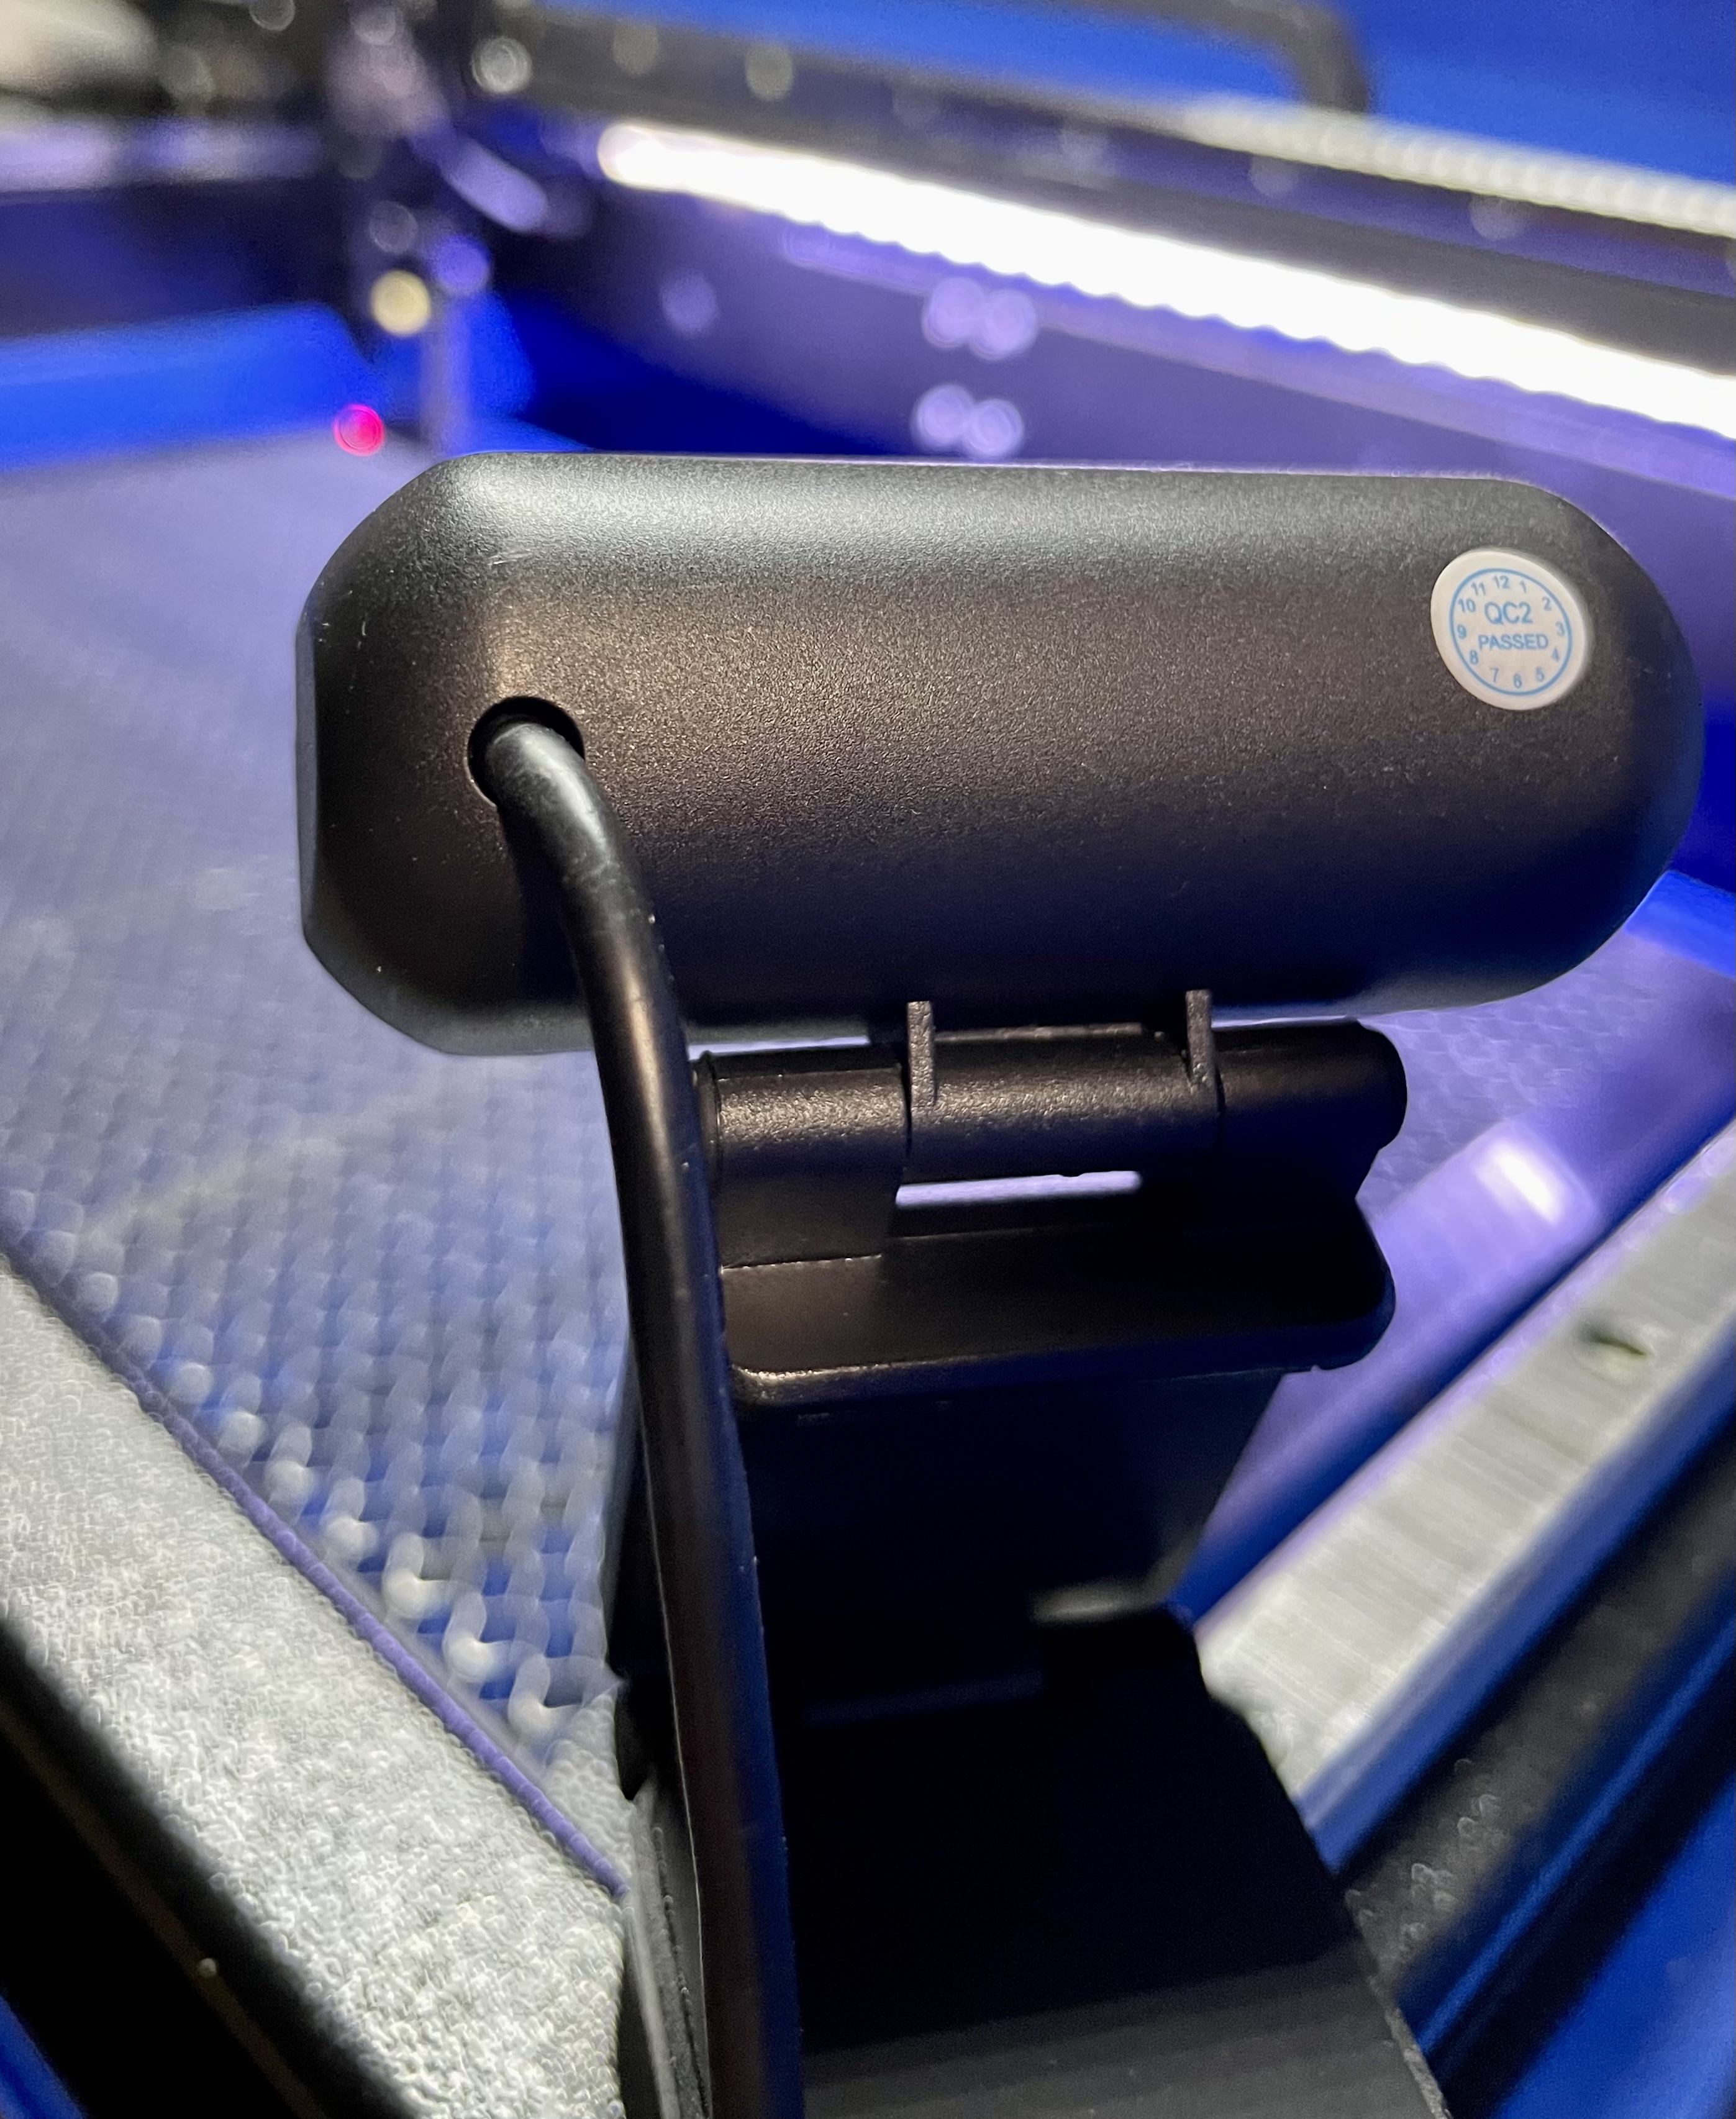
Found a very cheap webcam that had decent reviews. The only negative for the webcam is that the cam sensor is kind of of noisy. But for the price it’s a great buy, especially if you are using it to monitor something.
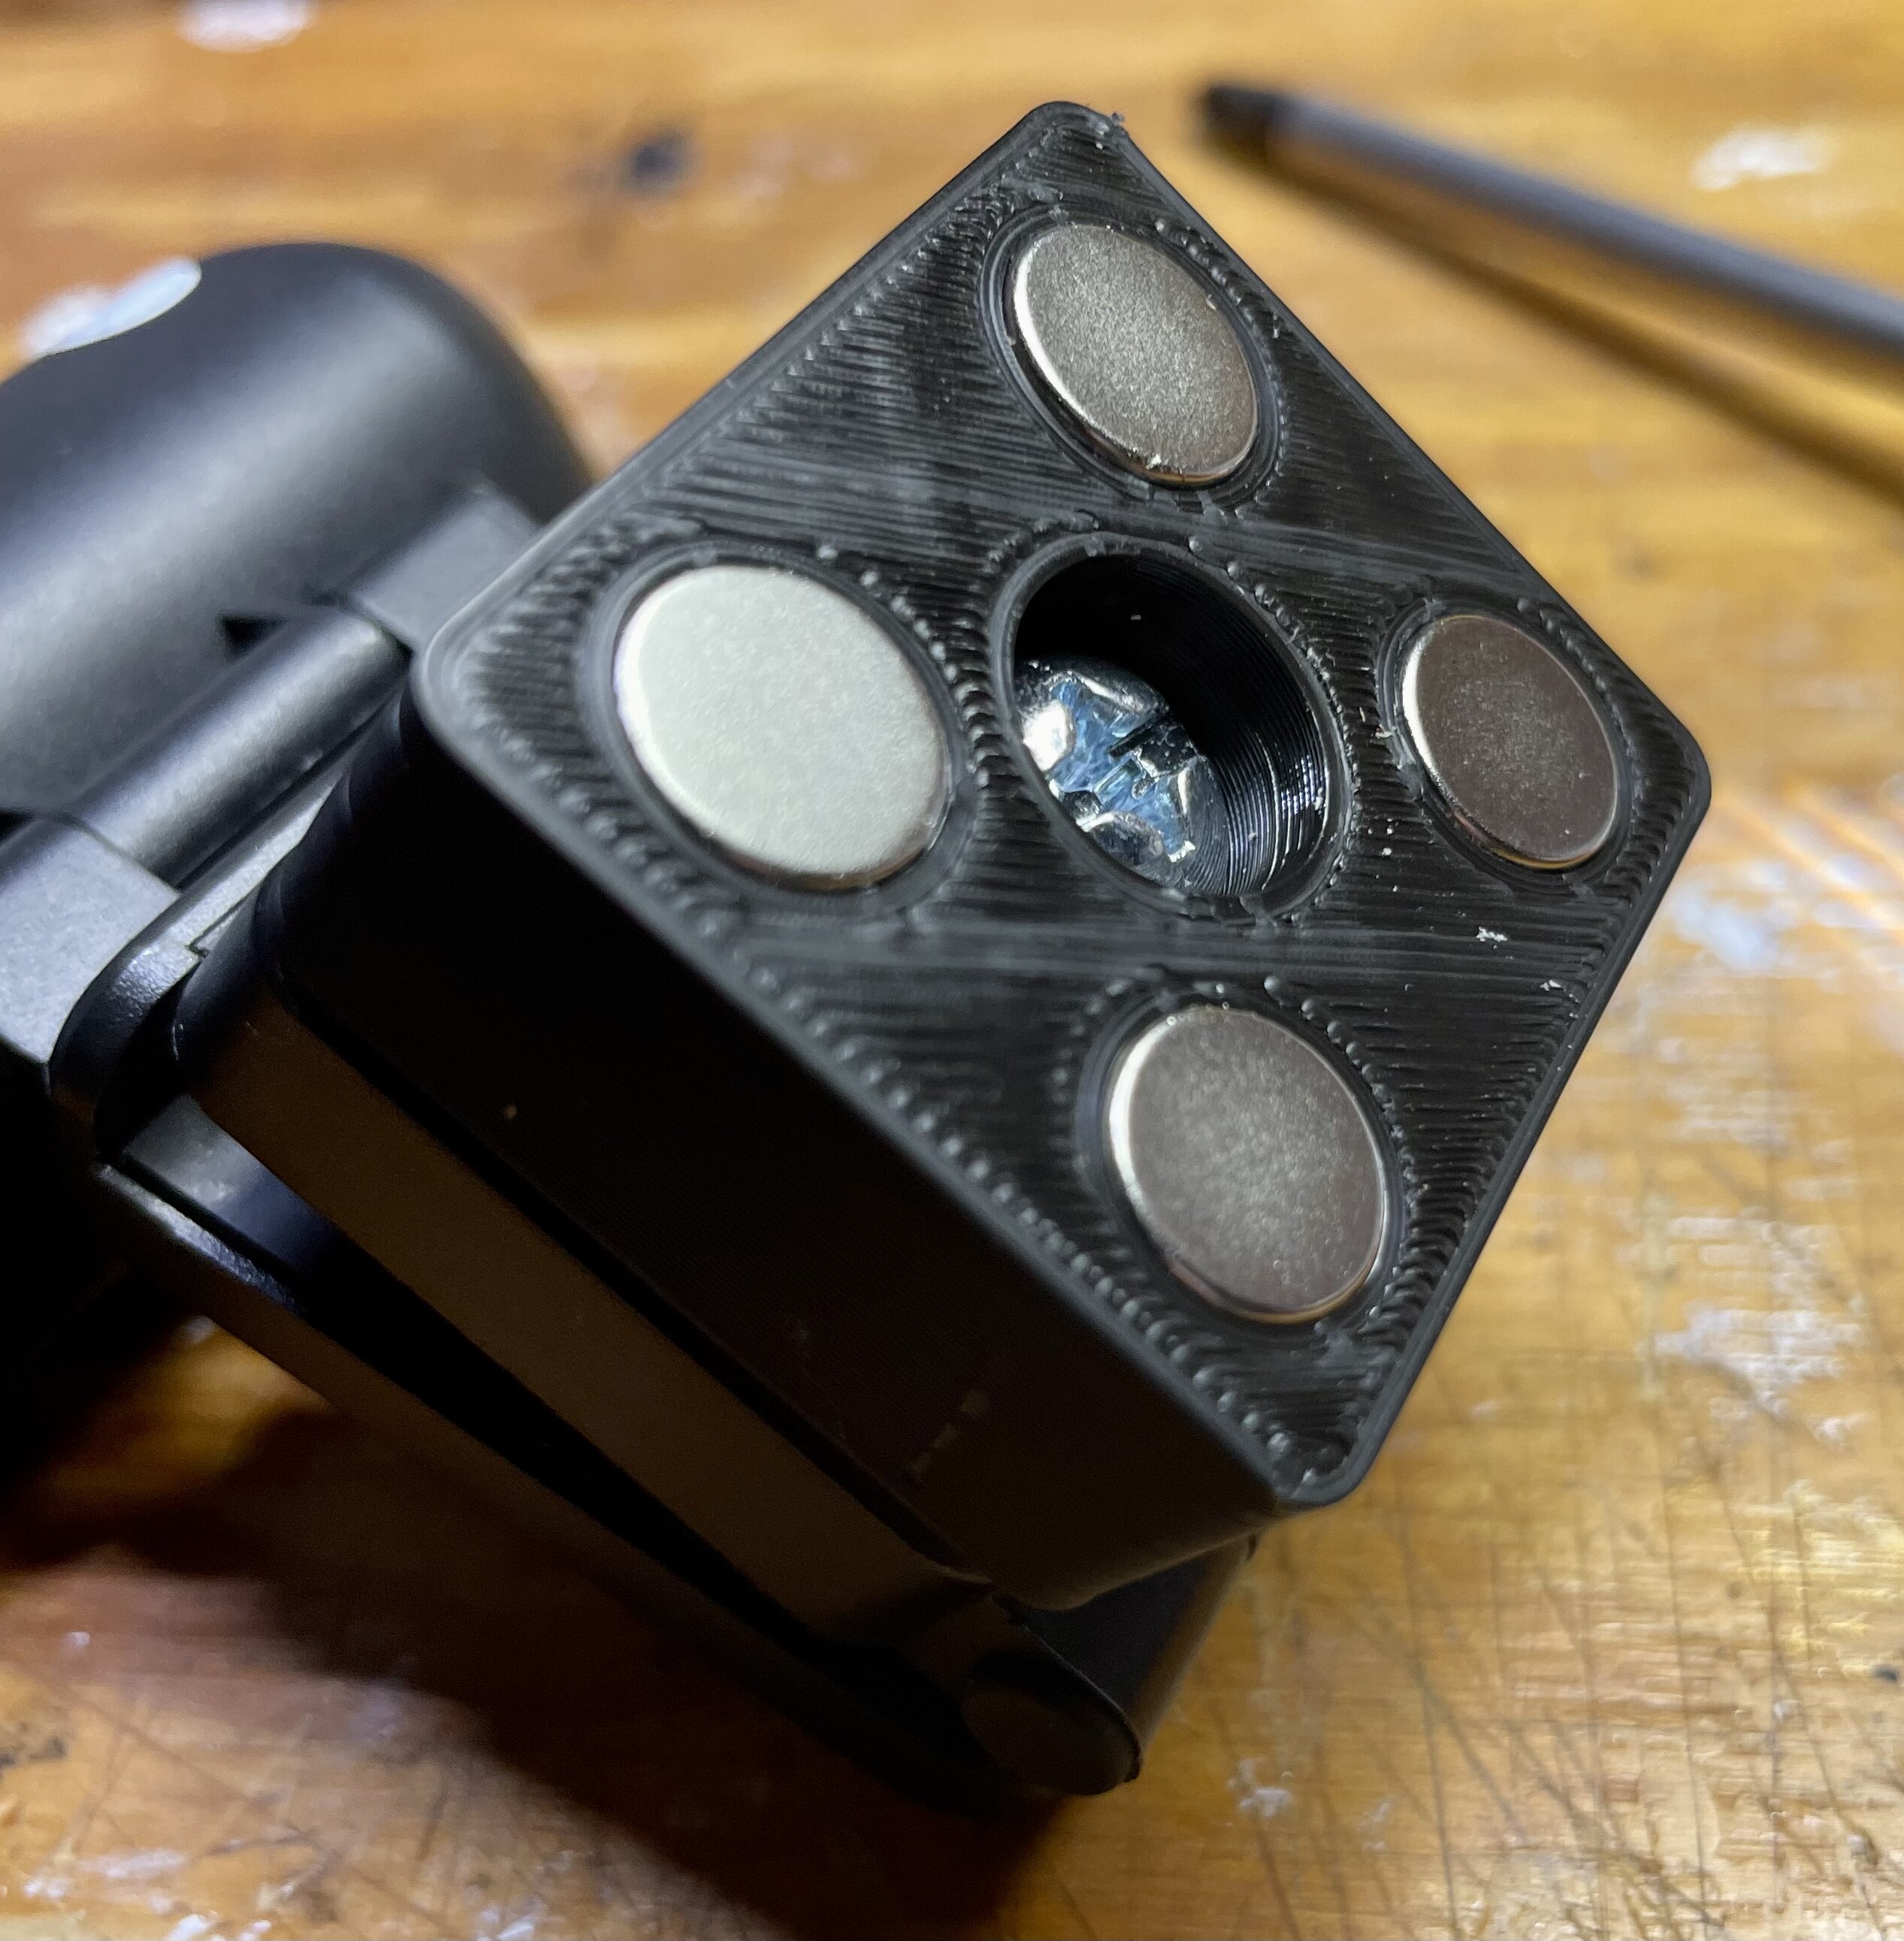
3D printed a small riser stand that would accommodate a 1/2" 1/4-20 attachment screw and some 3 x 8 mm Nd magnets