Today I picked up my CLC Northeaster Dory Kit from their HQ in the historic naval town of Annapolis, MD. They just reopened their show room this week so I was able to go inside and check out the other kits that they carry. Lots of cool stuff there.
As I prep for beginning my wooden boat journey, I built the CLC Tool Box as a sort of easy starter project. Unsurprisingly, CNCed marine plywood is much the same as it would be off it were laser cut.
Here are the components messily knolled. At this point I think that I had done a quick 80 grit sanding to remove the nubs and clear up the little fibers that were still hanging on.
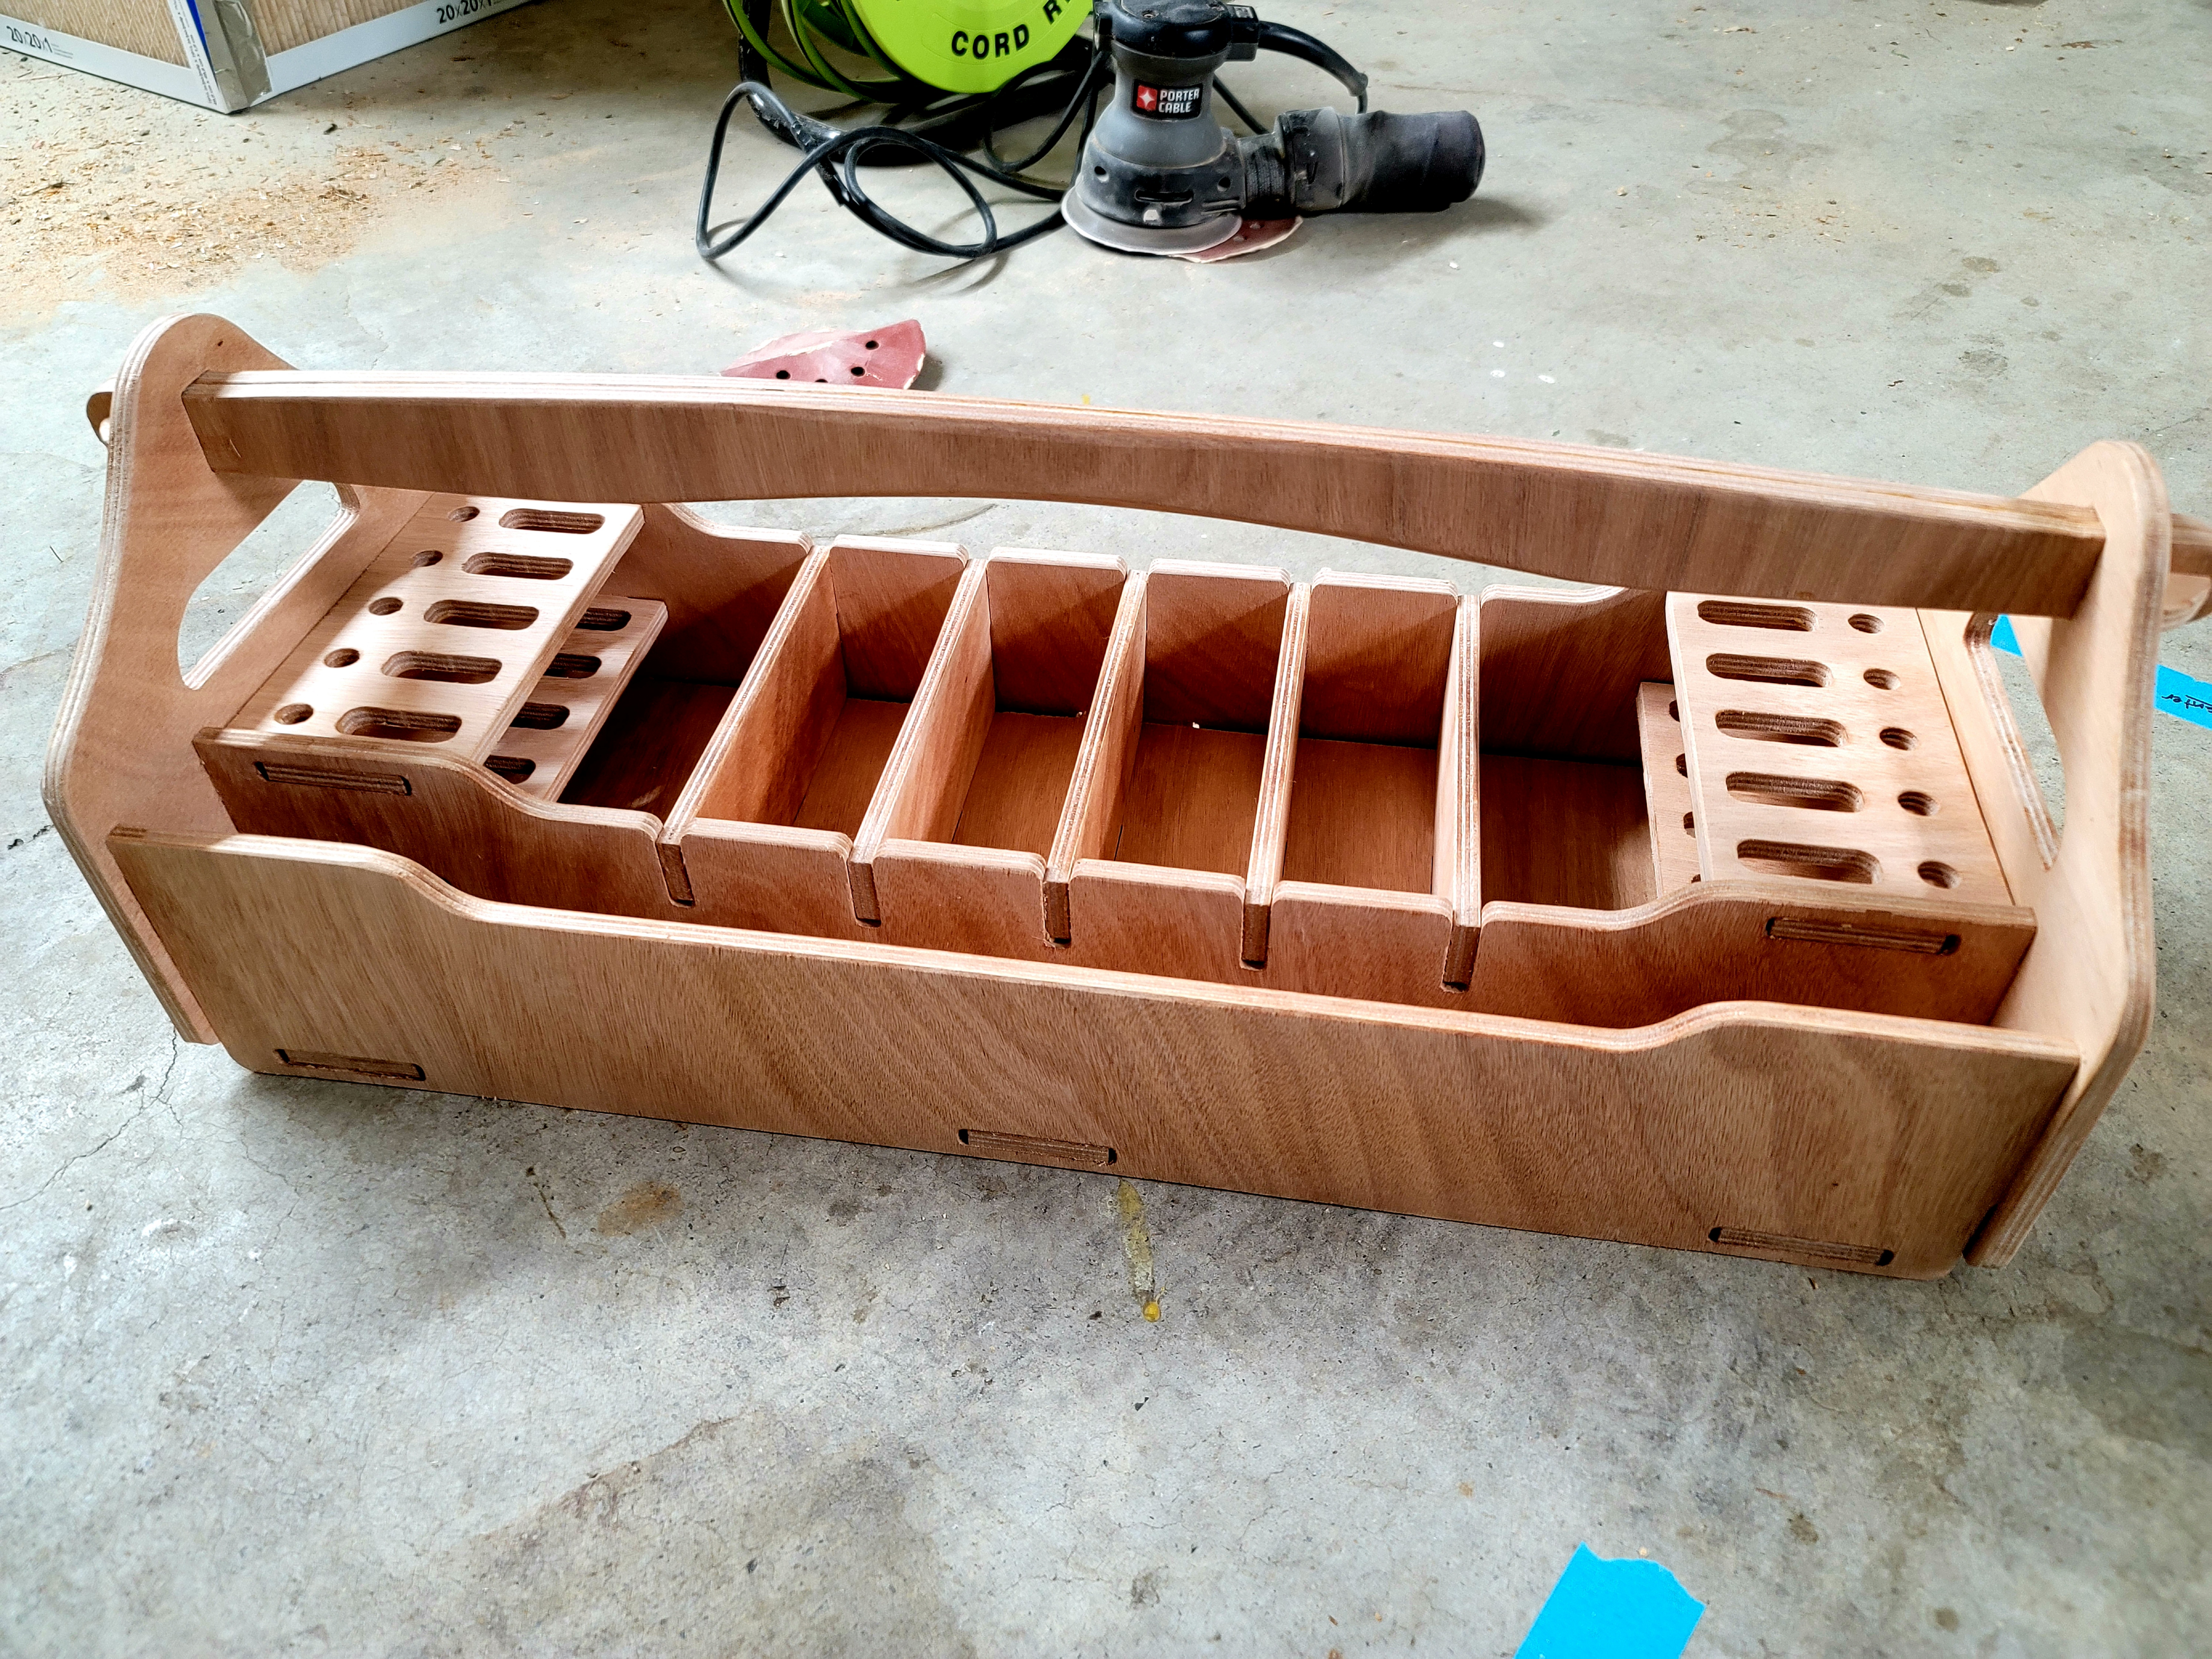
Here is the assembled box. I sanded to 220 grit, wiped with mineral spirits and then applied paste wax. This box is likely to get pretty beaten up during the boat construction.
Tomorrow, I am heading to Hicksville Planing Mill in Maryland to pick up some Mahogany to use for a mod on the boat. I may end up getting some other stuff too since their prices are still fairly reasonable compared to the big box stores.
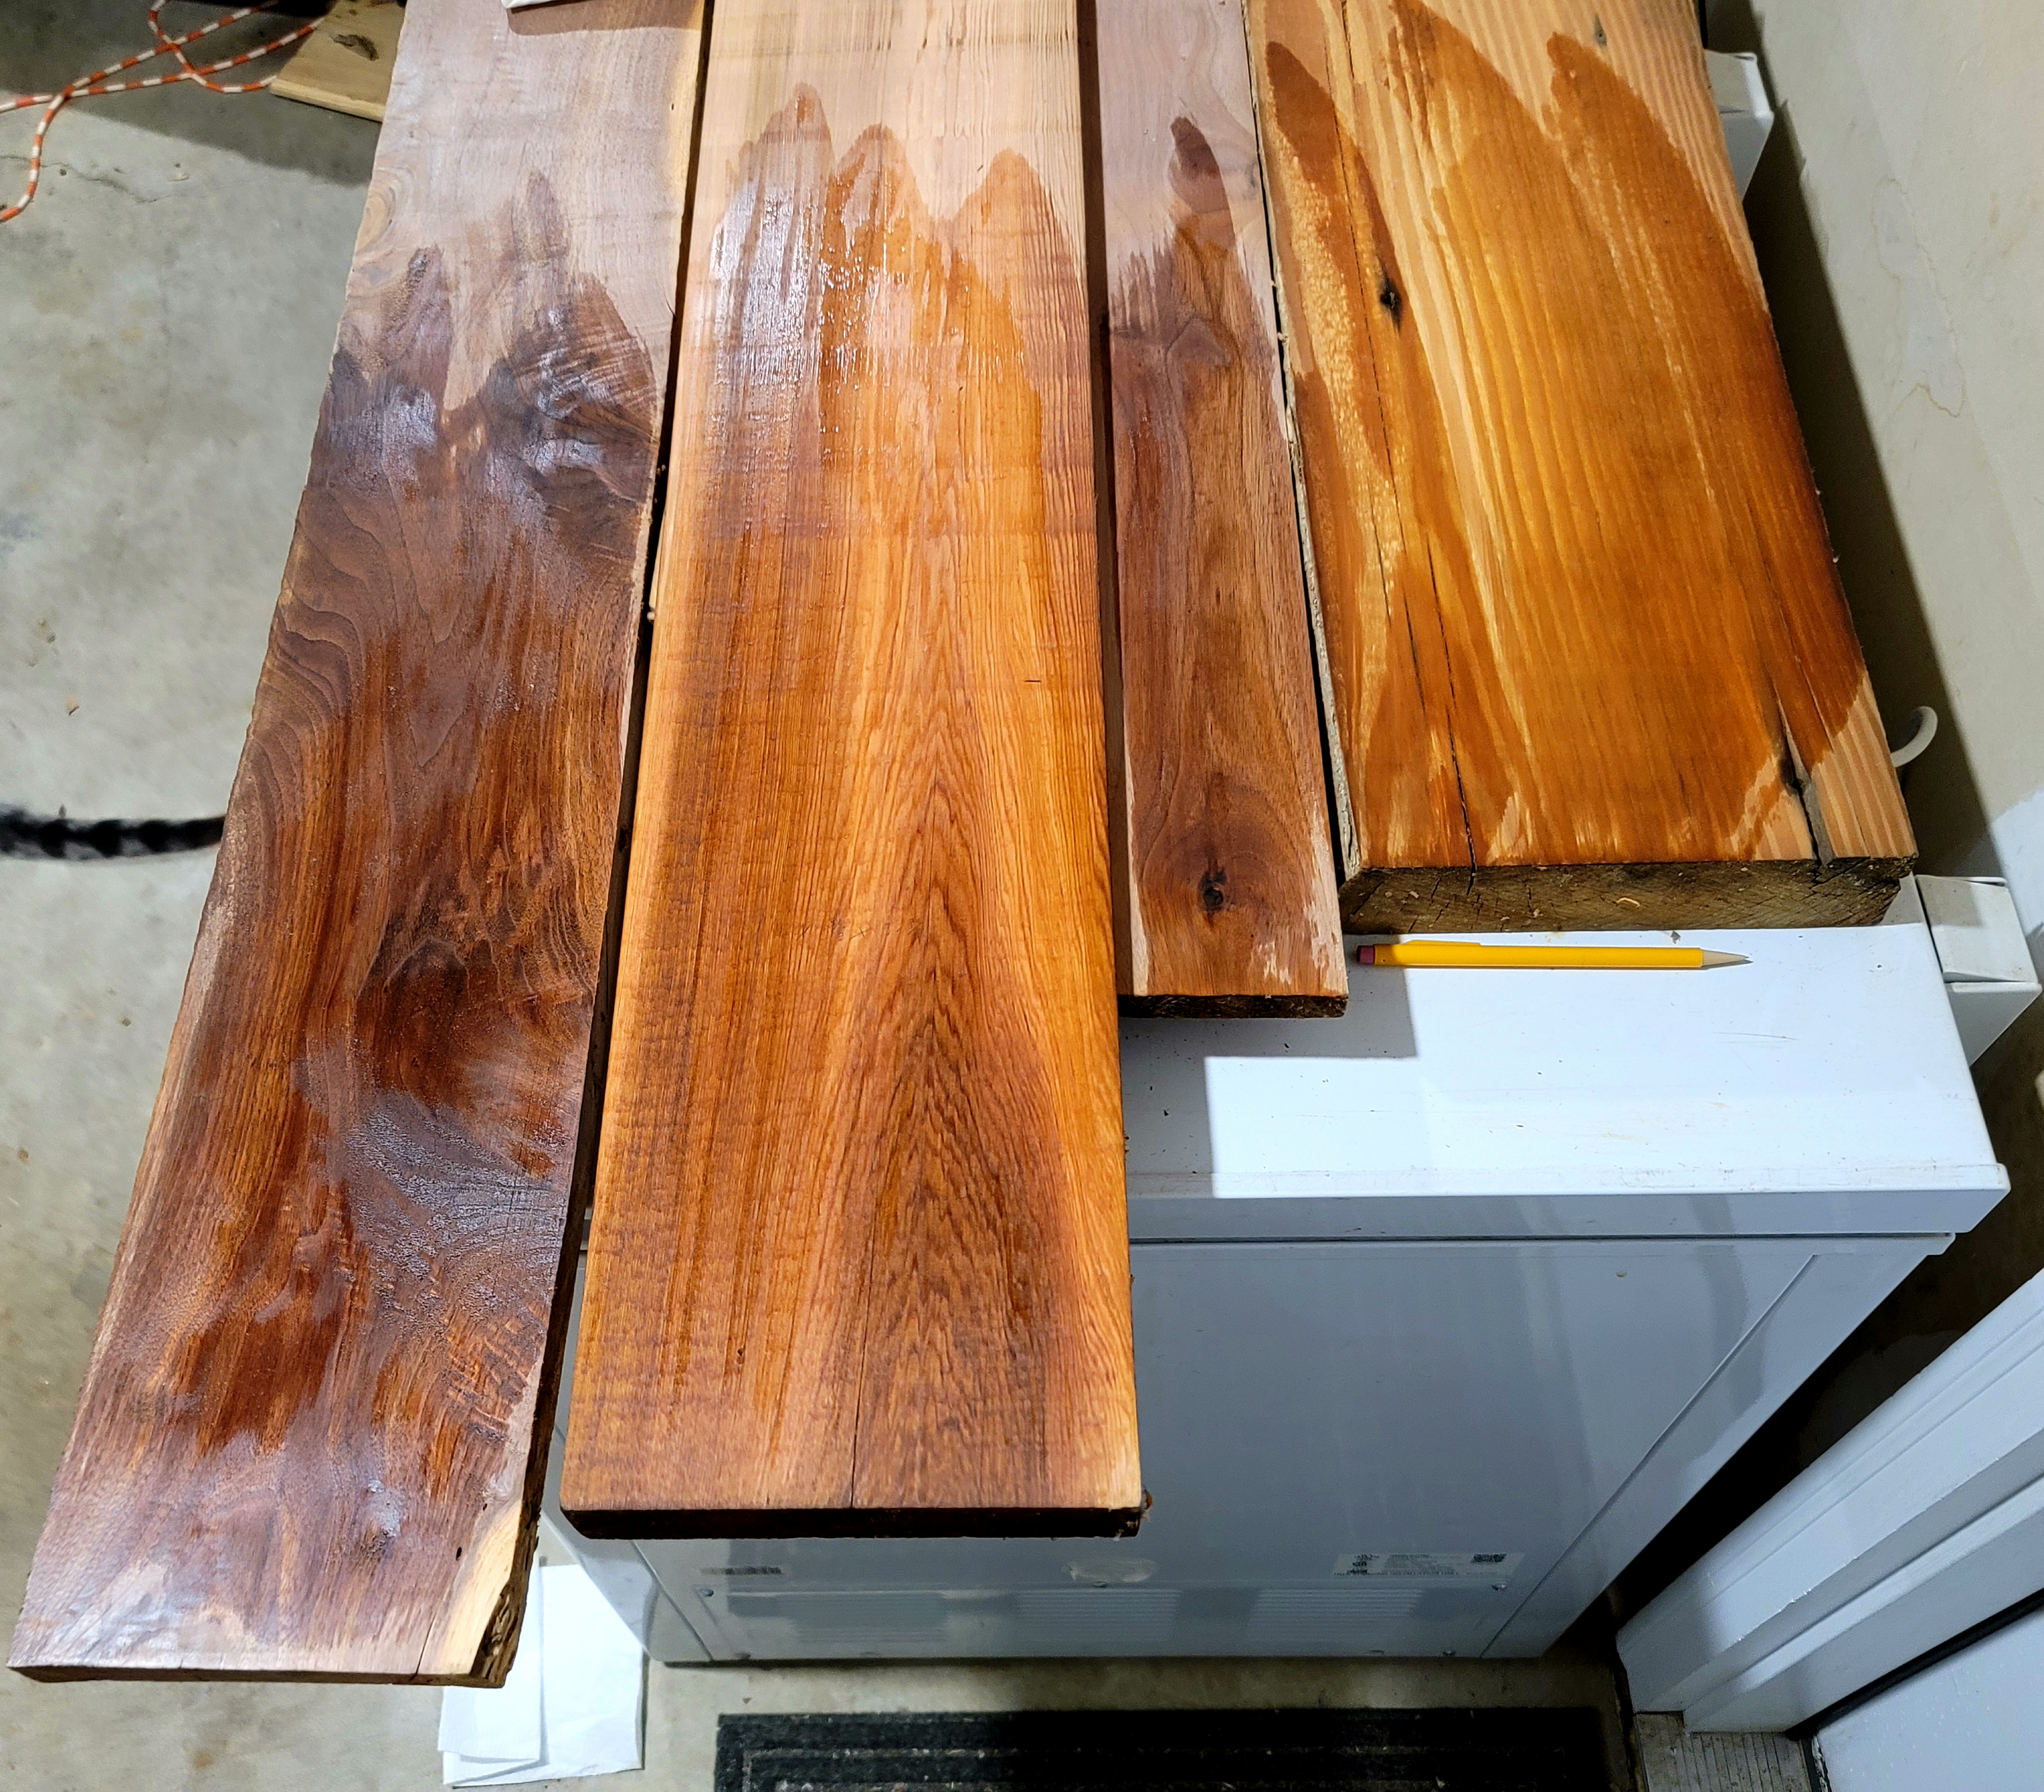
Oh, one more happy thing… When we bought our house the seller had a bunch of dimensional lumber in the room below our bottom deck. He didn’t want to move it so I told him he was free to leave it. I went through it yesterday. I found a few non-dimensional, rough cut boards. Best guess is black walnut, cedar, cherry, and cyprus. Oh happy day.
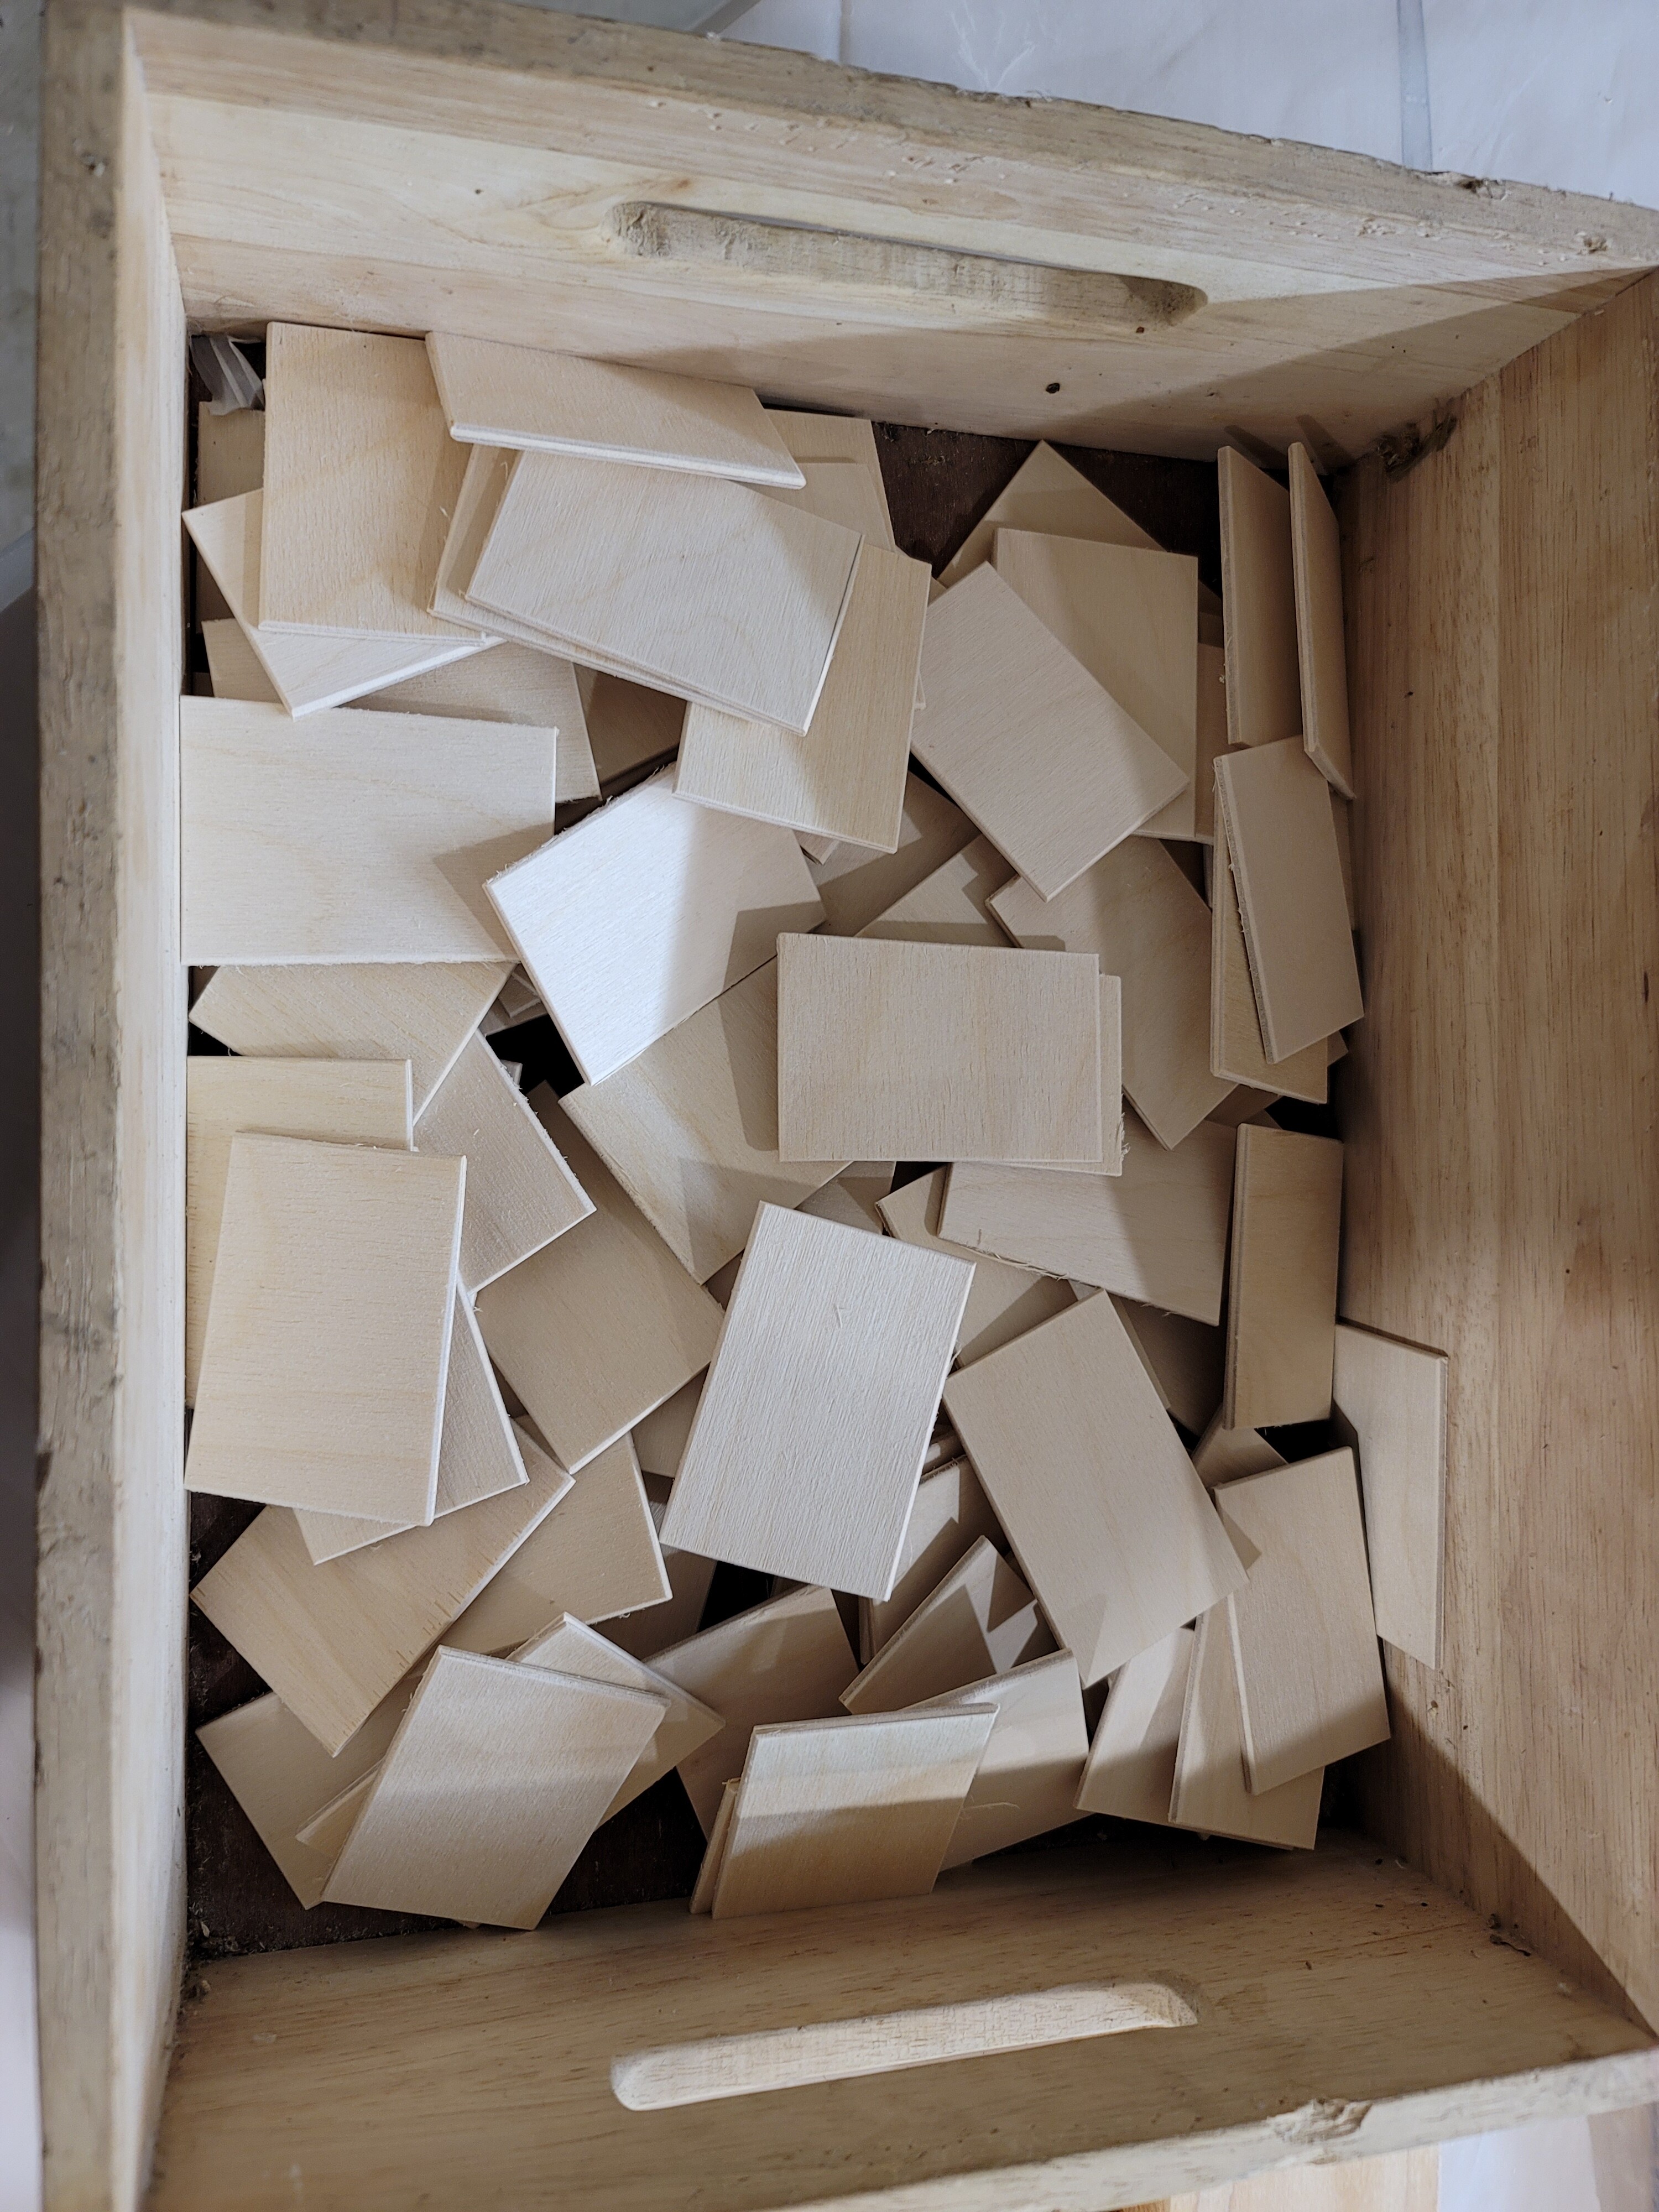
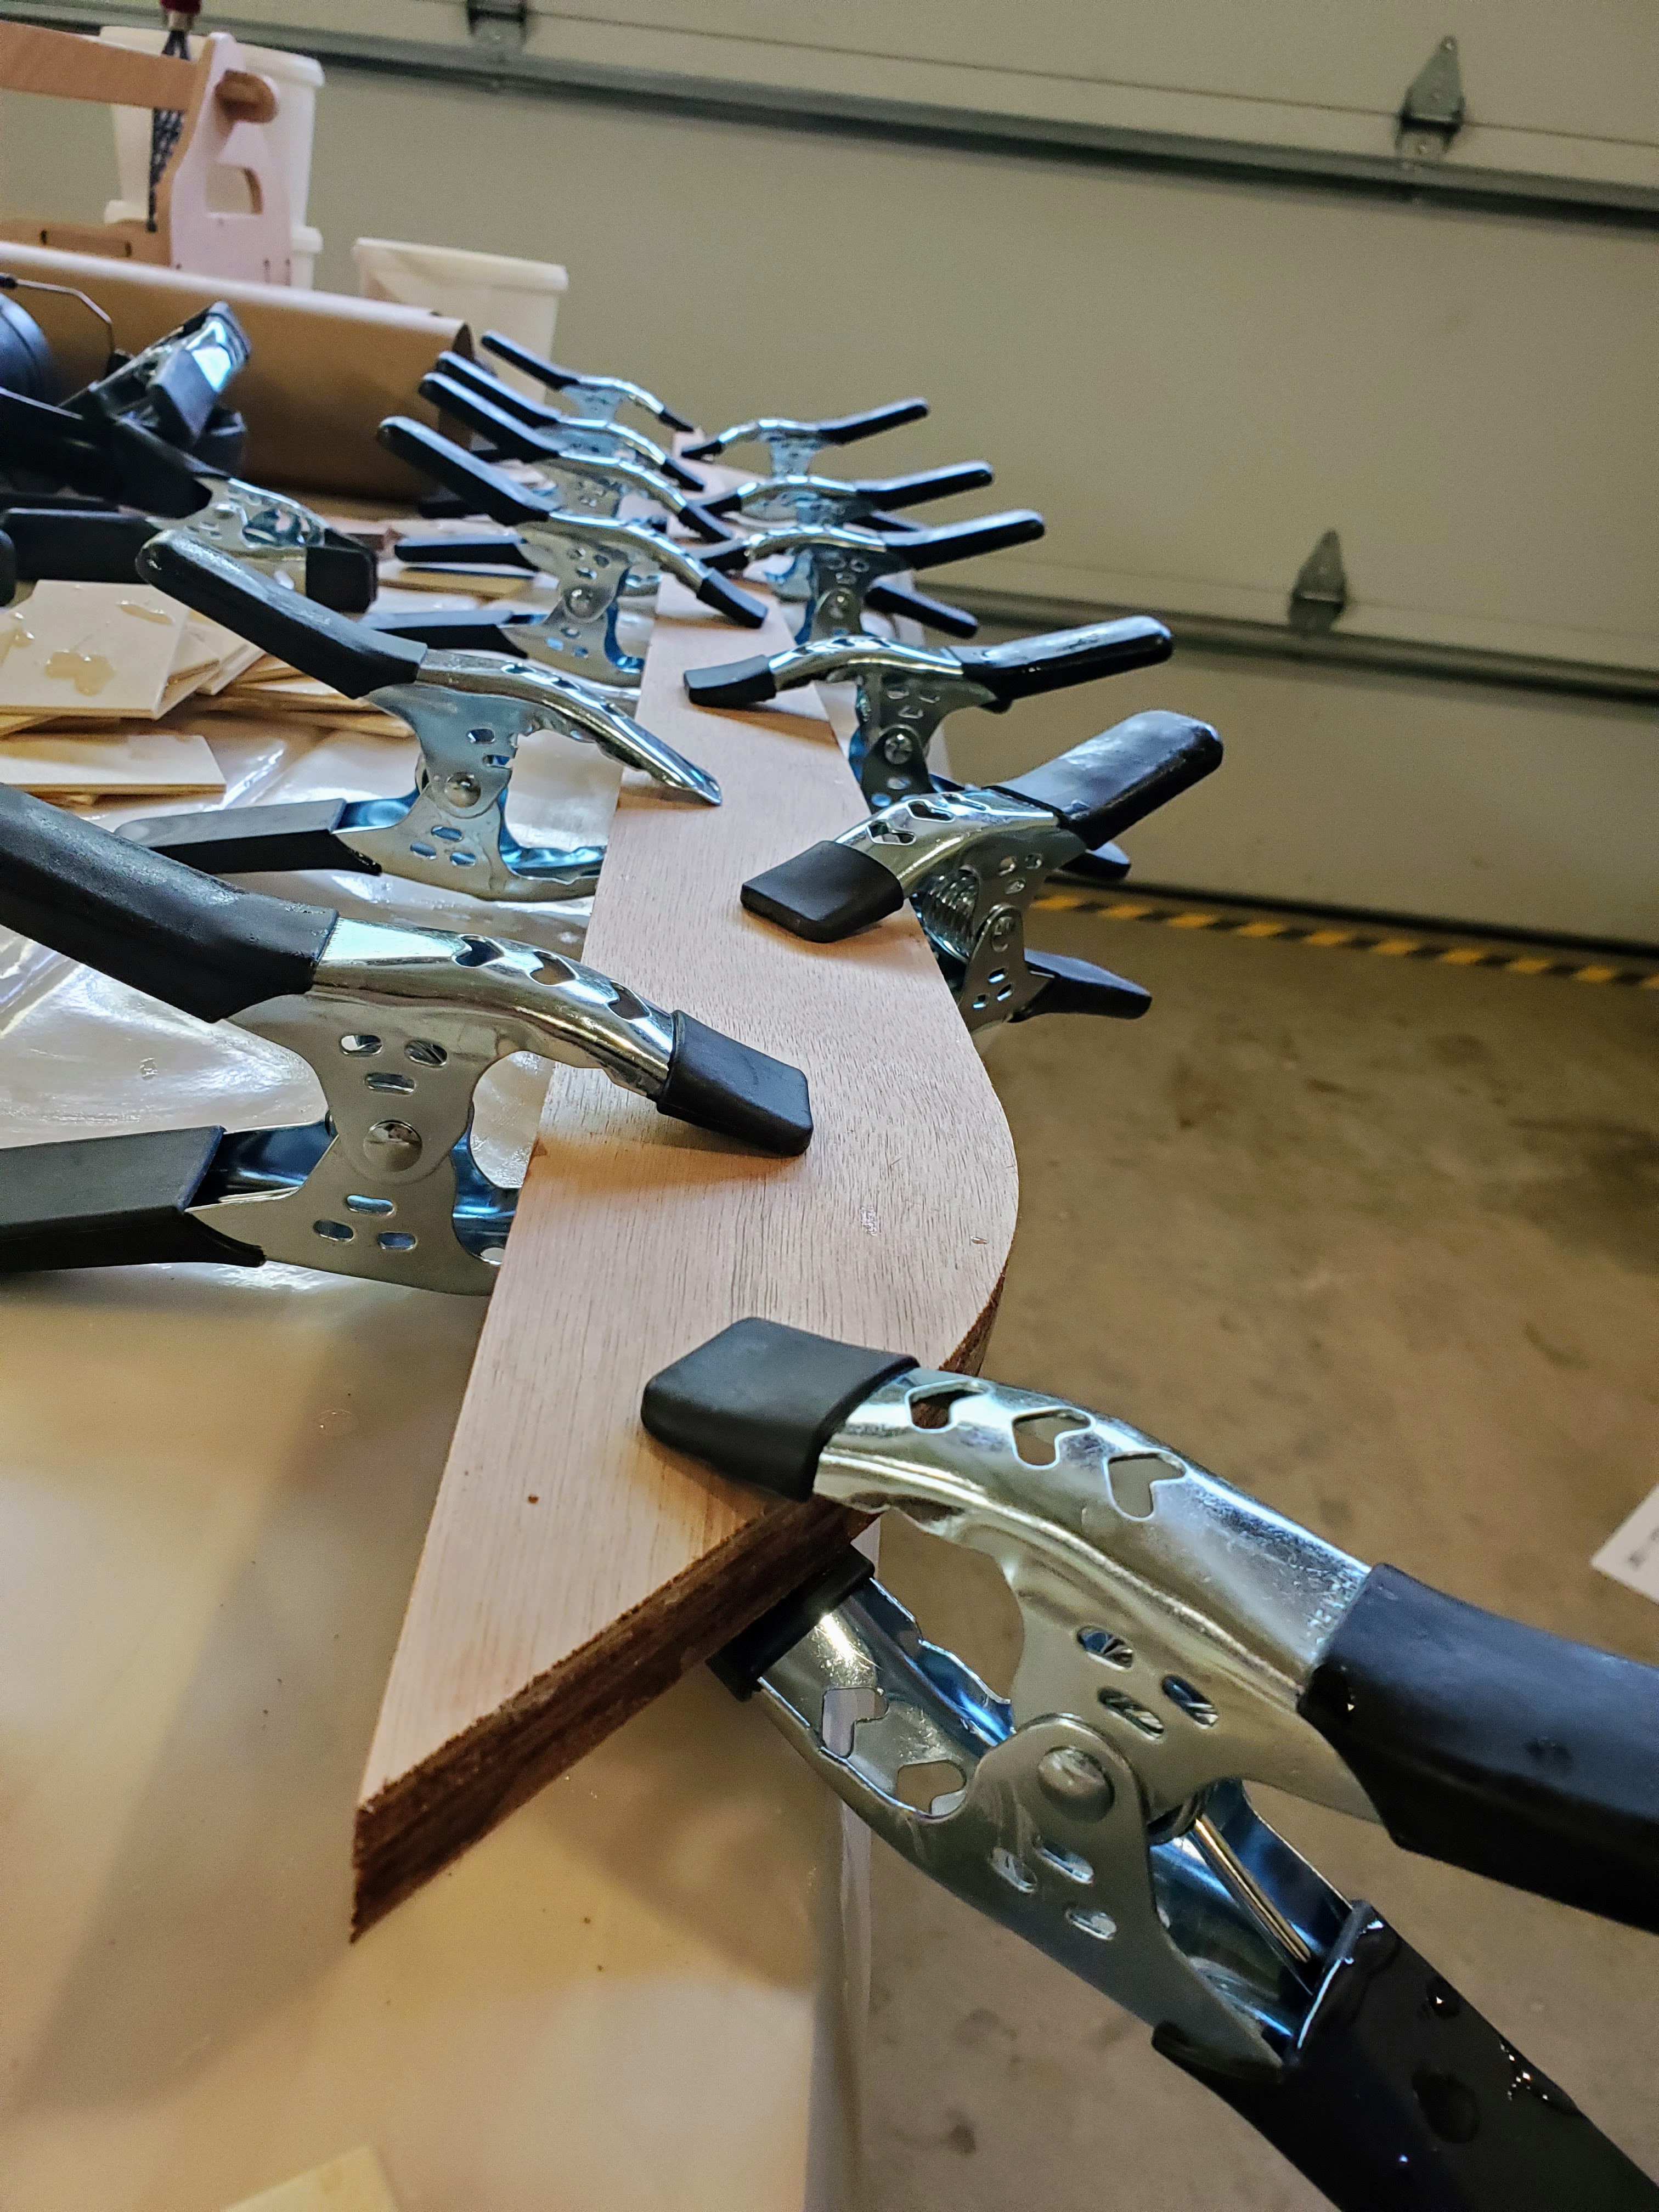
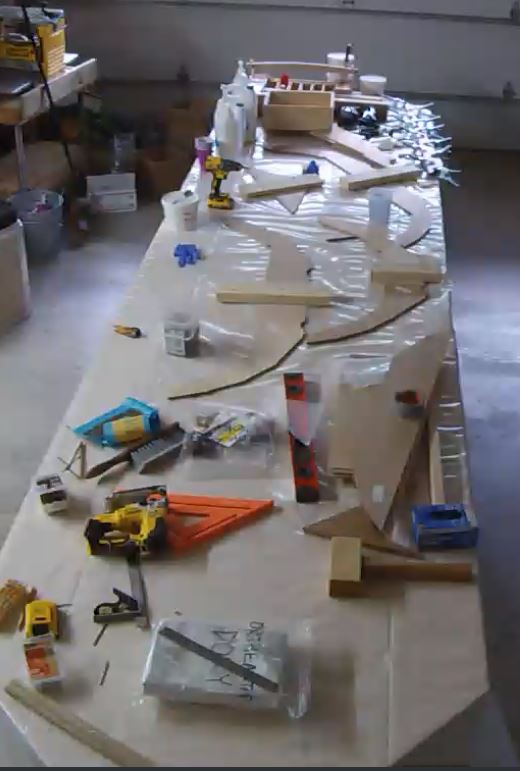
I have set up my construction table and cut a bunch (96 so far) of little plywood pads to use with my clamps to prevent damage to the surface during clamping.
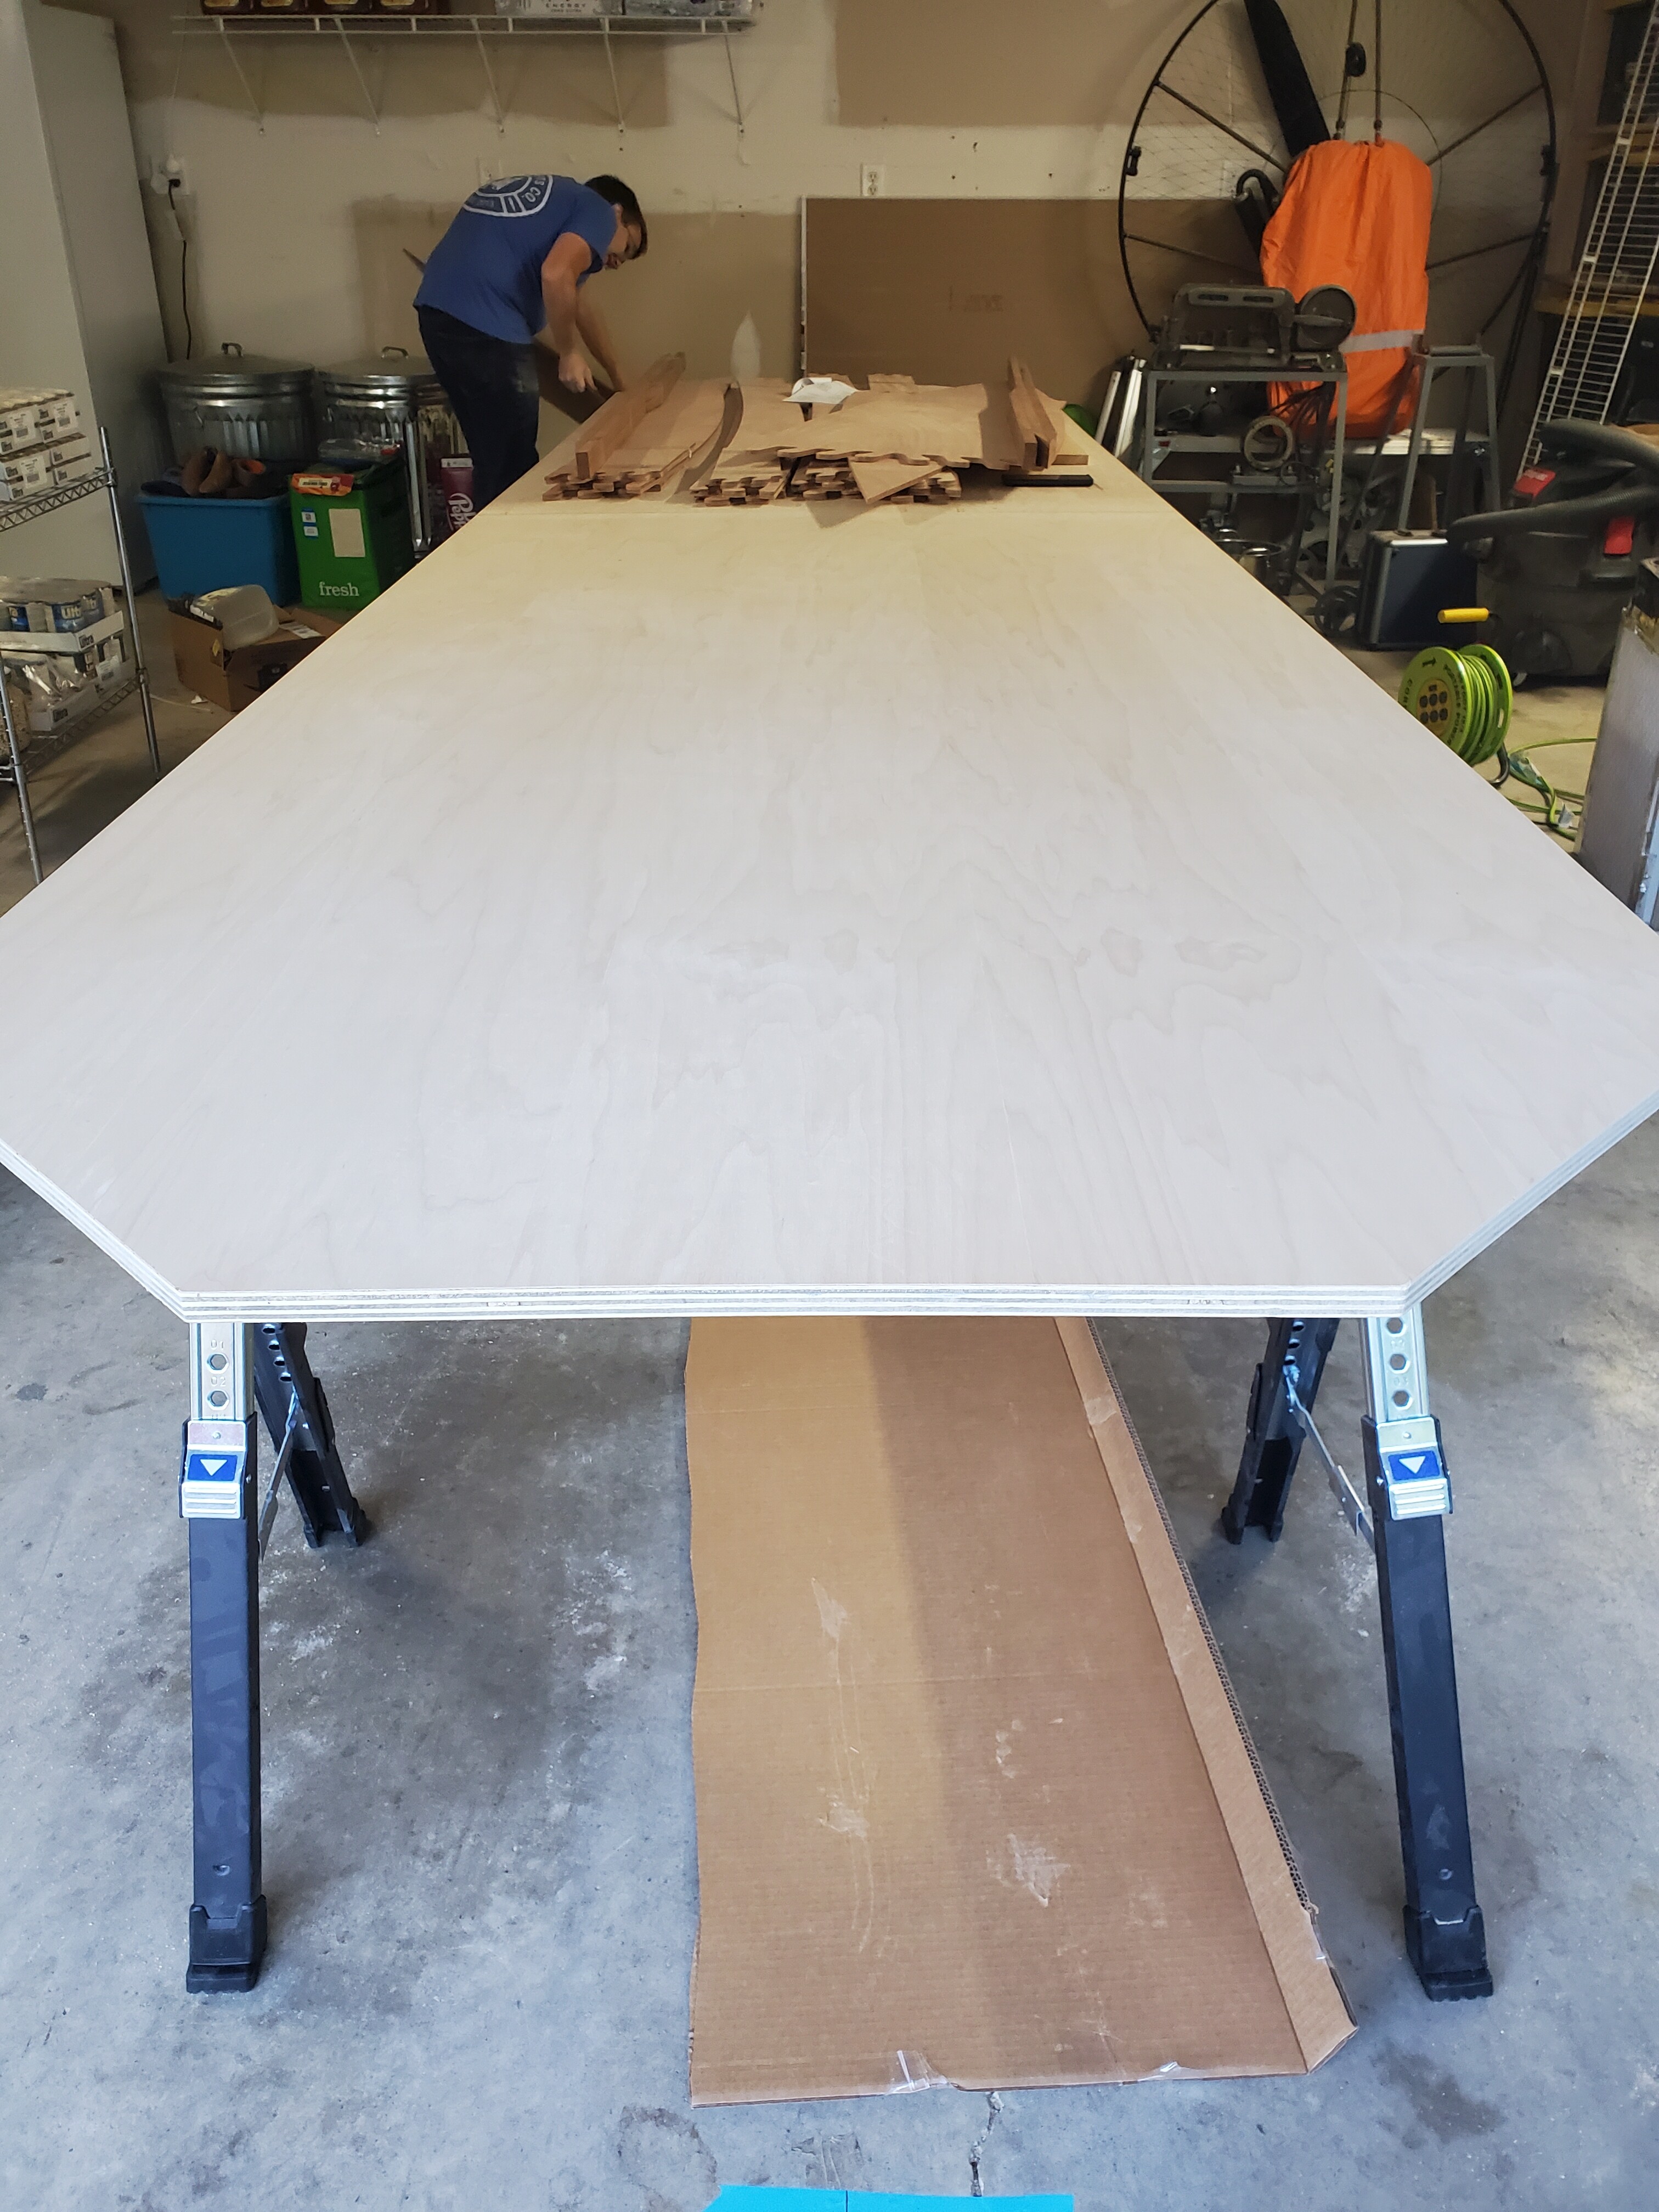
The size of the boat has finally begun to make sense to me. The LOA is 17 ft with a beam of 56in. This table is 16ft x 4ft. When I chose this kit, I just thought sure I have enough room. Glad I didn’t pick something bigger.
I have glued up the puzzle joints for the frames and also the skeg. This is my first time working with epoxy. I was a bit nervous about messing it up. The instructions mentioned making the epoxy a mustard consistency. What kind of mustard? Grey Poupon? Dijon? Yellow Mustard? In the end, I made it like a yellow mustard, I think.
Here is the skeg, clamped up. Initially I had put those little pieces of ply under the clamps but I was worried about glueing them to the skeg with any epoxy overrun. So, I removed them. I will cut up some plastic to put under each piece of plywood in the future.
Once the frames have cured I will move onto epoxying the doublers onto them. After that I can sand the frames. I also need to epoxy the transom at that point.
I have jumped into the wild world of epoxy. So many variables and subjective descriptions ff epoxy consistency had me super worried. So far, it is working - I think.
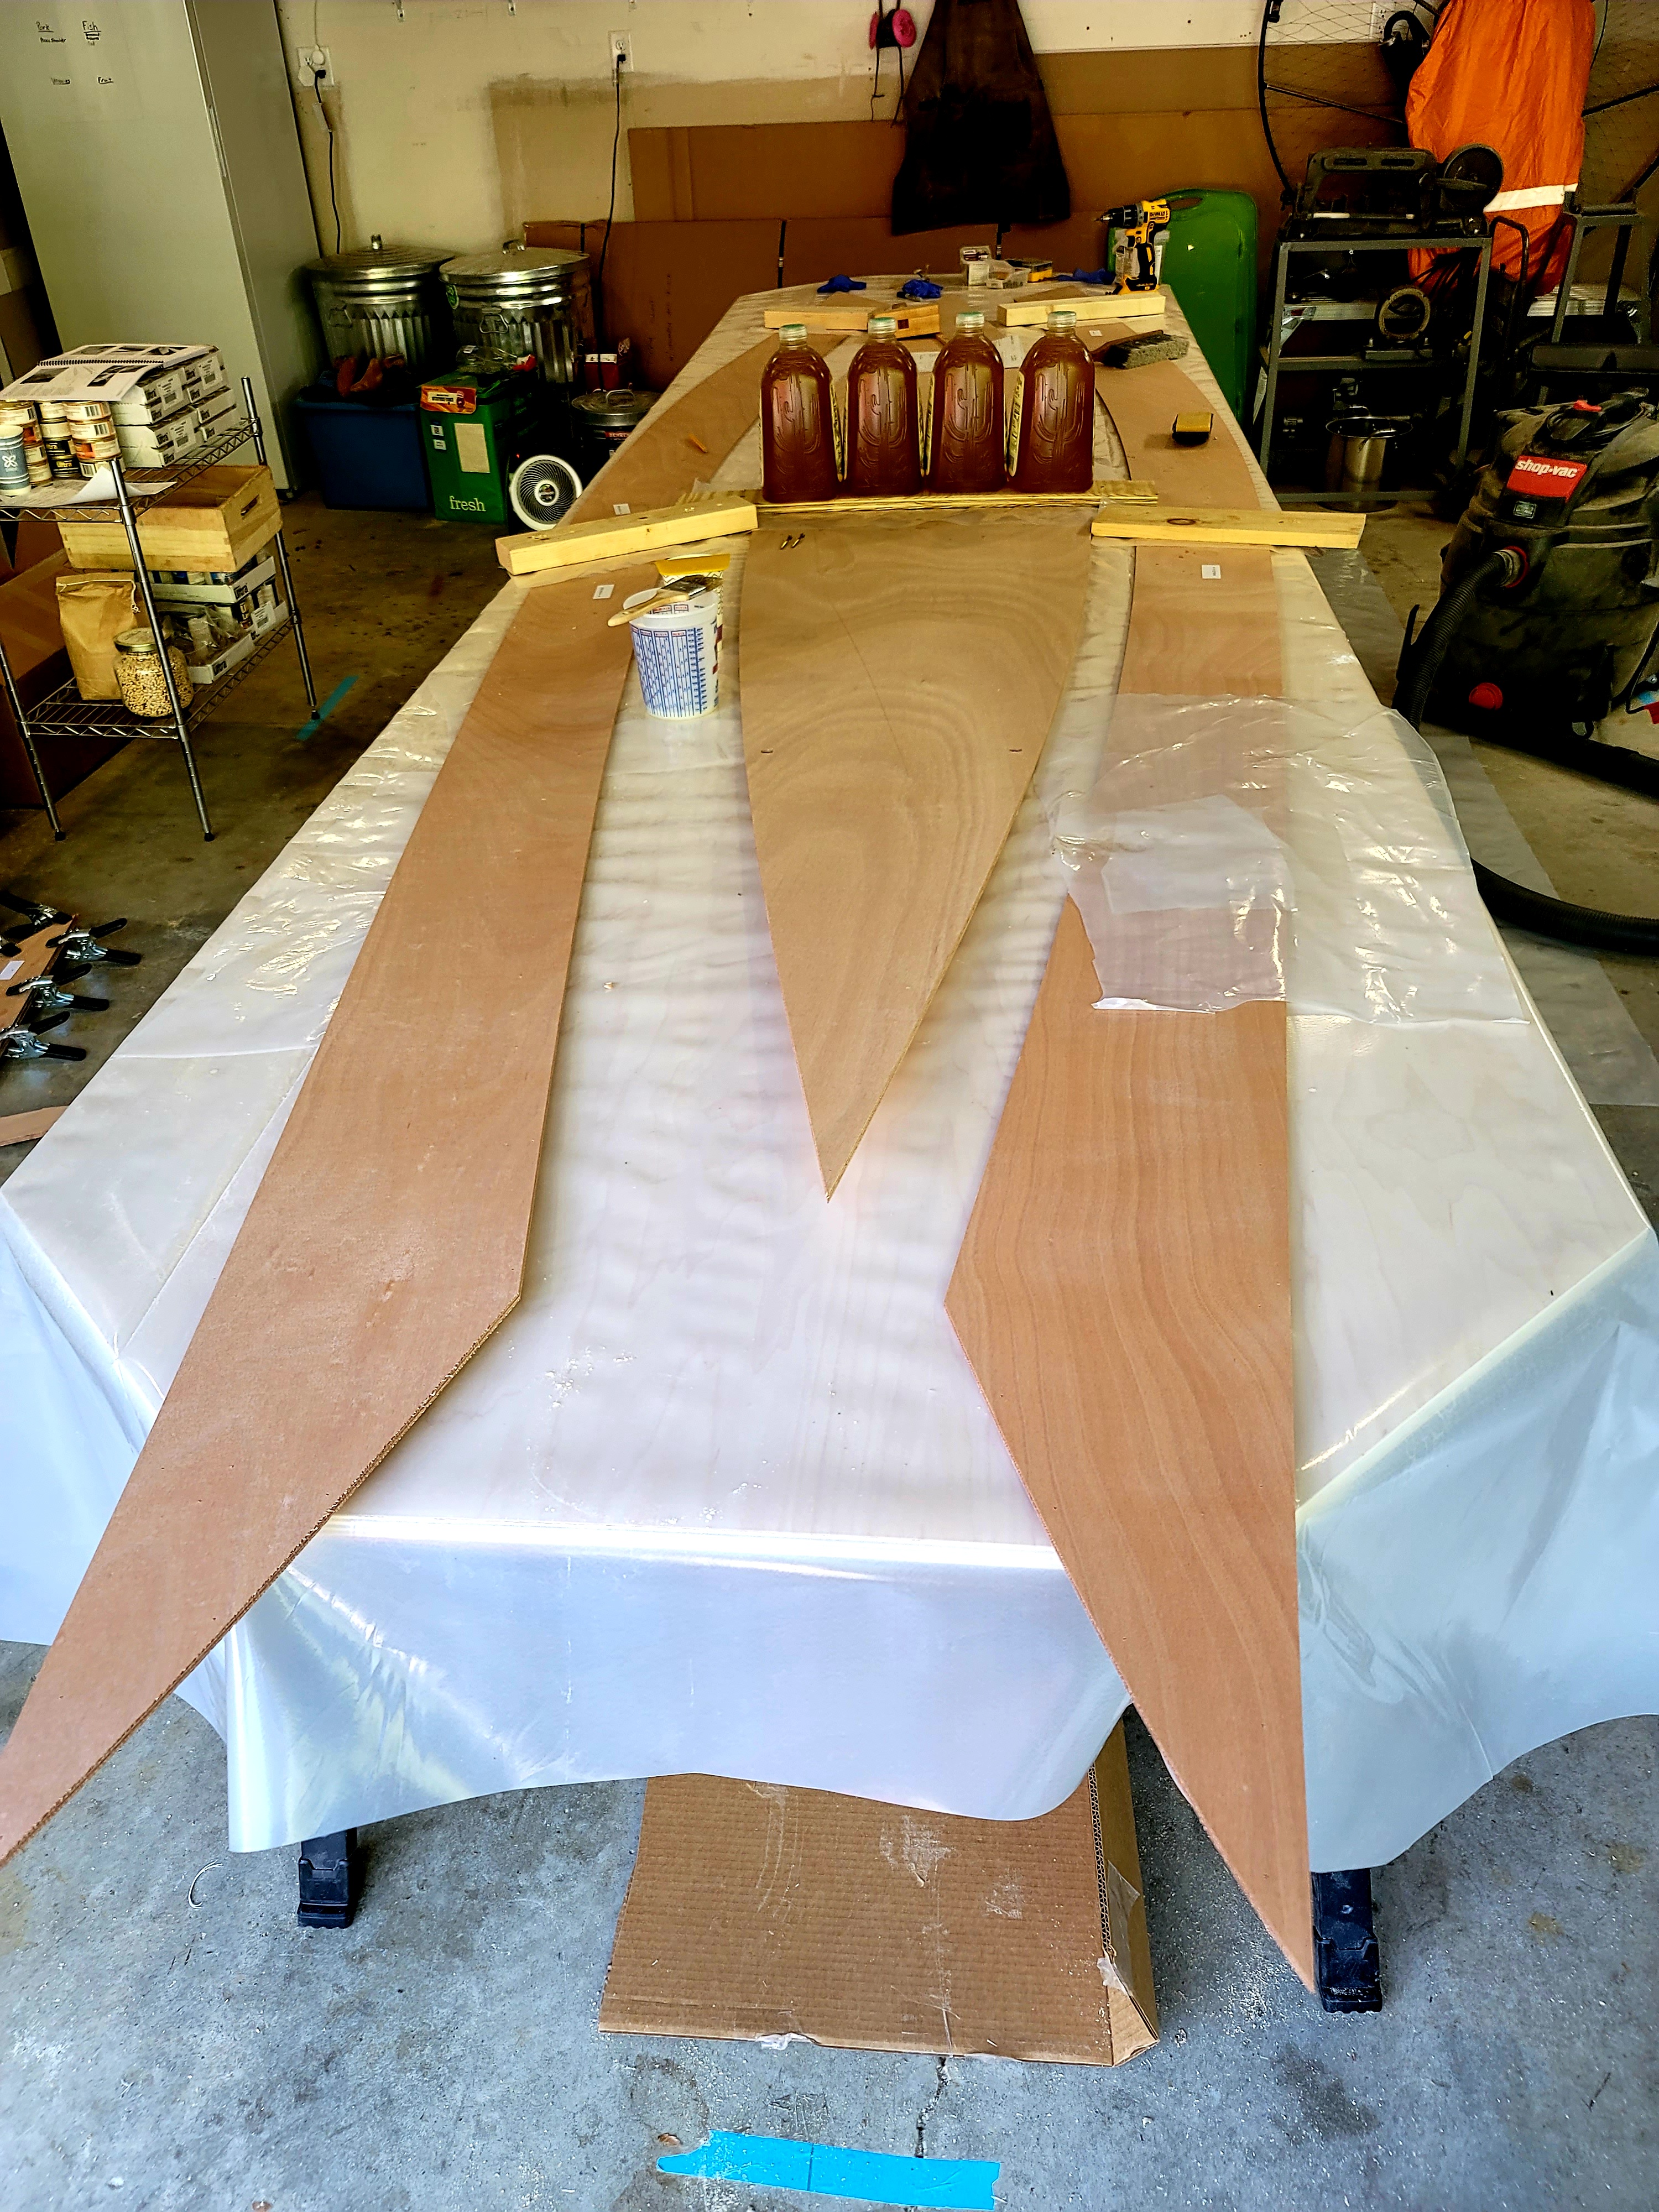
Here is the bottom and the first panel. The puzzle joints have been epoxied and are now clamped down to the table to ensure that they stay flat and married to each other. We’ll see how they look in 24 hours.
I have never used epoxy before this project. I have discovered that getting the epoxy to fill a joint isn’t as easy as one would assume. I have had to go back and force epoxy into dry joints after I discovered that there wasn’t enough after the 24 hour curing period. Not a huge deal but it is frustrating.
These are strakes three and four. You can clearly see the puzzle joints (prior to epoxy application.
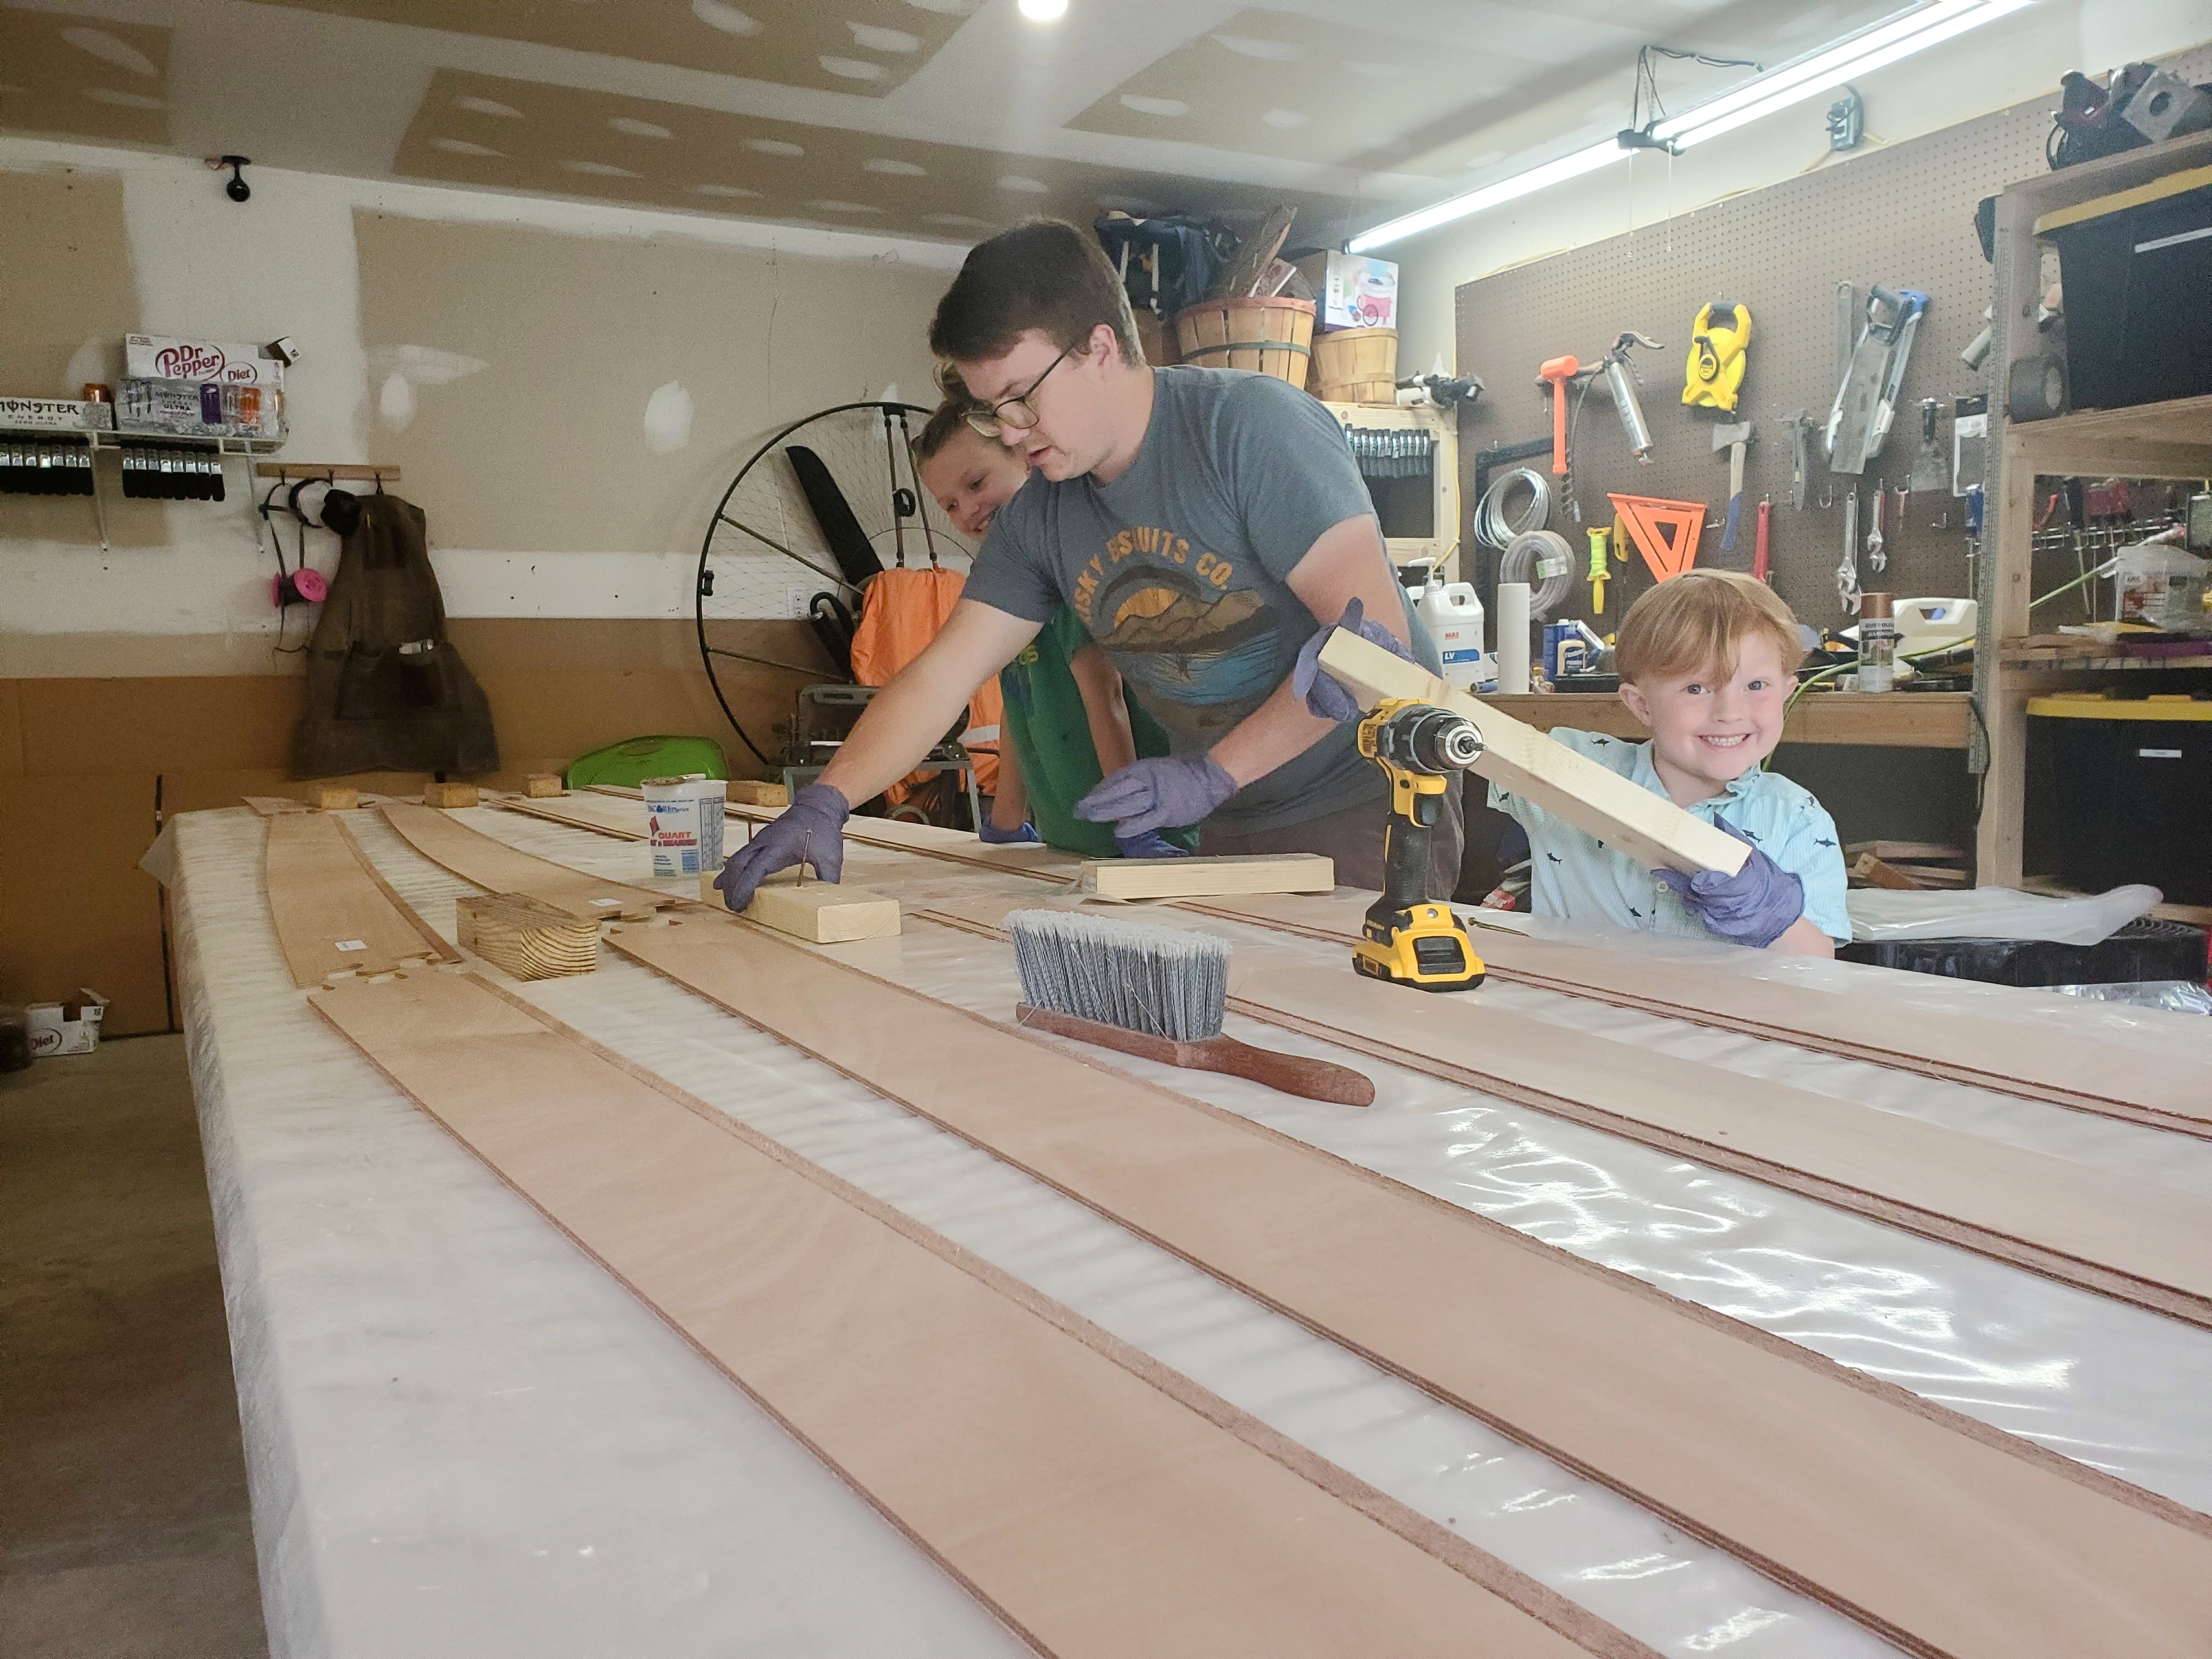
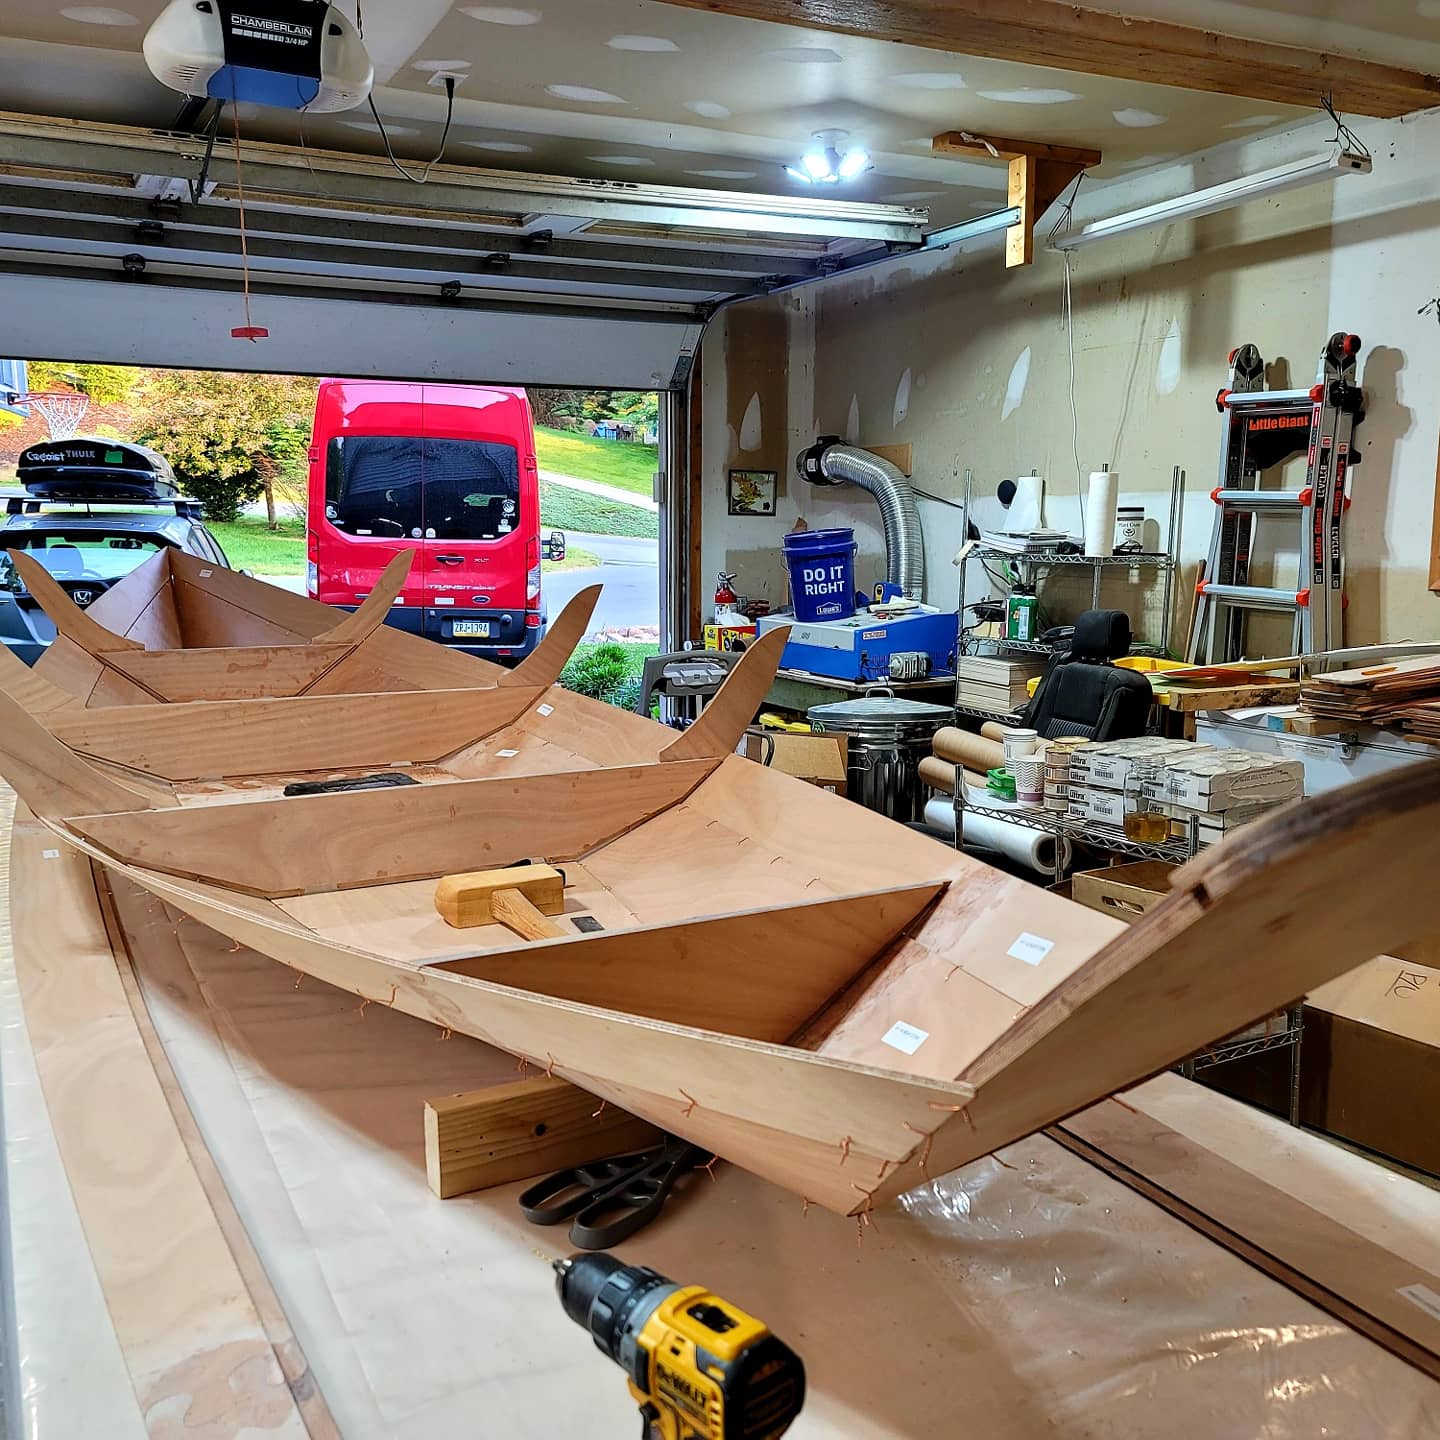
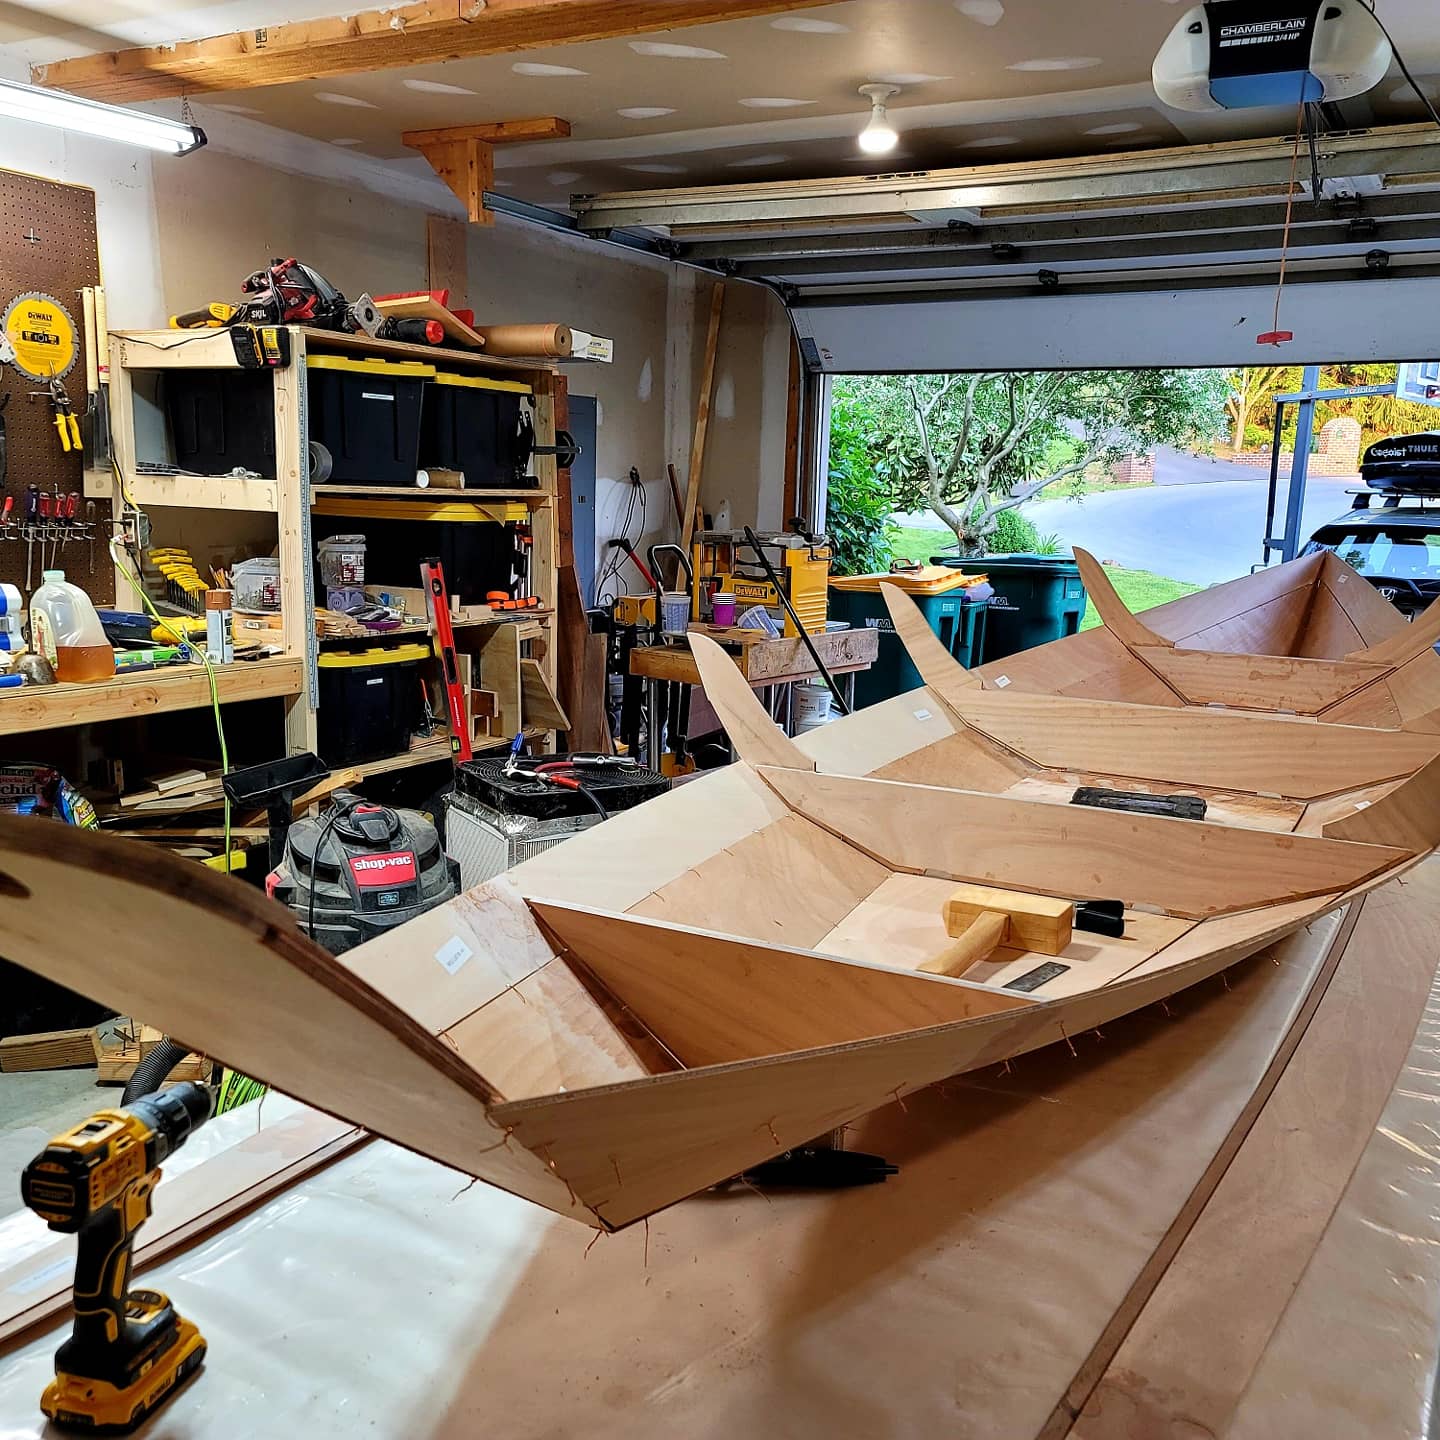
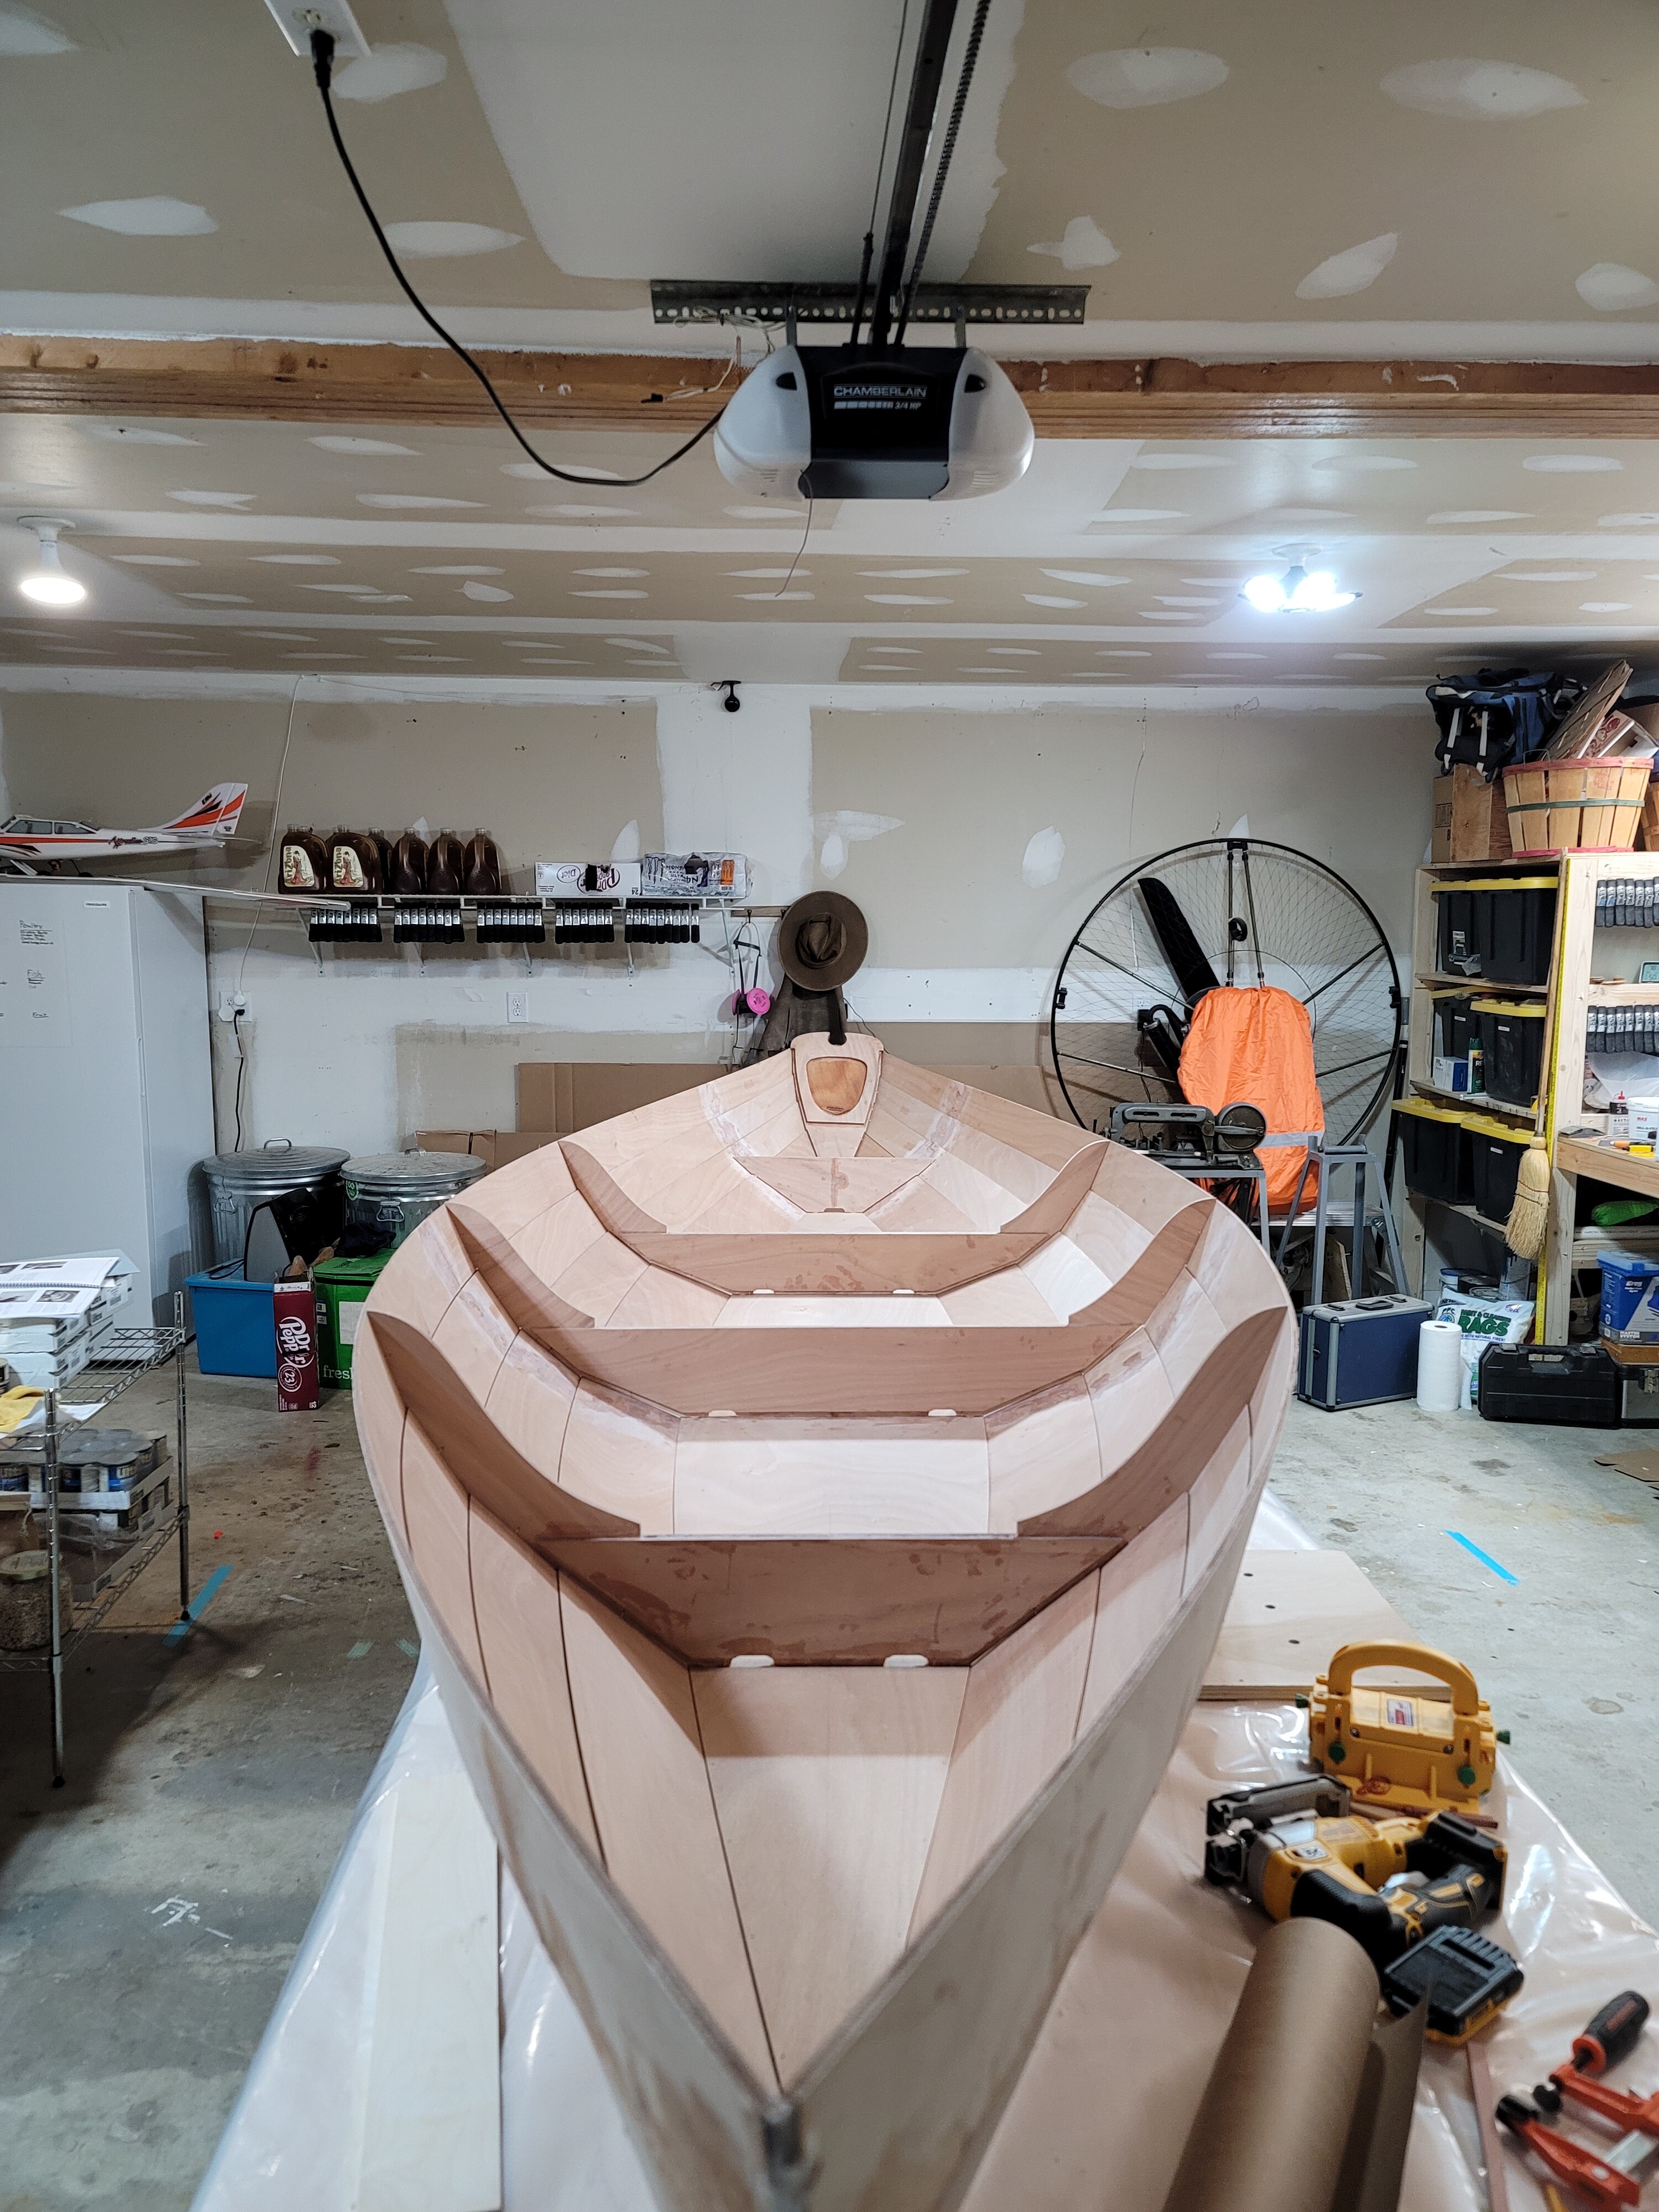
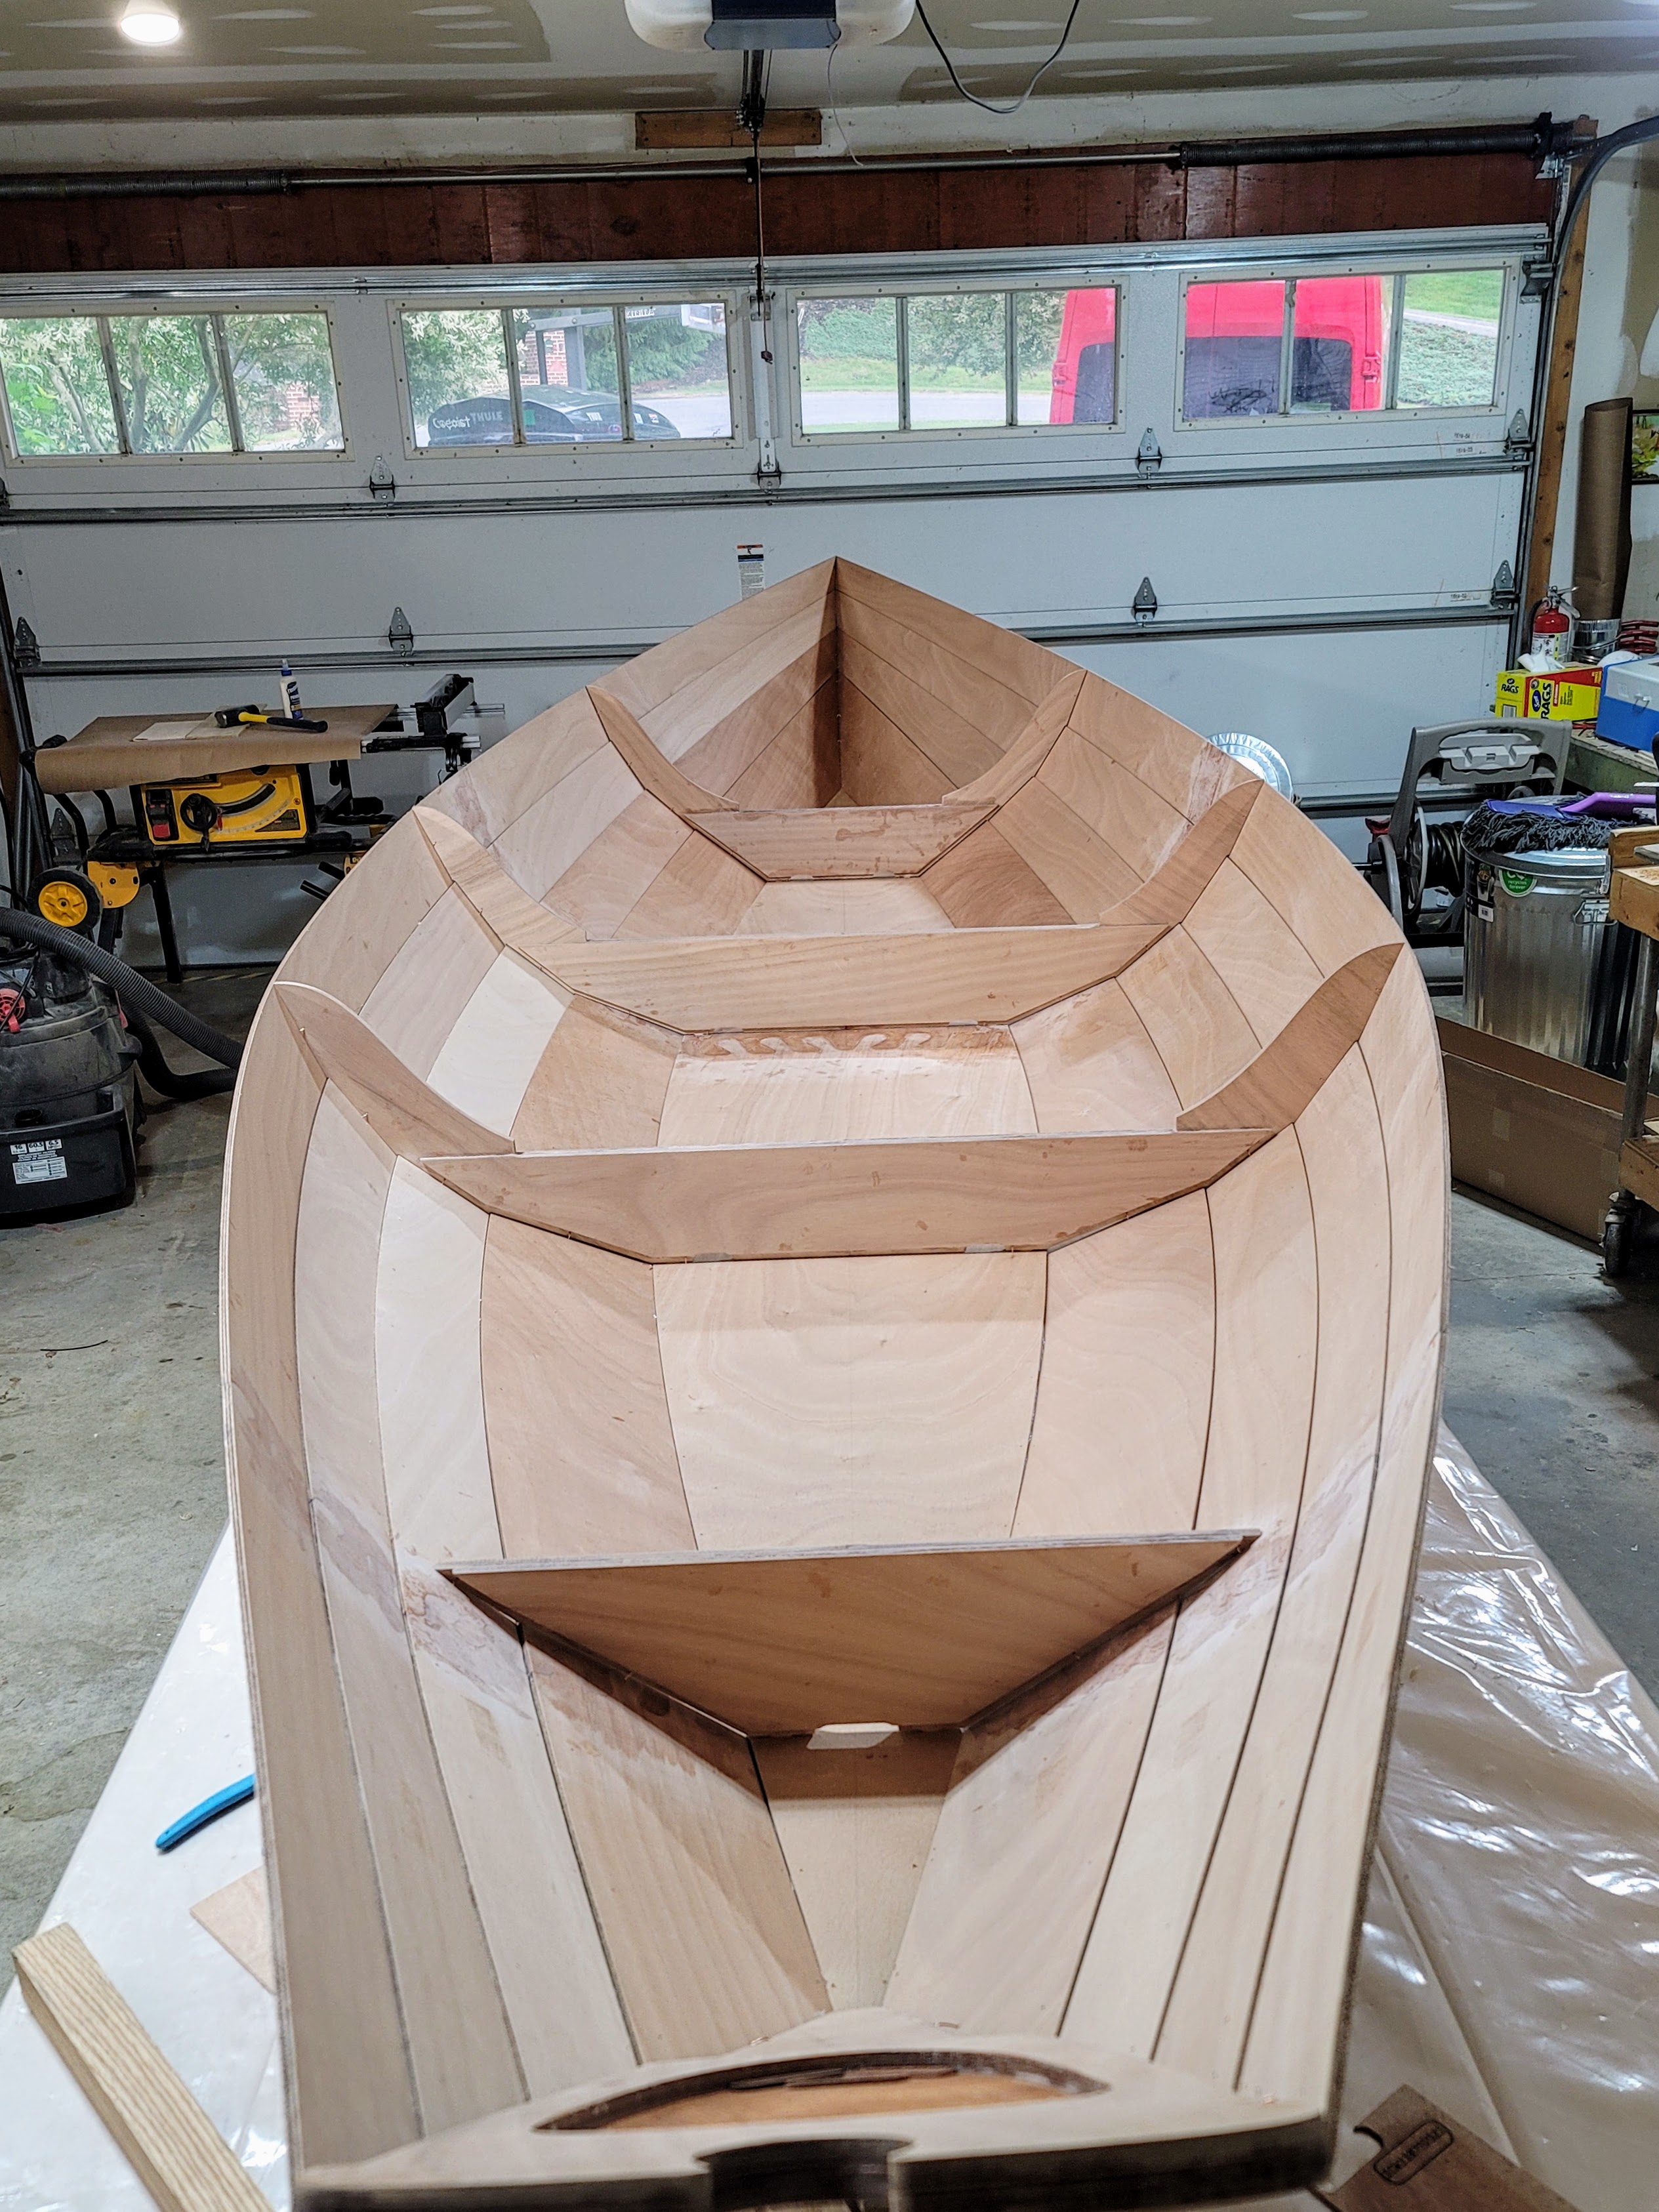
Things are going better today. My children, wife, and I began the stuffing prices for the boat. At this point, I have assembled planks one and two on both sides. Yesterday, during the stiching of the framesi ran into she tricks mating the surfaces. Got that fixed today. Here is the progress since last update.
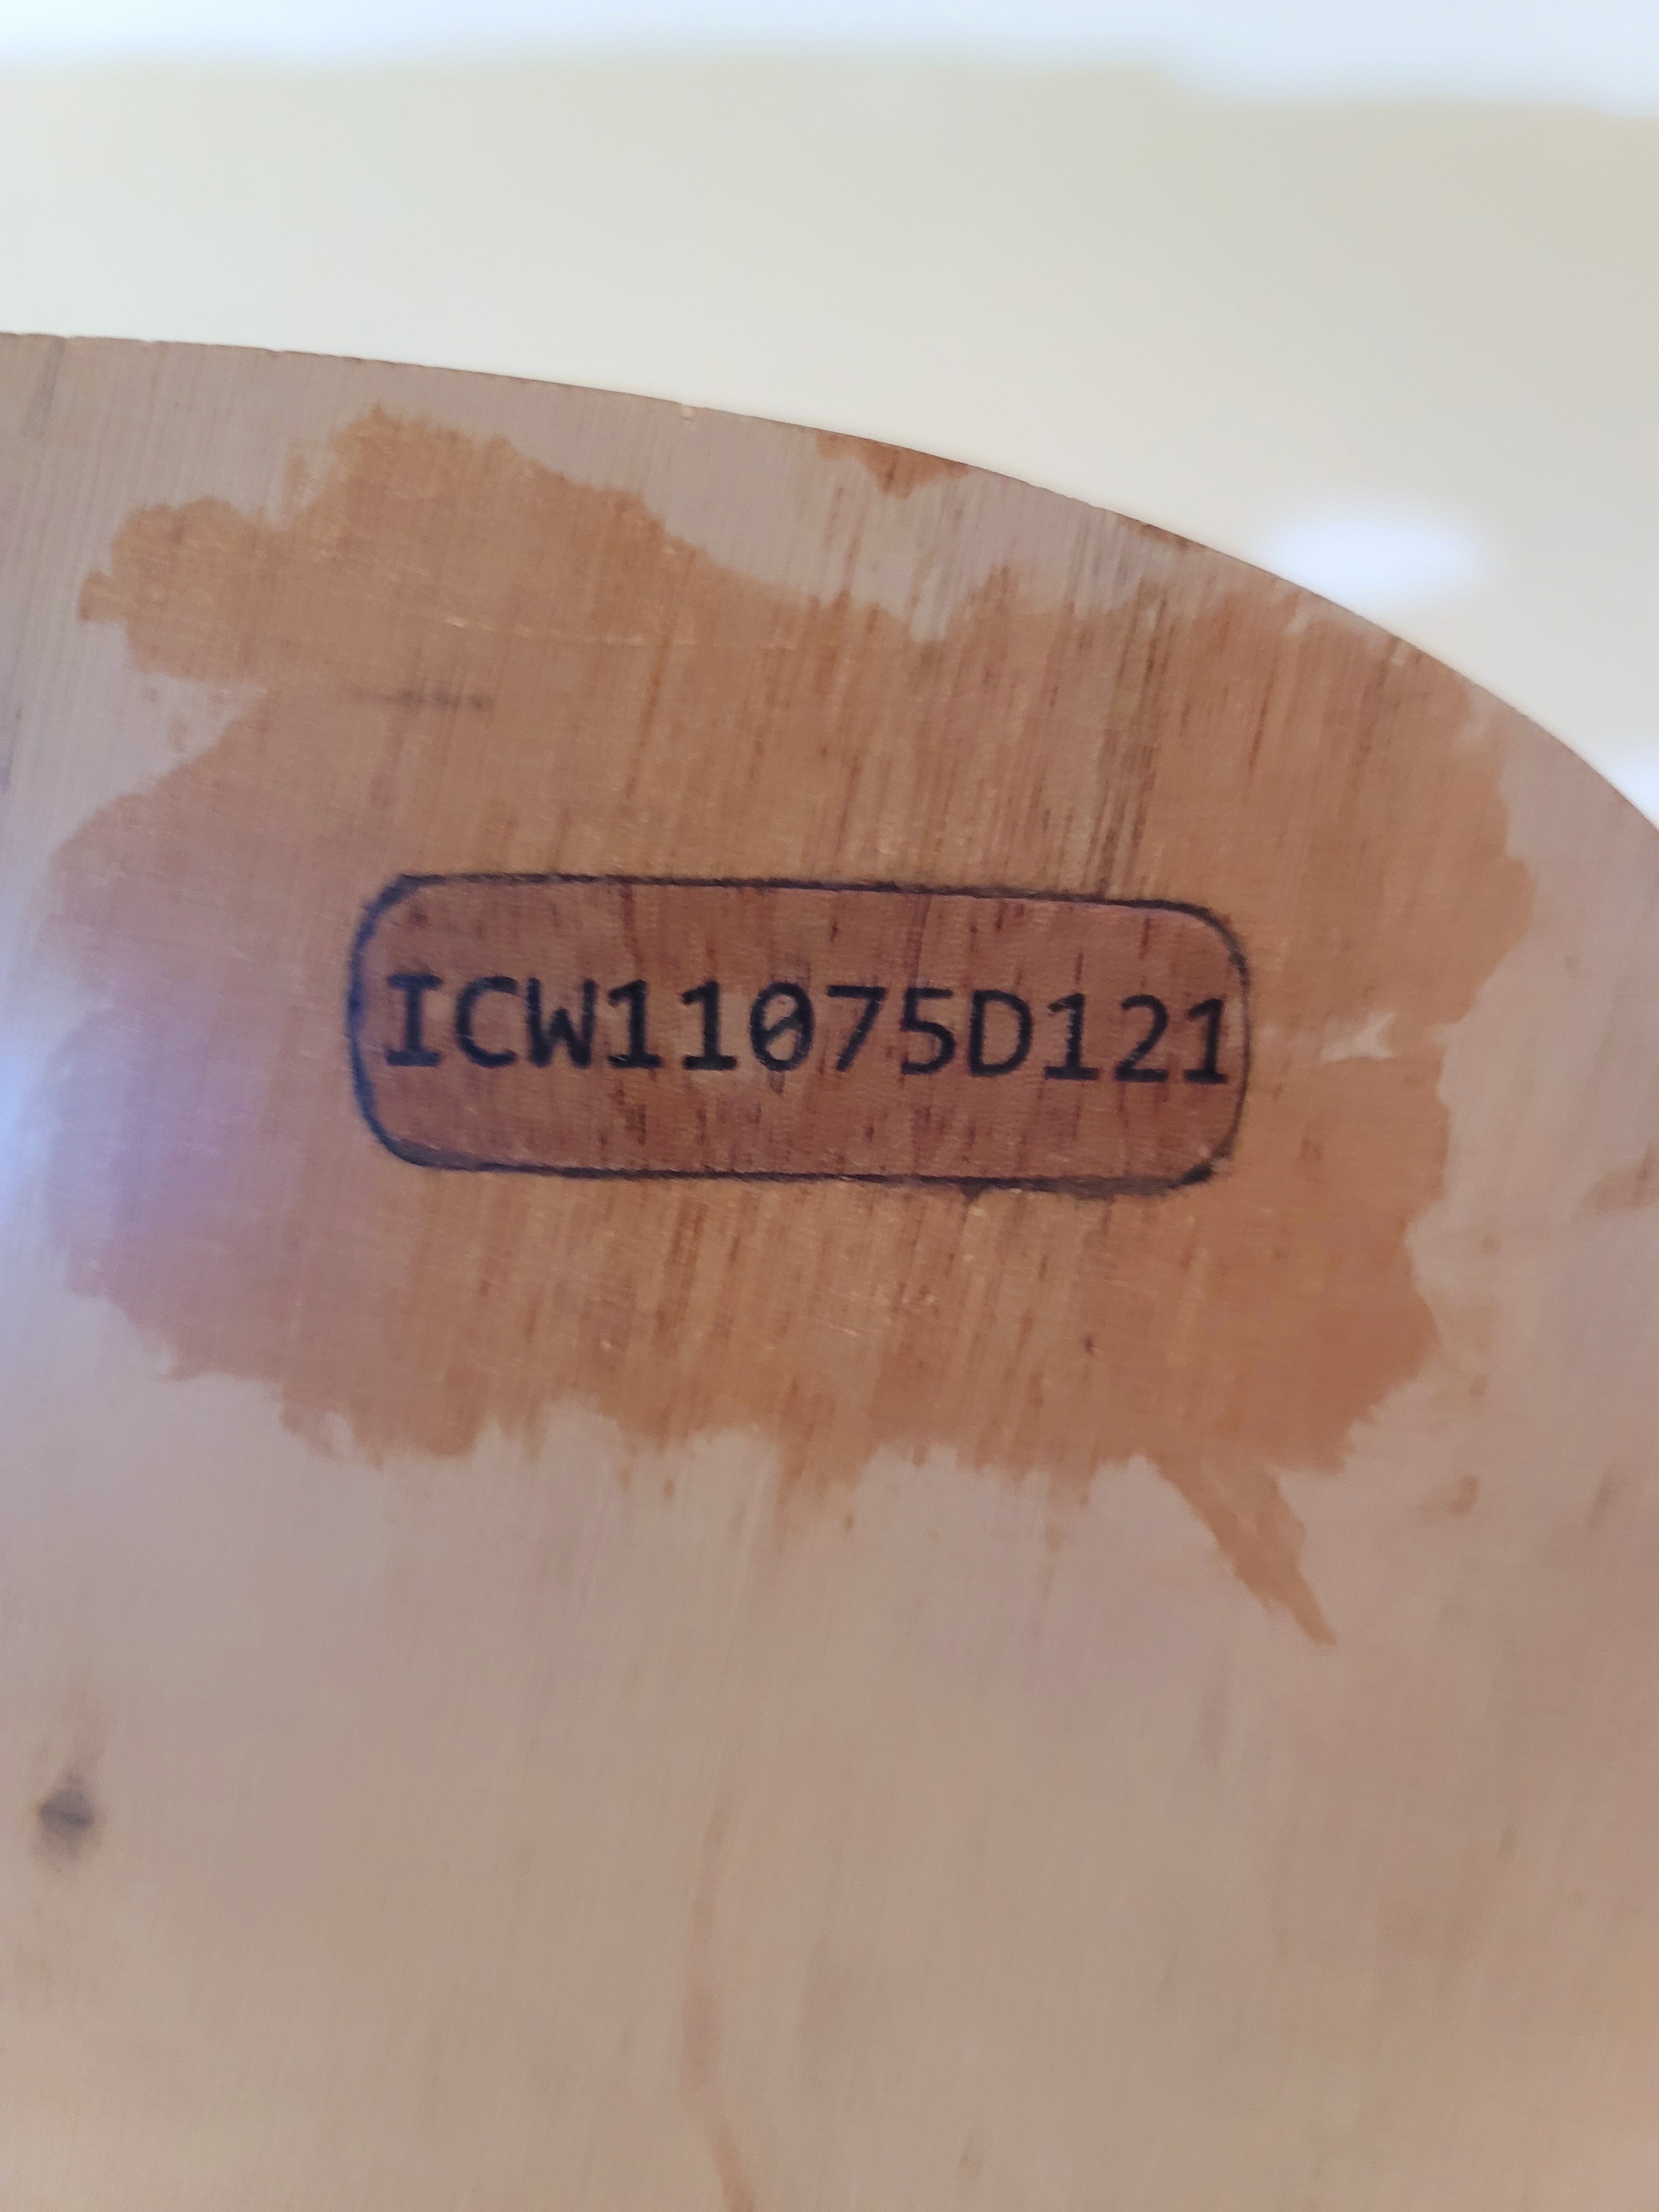
Given that my state requires that any boat that will access waterways through a state park or state lands (most of the places that I will sail/row), I had to come up with a way to get the Hull Identification Number (HIN) onto the boat. The state requires that the HIN be on the upper right of the transom (if there is a transom) and in another hidden place inside the hull (for me, under a thwart). After some head scratching, I decided to order some 1/16" mahogany from Ocooch. I raster engraved the HIN onto a 1"x3" piece and then vector cut it out with the K40. All-in-all, I think the process worked well. To inlay the HIN into the transom, I traced the plate and then used my plunge router to route out the area for the plate. I epoxied the plate into place. It isn’t perfect but it works and will comply with state requirements.
So sorry to hear about your mother and grandmother! Feels like there’s been enough grief to go around lately. Best wishes to your mother for her recovery.
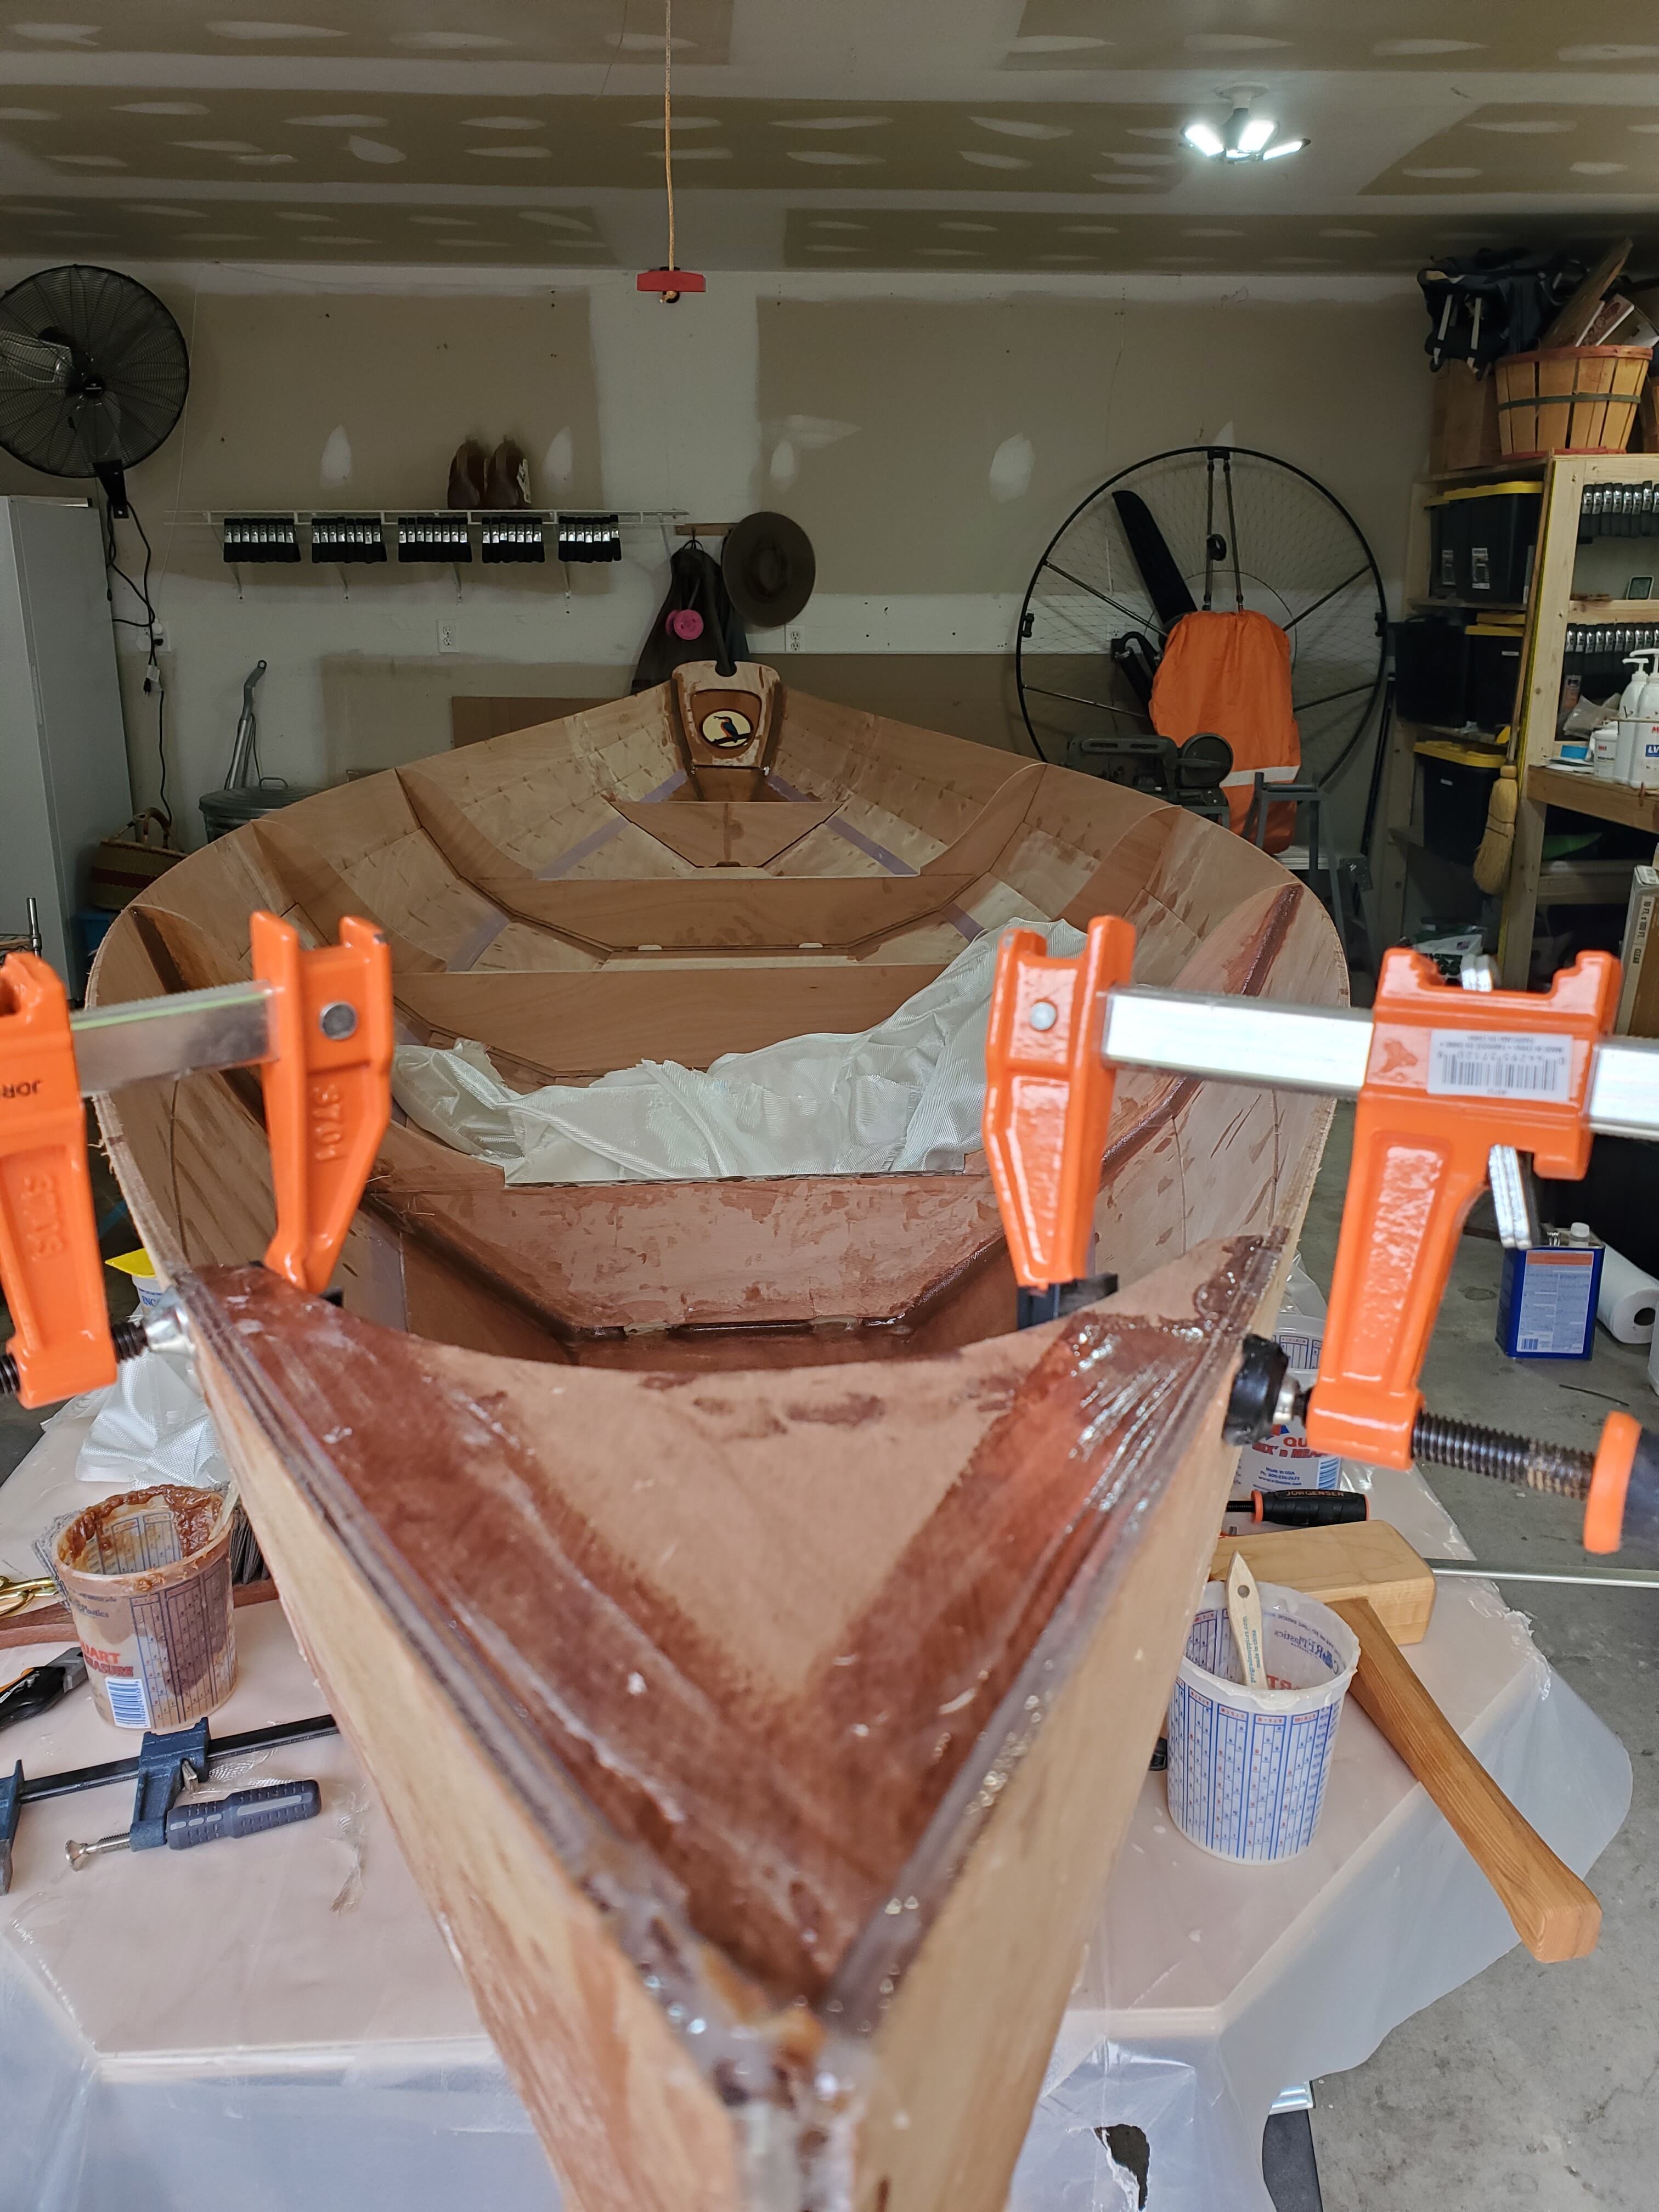
Work is progressing slowly on Kingfisher. Started a new job, had the funeral to deal with, and I have been sick. But, we’re moving along.
I have laid down the fiberglass on the forward and two rear-most compartments. First I had to fillet the bow and transom, along with the seams at the bottom of the lowest strakes.