New to laser stuff, I purchased a K40 and using Whisperer to mark steel.
I tried a couple different moly lubes with no luck so I bought commercial product from Brilliance Laser Inks and still no luck. I tried their powder for metals, mixed it 2 parts powder 1 part 99% rubbing alcohol as directed. Still nothing, even at 95%+ power and speed as low as 20mm/s it will not mark, it burns the marking coating but nothing sticks to the steel and just rubs off with paper towel.
For sure the metal I’m trying can be marked with C02 since I had the same metal marked by someone else, they used a spray of some kind, it was white.
The laser seems to work since it can cut through wood, but I’ve tried everything to mark steel, different kinds, with no luck. I’m out of ideas.
I apologize if you are doing what I am going to suggest.
Thoroughly clean the metal both physically and with a residue free cleaner.
Use low power and slow speed to start. You are actually trying to melt the Brilliance Laser product to the metal not fuse it.
I had a lot of good luck using moly on steel in my K40 when I had it. I still do some steel/moly with my higher wattage laser but at low settings.
So I tried various power levels and speeds with no success. The laser also appears to be split and burning something next to the actual drawing, not sure what that is about.
Can you upload of a high-resolution photograph of the pattern of a single test fire on paper or MDF or something that will show what that “split” looks like?
Have you tried removing the lens and nozzle, putting tape on the bottom of the lens tube with the edges marked, and doing a test fire through the tube? If the beam isn’t aligned with the center of the tube, that’s the first thing to fix.
Are you sure you have the proper focal distance? It appears you are farther away than you should be. A standard k40 focal distance is 2 inches from the lens to the surface.
Played a little more today, was able to get a bit of a mark on steel with moly lube.
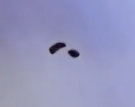
But I still don’t know how to correct what appears to be split beam. Here is a quick video showing what happens when I do a test on paper. I made sure the test was at 50mm using the little measuring “tool” that came with this thing.
As you can see something is clearly wrong, the split beam is coming from the top and is not a bounce up from the underlaying material. You can see the black plastic only the main beam penetrated through it so the side beam couldn’t have burned the paper from a bounce.
That has one video and two written guides for how to align mirrors. When doing that, you’ll be test firing at tape at each mirror.
Please post pictures directly here (rather than dropbox videos; it’s much easier for us) of the paper or tape at each mirror after the tube, showing the marks made on the paper after exactly one test fire at each mirror.
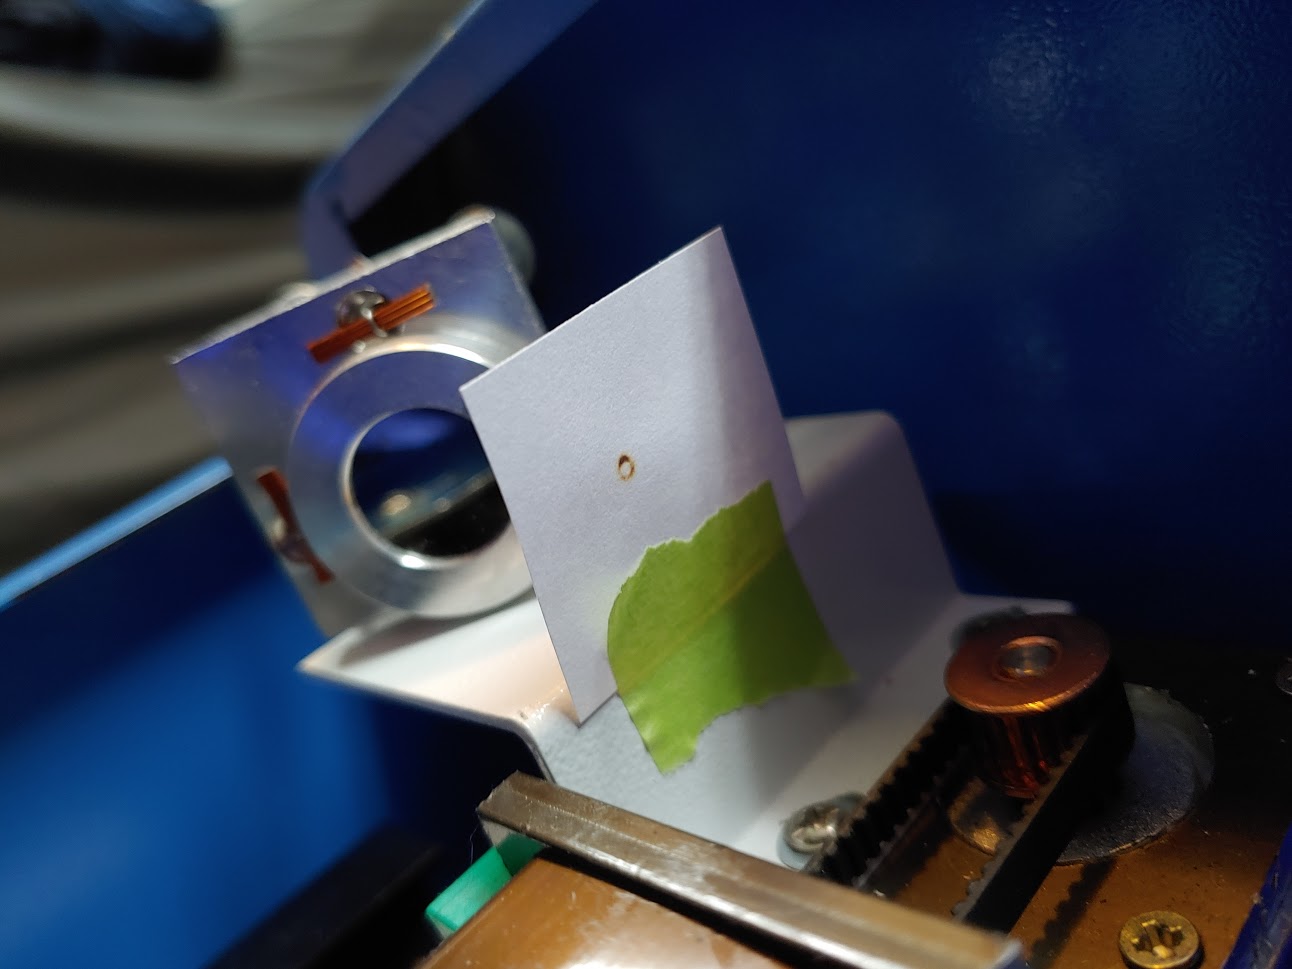
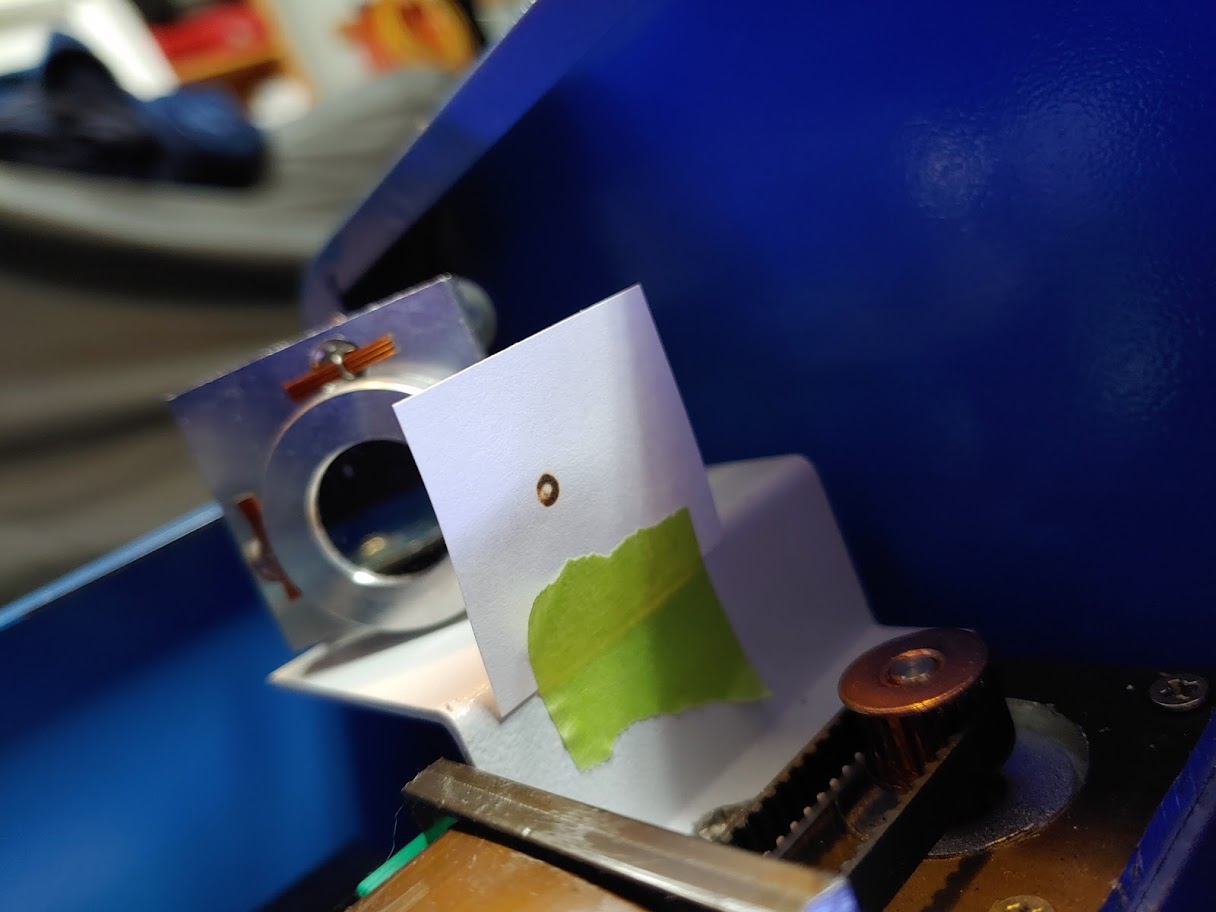
So I started the alignment process, Y-axis right now, the alignment was about 1/8" off from up close to mirror one to furthest away.
I got it a lot closer now, but wondering if the beam spot looks correct, it seems to be burning a circle
outline and not a single spot in the middle, is this normal?
Your tube may be in TEM01* (“donut”) mode rather than TEM00 (optimal gaussian mode) but since it’s a whole donut before that mirror and is broken into two pieces exiting the nozzle, I’m guessing that you have an alignment problem somewhere further down the path that is breaking up the beam asymmetrically. I don’t know how much power reduction is normally associated with shifting from TEM00 to TEM01*.
Based on that it’s worth doing a full alignment as described in the video or documents I linked to.
So I’ve finished the alignment process and it has made a huge difference.
No more mirror burn marks and I can mark metal with cheap moly lube spray. Funny part is it seems its harder to dial in the commercial marking powder, it seems to just cook to the surface and is easily scratched off, but I haven’t spend too much time figuring it out.
Tube may not be perfect but I think it will do what I need it for.