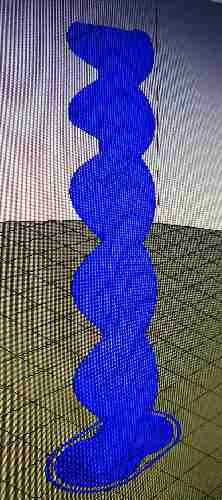
For that type of print you really need a raft. Brim if not raft. You need to slow to no more than 40mm/s. Since it’s a complex shape, you might consider 20-30mm/s.
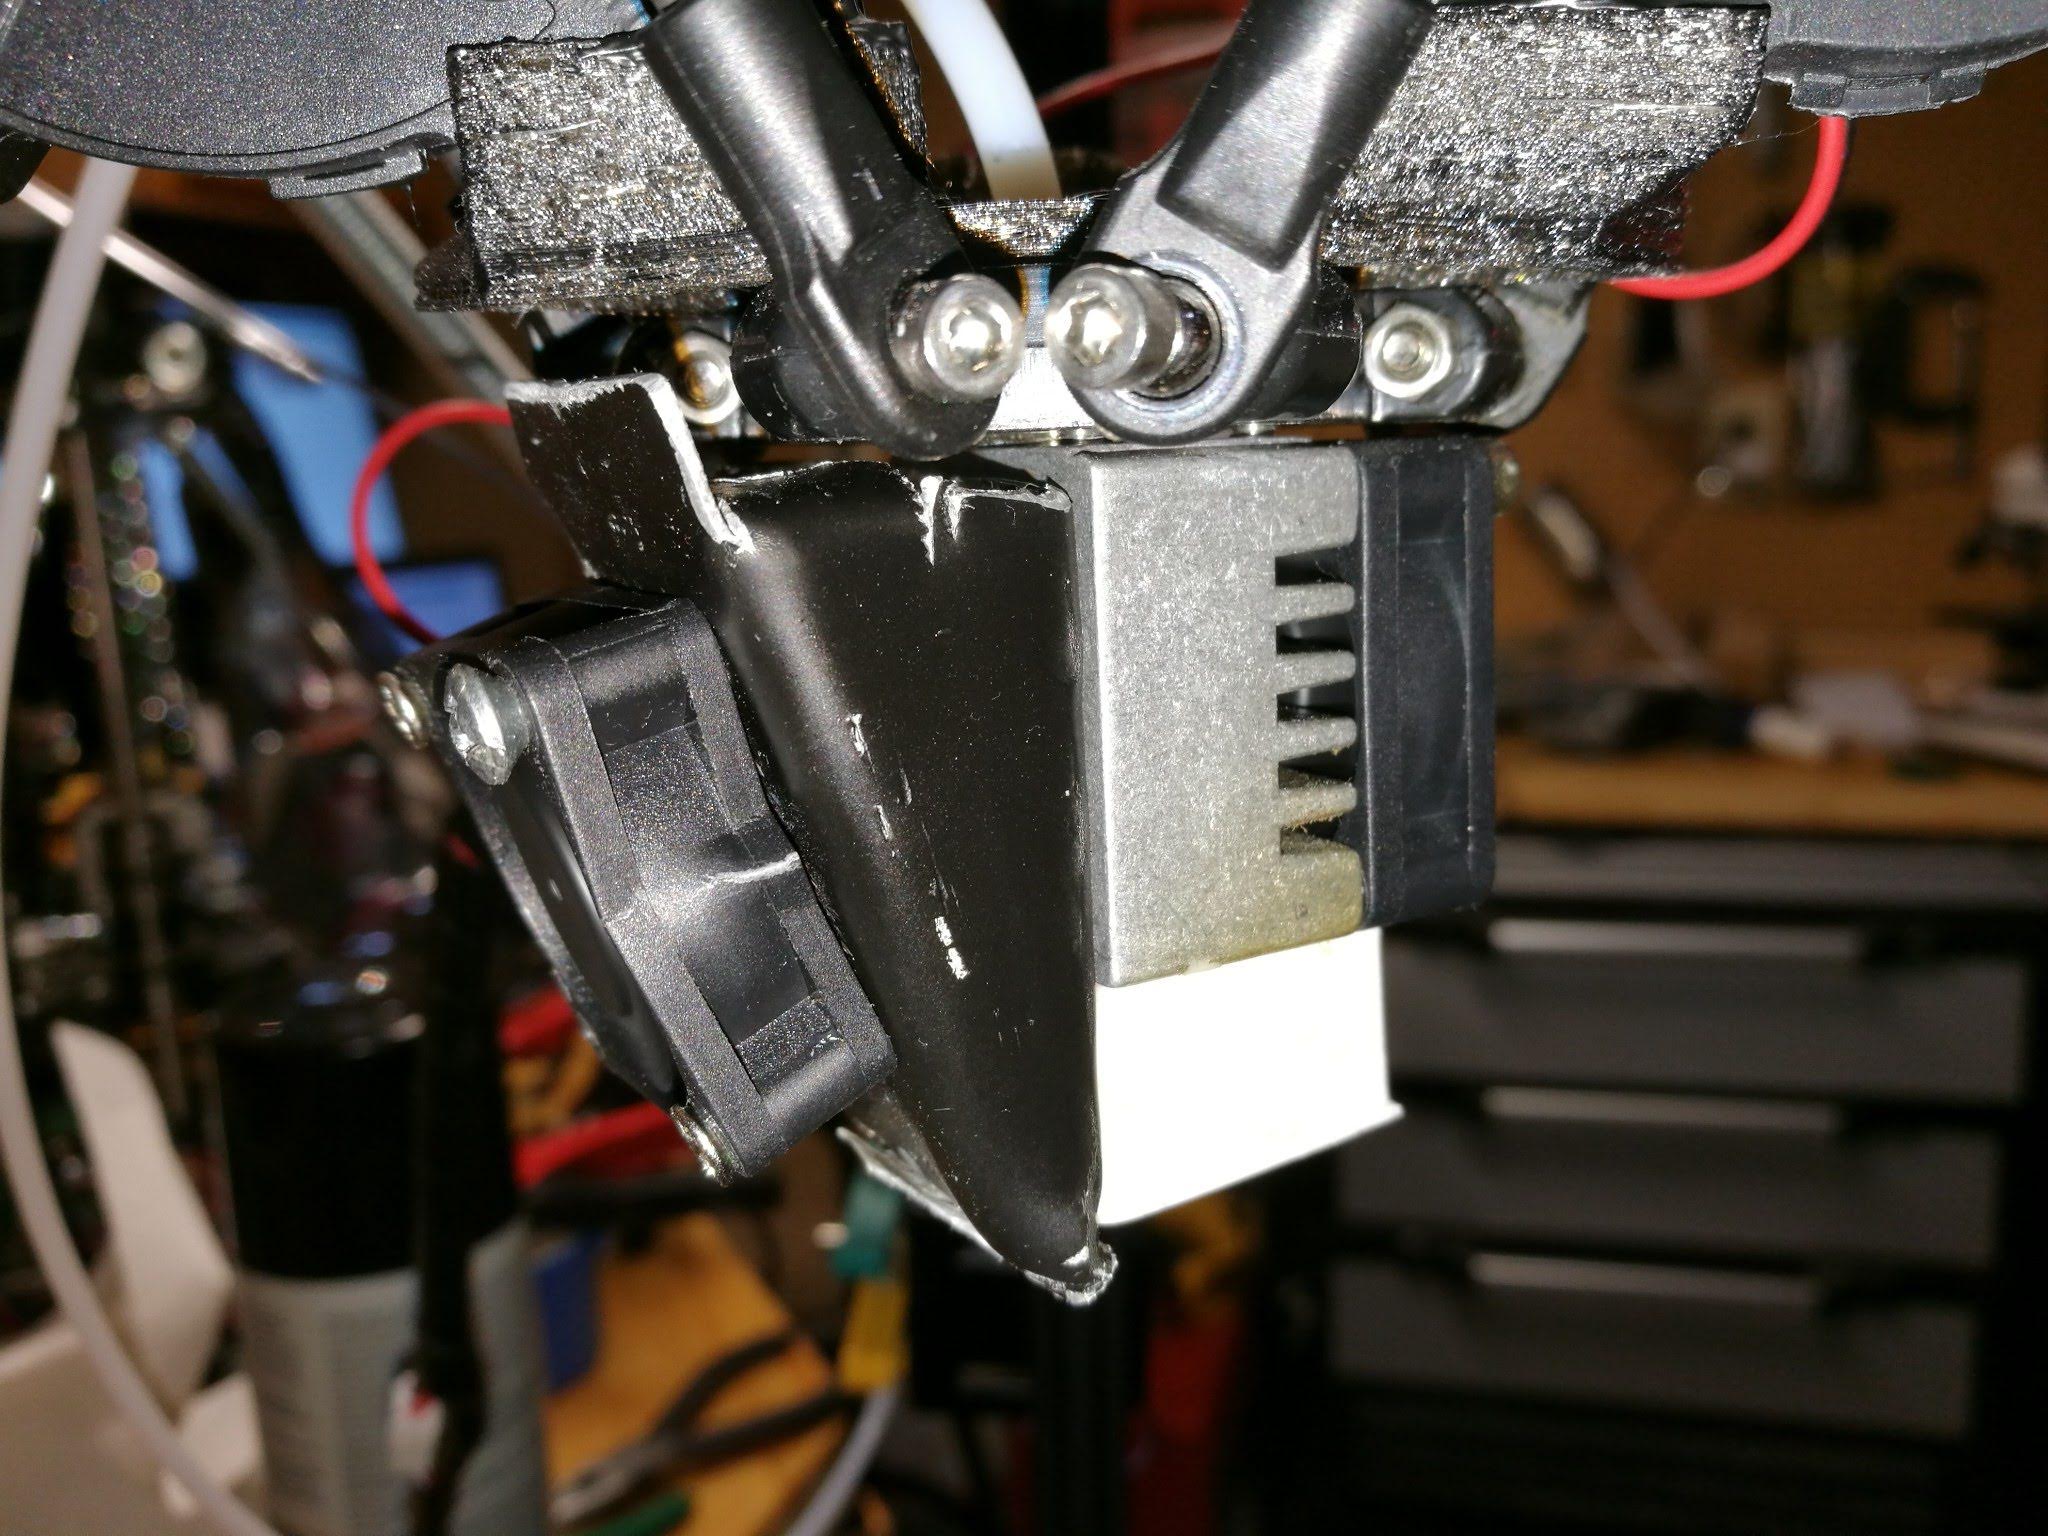
[SOLVED] Credits to those who said too much heat, the hotend fan on the left had come disconnected.
That fan and the black anodized aluminum shroud it is mounted to are a mod I made to cool the upper hot end. The heat break wasn’t able to keep up with PETG temperatures out of the box, and I kept getting PETG filament jammed in my Bowden tube. The silicone sock is also custom.
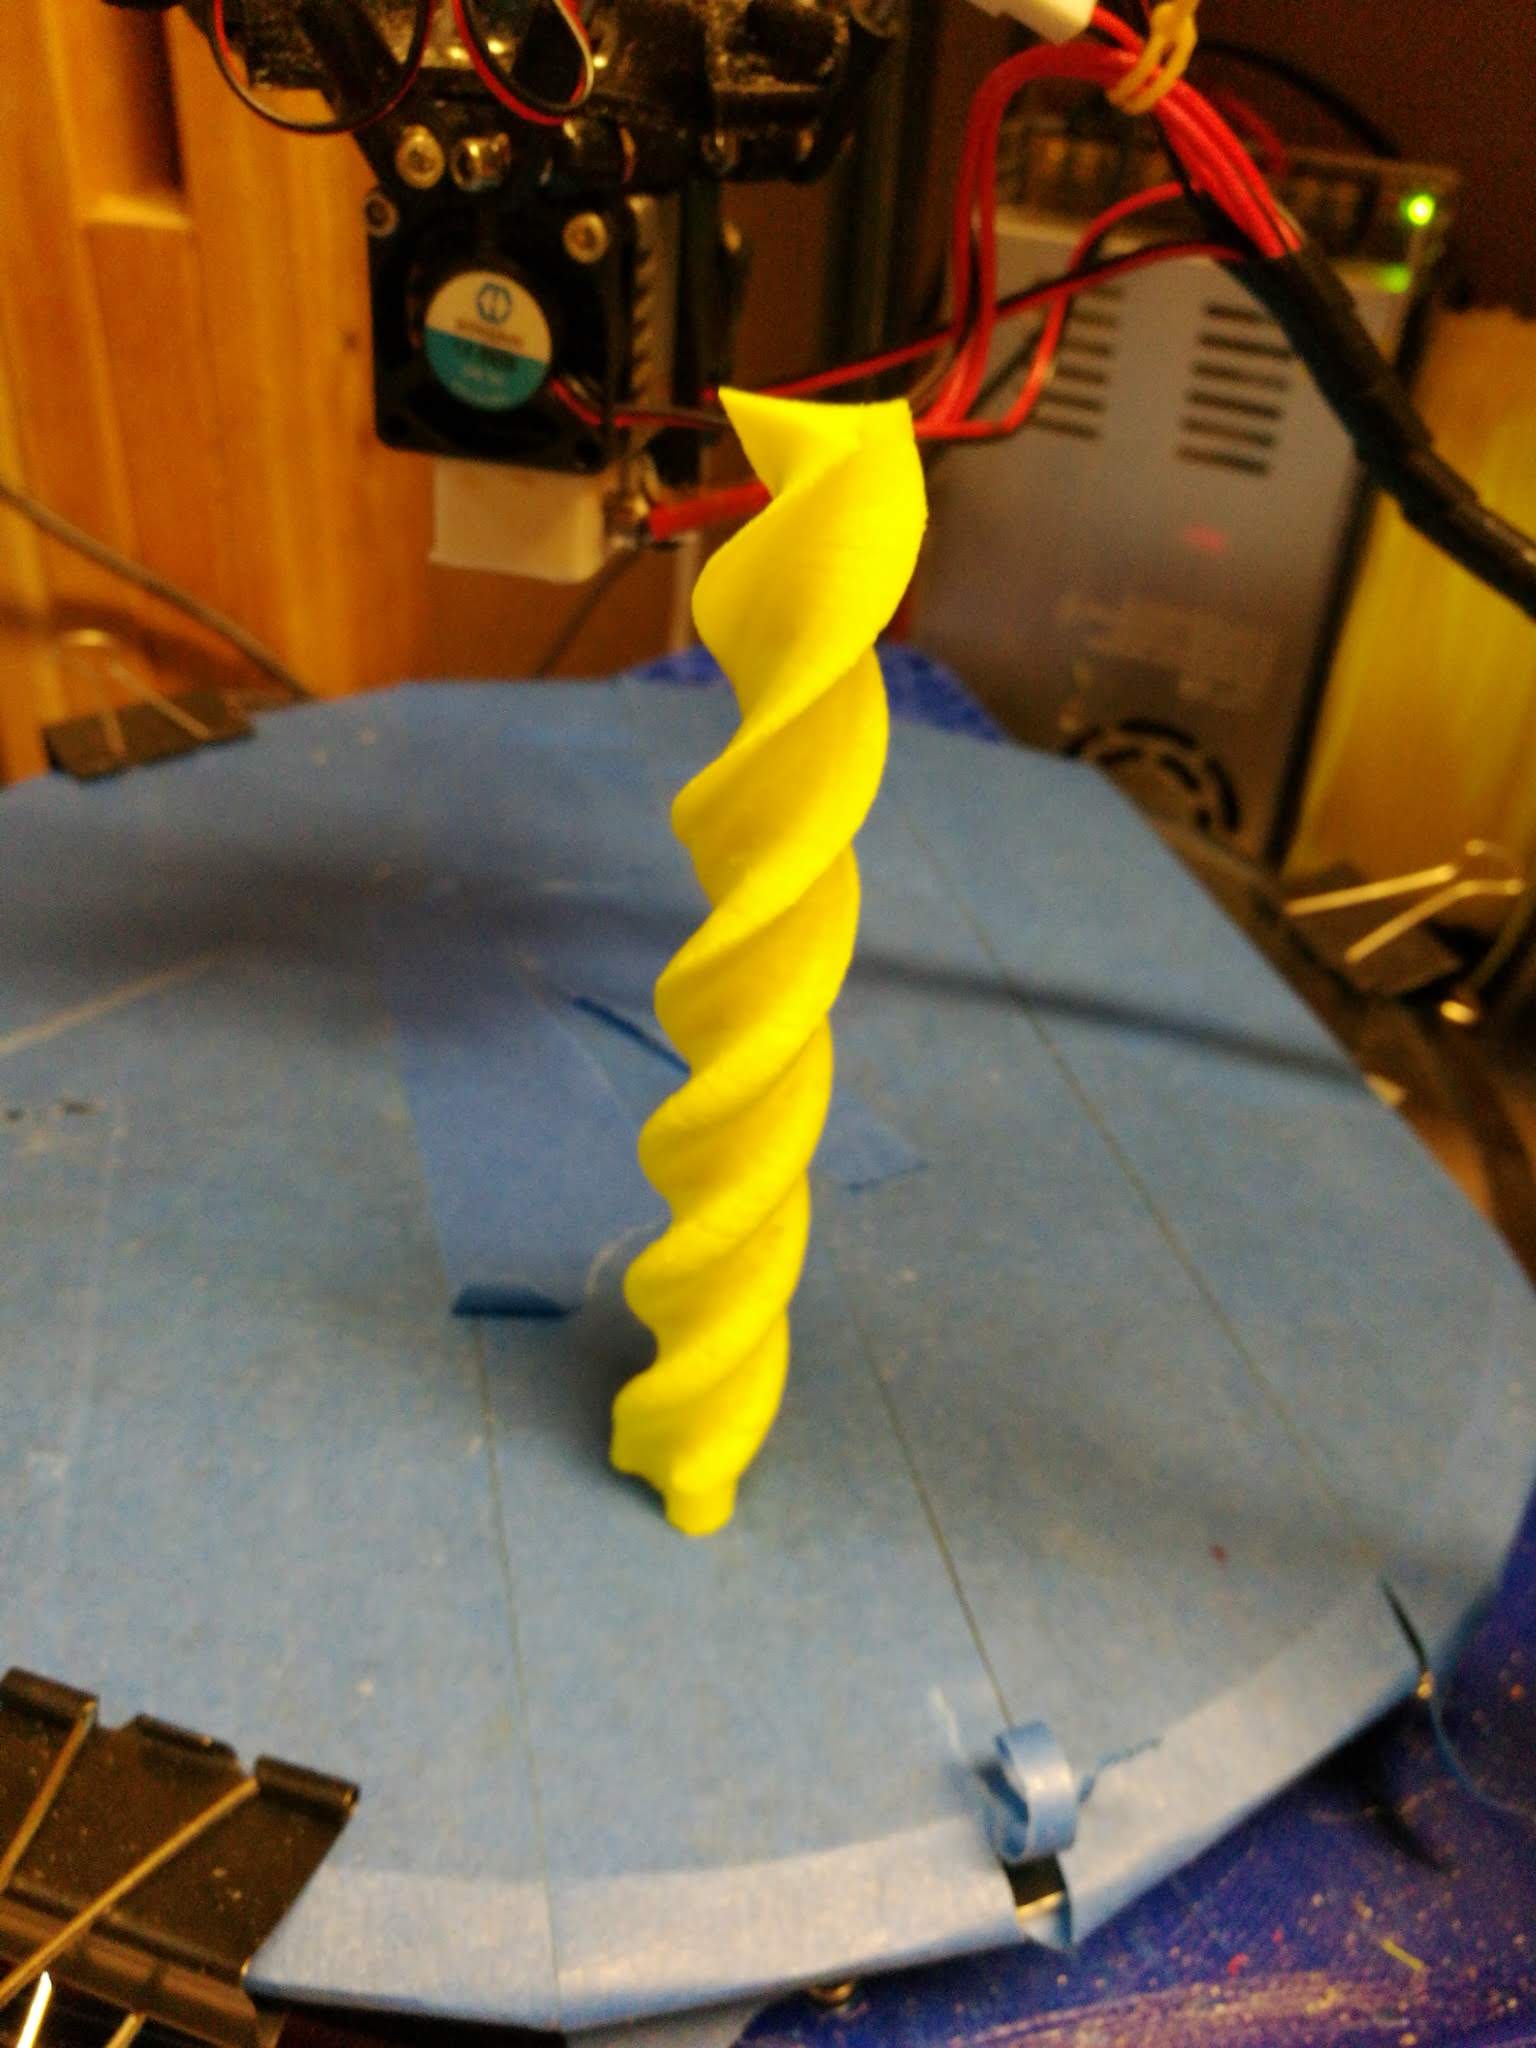
The reprint post fix is so far doing fine, already past the problem layer above. Bed adhesion with this stuff is still a PITA though, slower speeds do seem to help.
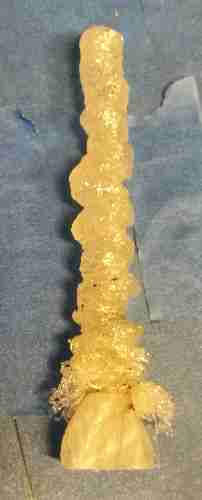
[UPDATE] Spoke too soon. Second try did it again, but higher up. Turns out there IS a bed adhesion issue: the tip of the extruder was dragging the top of the print because the PETG stuck better to the nozzle than to the bed…
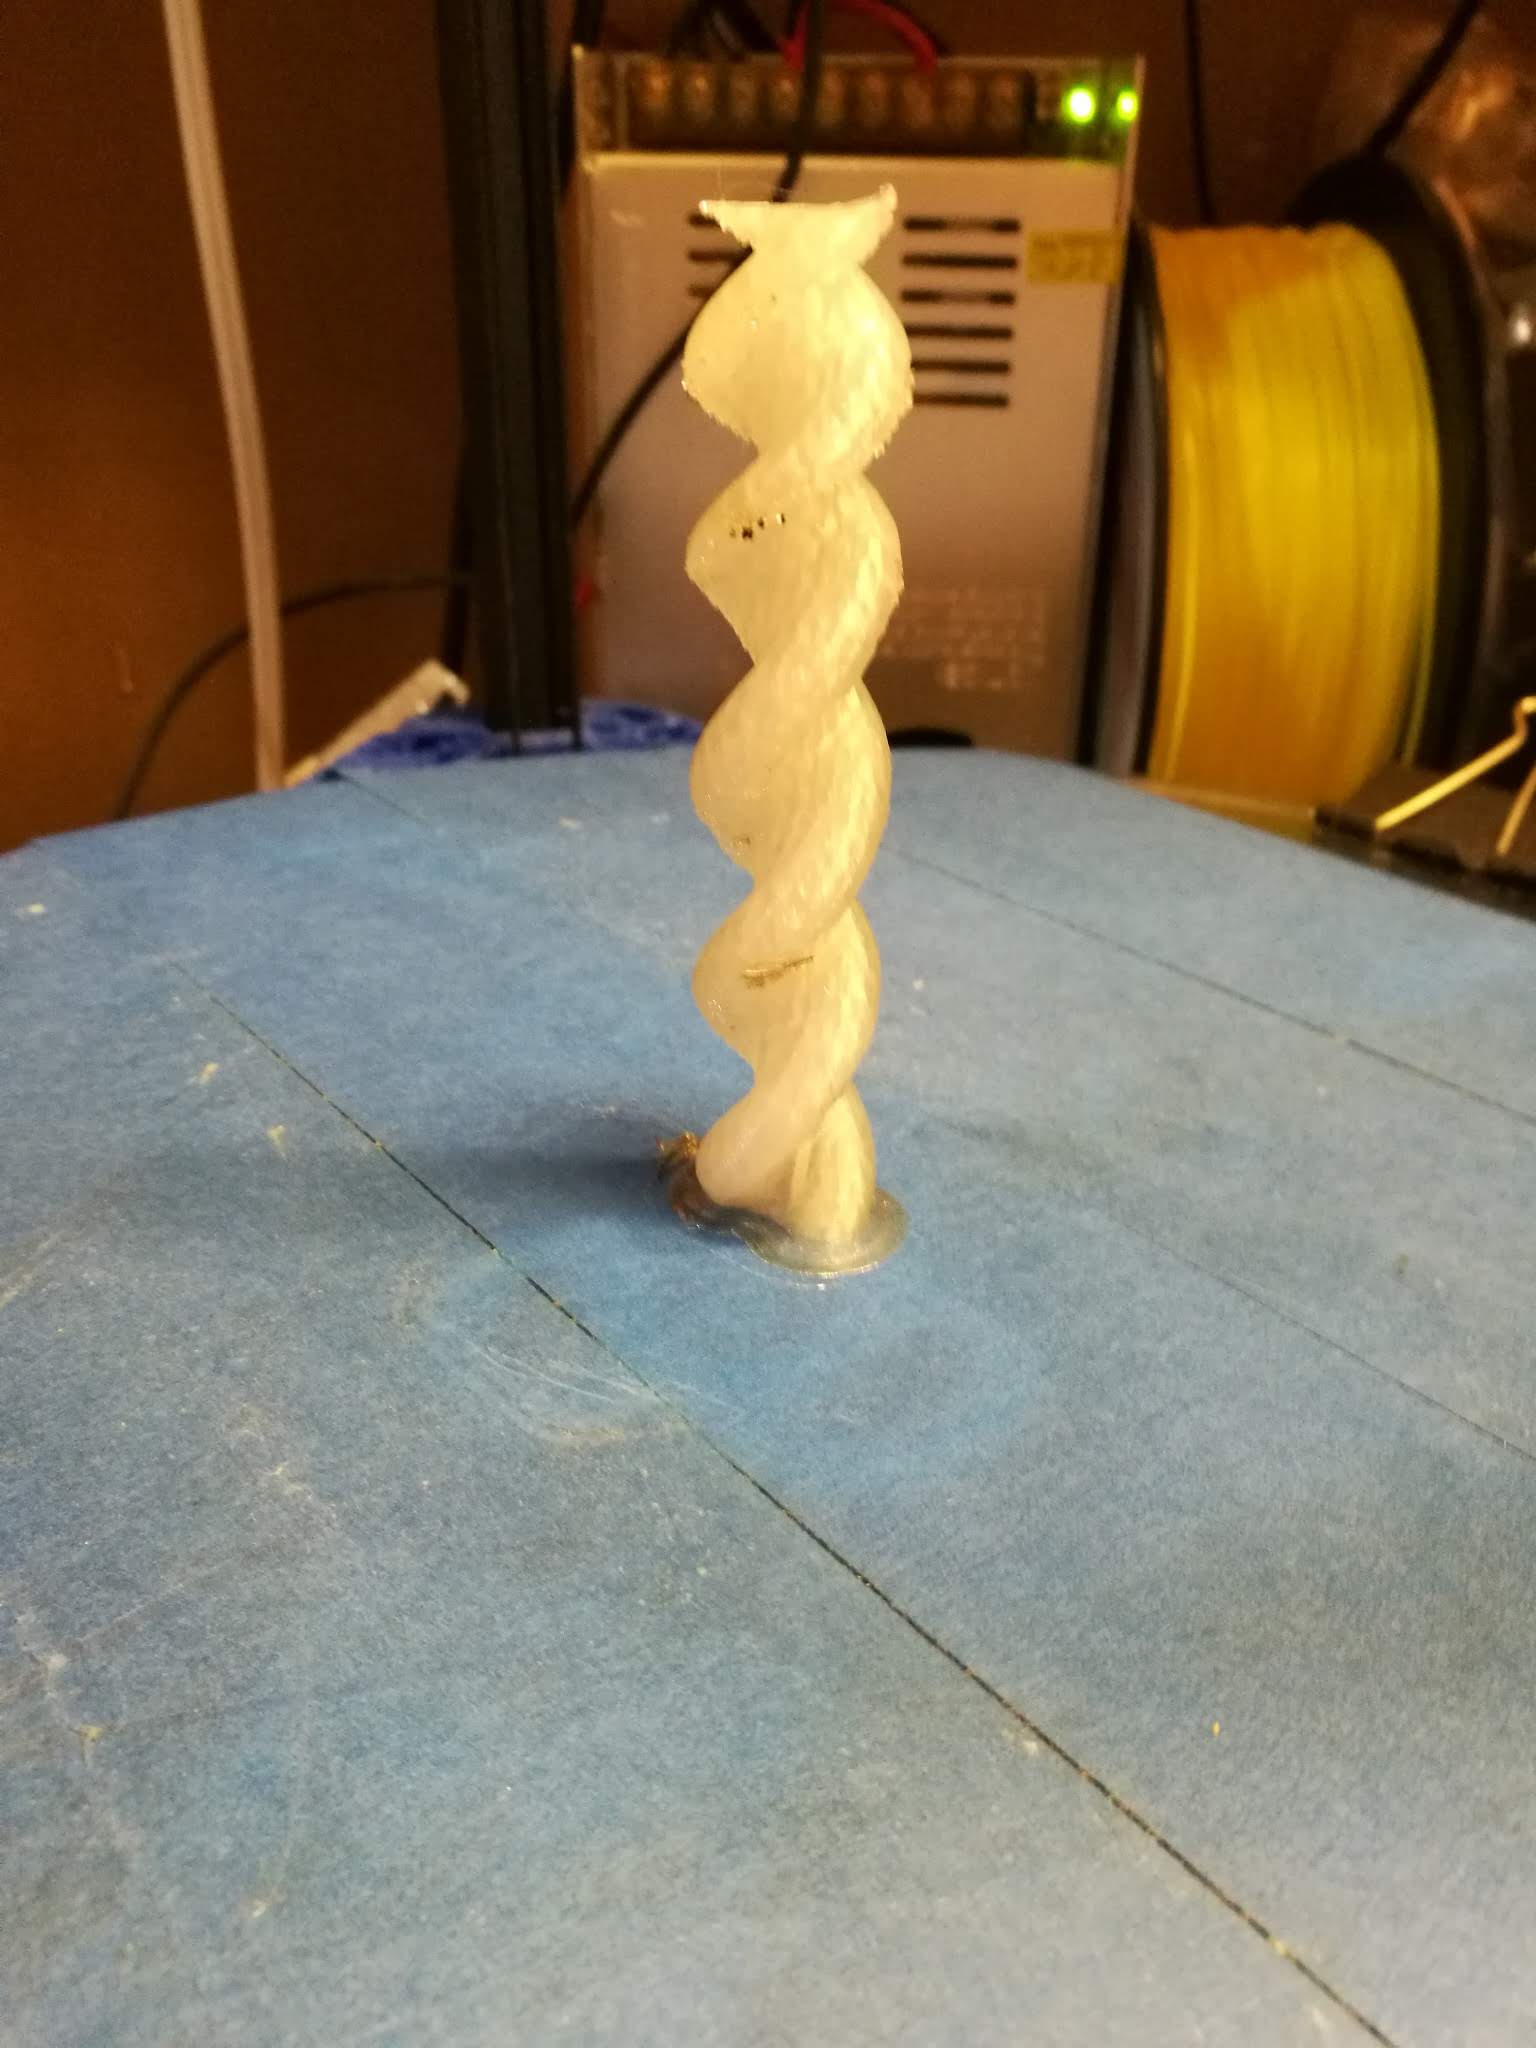
Watch out for part wobble when printing tall thin prints. The part can be firmly attached to the bed but still moving around at the top of the print due to the flexibility of the print material.
Nerys did a great video covering the issue and how to fix it. I have used this method successfully and rescued prints that were about to fail.https://youtu.be/wyzPsKRErHQ
@Richard_Gain Agreed. This is why I recommended a raft and/or a good brim. Slower speeds considerably help as it means left energy into the part to sway during the print.
@Ulrich_Baer The part shown above does not look as though it would need any support. I agree that if you did surround your tall part with a large block of support material it would prevent it from wobbling. But, it would waste a lot of material and anyway, it wouldn’t help if you are already half-way through a print.
The beauty of the solution proposed by Nerys is that it can be applied quickly at any time as and when needed. I have tried it with great success. Regarding the use of hot glue on a heated bed, it does work fine for printing PLA - the hot glue will still solidify when it cools to 65°C. He does mention in the video that it might not work so well for ABS. @Greg_Copeland A good brim and printing slower definitely help as well.
All good ideas. I have been printing this rotor with a 5mm brim which I tape down after a few layers (when there is clearance to get past the moving print head). In this case, the PETG still came unstuck from the bed and the only thing keeping my part in place was the tape, but it was not enough to keep it from tilting with the nozzle. (Tried to upload a video, but G+ wouldn’t allow adding it to comments).
I will try kapton to improve on the bed adhesion.
I can see where the stick/straw stabilizers would be ideal for controlling wobble with TPU parts especially, on a Cartesian printer. It IS possible I’ll see a benefit too from this technique later on with PETG on my delta, but I gotta get past the first 2cm. I have printed similar parts in TPU already without supports on this printer .
@Greg_V That’s why I suspected that a raft is required. When you have a very small area to attach to the bed you have to make up for it with a raft. I personally use a brim to a raft for these type prints so that if there is release on the corners it only releases on the brim and not the raft. Essentially a sacrificial brim to protect the adhesion of the raft. The raft itself should provide for strong support for the print.
If it’s still releasing you might need to add some glue stick as well as tweak the bed temp.
@Greg_V you can add a disc (stripes) to get a bigger contact surface - but this need to be cut away later - but you can use a bigger raft margin so the raft is much bigger than the object. @Richard_Gain you don’t need to suround it - you hav a tower beside with struts - truss like support. Those are modeled (e.g. meshmixer) an can’t be used via a setting.